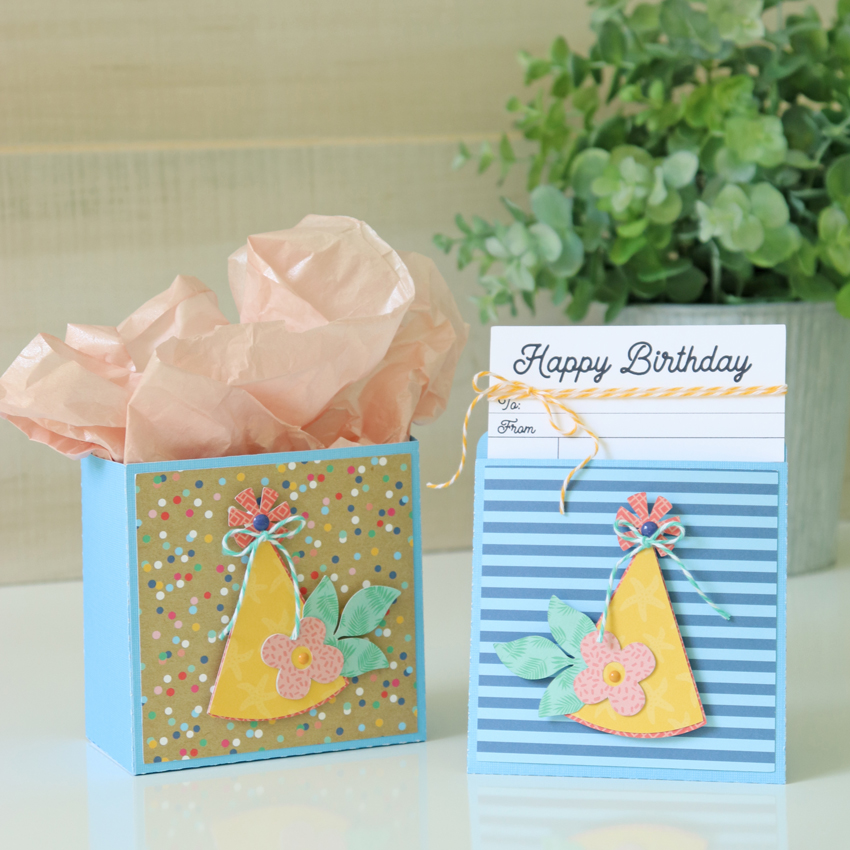
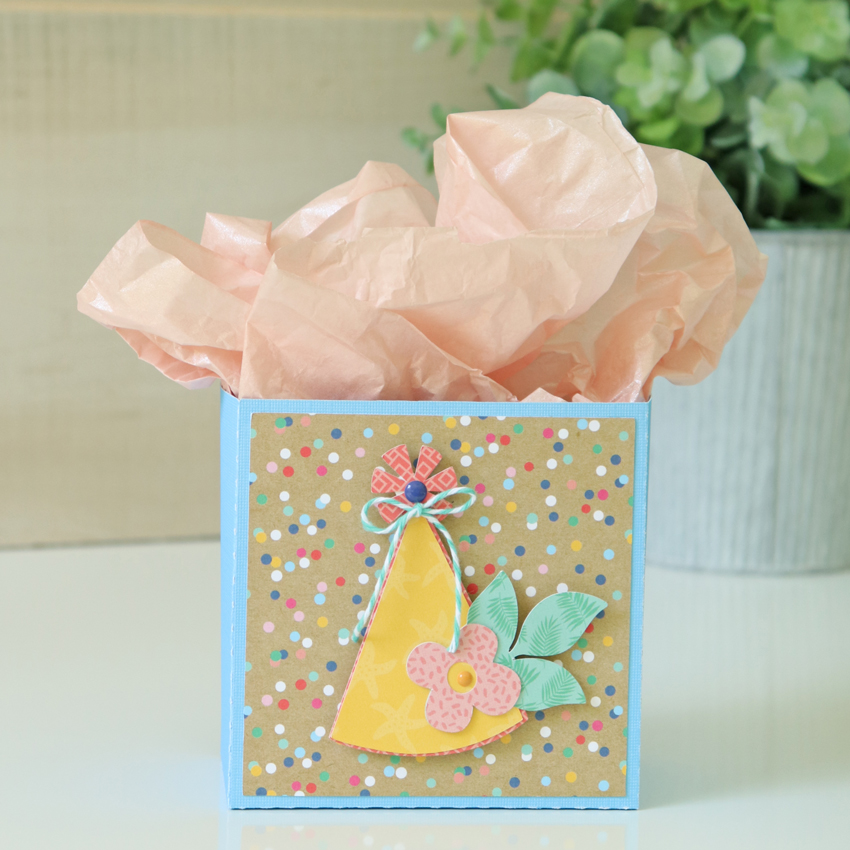
Hello everyone! Marcia here today. September is my sister’s birthday month so I wanted to make her a special card. I love box cards because they can double as decor as well. I settled on this gorgeous Happy Day Flower Truck Box Card (SVG, Silhouette). This can sit on her counter for a week or more along with a vase of flowers and remind her how much she is loved.
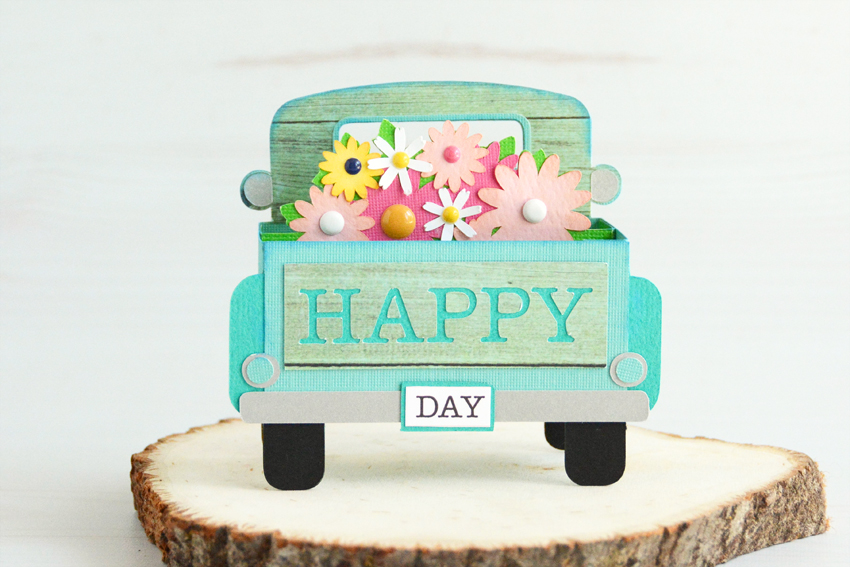
I added some dimension to it by adding enamel dots for my flower centers.
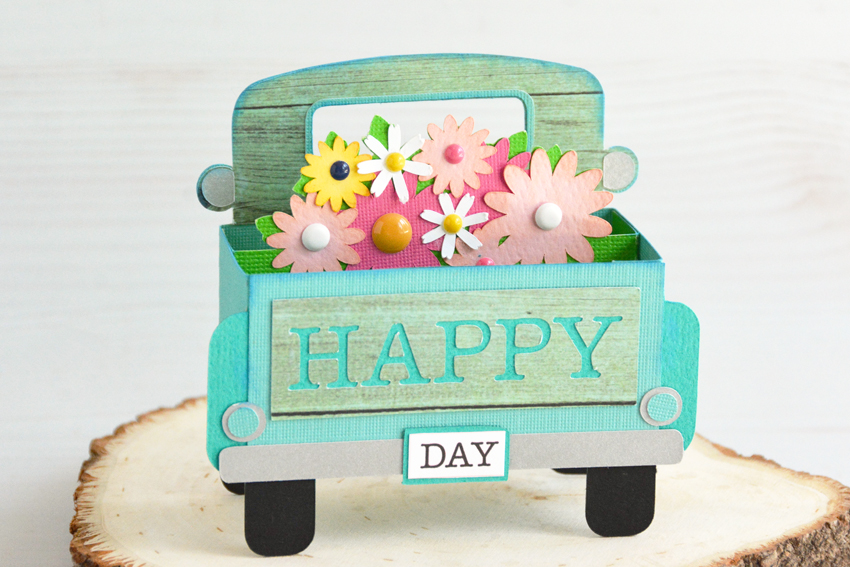
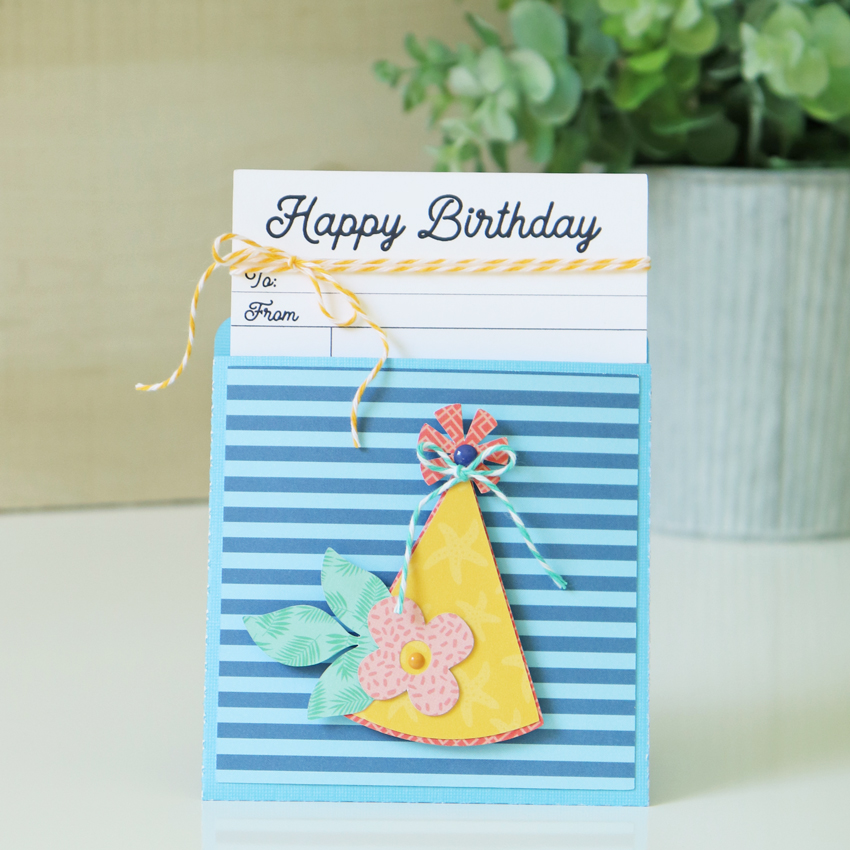
Isn’t this card so pretty! It does fold flat for mailing so no excuses there. Go check out all the box cards in the shop and give one a try. Thanks so much for stopping by today. Have a great week!
~Marcia