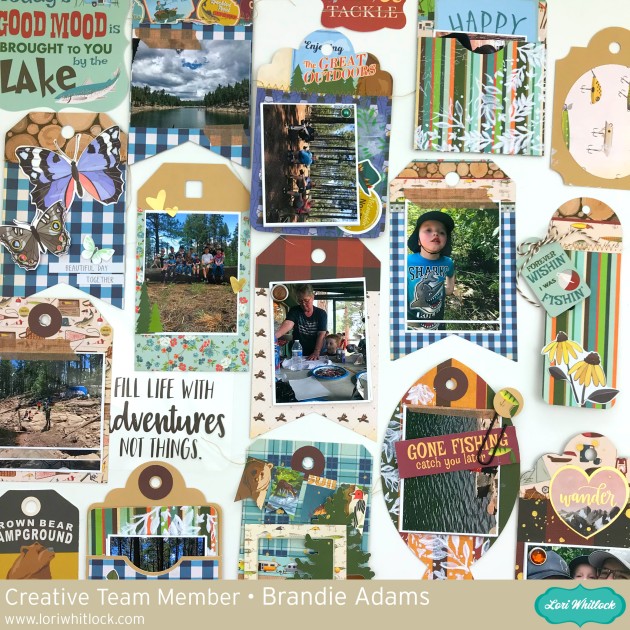
Hi there crafty friends! Brandie here with a tutorial on how I made this tag mini album. I know this project isn’t anything we haven’t all already seen before, but it is a great reminder of all the great basic shapes Lori has available.
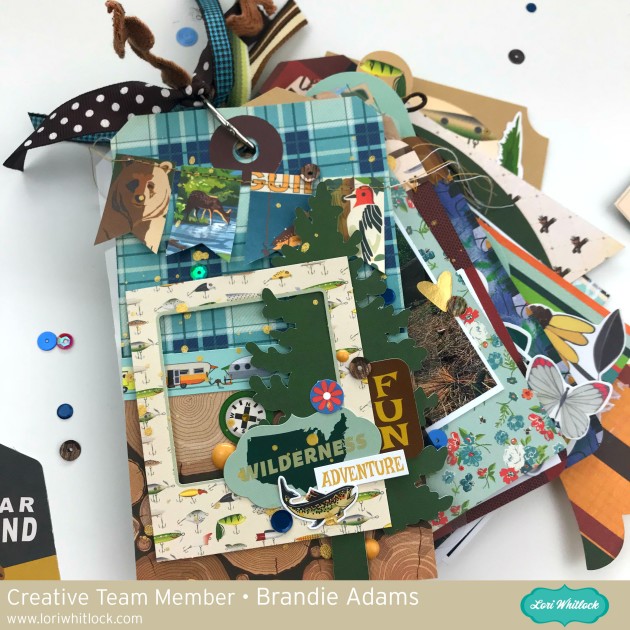
I used several cut files. 12 Tags (SVG, Silhouette) Tag Mini Album (SVG, Silhouette) Pine Trees (SVG, Silhouette) Fill Life with Adventures (SVG, Silhouette) and Fish (SVG, Silhouette).
Once I had everything uploaded I resized everything to fit 3.5 x 2.5 inch picture. I wanted some varying sizes on the tags so I made some a little smaller and some a little bigger.
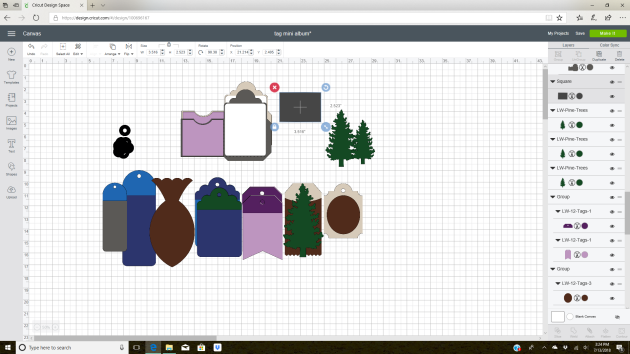
I got everything cut out and glued the tag pieces together. I cut 12 tags and printed 36 pictures so I needed a way to include a few picture on each tag.

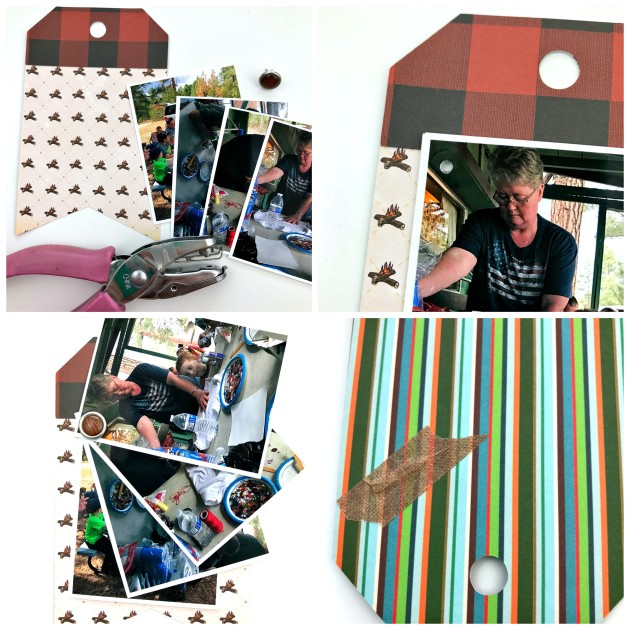
On a couple of the tags I stacked 3 or 4 pictures together, punched a hole in the top left corner, inserted a brad, then flipped the tag over and added washi tape to the prongs so that I wont have to worry about snags or tearing on the next tag.
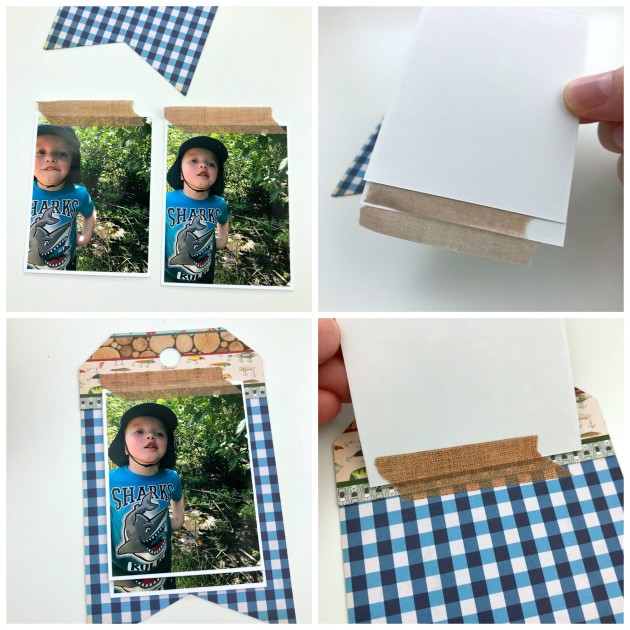
Another way to add several picture to a tag is to create a washi tape hinge. Place a strip of washi tape at the top of each picture, stack the pictures in a cascade, turn over and adhere to the tag, flip each picture over and apply another strip of washi tape to the back of the picture.
To embellish each tag I used a variety of stickers, washi tape, die cuts, word strips, and twine. I also did a little mixed media on a few of the tags for added texture.
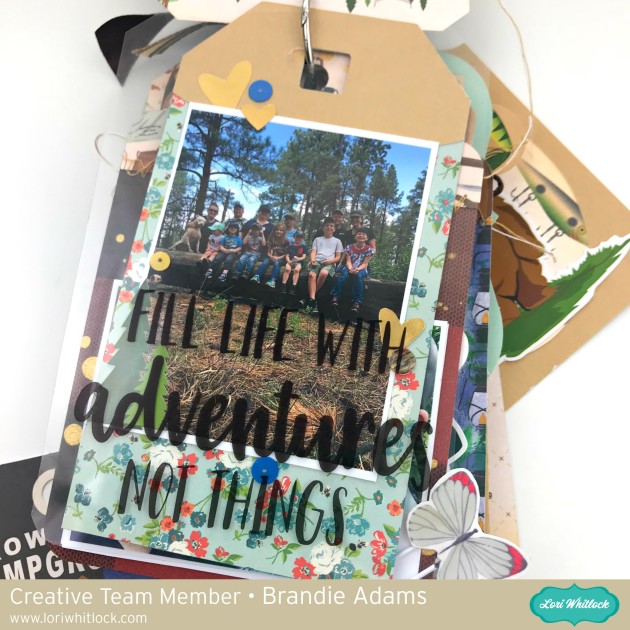
I printed the Fill life with adventures not things on a transparency and placed it on top of a group picture.

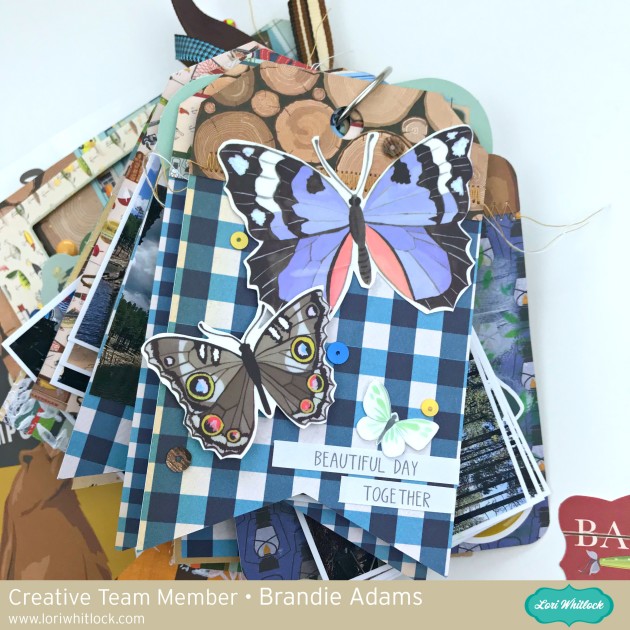
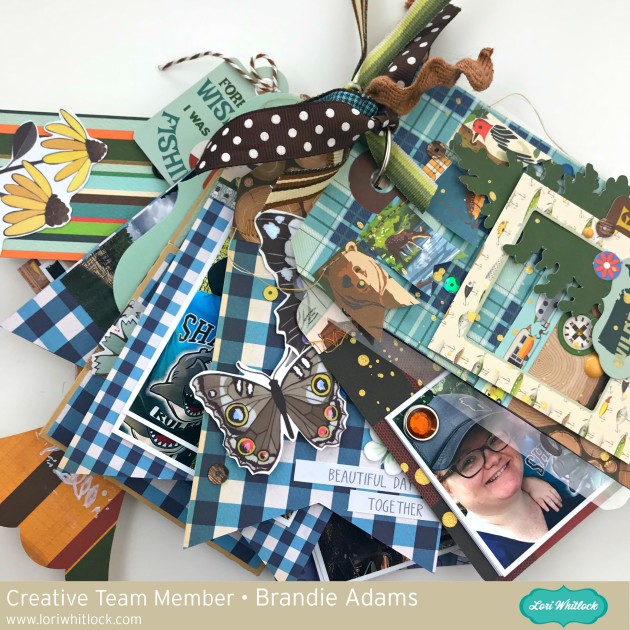
The patterned papers and ephemera are from the Gone Camping Collection by Carta Bella.
Thanks for stopping by and happy crafting!
Brandie

Love this idea! What did you use for the ring to hold it together please? Thanks!
Hi Hanna! It is called a book ring. I picked up a box of them at Hobby Lobby in the office supplies.
Thanks! I’ve been making larger brag books but I like this tag idea. And it’s a great use of scraps!