Hello, everyone, it’s Brigit here, I have a quick tutorial on how I replaced the score marks on the Gift Bag 2 file from Lori’s shop using Silhouette Studio Business Edition so I could use the scoring stylus tool on the Cricut Maker.
You can get the file here from the Silhouette Design Store, but for this purpose, I’m using the svg from Lori’s shop and I’ll explain why. I use Silhouette Studio Business Edition to design my projects even if I’m going to cut from one of my other cutting machines. I really like the Silhouette Studio software and with the Business Edition I’m able to save my projects as an svg which I can then upload into Cricut Design Space or Brother Canvas, you can’t do that with the Basic or Designer Editions and you can’t open svg files with the Basic Edition. What you can’t do with the Business Edition is use an image from the Silhouette Design Store and save it as an svg, the lines around the whole image will save as score marks so that’s why I’m not using the bag from the Silhouette Store. Cricut Design Space does have an option to add score lines but I like this way much better.
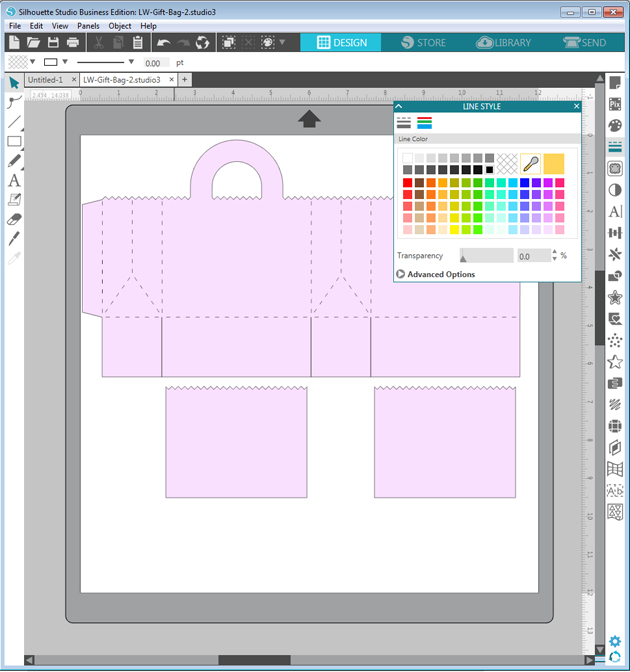
After opening the bag the first thing I do is change the fill to a lighter color and the lines to black, this way the new lines I put in will show up as red, makes it easy to line up.
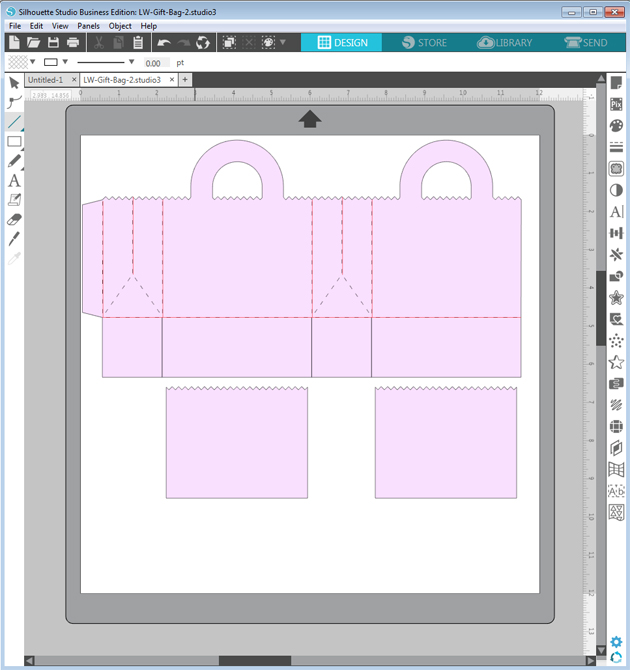
I just quickly add lines over the score marks, I’m not exact here, I fix them and add the diagonal lines when I zoom in.
Zooming in I draw the diagonal lines and align all the other ones as close as I can get.
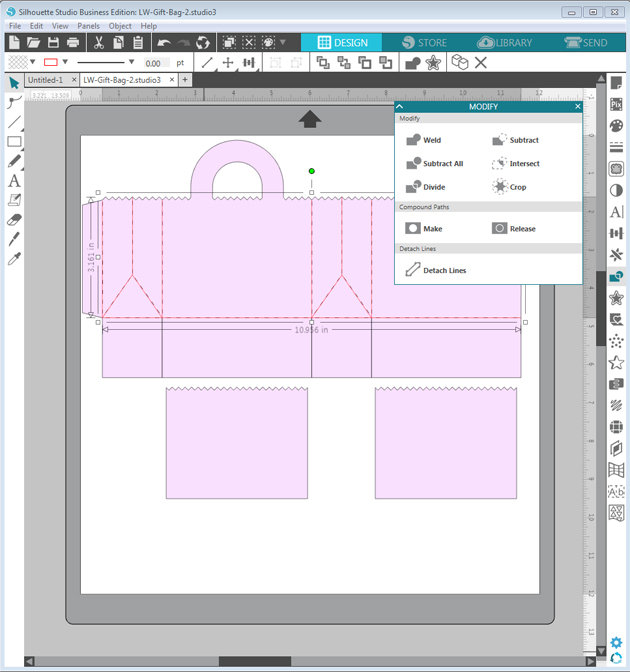
When I’m done I select the new lines and make a compound path, if I don’t do that when I upload to Cricut Design Space the score lines are off from the project.
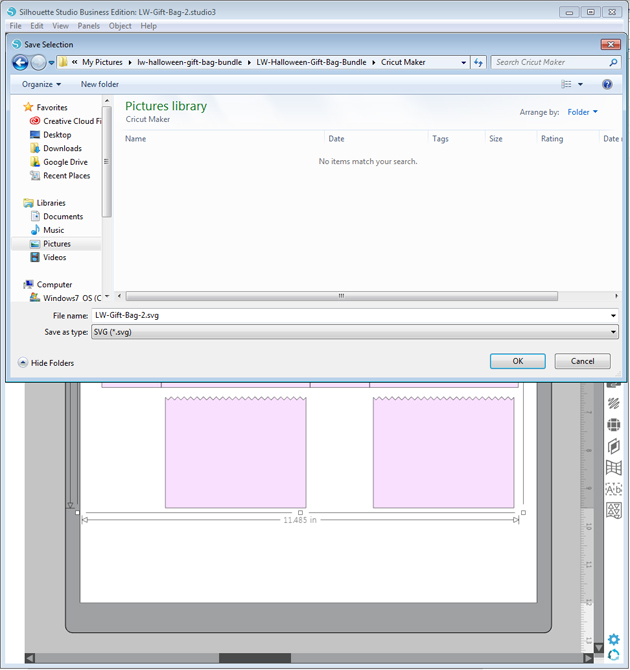
I finish by ungrouping the bag, deleting the original score marks and group with the new score lines. I select all and go to file and save selection to hard drive and in the save as type select svg.
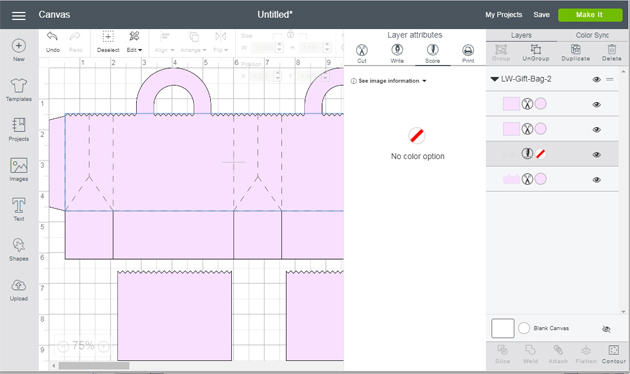
When I upload the bag into Cricut Design Space the size is much smaller, so I resize to match what it is in Silhouette Studio, then ungroup, new lines I created to score and select the bag and score lines and attach.
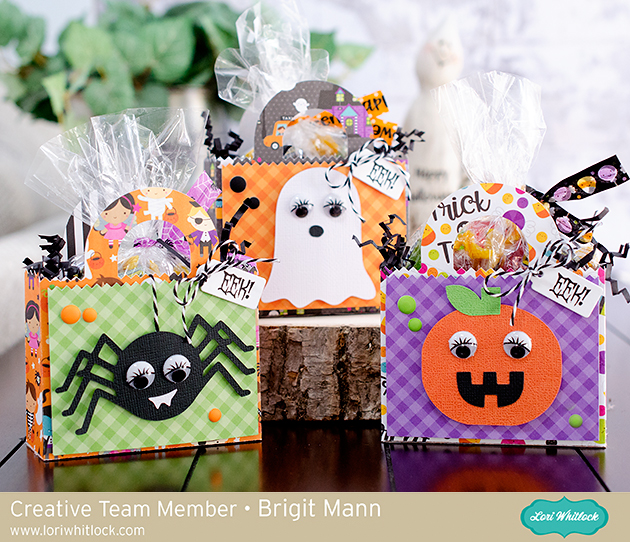
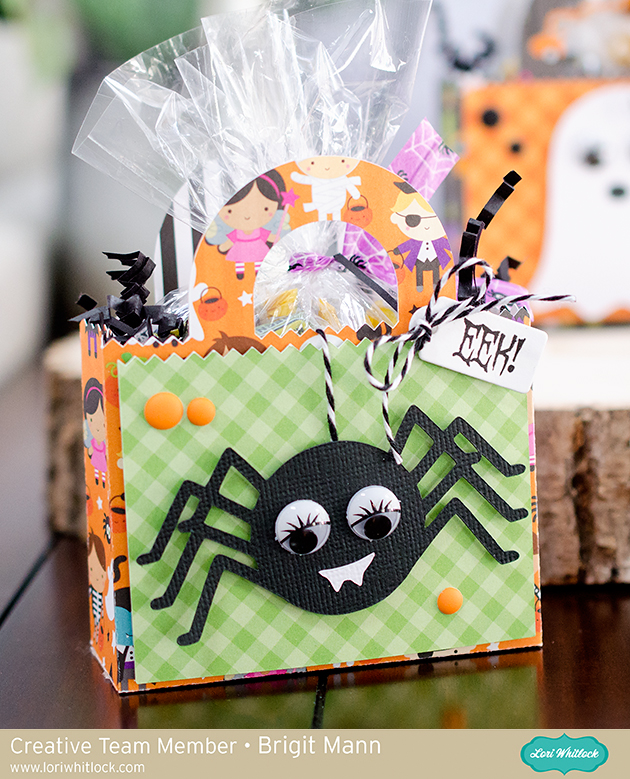
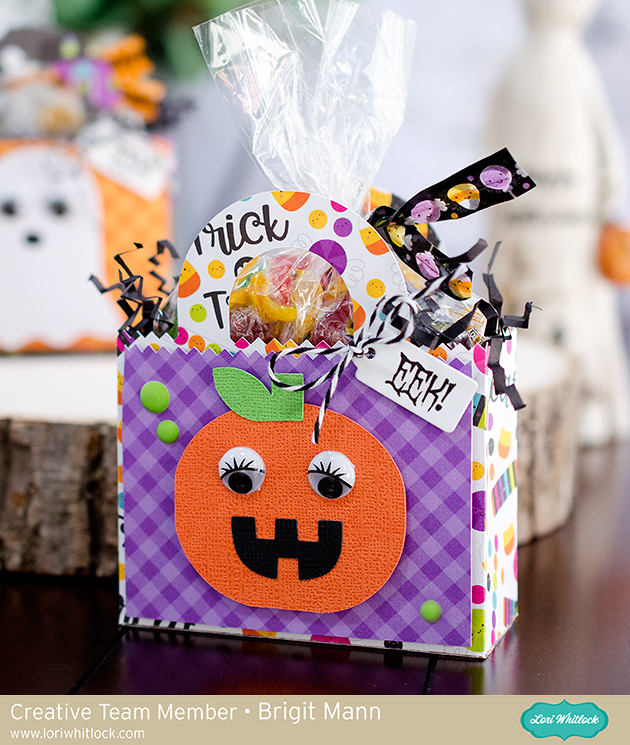
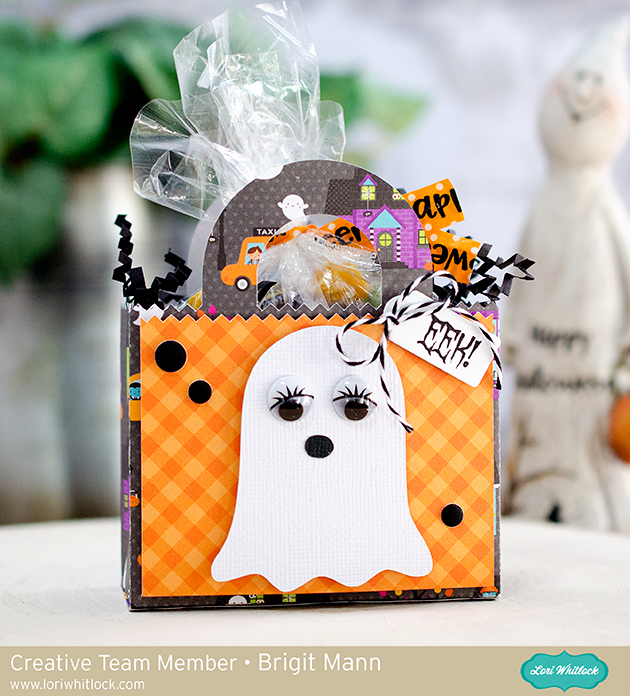
Here’s a closer look at each bag, I dressed them up with the characters from the Cute Halloween Set from Lori’s shop and here from the Silhouette Design Store.
The paper I used is from Doodlebug Design’s Booville collection and Gingham-Linen Petite Prints.
The eyes I believe I bought at Michaels and the sentiment is a stamp from My Creative Time.
Thanks for stopping by and have a wonderful day!!



These are so cute. Thanks for the tutorial.
Thank you!
Fabulous tutorial! Thanks for explaining it so well.
Great post! I also have several cutting machines and it’s great to see how they can be used together.