Using your Eraser Tool

Tutorial by Traci:  A Fun Way to Use Your Eraser Tool

Hi everyone!  I’m excited to share a fun tutorial with you today.
Although we love to cut Lori’s adorable shapes out of paper, today I will share how you can cut your shapes to pop up from the paper.
First, add the shape you want to use to the page in your software program.

Next, move the shape to the area where you will want it to pop up from the page.  Resize your shape and ungroup the pieces if necessary.

For my page, I also rotated the butterfly slightly.
 
Next, select your eraser tool on the left toolbar.  If you have the Designer Edition of Silhouette Studio, an Erasers window will appear on the right side.
Select “Outline” and if needed, “zoom” to see the lines better (hour glass with plus sign at top). Then erase the areas of your shape that you do not want to cut.
If you don’t have the Designer Edition software, you can still use an eraser, but the steps are a bit different.
First click on ‘Point Editing’.  A bunch of grey points will appear on your shape.  (You may have to click on “Simplify” before the points will appear).
Next, click on the points you want to erase.  When you select each point, click on ‘Break Path’ in your Point Editing window.
This will make the lines stay broken. Now you should be able to erase the areas that you do not want to cut.


I also wanted to add a border that would pop up from the page so I repeated the steps above for the border.


For the border, I erased the top cutting line of the shape so that it would fold up from the page.
 
So, as you can see I did not cut anything out, I just made it so that it popped up from the page.
Here is the final page layout.  A fun little page about my adorable niece, Hannah, who is, of course….Cute As A Bug!

Traci Penrod
Artsy Albums

One Dollar Wednesday at Jessica Sprague

One Dollar Wednesday at JessicaSprague.com!

Today only you can pick up a couple of digital kits for a steal…

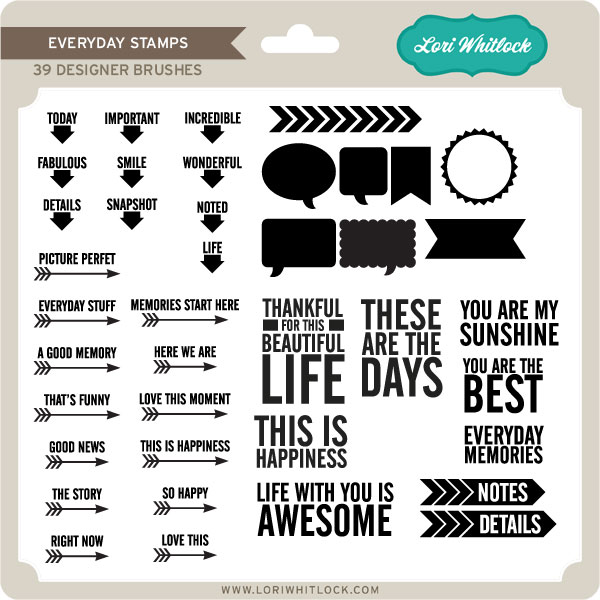
TODAY for JUST $1 you can grab the popular: Everyday Stamps  This file includes .abr brushes only.

EVERYDAY STAMPS

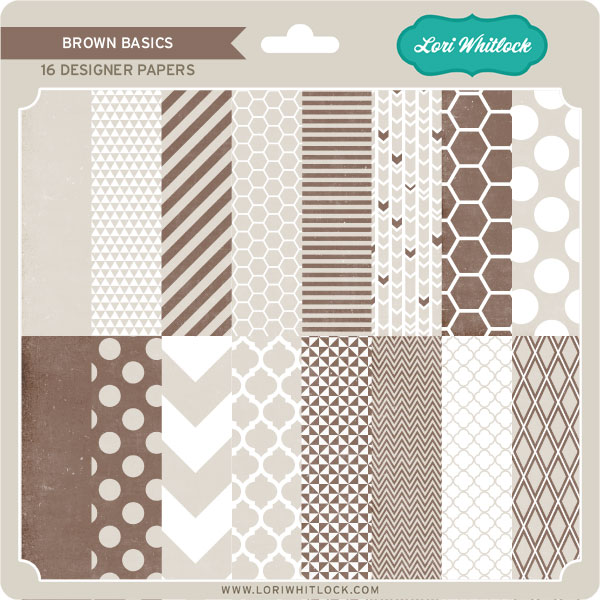
And, you can snag the following awesome product for HALF OFF, which makes it $2… Brown Basics

BROWN BASICS

While you are at jessicasprague.com getting your kits, be sure to check out the samples made with each of these kits at the bottom of each listing.


Tuesday Freebie + New in Shop

Good Morning! I hope your week is turning out beautiful! Today Lori has many fun new shapes available at both her SVG shop and Silhouette Portfolio.  We love to see what you create, be sure to post them to Lori’s Facebook page. Be sure to grab this freebie with any purchase in Lori’s SVG shop.

 Today only, this flag owl  SVG file is FREE with ANY PURCHASE. Just add coupon code: FLAG OWL at checkout and the cost will be deducted from your purchase.


Here are some of Lori’s newest shapes added to the SVG shop and her Silhouette Portfolio! Thanks for stopping by… Lisa

Teacher Gifts by Mendi + Ornate Cards by Christine

Today on the blog we have the talented Mendi and Christine. Today Mendi blew me away with these adorable teacher gifts. My mom was a teacher for many years and would have loved something like this. Mendi says…
As many of you are wrapping up your school year I thought I would share an idea for a quick and easy teacher’s gift.  I ran across some bare wood plaques at my local craft store when I was searching for ideas and thought they would be perfect. A simple coat of paint (and perhaps a light spraying of clear Kylon to seal) and they were immediately transformed and ready to cover. 
I have always been attracted to primary colors and school themes so I had a big stash of school themed papers to turn to, but it’s not hard to find something perfect these days with all the school ruled papers, cork, chalkboard and ruler paper out there on the market. I think Lori’s Take Note collection from last year would be super cute for this!
For these projects I used the following cutting files designed by Lori:
Pencil (Silhouette store only)
Apple (Silhouette store only)
September Art (Silhouette store only)
LW Happy Font
I hope I’ve inspired you to create a quick personalized gift for a special teacher in your 
life. I was serioulsy amazed with how quickly these came together!
Next we have Christine sharing these beautiful cards with us.
Today I am sharing two cards that I made with the Ornate Pull Out Cards.  I used numbers 1 and 4 today but the others are super fun too.  
Here are the cards together.  You can opt to leave the background piece, the fancy part, alone and it’s really pretty or you can back it with some cardstock, like I did with my cards.  For me, I liked the additional strength that it gave the card but you’ll want to make sure to use a very plain paper if you do so that those gorgeous cut outs don’t get lost.
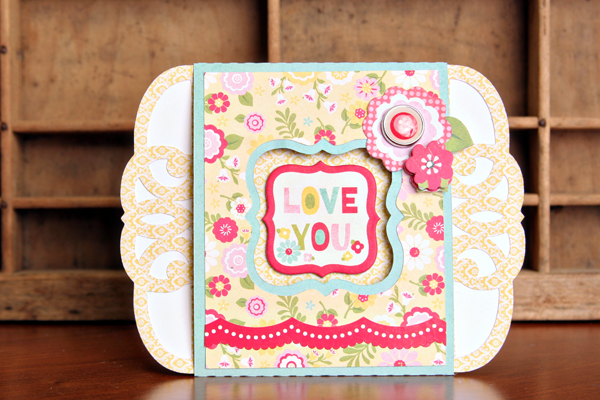
Here are close ups of each card individually.  I used Lori Whitlock’s Sweet Girl paper and embellishment collection from Echo Park to create these cards.  The little extra sticker and brad here and there really make these cards extra special.

Here is what this card look like when the base is pulled out from the wrapped sleeve.  Lots of room for writing a special message or a signature.
My second card is pictured below.  
And here is a closeup of the center of the card and what it looks like pulled apart.  There are so many ways to decorate these cards and what a fun and different way to create an interactive card.
Thanks for stopping by.  Here are the supplies that I used to create my cards.
Lori Whitlock SVG’s: 
Other Supplies:
Sweet Girl Paper Collection by Lori Whitlock for Echo Park Paper
Sweet Girl Embellishments by Lori Whitlock for Echo Park Paper
Sweet Girl Cardstock Paper by Lori Whitlock for Echo Park Paper
Silhouette Cameo Electronic Die Cut Machine