Tutorial: Stitching with your Silhouette

I love all the tutorials our Creative Team has been making! It’s fun to learn new things! Check out how easy it is to make faux stitching lines on your die cuts. Take it away Brigit…

I love stitching but sometimes I just don’t have the time to pull out my sewing machine so I’ll create it in Silhouette Studio and do a print & cut.

For this project I used Lori’s Bracket Shaped card and the pinwheel from the Layered Shapes along with Lori’s Patriotic Picnic digital collection, which I love!!

First place your card on the mat and ungroup, fill the top layer with your digital paper.  Select all, go to Line Color and click none.

Select your top layer, go to the Offset Window, select Internal Offset and set your offset distance, I used .075.

Now the internal offset you just created should be selected, go to the Line Color and select the color you want for your stitching.

Next go to the Line Style Window, select your dash line and I like to change my line thickness to 1.25pt.  Check the Print Lines of Selected Shapes box.

This is important, with the stitching still selected go to the Cut Style Window and choose No Cut, you only want the stitching to print and to cut around the top layer piece.

After that’s complete I like to group the top and stitched layers together.

Here’s a closer look, I used the same steps on the pinwheel, you only need to do one of each color and duplicate to make it easier.  I added some stars to the blue to make it look like the American flag.

I loved the pinwheel so much I created a larger one on a barber straw and placed it in a glass jar.  I added some Stars and Stripes Trendy Twine and a couple of flower elements from the Patriotic Picnic collection.

I hope this tutorial has helped and you get to make some faux stitching on your projects too!!

One Dollar Wednesday at Jessica Sprague

One Dollar Wednesday at JessicaSprague.com!

Today only you can pick up a couple of digital kits for a steal…

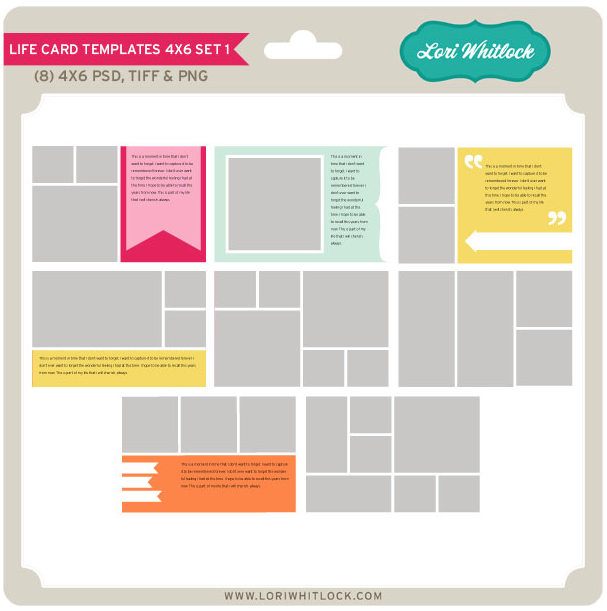
TODAY for JUST $1 you can grab the popular: Life Card Templates 4×6 Set 1

LIFE CARD TEMPLATES 4×6 Set 1

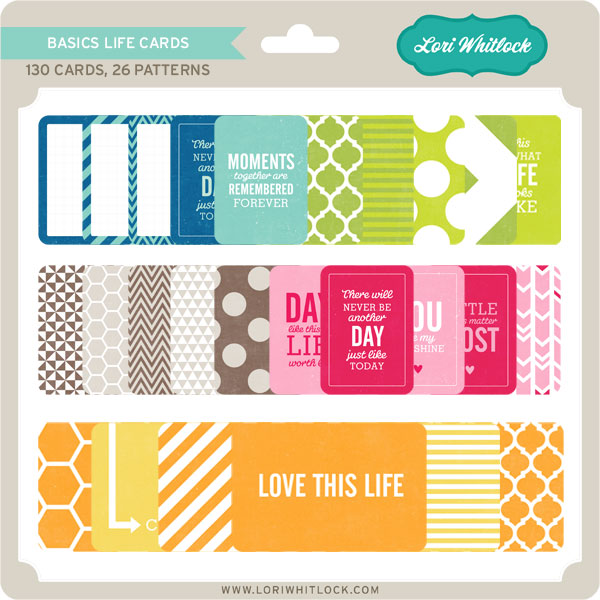
And, you can snag the following awesome product for HALF OFF, which makes it $5… Basics Life Cards

BASICS LIFE CARDS

With these two sets on such an awesome SALE it’s the perfect time to try a Project Life style layout or album. Also, these Basics cards coordinate beautifully with Lori’s Honey Edition of Project Life. While you are at jessicasprague.com, be sure to check out the samples made with these kits at the bottom of each listing.


Giveaway, Freebie + New SVG Shapes

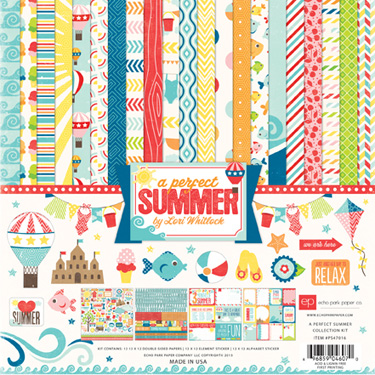
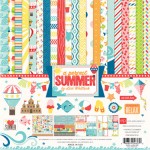
Do you follow the paper collections Lori designs for Echo Park? They are so so cute. Each release I think is my favorite, then she comes out with a new one and my favorite changes. Recently “A Perfect Summer” was released and Lori is hosting a GIVEAWAY! Three lucky people will be winning this collection. Are you one of them?

If you haven’t had a chance to enter be sure and enter below for your opportunity to win one of these beautiful collections. Winners will be announced on Thursday. Enter by Wednesday at midnight.
a Rafflecopter giveaway

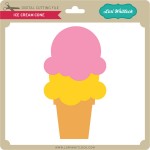
Also, TODAY ONLY, this ice cream cone SVG file is FREE. Just add coupon code: ICECREAM at checkout and the cost will be deducted from your purchase.

Here are some of Lori’s newest shapes added to the SVG shop and her Silhouette Portfolio! Thanks for stopping by… Lisa

Stationary Set by Traci and Centerpiece by Corri

Today we have some fabulous projects by Traci and Corri
Hi Lori fans!
I’m so excited to be on the blog today sharing a really fun, and pretty quick, project with you.  As many of you may know, I’m a mini album girl.  They are my all-time favorite project.  Despite my mini love, I also love giving fun gifts with cute packaging.  So today I decided to share my love of little gift notes.  A 3×3 gift note is the perfect little “accessory” to a perfectly wrapped present.  I make several at a time so that when I have a birthday, wedding, or new baby gift to wrap, I already have a cute little hand-made gift enclosure to go with it.
Here is some gift note inspiration for you — complete with Lori’s adorable 3×3 stationary box to keep the cards in until you need them.
I love all of Lori’s digital cutting files, so it’s never hard to find the perfect addition to any card or project.  For this one, my favorite part of each card are the sentiments.  Lori designed the “Happy Birthday”, “Thank You’ and “Hello” pieces with an adorable font and a great background piece.  The ability to cut a white background allowed each of my sentiments to “pop” off any pattern paper I layered it onto.  I also love the cupcake for this card…especially with the little heart cut out.
I have always been a fan of Echo Park…especially the paper and embellishments that Lori designs for them.  Most of the papers I’ve used in this card set are from the “My Girl” Collection.  For the card below, I added a fun little branch from the sticker sheet and set an adorable bird up on pop dots for dimension.
For the “Thank You” card, I found Lori’s mason jar cutting file
This design can be used for so many things — I cut the design and then added a flower sticker and brad from the “My Girl” collection and finished it off with a knot of twine.
For the 3×3 box, I cut the file and also created an “inset” shape for each side.  After adding the inset accent pieces, I cut one of Lori’s new 3D flower designs for the front.  The flower also serves as a little accent to tuck the tab behind so that the lid stays closed 🙂  So, so, cute!
Thanks so much for visiting today!  Please stop by my personal blog, Artsy Albums, to say hello!
Traci
Next we have this adorable center piece by Corri.
I have a fun project for you today that would be great for a Memorial Day or July 4th table decoration.
I cut Lori’s Octagon Flower Pot as sized in the file from some kraft card stock.
For the rim of the pot, I used the red wood grain paper from Echo Park’s “Perfect Summer” collection which Lori designed.
I cut 3 of the Spiral Stars (size reduced to 2.795″h) and 2 Spiral Flower 1 from some navy card stock and some pattern paper from the “Perfect Summer” collection.  I cut an extra base layer for each flower, then hot glued a wooden skewer to one of the base layers and mounted the assemble flower to that with foam dots.
To add some stability, put something with a little weight in the bottom of the flower pot.  I used a few tokens from Chuck E. Cheese!   I used some more hot glue to glue a 4″ foam ball in the pot and then arranged my flowers and covered with some paper shreds.
You could change up this cute project for all kinds of summer parties.  Add some graduation caps and 2013 on your sticks for a cute graduation party center piece. Corri

New at Jessica Sprague

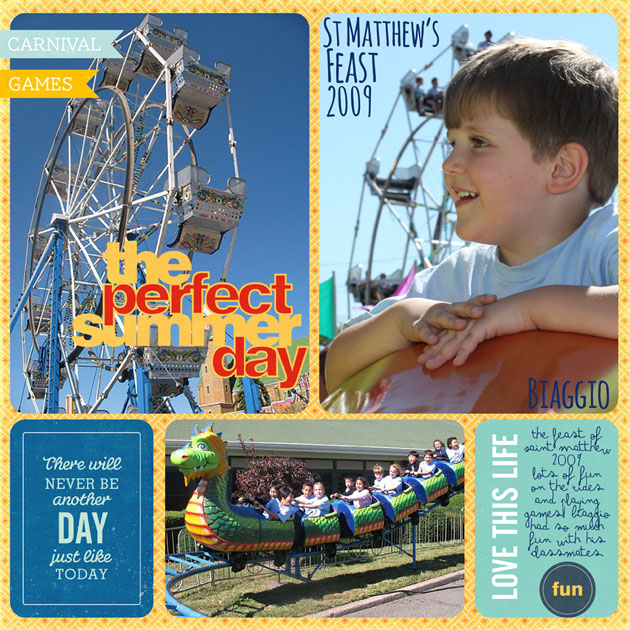
Debuting this weekend at JessicaSprague are 3 different kits you can grab for 25% off. That is a great deal! Get them for this price while you can! SALE ENDS SUNDAY!

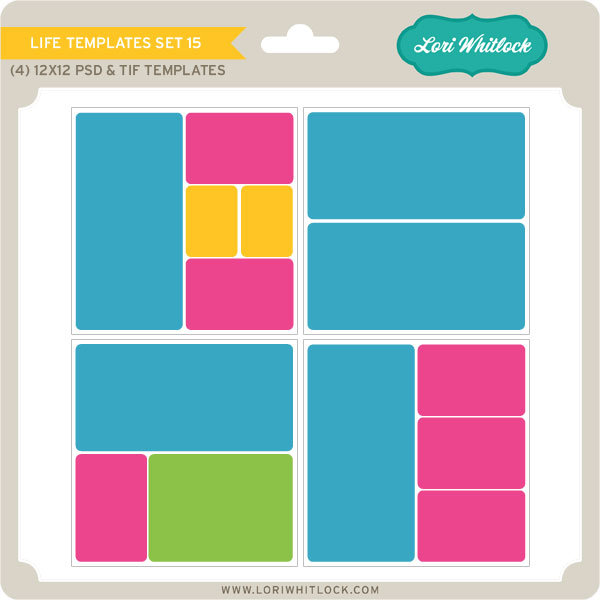
LIFE TEMPLATES SET 15

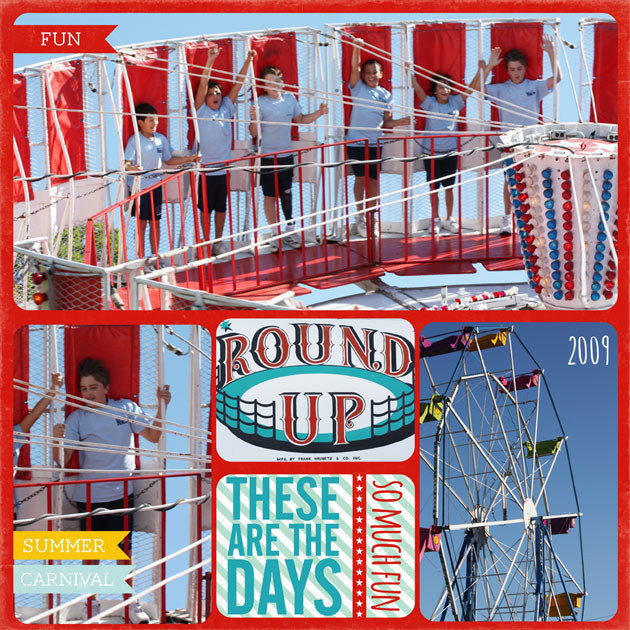
layout by Chrissy Guido

Lori Whitlock- Life Templates Set 16, Basic Life Cards, Basic Journal
Cards, Patriotic Elements,Lazy Summer Days

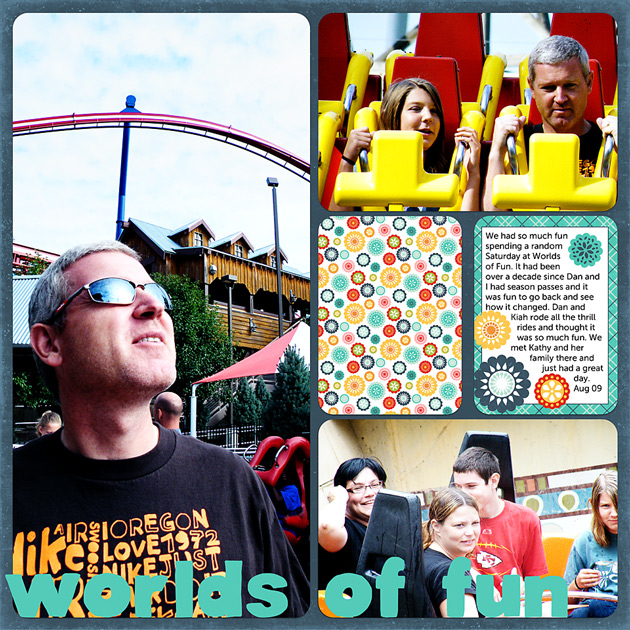
layout by Kim Lund

products: Life Templates Set 15 and Lazy Summer Days

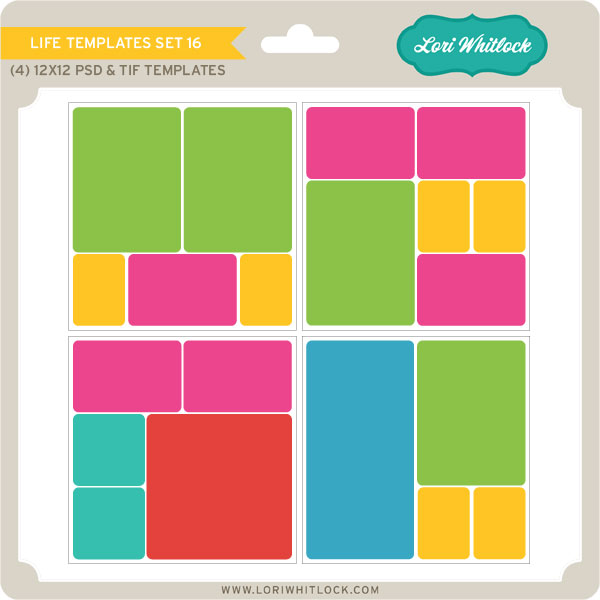
Life Templates Set 16

layout by Chrissy Guido

Lori Whitlock- Life Templates Set 16, Basic Life Cards, Basic Journal
Cards, Patriotic Elements,Lazy Summer Days

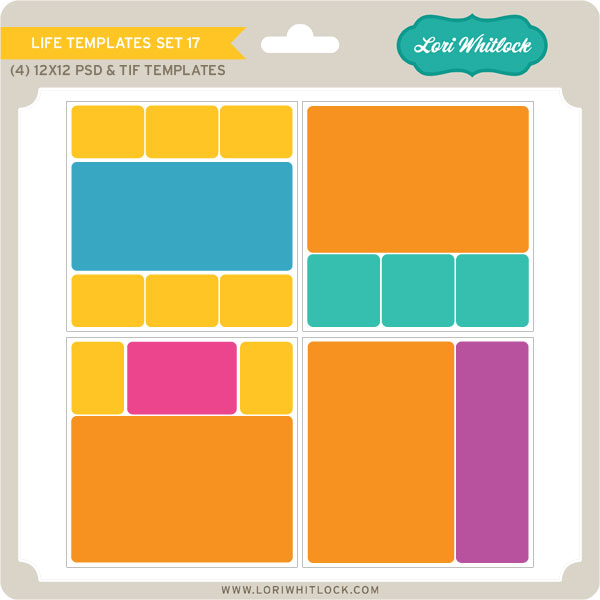
LIFE TEMPLATES SET 17

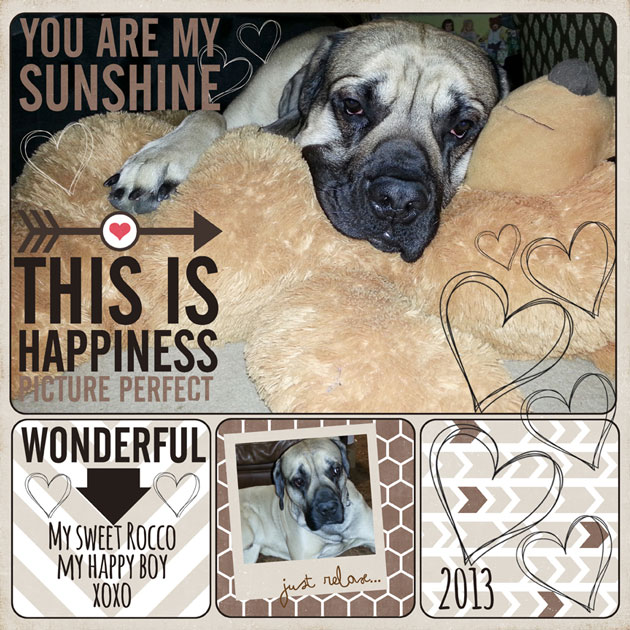
layout by Chrissy Guido

Lori Whitlock -Life Templates Set 17, Kraft Frames, Brown Basics,
Everyday Stamps,Celebration Stamps, and Sweet Memories Arrow