
Hello! Sue here to wish you a Happy Valentine’s Day!
For my tutorial today I am making several easy print and cut birthday cards from Lori’s fun birthday card bundles. I want to make them all!

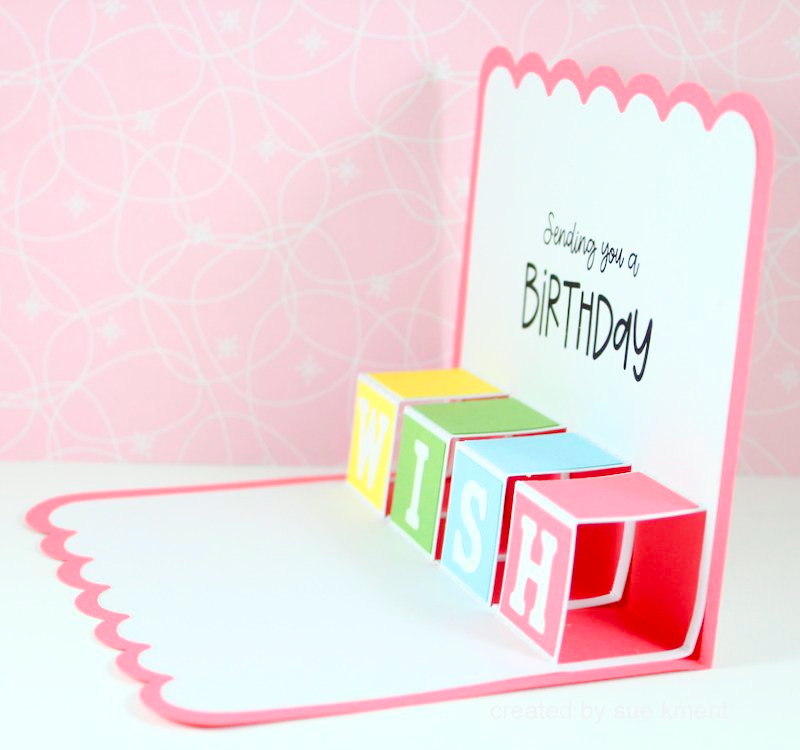
This really is a fun card!!!

Here you can see the front pieced element. I chose to cut an additional bottom layer to the packages in pink to make the presents pop more and give it a bit more reinforcement so I could add it to the front with an action wobbler . I used the Lori Whitlock’s Life is Beautiful 6×6 paper pad.

The inside piece is a print and cut. Fold it in half with the sentiment inside

This part is a bit tricky. Its a mountain/valley sort of thing LOL! What I did to make it real easy is to fold the center back the other way and then from the back pinch each section to crease them.

Here you can see how the insert looks when folded and ready to add to the card.

Glue one side of the insert inside, making sure you align those 5 small folds right at the cardbase fold line. Add glue to the second side and close the card onto the glued insert.
All glued and ready to go!

Both cards are part of the Fabulous Birthday Card Bundle.
You can see all the bundles on Lori’s site.
Here are a just few more to check out:
*********************************************************

This was a fun one!
I used Lori Whitlock A Slice of Summer papers for the balloons.
I have made several of these cuties. I cut on six/seven different 6×6 papers and cut ALL the balloons out of each color. Then I’m just playing mixy match for each cards.


Glue the balloons on the back of the print and cut and then flip and glue to the card base. It is very pretty to see in person, it has a nice dimension to it!
Great card! My grandkids love pop up type cards