Birthday Card Organizer

Hi crafty friends!

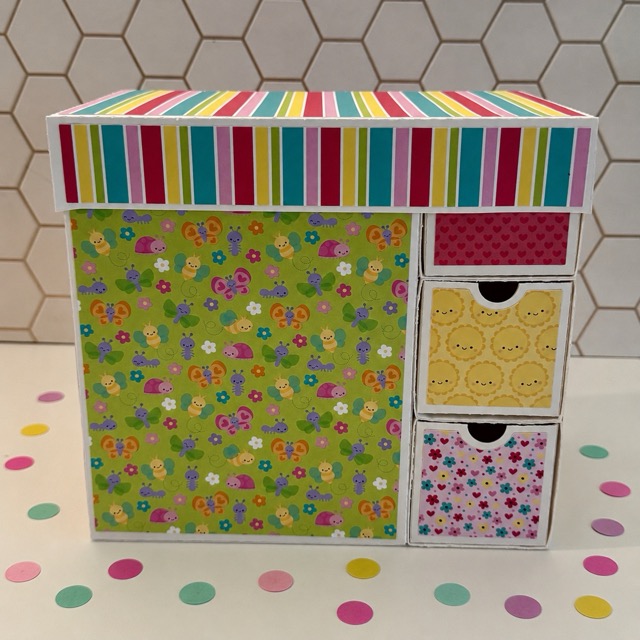
Today I wanted to share something a little different than a card project. Instead of making a card, I decided to create this super cute organizer, and honestly, I think every crafty desk deserves one!

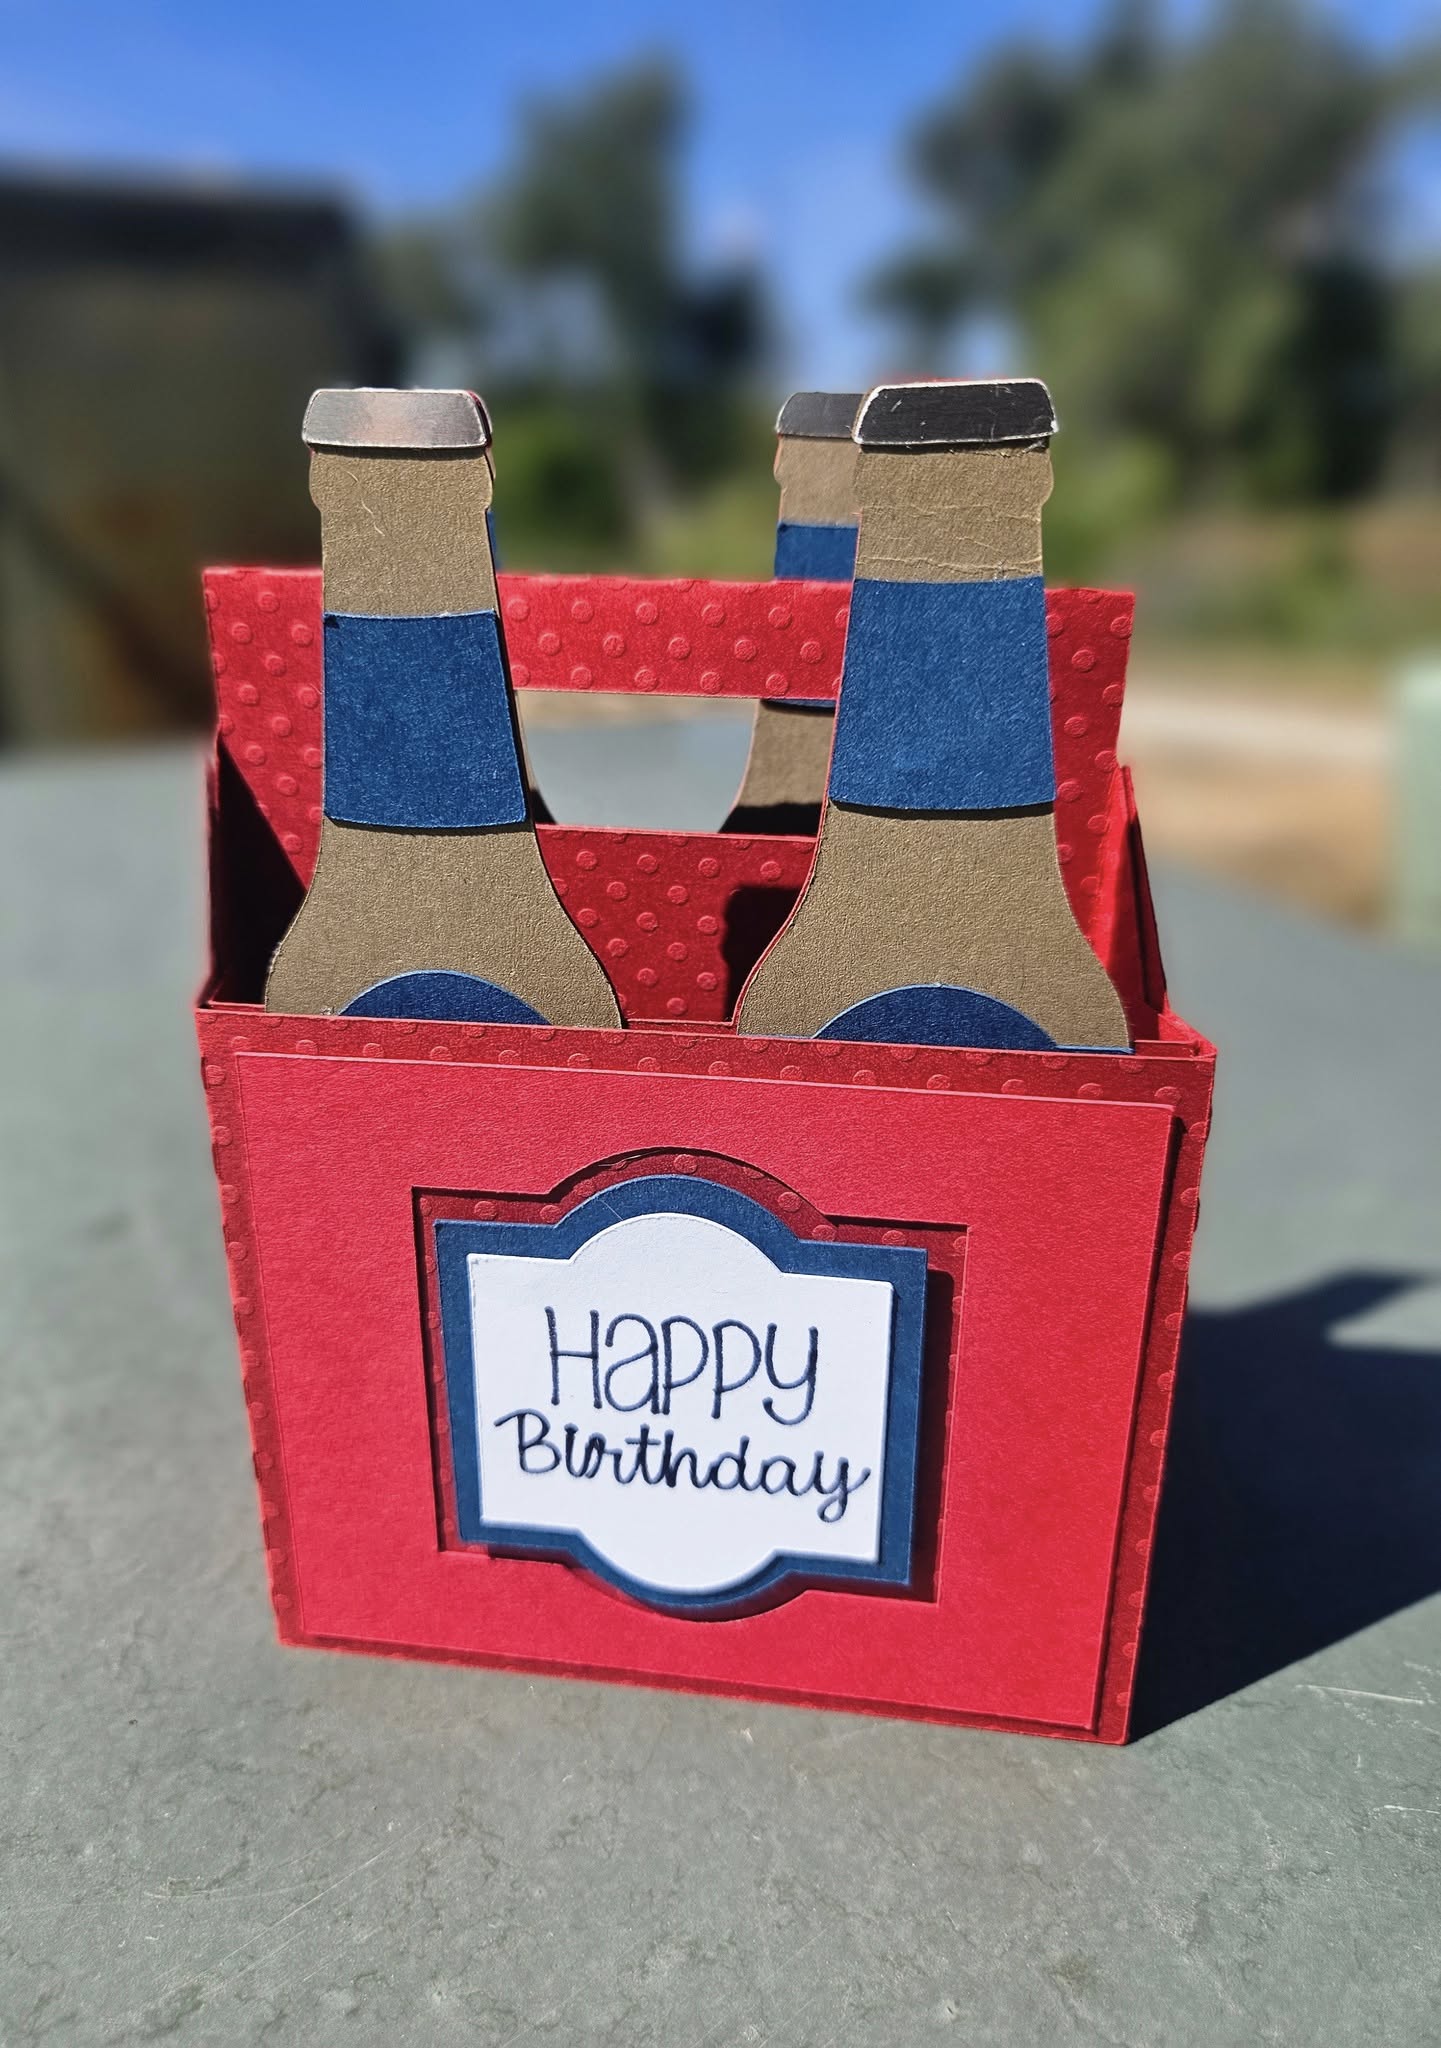
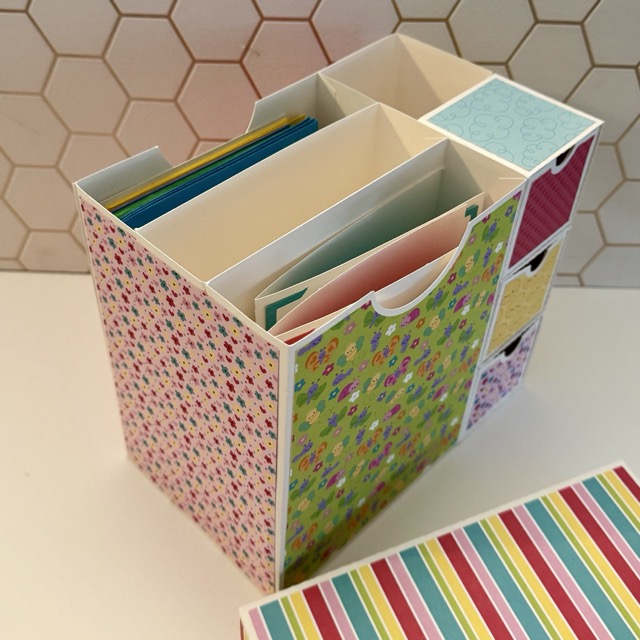
This sweet organizer is perfect for storing all your handmade cards safely in one place. You can keep your finished creations organized and ready to send, but it’s also wonderful for storing special mail and treasured cards you’ve received from loved ones. And yes…

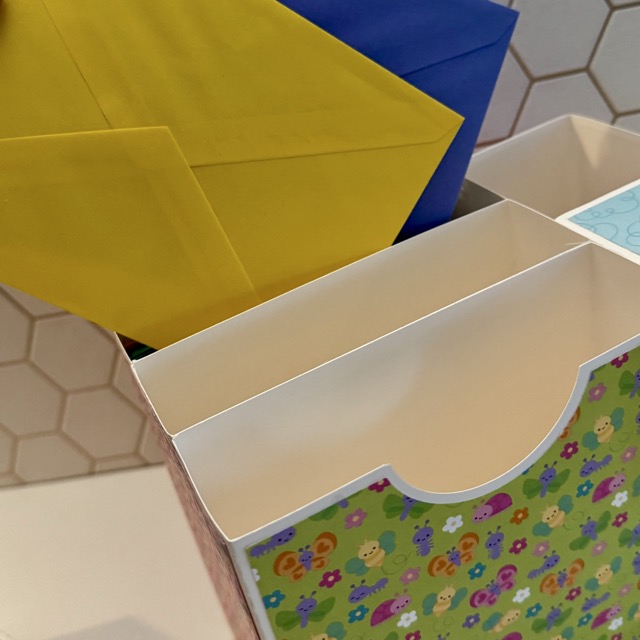
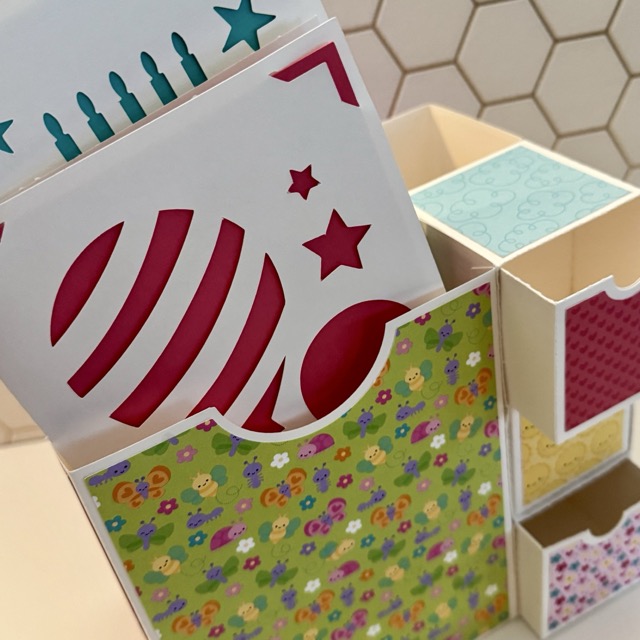
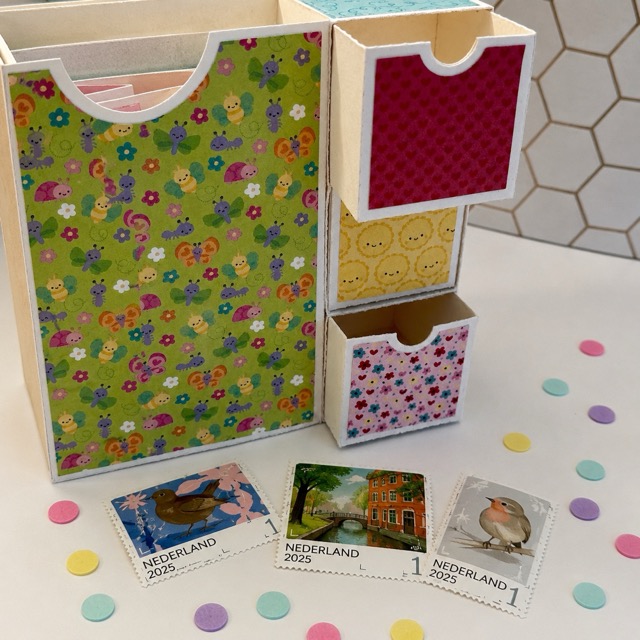
there’s even room for your envelopes, postage stamps, pens, and other crafty essentials. Or fill it with any little treasures you want to keep close by, because crafters know tiny pretty things somehow multiply overnight!

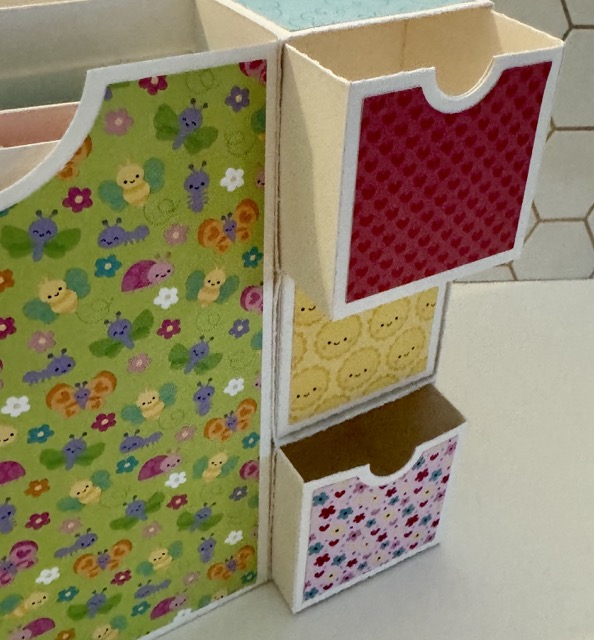
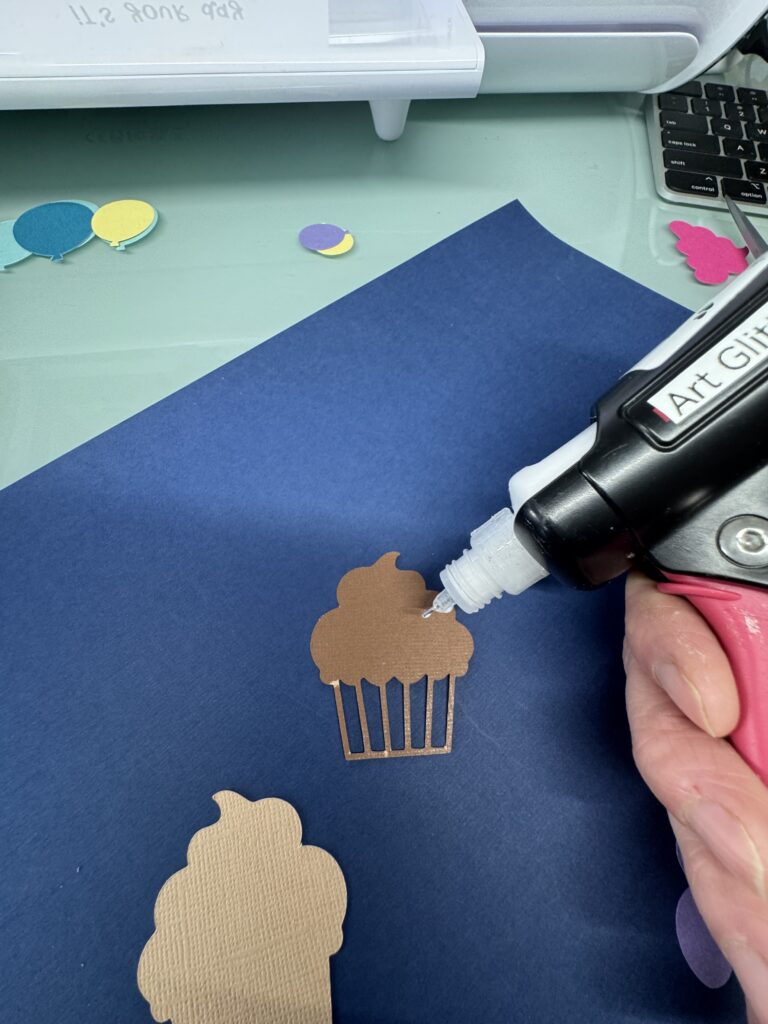
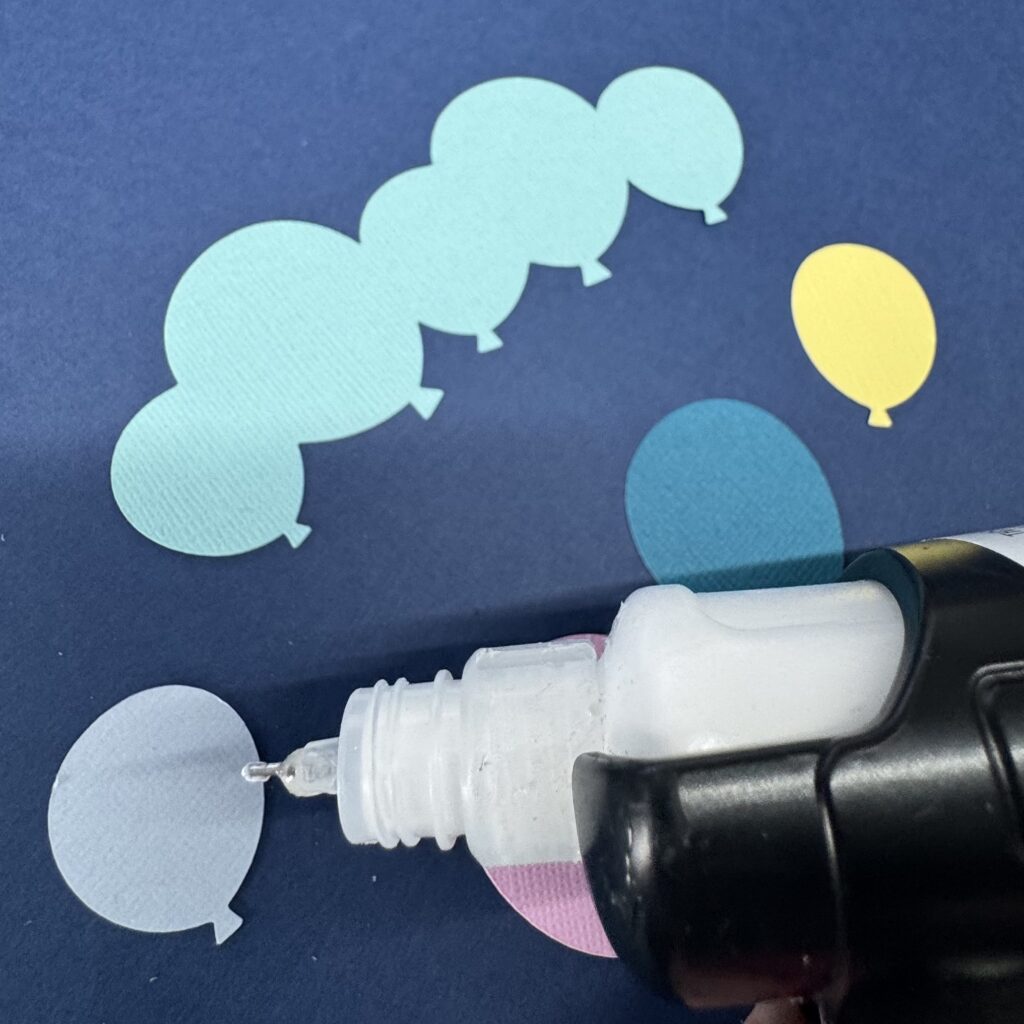
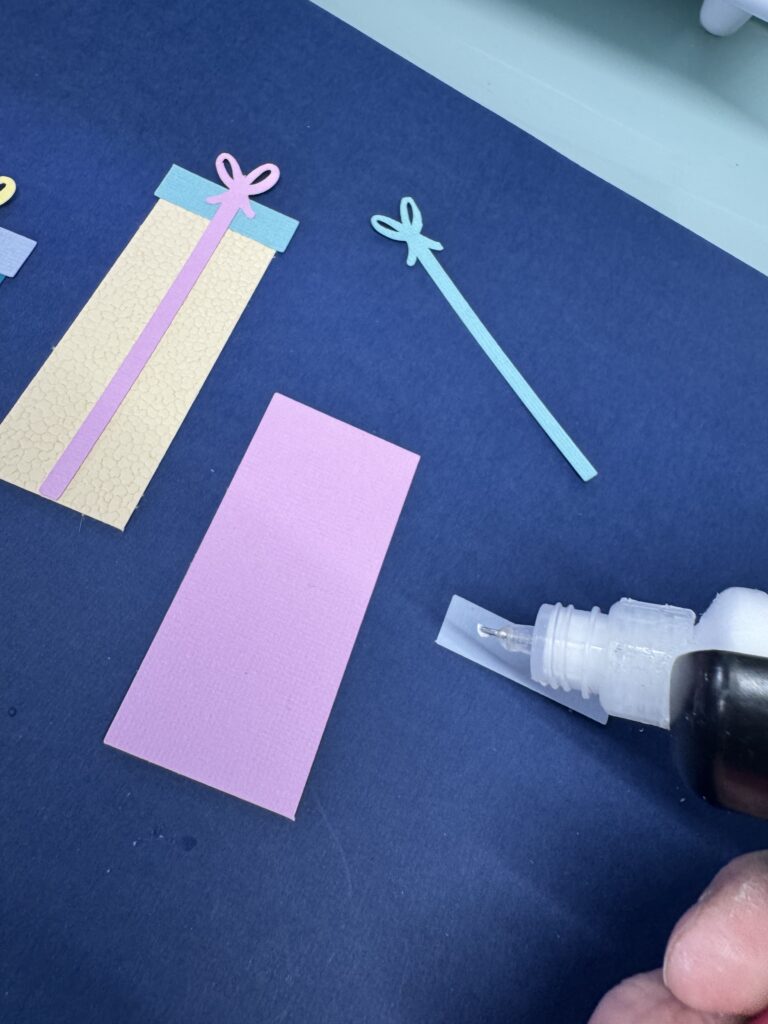
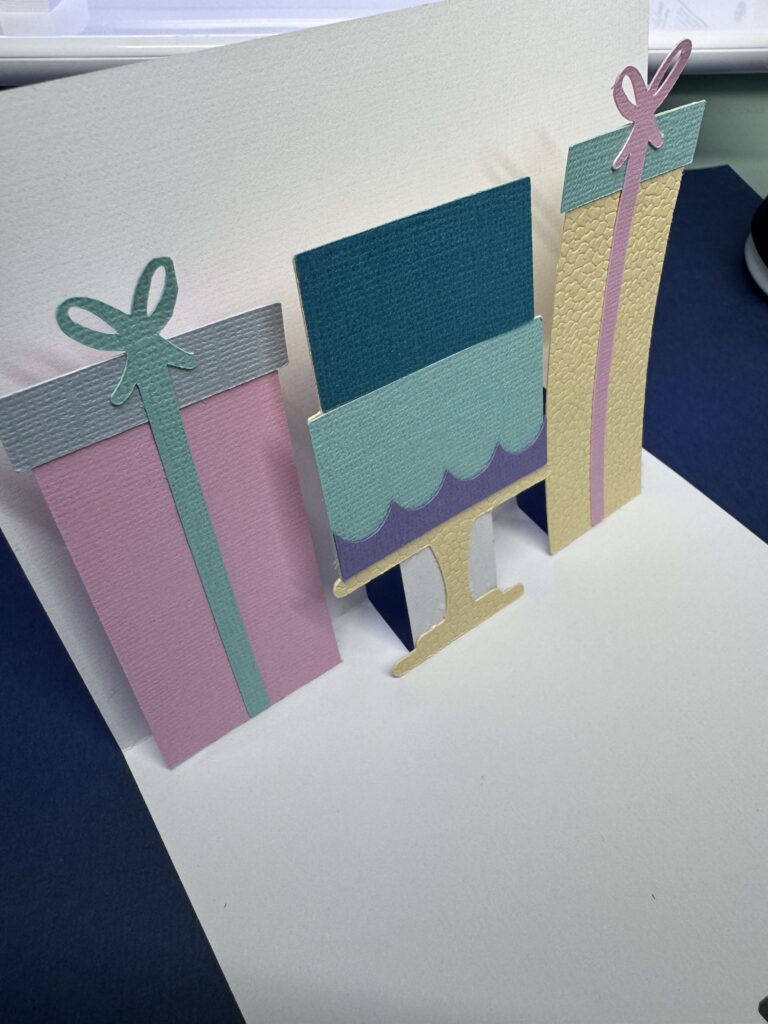
I decorated mine with bright cheerful papers to give it a happy, playful look that instantly makes me smile when I see it on my desk.

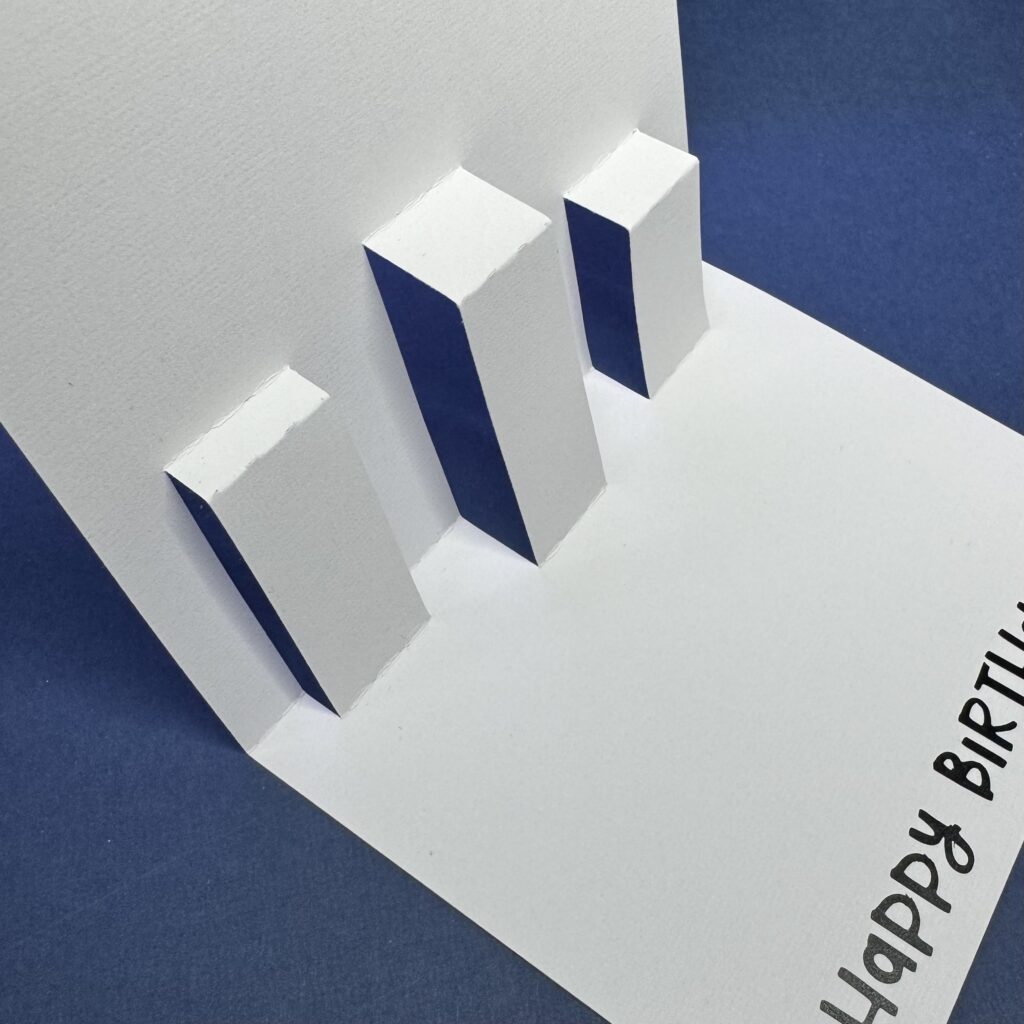
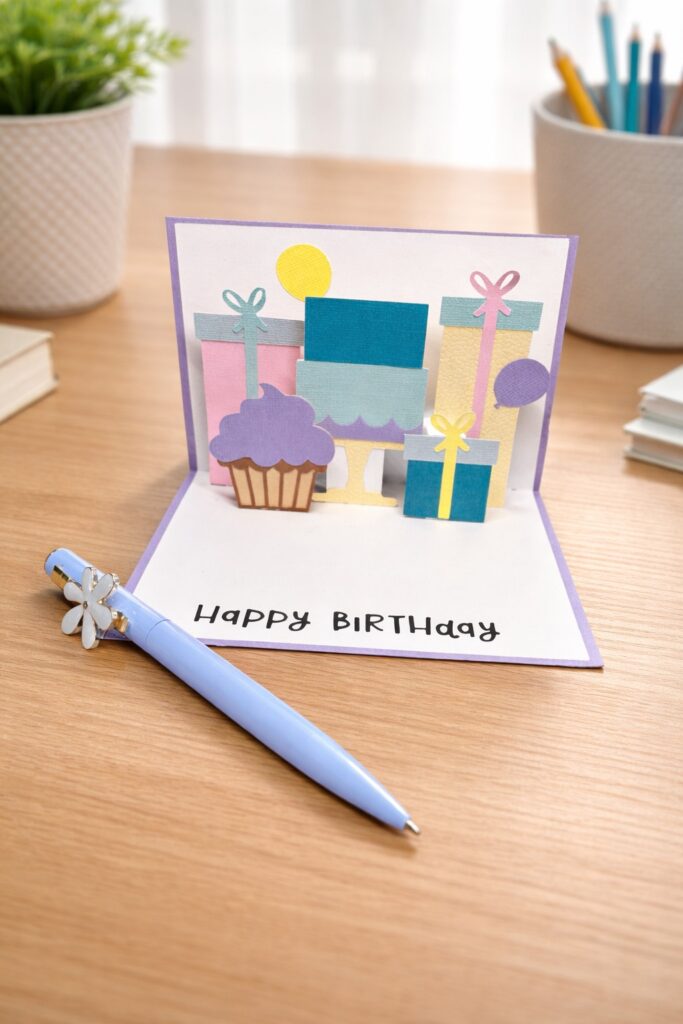
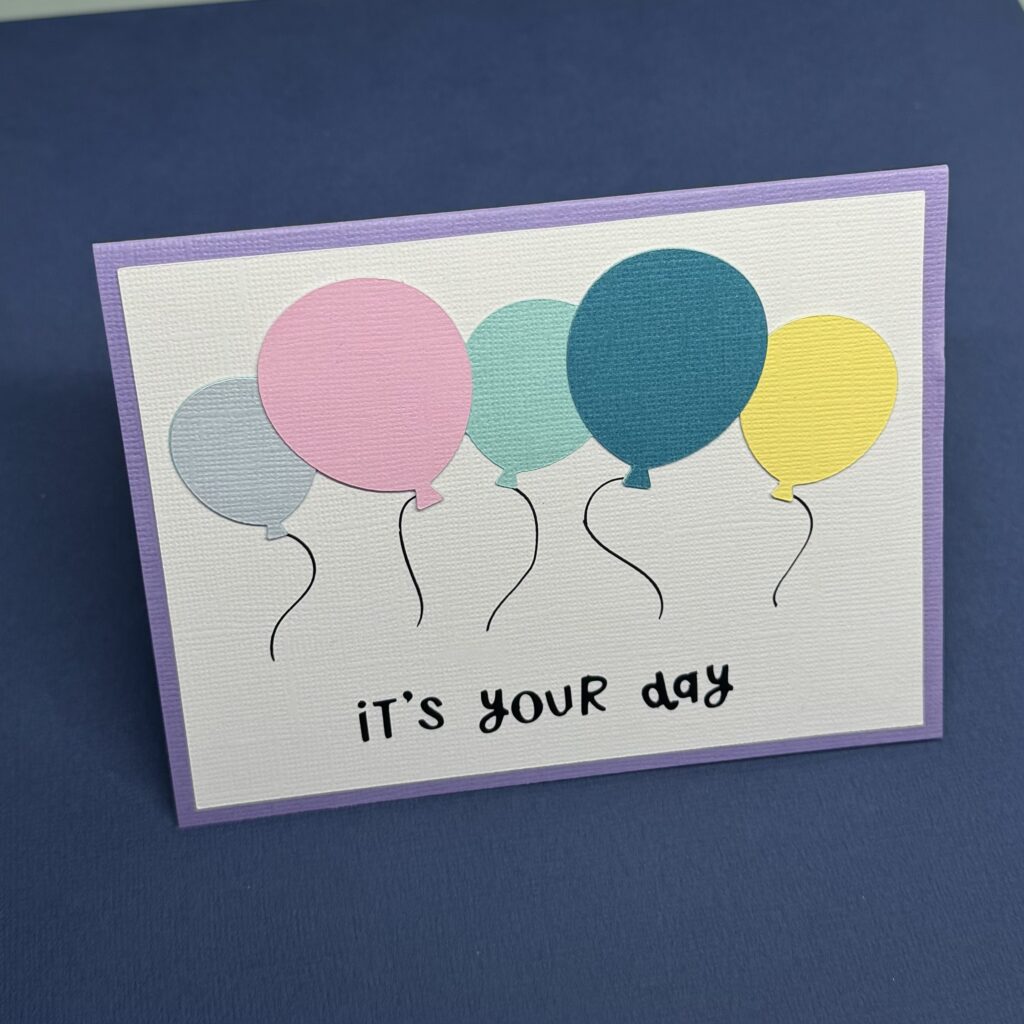
Oh and a great extra is that the file comes with insert cards as well! and even a Calendar!

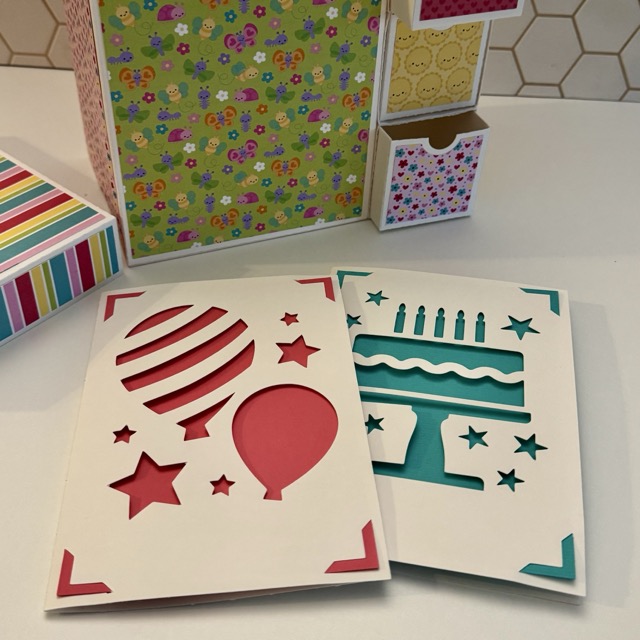
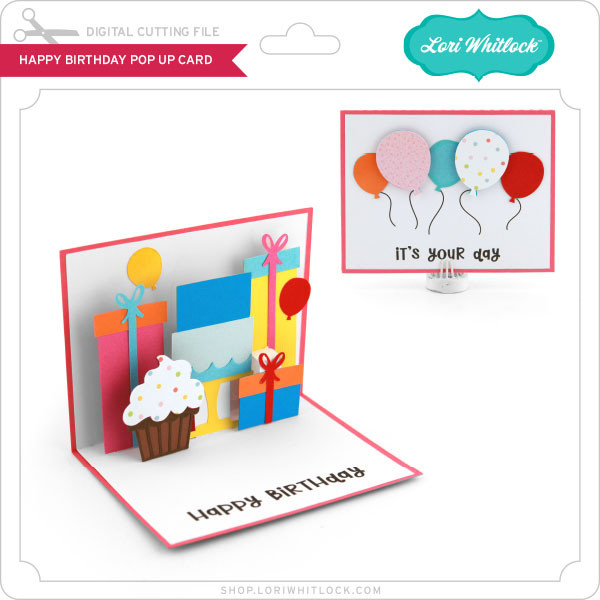
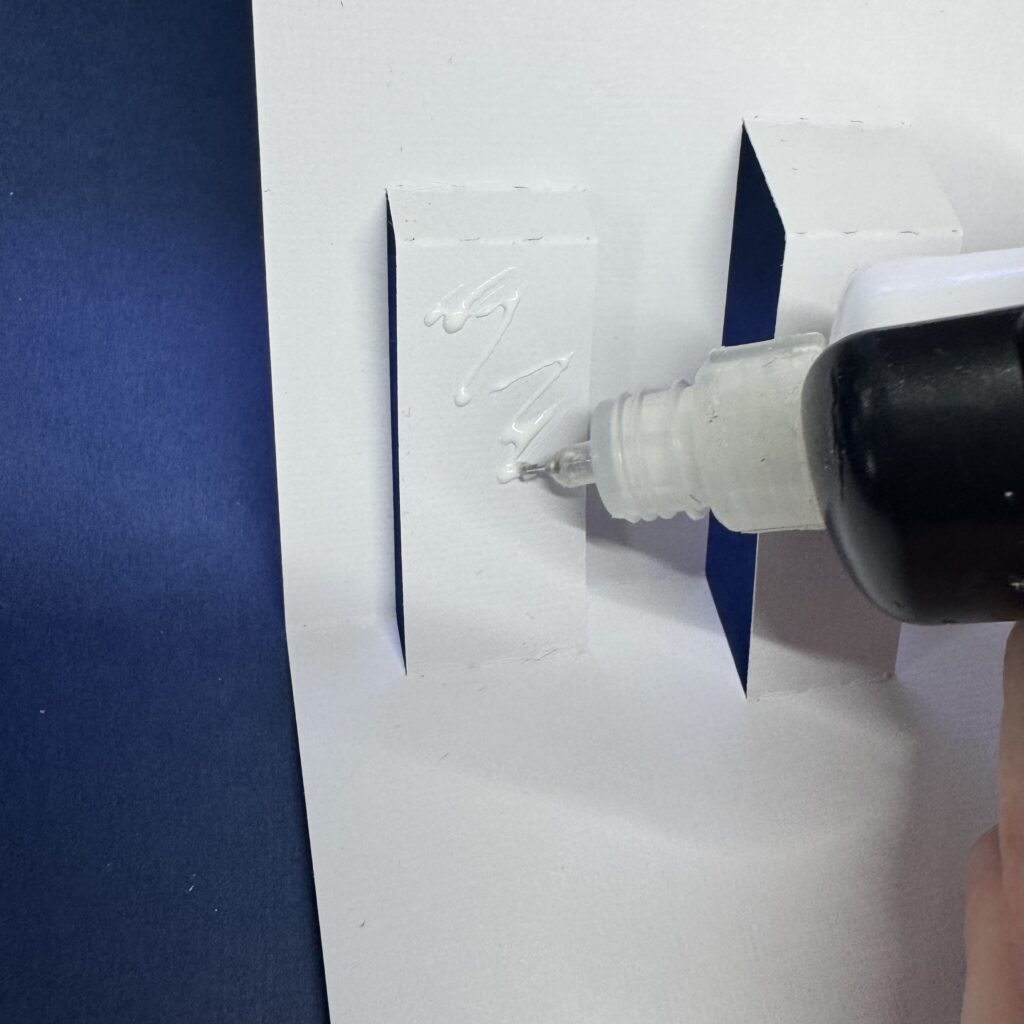
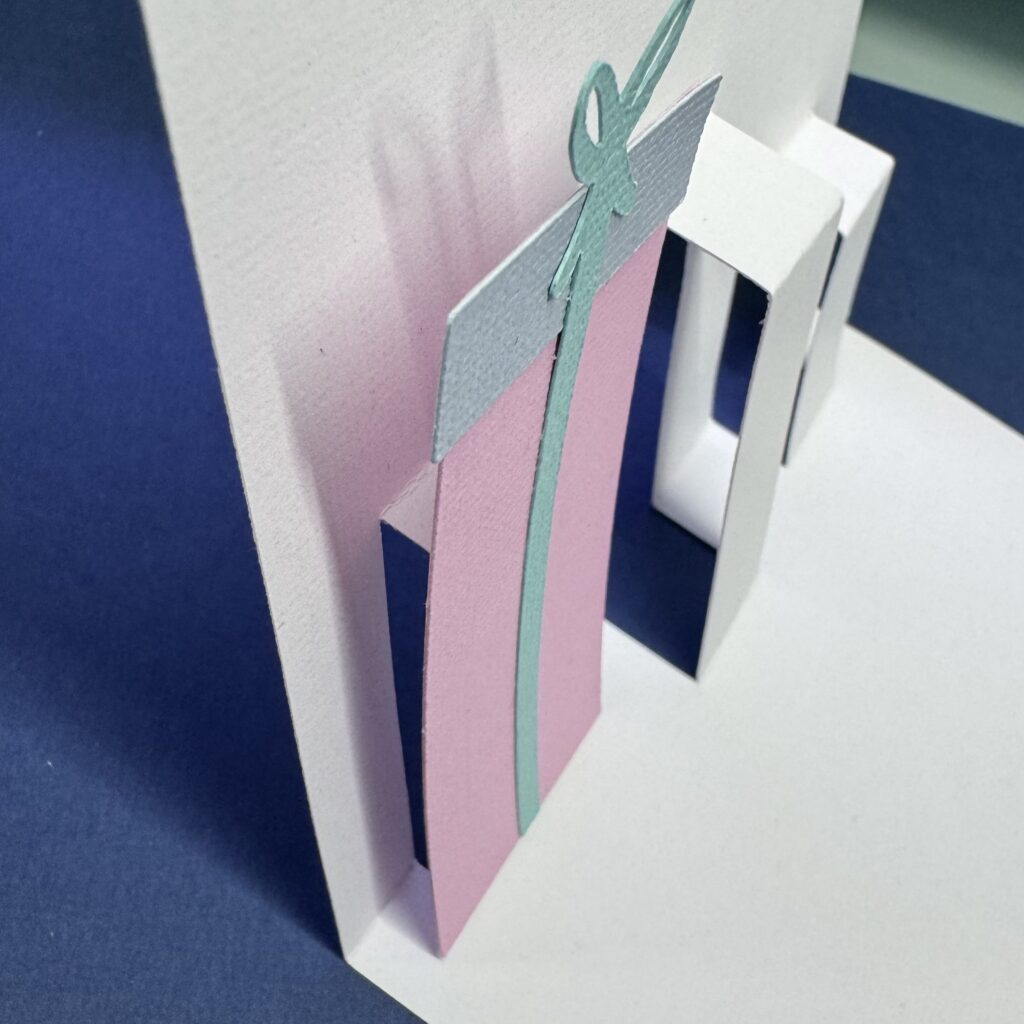
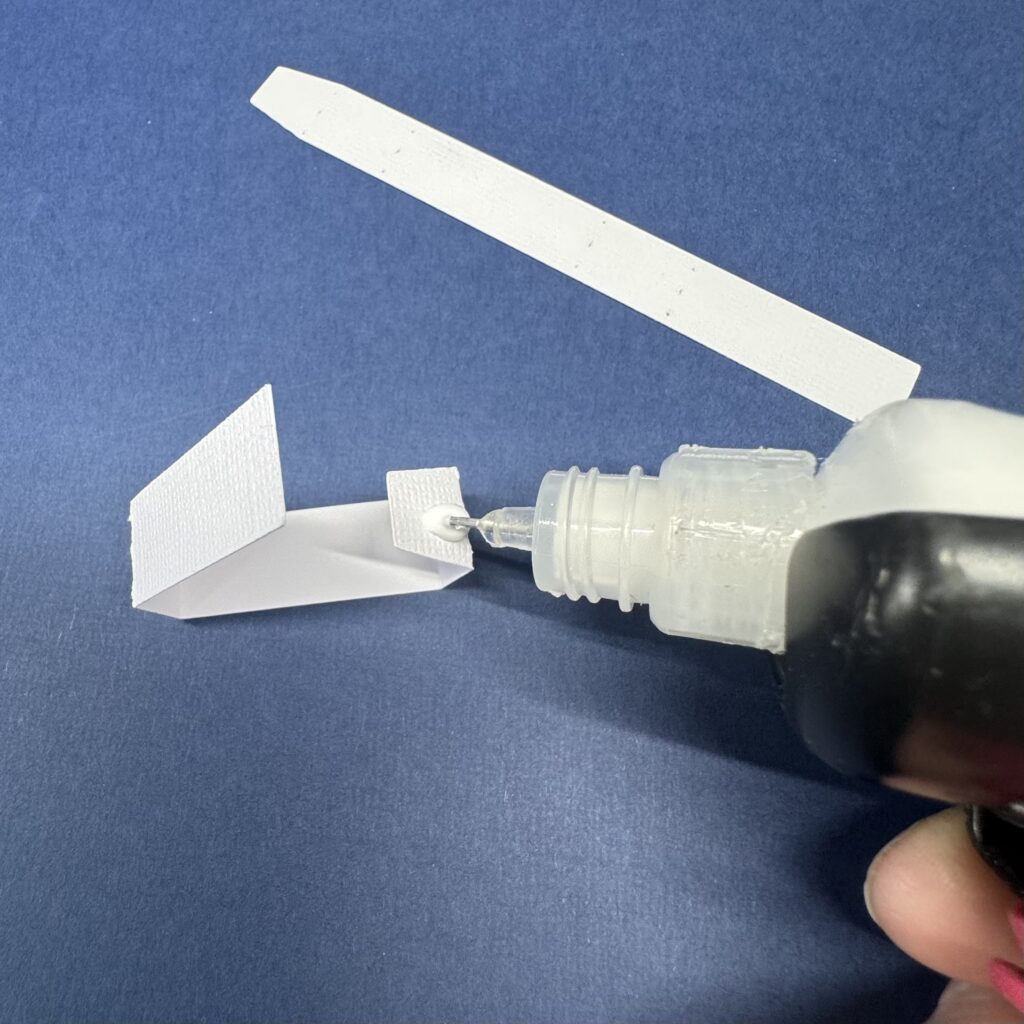
The cutting files for this project can be downloaded from Lori Whitlock’s shop HERE and they are such a joy to assemble. This project is both practical and beautiful — my favorite combination!

I hope I’ve inspired you to create one for yourself too. If you decide to make this organizer, I wish you lots of crafty fun and happy creating!

Happy crafting!
Tamara

Happy Birthday Pop Up Card Tutorial

Today I’m excited to share a fun birthday project I made using the “Happy Birthday Pop Up Card” file from Lori.


This card is perfect for surprising someone special because honestly, nothing beats receiving a handmade 3D card in the mail!

You can download the file here:

Step-by-Step Instructions

Step 1

Open the file in your cutting machine software.

Step 2

Cut all the elements using the correct colors of cardstock. I used 80 lb (216 gsm) cardstock for a sturdy result.

Step 3

Sort all the pieces that belong together so assembly becomes easier (see photo).

Step 4

Glue the cupcake together.

Step 5

Assemble and glue the balloons the right way.

Step 6

Glue the gift boxes together.

Now that everything is assembled, it’s time to put the card together!

Step 7

Fold the white card base as shown in the photo below.

Step 8

Apply glue to the first pop-up tab and attach the first gift.

Step 9

Add glue to tab 2 & 3 and attach the cake and second gift.

Step 10

Take the two white strips and glue them into squares,

Step 11

Now apply glue to the long side of each. Attach the cupcake to the wider piece and the smallest gift to the other one,

Step 12

Apply glue to the bottom of the white block with the gift and attach it to the right side of the card, slightly in front of the right gift.

Step 13

Glue the bottom of the white square behind the cupcake and attach it to the left side of the card, halfway next to the left gift.

Step 14

Attach the balloons to the white card panel with the black strings and the text “It’s your day”.

Step 15

Glue the pop-up card into the folded base card as shown in the photo.

Step 16

Attach the white panel with the balloons to the front of the card.

I hope you love this card as much as I do! The 3D effect really makes it feel like a little celebration in an envelope!

Happy crafting!

XO Tamara

Happy Birthday! 5×7 Happy Birthday Card

Welcome to our Thursday tutorial post!

5×7 Happy Birthday Card (SVG, Silhouette)
 
This card is also included in Lori’s Birthday Bash Bundle.


This wonderful card caught my attention the very first time I saw it! I loved the colors and thought the design was outstanding!  

I cut out this design, leaving the tiny cut out pieces on my sticky mat. I couldn’t just throw away all the fun cut out pieces so I made a second card out of the “scraps”. All I had to do was cut double  balloons and added a few extra leaves and flowers and cut two white card bases. I always cut multiples of little pieces anyway-I somehow manage to drop a few! It was tedious with all those little pieces, but I was sitting watching my latest Netflix obsession so I was doing double duty!

This is the back side of the card top . Most of the colors are glued onto the backside.
You have to set the top piece on top of the center piece to see the placement of the center of the letters.
All three layers are ready to glue together and the card is complete!
Here is the 2nd card I made with the left over bits and pieces.
 
Here is the sentiment that I saved with the accent paper pieces glued on. I set them aside for card #2. You have to make the white card first because you need the top piece for placing each letter.
I saved all the little do-dahs and glued them on to the white card base, using the dark piece as the guide for placement.  I added all the dots and balloons, flowers etc with my pick-me-up tool as well as my paper piercer and little mat scraper. I love getting double duty from one cut file! 

I hope you enjoyed these cute cards.

💕Sue Kment

Bone-A-Fide Birthday Bash Box

 I have a fun little project to share with you today, Birthday Explosion Box to celebrate my Cash’s Birthday.  I’ll get photos printed this week and add them to the tags in the box.  Lori has a brand new Party Animal Collection from Echo Park.  This is such a sweet line for Birthday’s of our precious pups.  Perfect colors and the cutest embellishments.

You can find the file here in Lori’s Shop and here in The Silhouette Design Store.  It is a really easy project to put together and it has WOW results.


Here is the Birthday Boy! He turned 5 just a few days ago.


We celebrated with a walk and a hamburger!


So I’ll walk you through a quick tutorial.  First, start by cutting out all your pieces and ink all the edges.
Next, fold your box shape and the score lines.
Easy peasy, put the lid of the box together.
Fold and glue your library pockets. There are four!
Add eyelets if you wish to your tags.
Then simply adhere the pockets with the tags to the inside of your box.


Now for the cake.  I used liquid glue to adhere these.  This little cake is a box, so you could add little trinkets or a little gift for the recipient. I’m not sure what I will put in there for Cash.
Make both the top and bottom pieces the same way.  Fold all the little tabs inward and adhere the ends together, as shown in step two.  There are two circles for each box, on the brown piece, one fits in the inside and the other on the bottom.  This makes a nice clean finish for the bottom of the cake.
Do exactly the same with the lid.  Lori’s file has a sweet little candle but I love to use embellishments from the line on my projects, so I picked a couple of candle stickers and placed them back to back.
Now adhere the box in the center of the box or you could just add it and your recipient can take it out.
That’s it, now fold up your box and put the lid on.
Of course, this is where the fun really begins.  You get to embellish and make it your own!


I love this so much!


And this sweet little tag…sit, stay and CELEBRATE!


Thanks for joining us today and I hope you check all of Lori’s Explosion Boxes!


Box Card Bottles Father’s Day with a Twist

Hello everyone! Today I’m showing you a Father’s Day card I turned into a birthday day card. I used this file, SVG or Silhouette.

I edited the text box to accommodate what I needed the card for, a birthday.

I used some dot cardstock from Bazzill and some metallic cardstock on the bottle caps.

I love these little box cards. They’re always so easy to assemble and the recipients always love them.

Thanks for stopping by and happy crafting!

Chelsea