Pop Up Box Card Reindeer Tree Presents

A Festive Pop-Up Box Card for Christmas Cheer!

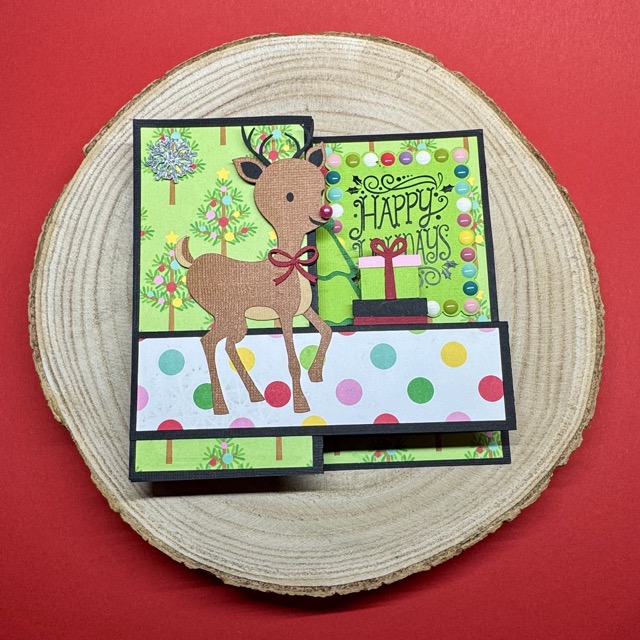
This time, I had so much fun creating a really special pop-up box card featuring a sweet reindeer. It’s one of those projects that instantly makes you smile while crafting — and it’s absolutely perfect for Christmas.

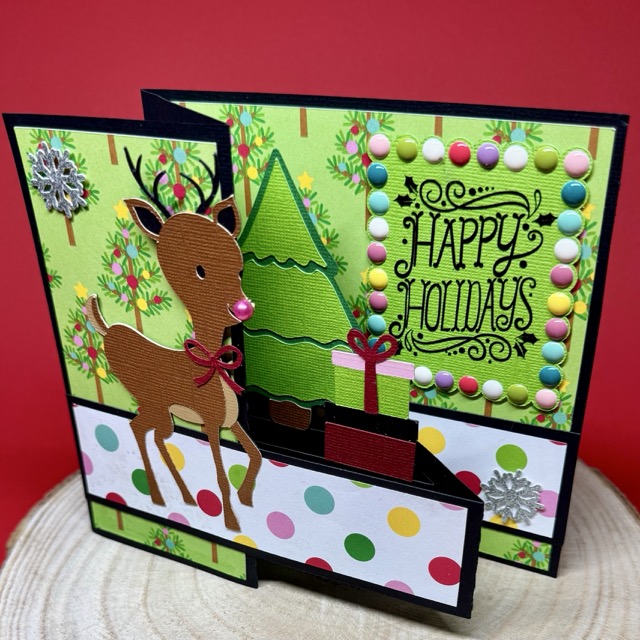
Let’s be honest: nothing is more fun than receiving real mail during the holidays. A handmade card popping out of the envelope feels extra special and is such a lovely way to surprise your loved ones at Christmas. This pop-up box card stands up beautifully, making it a little gift all on its own.


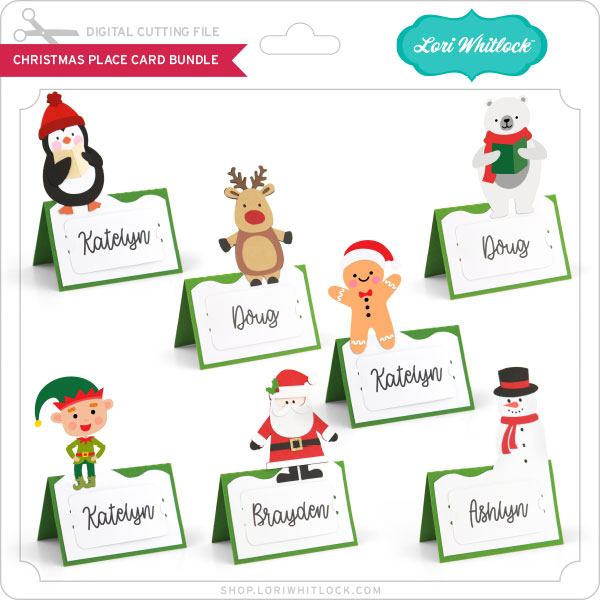
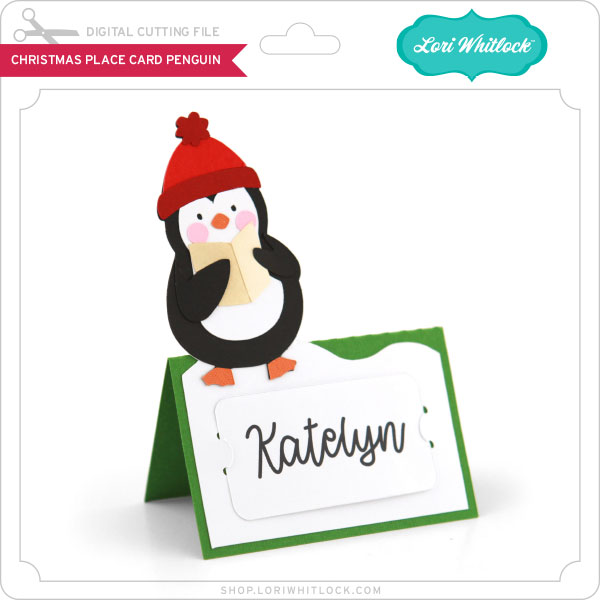
You can purchase this card file individually, or as a bundle that includes three different card designs, directly from Lori’s shop:

To add a bit of extra magic, I gave my card a mini sparkle effect by cutting snowflakes from glitter cardstock. That subtle shimmer really brings the wintery feel to life and makes the card feel even more festive.
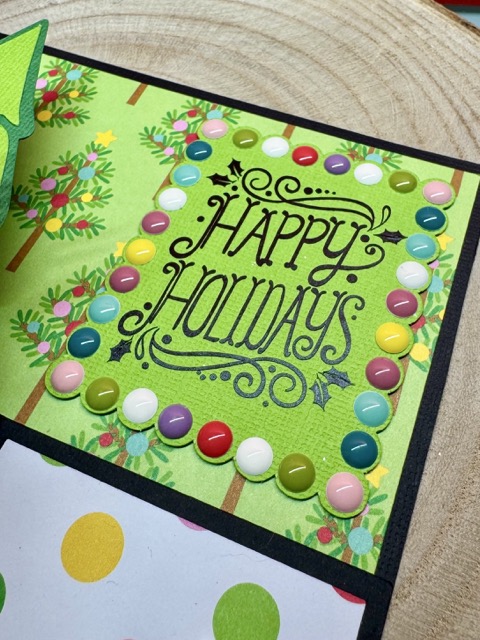
And of course, I used some cute and colorful design paper, and the sentiment is cut out of black vinyl

I hope this project inspires you to send some happy mail this season.
Lori’s shop is full of great Christmas card files.

Wishing everyone a beautiful and creative holiday season throughout December — enjoy the magic of Christmas crafting!

XO Tamara

Candy Holder Christmas Ornament

Hi there friends! Today I am sharing an assembly tutorial for the new Candy Holder Christmas Ornament Santa (SVG, Silhouette). This ornament comes in several different styles as well. You can find the bundle here. I used the Lindt Lindor chocolate and found that a heavier (85lb) cardstock worked better than a lighter (60lb) one. But these are definitely a great scrap buster project. These cuties would look great tied to a gift as well as hanging on a tree.

After I cut everything out I decided to discard the round cheeks for some pink chalk that I applied with a paint brush. I then assembled the faces of my characters. The front of the Santa also has a belt, a white ruffle for the hat, an additional cover for the top of the hanger and a white ruffle for the bottom of his jacket.

With the front of the characters done I folded the score line into mountain folds. Before tucking the candy into the belly of the ornament, I used some glue dots to secure the wrapper onto the back of the candy. I then added glue to just the top of the inside of the ornament. Creating a little A-Frame shape with the ornament. The chocolate then slides right into the belly of the ornament.

I added a sticker and tied some bakers twine to the top.

These are a cute fun project. Thanks for stopping by today!
Brandie

December Creative Team Blog Hop

It’s hard to believe December is already here! This magical month is filled with festive creativity, and our Creative Team has outdone themselves once again. From holiday décor to handmade gifts, they’ve put together a wonderful collection of projects to inspire your seasonal crafting. Be sure to hop along to each blog and see what everyone has created — you’re sure to find something you’ll want to make next!

Lori Whitlock <<<(you are here)

🎄 December Deals Are Here! 🎄

From December 9–13, enjoy 30% OFF all digital files at Lori’s SVG Shop — including commercial licenses! Use code DEC2025 (case-sensitive) at checkout and treat yourself to fresh designs for your Christmas, winter, and New Year projects.  SHOP HERE.

As a thank-you for hopping along with us, we’ve got something special to share. For today only, you can download the Flat Christmas Box SVG file absolutely FREE! Just add it to your cart and complete checkout—no codes, no catches, just a fun little treat from us to you.

🎉 New This Week! Christmas Place Card Bundle SVGs 🎄

Add a festive touch to your holiday celebrations with Lori Whitlock’s brand-new Christmas Place Card Bundle! This adorable set features a penguin, reindeer, gingerbread man, polar bear, elf, Santa, and snowman — each sitting above a customizable name card.

These designs cut and assemble beautifully with your cutting machine and are perfect for Christmas dinner tables, classroom parties, church events, and more. Personalize each one with names or sweet holiday messages to make your gathering feel extra special.

They’re also great for other holiday uses — label your Christmas stockings, or even mark each child’s “Santa gift pile” for Christmas morning.

Cute, versatile, and fun to make, these festive place cards are a charming addition to all your holiday projects!

Also, don’t miss the charming Christmas House Lantern Ornaments from Quietfire. These tiny, glowing houses make the perfect festive touch for your tree or mantel!

***CLICK HERE TO GO TO THE SHOP***

How about a giveaway? You’re in luck! Enter our giveaway below, and we’ll announce the winner on the entry form right here on this blog post. Keep an eye on your inbox—you might be the lucky winner!

Be sure to visit the CT member blogs listed at the top of this post! Thanks so much for stopping by. Wishing you a wonderful day and a lovely holiday season!

~Lori

Christmas House Card Inspiration

Lori Whitlock December Inspiration
Today on the Lori Whitlock blog I am sharing this fun Christmas House Creation. I have always loved this file!
 
 I added a little Santa and Sleigh ‘up on the rooftop’ for a bit of fun. I also cut extra elements from the front pieces to add a bit of interest on the inside of the card.  There was one reindeer that did not fit on the rooftop so he got to come inside and eat all the carrots waiting for the other reindeer! Hope he shared LOL!
 
 
Christmas House Card
 
Christmas Santa Reindeer Sleigh
 Hope you enjoyed this fun little holiday house! 
 
💕Sue Kment

Tuck Lid Gift Box Santa Claus and Mrs Claus Tutorial

Hello crafty friends!
 
 Today I am making Lori’s Tuck Lid Gift Box.  You can find the bundle (or singles) at Lori’s store HERE. It also includes a cute reindeer, a snowman, a penguin and a fun little gnome. 
 
You can find them at the Silhouette store HERE as well. 
Here are the pieces of Mrs. Claus. For the Mrs. you place the face on top of the white piece, for Santa the face is placed behind the white beard/hat piece. 
Here are the finished front panels of the Mr. & Mrs.
Time to put together the box now. After folding all the creases in the box, add a bit glue to the side tab and then fold the box in half. It lines up perfectly!
Fold over the bottom tabs and glue to finish the box. Leave to top panel free so you can open and close the gift box.
Glue the front panels on to the box.
 
If you are looking for a fast project for some holiday gifties, I would suggest trying these out!
 
💕Sue Kment