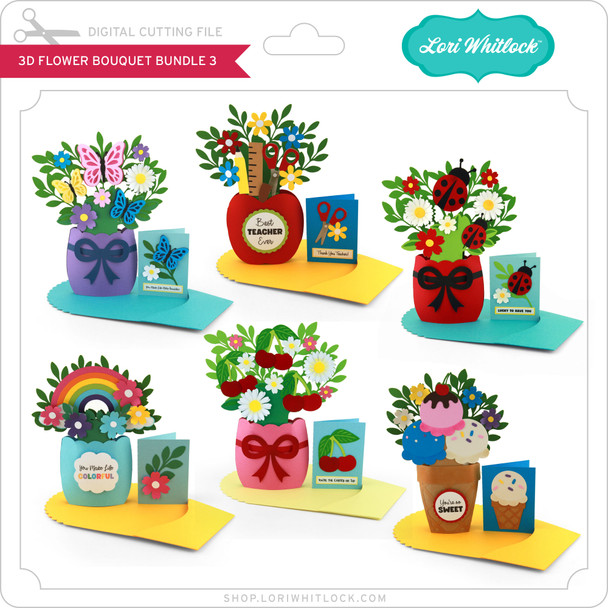
Hello crafty friends, Noelene here today to share another card from the gorgeous 3D Flowers Bouquet 3 release from Lori Whitlock called 3D Rainbow Bouquet (SVG), (Silhouette).
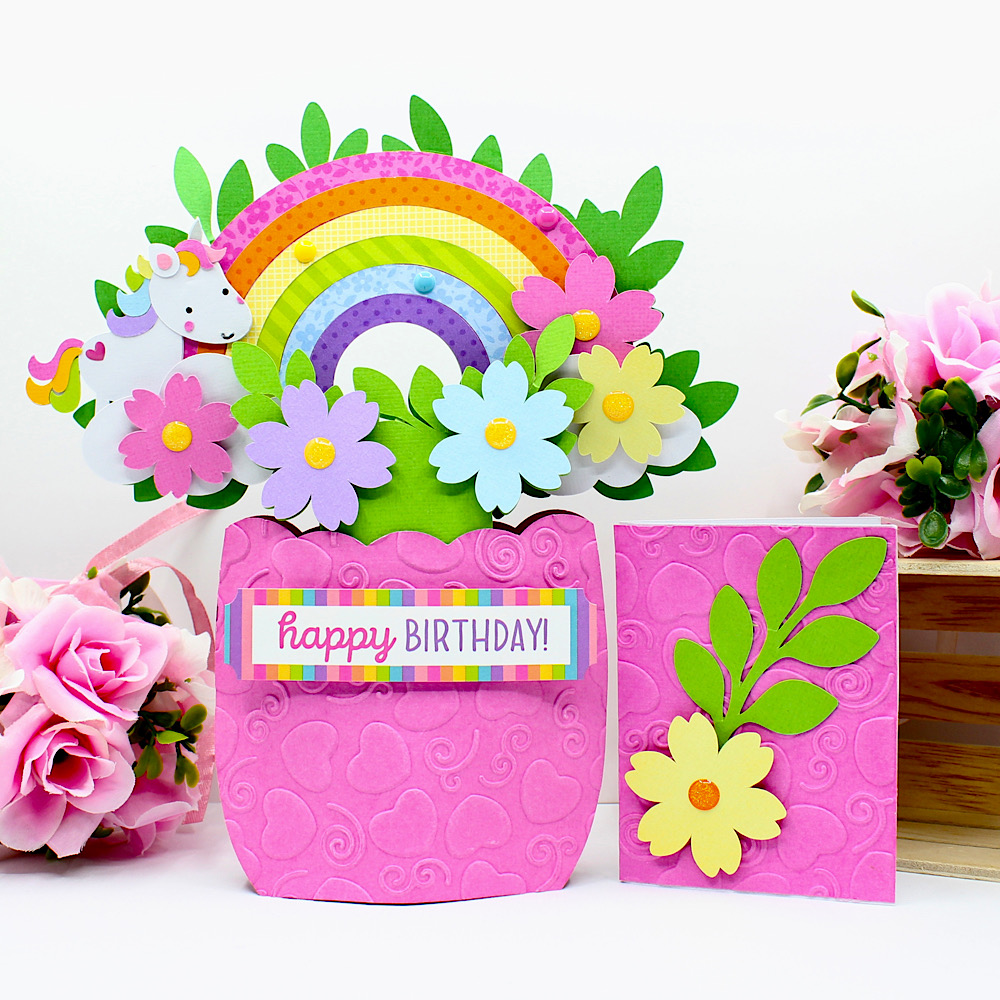
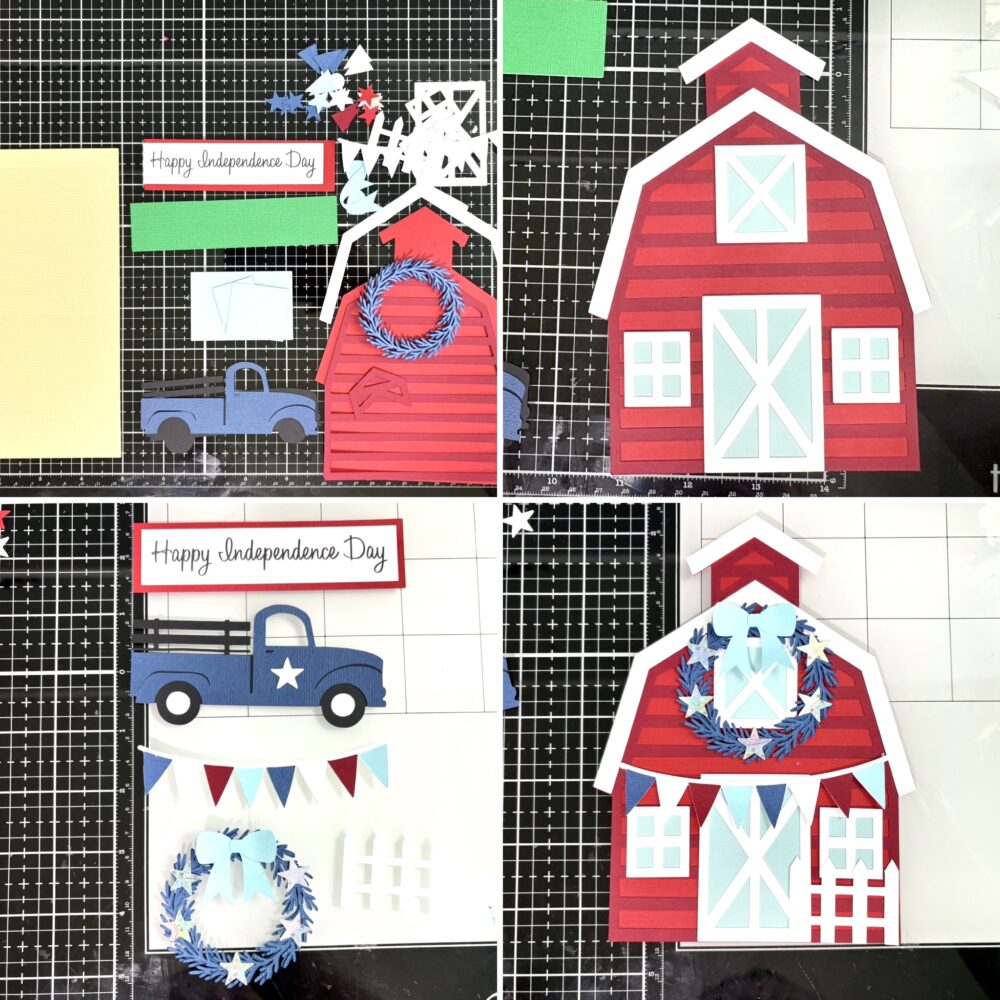
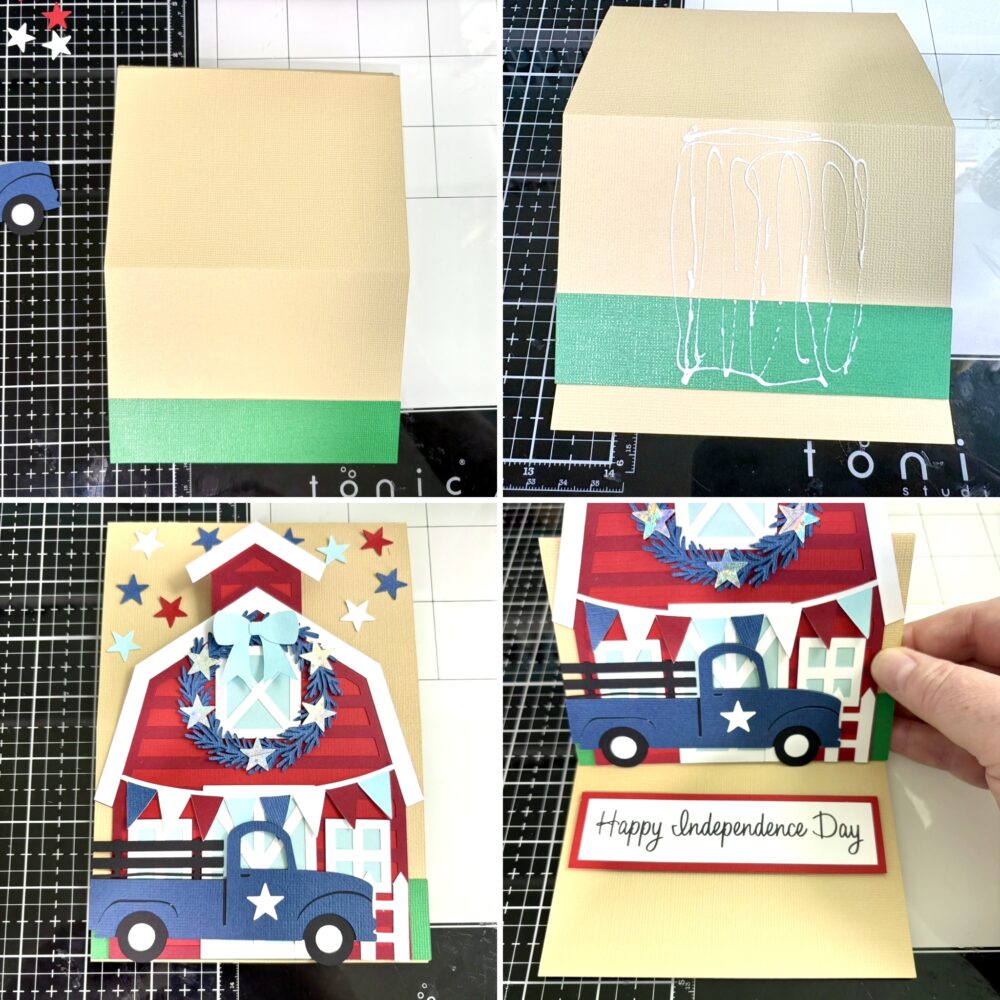
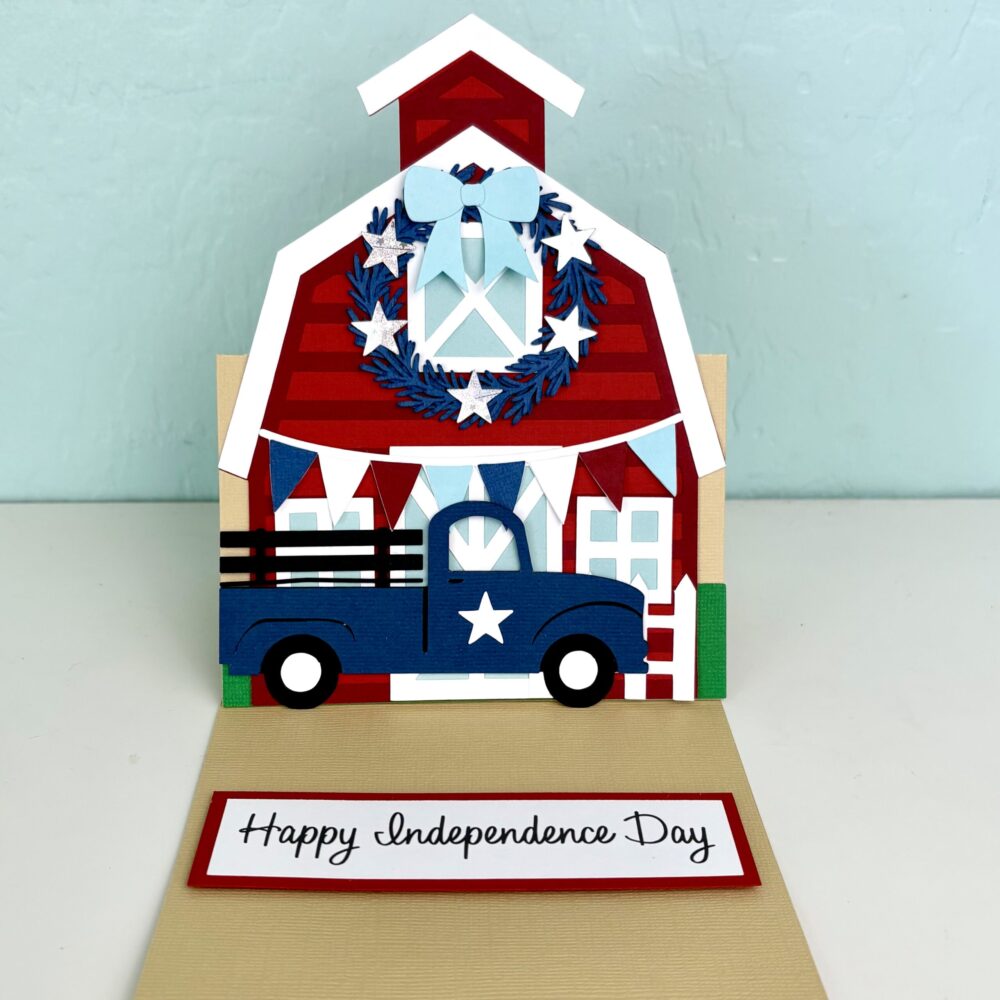
I used foam squares to raise my flowers. I embossed 1 of the vase panels with a pretty swirl & heart embossing folder. I decided to add a cute little unicorn to my card so I used one of the unicorns from Doodlebug Design’s Fairy Tales Collection (SVG), (Silhouette). Lastly I embellished with some sprinkles & added my sticker from the coordinating Doodlebug Design Fary Tales Sticker Sheet.
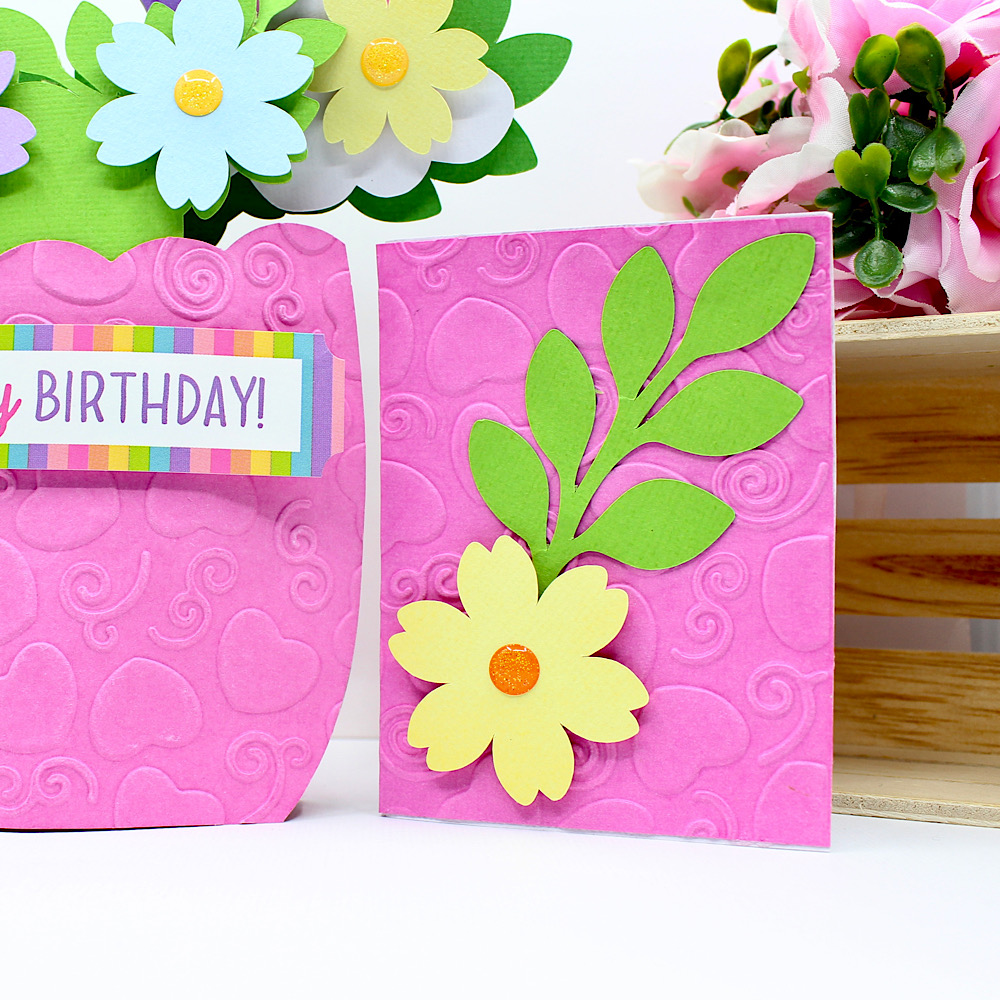
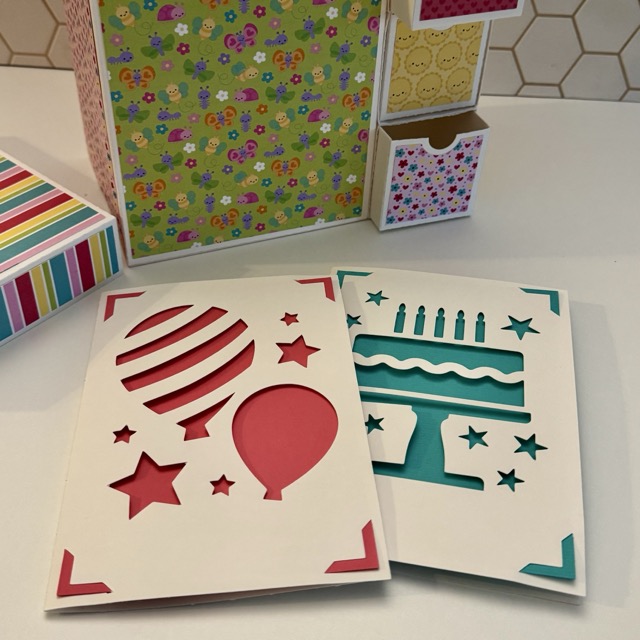
The bouquet also comes with a coordinating bouquet envelope wrapper & a cute little matching mini card.

For more value make sure you check out the rest of the elegant 3D Flower Bouquet Bundle 3 here.