Thanking the Best Teacher

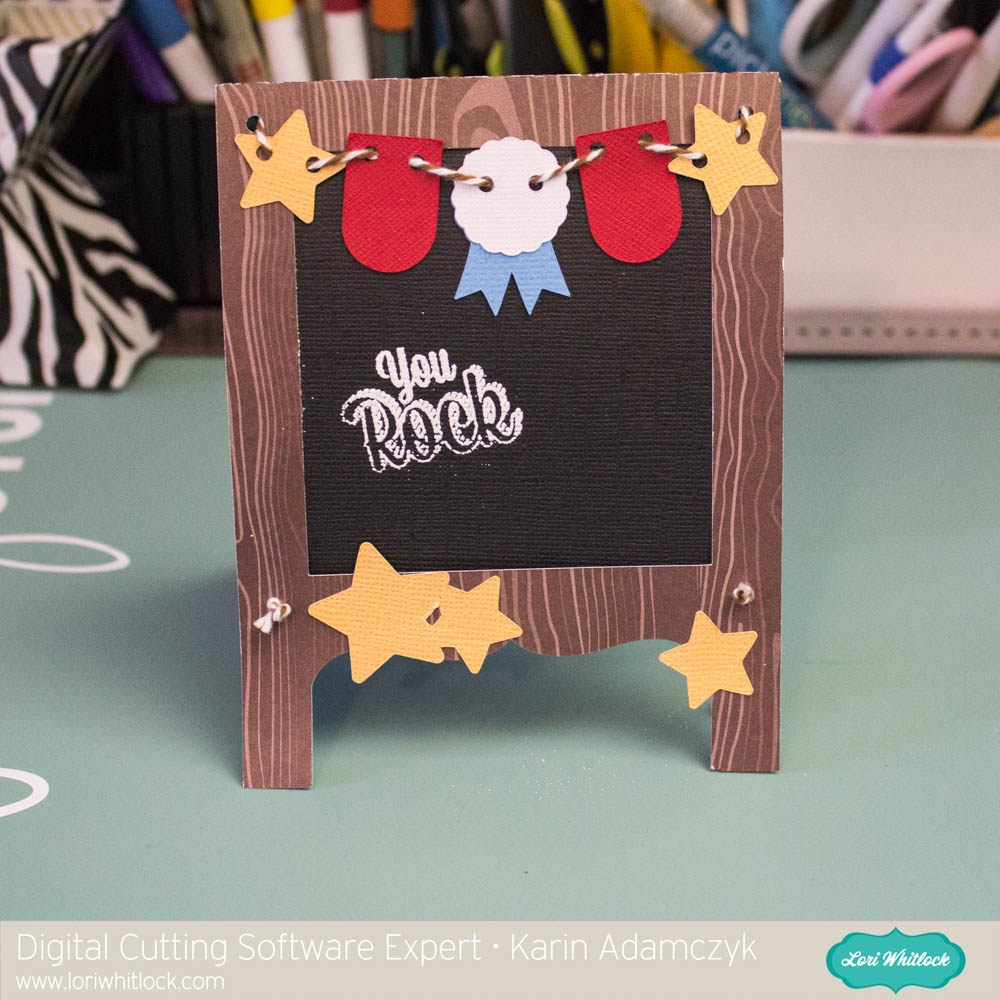
When you literally have no time and HAVE to throw a card together, Lori Whitlock comes to the rescue with thousands of designs and design elements that can save the day and make you look like a PRO!

All this card took was some patterned paper with a school theme and one of Lori’s designs. I used Cricut Design Space to upload the images, flatten the elements and use the print then cut function to put together my card.

20160405-20160405_221245-Edit

For this card, I used Lori Whitlock’s Teacher Thank You Tags file set.

20160406-2016-04-05_21-38-44
After uploading my files, I flattened the images I wanted to print, then cut.
I did the same with the school house I used on the inside of the card.
This is how the images looked after they were flattened.
Design Space prepared the print then cut for me.
All I had to do was print the file.
Then I chose my printer and the settings I wanted to use.
After printing, my image was ready to cut.
After printing, my image was ready to cut with my Cricut Explore.
Perfect job.
Perfect job.
Ready to cut the front sentiment for the card.
It's just too easy.
It’s just too easy.
The front of my card.
With a little schoolhouse on the inside.

It’s a simple card, but it took no more than 15 minutes and I didn’t have to go out and buy one.

Thanks so much for stopping by.

Please visit my blog at ScrappyDIVAblog.com for many more projects, tutorials and ideas.

Tulip Box Card Tutorial with Courtney

Hello Lori Whitlock fans!!! This is Courtney from Court’s Crafts here with a tutorial on Lori’s new Tulip Box Card! I made this card for upcoming Mother’s Day! I know, I know… I’m a little early but with three kiddos if I am not on top of it then it will never happen!

Step 1: Cut all pieces out with your Cricut Explore or Silhouette Cameo.

Step 2: Emboss green stems and leaves.

Step 3: Lori added the numbers on the tabs for you. This helps in two ways: ordering them from front to back on the card and also the numbers allow you to orient them so you can tell which is the front and which is the back of the piece.

Step 4: Ink around the edges of the green stems and the tulip tops.

Step 5: Using foam adhesive tape, adhere the stems to the green backs.

Step 6: Add the first layer directly to the back of the front of the tulip box card.

Step 7: Using foam adhesive tape pick randomly which tulip tops you want popped and which ones you just glue down.

Step 8: Add your sentiment.

Enjoy your finished product!

Recipe:

Lori Whitlock for Echo Park: Happy Summer 6×6 Paper Pad (HS105023)

Lori Whitlock for Echo Park: Happy Summer Blue/Green (HS105018)

Lori Whitlock for Echo Park: Happy Summer Yellow/Teal (HS105019)

Lori Whitlock for Echo Park: Little Man: Cars (LM99004)

Cricut Explore

Lori Whitlock’s Tulip Cut File

Silhouette Store Tulip Cut File

Strawberry Carton Box Card Assembly Tutorial with Tya

Hi Lori Whitlock fans – its Tya today I am up on the blog to show you how to assemble the adorable new Strawberry Carton Box Card.


This is a little different than the box cards that Lori has previously came out with so I wanted to walk you through how to put this card together. Lets get started!

http://cdn6.bigcommerce.com/s-zlf3iiy2/products/4372/images/4711/LW_Box_Card_Strawberry_Carton__19979.1457875888.1280.1280.jpg?c=2


First off – open the file. It can be found here on the Silhouette Store or here on the Lori Whitlock site.  Here’s what it looks like after I have ungrouped the box base from the leaves and strawberries.


Next, just to make things easier – Lori has numbered the leaf layers to make sure you know how the layers go front to back on the inside of the box. I’ve numbered them even bigger so you can see better.

Here are the leaf layers ungrouped by the papers I used.


Just to note – there a little yellow circles on the cut file for the flower centers, but I used some glitter dot stickers on mine instead. 🙂

For the label I did a print and cut title using Lori’s LW Brush Font

Now that all the pieces are cut out, I assembled all the pieces. I added some brown ink to the edges of the cut outs for some added dimension.


Add adhesive to the leave layers as shown.


I then assembled the box.

I then started layering the leave sections into the center of the box. The first section is glued right to the front edge of the inside of the box.


Here is the box all assembled. It folds down nice a easy so you can send it to that special someone.

This was a really fun box to put together and now that I have shown you how easy it is to assemble, I hope I have inspired you to make a few of your own! Thanks for stopping by!


Easter Bunny Flip Card with Karin

Hi everyone!  Karin here today sharing a video tutorial for Lori’s adorable Flip Swing Card Easter Bunny. I dressed up the Easter bunny a bit to give him a cotton tail, pink ears and nose. These flip cards look complicated, but they’re not at all. They are super simple. Watch my video below to find out just how easy they are.

20160318-_MG_5114-Edit-2

Here is my tutorial video showing you how to bring the SVG file and pattern paper into Cricut Design Space and set everything up for cutting with your Cricut Explore.  Have a great day!


Easter Egg Shaped Box with Corri

Hi everyone!  Corri here today sharing a quick assembly tutuorial for Lori’s new Easter Egg Shaped Box.   This is such a great box and it’s very deep so it could hold a lot of candy!

When you cut the file these are the pieces you’ll have.


I cut the pieces for the top of the box in pink and the bottom in the floral.

First fold in all the glue tabs on the long pieces (sides) of the top and bottom of the box.

Apply glue to the glue tab on the end of the long panel and glue ends together.  Do this for the top and the bottom of the box.  It will look round at this point.

Next, insert one of the egg shaped pieces inside the base of the box.  Form the sides around the liner to create the egg shape.  Apply glue under the glue tabs and glue in place.  This part doesn’t have to be super neat since the next step will hide any excess glue that bleeds out from the edges of the tabs.  Repeat this step with the lid.

Finally, glue the cover panel for both the top and bottom in place to hide the glue tabs and give your box a finished appearance. I cut a piece of acetate by hand to fit behind the egg shaped window before applying the lid cover panel.  I like to apply the glue, put the panel in place and then press down from the inside to help adhere all the way to the edges.

Now you can embellish your box with stickers or additional die cuts.  

Check out the shop for more fun Easter treat containers.