Tri Shutter Card Tutorial with Kathy

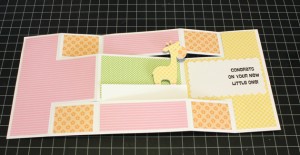
Hi Everyone! It’s Kathy today with a tutorial showing how to assemble the new Tri Shutter Cards.  Lori has a couple of new Tri Shutter Cards in the shop including the Tri Shutter Card Birthday  (here in the Silhouette Store) and this card, the Tri Shutter Card Baby ( here in the Silhouette Store).  Take a peek…

This card looks complicated, but it’s really easy to assemble.  I started by picking my papers, and cutting the pieces of the card.

Start by folding the base piece, this takes a little thought, but is not difficult.  Here are a couple of views of the piece once folded.

Next, add the decorative panels to the base piece.

Using the print and cut feature of your cutting machine, create the sentiment piece.  A blank sentiment piece is also included if you prefer to customize it.

Assemble the giraffe piece by layering the pieces onto the white base.  The white base then slips behind the lower section of the card base as shown and is glued in place.

To finish the card, add the BABY to the front piece.  I used some foam tape to pop this up a little.

Another great feature of this card is that it folds flat and fits into a standard A2 envelope!

That’s it for me today, thanks for stopping by to peek!


4th of July Firecracker with Anita

Anita here today with a tutorial on how to make Lori’s 3D Firecracker.  You can find this file in her SVG shop here and here in the Silhouette Store.  I also used some parts of the 5X7 Box Card July 4th to add to the embellishments of my project.  You can find that file  here in Lori’s store and here in the Silhouette Store.  I love to mix and match Lori’s Echo Park collections on my projects and used I Love Winter and Go See Explore.

Here are the materials that I used for my project.

The firecracker wick is perforated so that you can fold the wick into a small square and then put it through the hole.

Next you are going to fold the tabs back and glue them to the inside of the cover of the tube.

Here is what is looks like from the front.

Next, fold down the tabs on the cover piece and glue them to one of the circles.  One of the extra red circles gets glued to the inside of the top to hide the tabs and glue.

Here is a photo of the Stickles that I put on the edges of the wick.

Repeat the process for the tube body.  This photo shows the red circle inside and I love the finished look.

Here is a close up photo of the embellishments.  I used the 4th of July circle from the box card.

That’s it for me today.  This is so cute and you can fill it with candy or leave it empty and on your table for a holiday centerpiece.

Hugs,

Anita


3D Alphabet Letters Tutorial

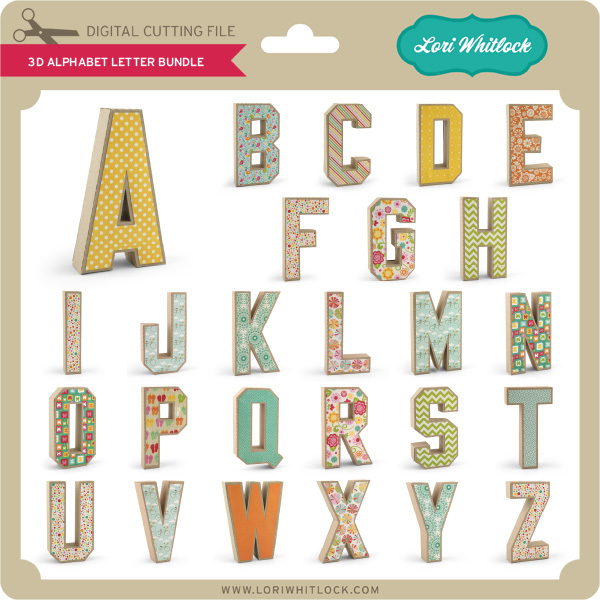
Hi Everyone!  Have you seen the fun new 3-D Alphabet Letters?  They can be purchased individually in the Silhouette Store and both individually and as a bundle in the Lori Whitlock SVG Shop.

There are so many fun things you can do with these letters!  You can spell someone’s name or initials,  make a set to represent a recent high school Grad’s new college to decorate their dorm room or just spell out fun things to put on your walls!  The possibilities are endless.

To help you with these fun letters, I’ve put together a tutorial video over on my YouTube Page!  You’ll be making words in no time!

Have a great day!

Spring House Box Tutorial with Kathy

Hi Everyone!  It’s Kathy today with a tutorial showing how to assemble Lori’s new Spring House Box (here in the Silhouette Store).  This is such a sweet box that can hold a small gift or some treats!  Take a peek….

It looks like there is a lot to this house, but it’s really pretty simple to assemble.  First, cut all of the pieces…

Next, assemble the main box.  To begin, add the decorative panels, trim, door and window the box piece. It’s easier to do this before the box shape is formed.

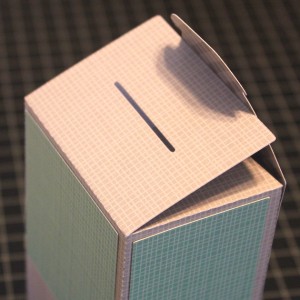
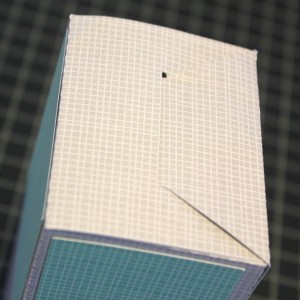
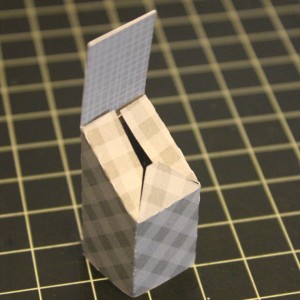
Fold the house on all of the score lines to form the box shape, here is a close-up of how the top of the box is folded.  It folds similar to a milk carton.

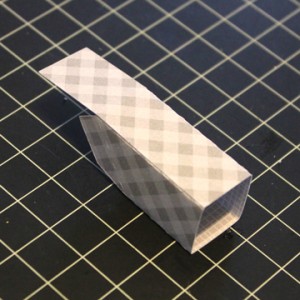
Glue the house box together, tab on the inside of the box.

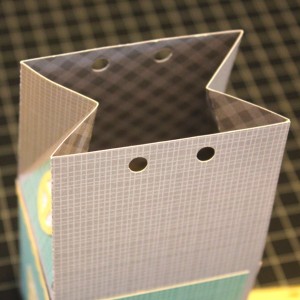
The bottom of the box is not glued, the flaps fold as shown, then the insert the tab into the slot to hold it shut.  This allows you to fill the box from the bottom.

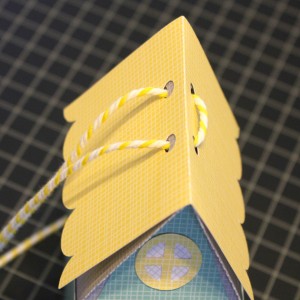
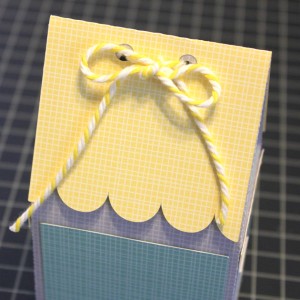
The top of the box is next.  Pinch the top of the box together as shown.  Fold the roof piece along the score line and place over the top of the box aligning the ribbon holes.  Thread a ribbon or twine through the holes and tie a bow to hold it together.

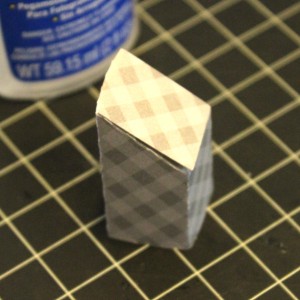
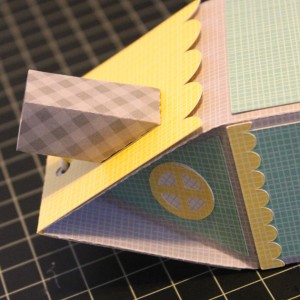
To assemble the chimney, fold the chimney piece into a box shape, and glue, tab inside.  Fold in the tabs on the bottom, and glue shut.  Glue the chimney to the side of the roof, slanted part against the roof.

Next assemble the trees.  The file comes with circles to fill the center of the flowers, I replaced them with enamel dots.

Glue the fence onto the front of the house as shown.  Add the smaller tree afterwards.

The larger tree is glued to the back of the house.  Half of the trunk should stick out on the right side of the house.  You may want to add a couple of glue dots to the branches where they meet the house roof.

And you’re done!

This box could be used for a number of occasions, including birthdays, Mother’s Day or just because!  That’s it for me today, thanks for stopping by to peek!
 

Summer Pinwheel

Hi:

Anita here with a fun and really easy tutorial to make this giant pinwheel.  It is part of a whole set of goodies that I made for my nieces to have a lemonade stand.  I used Lori’s Echo Park Collections called Celebrate Spring and Celebrate Easter.  The cut file that I used for the pinwheel is called 3D Double Pinwheel and you can find it here in Lori’s store and here in the Silhouette Design store.

Here is what the cut file looks like when you it open it in the Silhouette program.  You have to ungroup it as the pinwheels will only fit one to a page.

Here are the supplies that I used for the pinwheel.  You will need a hole punch that can go through the paper straw and a brad that has a long enough shank to make it through all the layers.  I used one of Lori’s Echo park I Love Christmas Decorative Brads.  I placed the sides of the paper that I wanted to see most of  facing up.  Two sided papers work beautifully with this project as you can see some of the other side when it is put together.

I used a paper straw and punched a small hole near the top of the straw.  Paper straws come in many different colors and look so cute with the pinwheel!

The first step in putting together your pinwheel is to put the brad through the two center pieces of the pinwheel.

You put it all together by pulling gently on the center piece that has the hole in it and pushing the brad through the hole.  Keep going until you have all the holes connected through the center brad.  Then push the brad through the straw.  Depending on how thick your paper is and how long your brad shank is you may have to fuss with this a bit.  I pushed it through with the assistance of my Tim Holtz pick and then bent the shank pieces down with a knife.

You can only see one tab of the brad but they are both there just underneath one another.  Turn the pinwheel over and you should be able to separate the two pieces to fan them out and show a bit more of the paper designs.

Here is a close up of the pinwheel.

I used a whole lot of Lori’s files to create this set and just love that huge pinwheel.  Have a great day and hope you have a chance to make something pretty today.

Hugs,

Anita