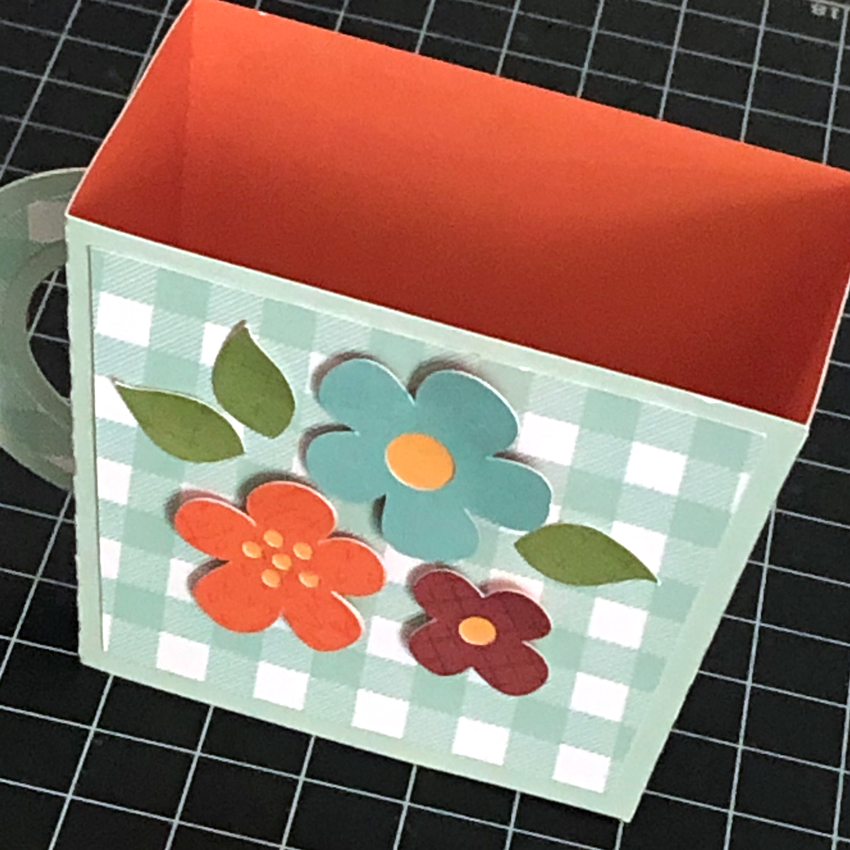
This week I discovered Lori’s fun Lantern projects in the Lori Whitlock SVG & Silhouette Shops! There are so many to choose from! I decided to make the Butterfly Lantern (SVG, Silhouette), which cuts two on one piece of 12×12 paper. This makes it really easy to make a bunch for a fun celebration or party favor.

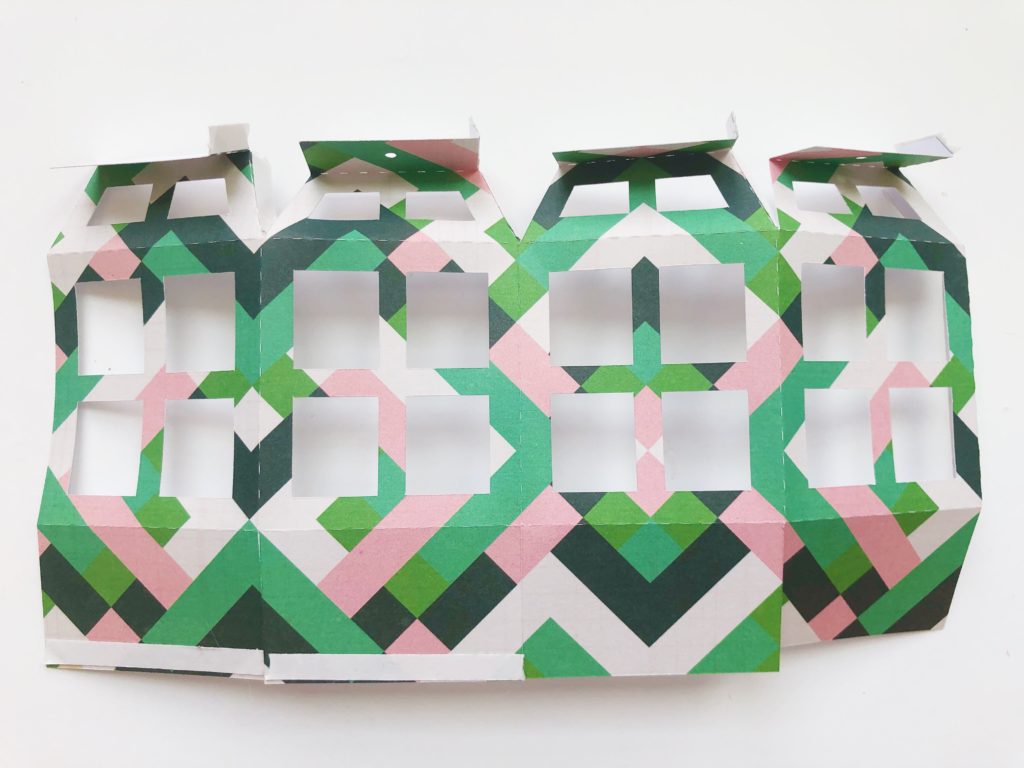
Start by cutting all of the pieces for the lantern…

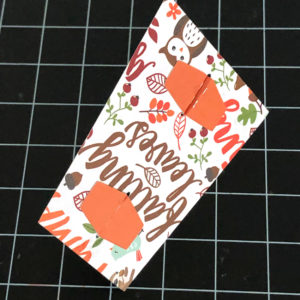
Add score tape or adhesive to all flaps of the lantern as shown here…

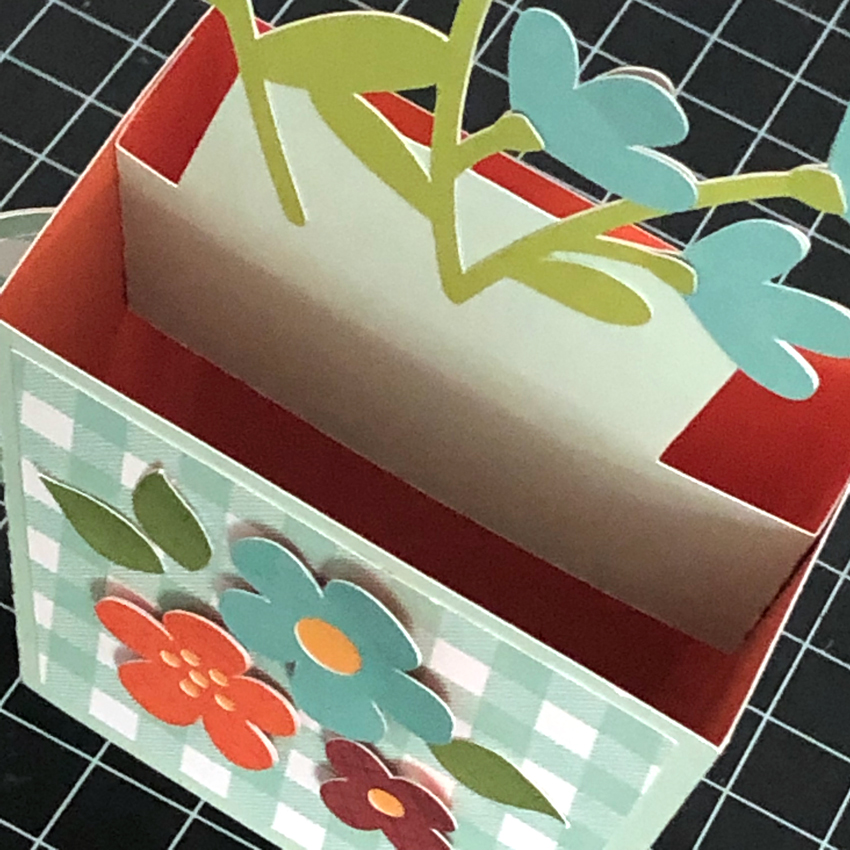
The lantern assembles similar to a box. First fold all score lines inward with exception to the top, that will fold outward as shown…
Remove tape backing and assemble lantern as you would a box…


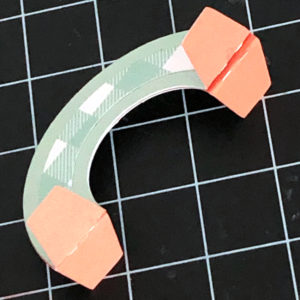
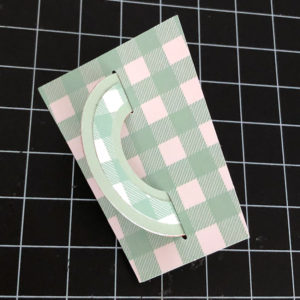
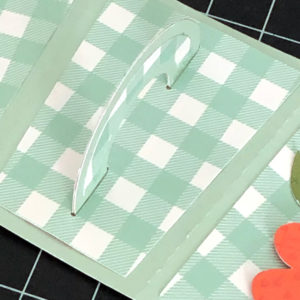
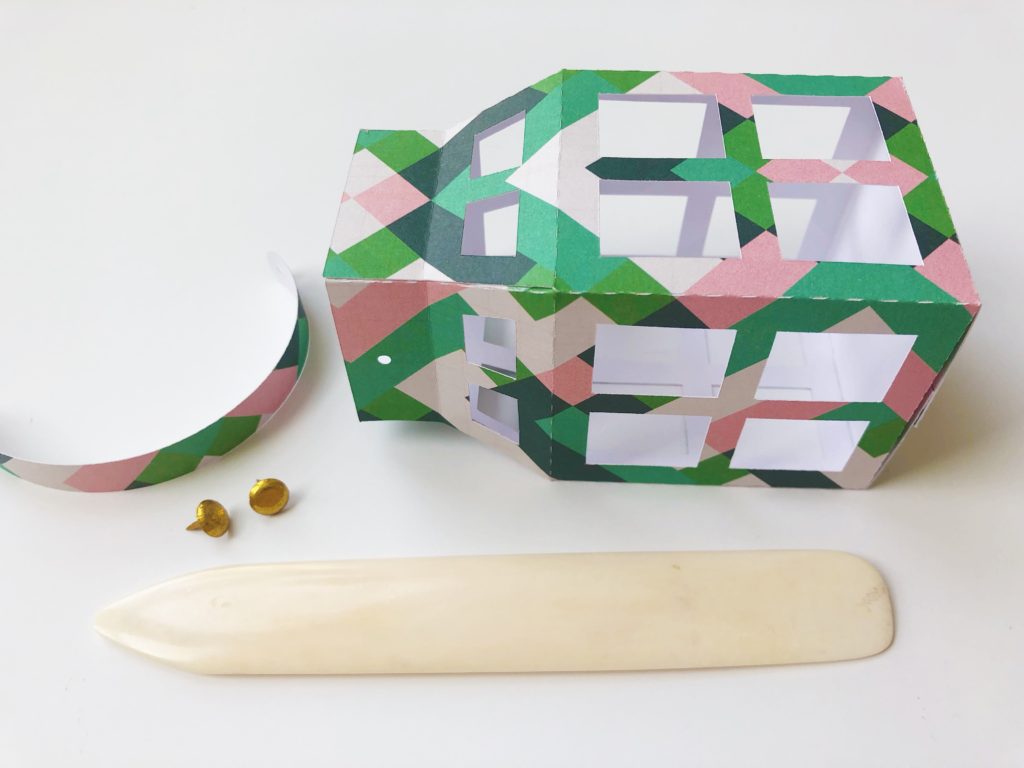
Next, use your bone folder to curve the lantern handle and attach with decorative brads…
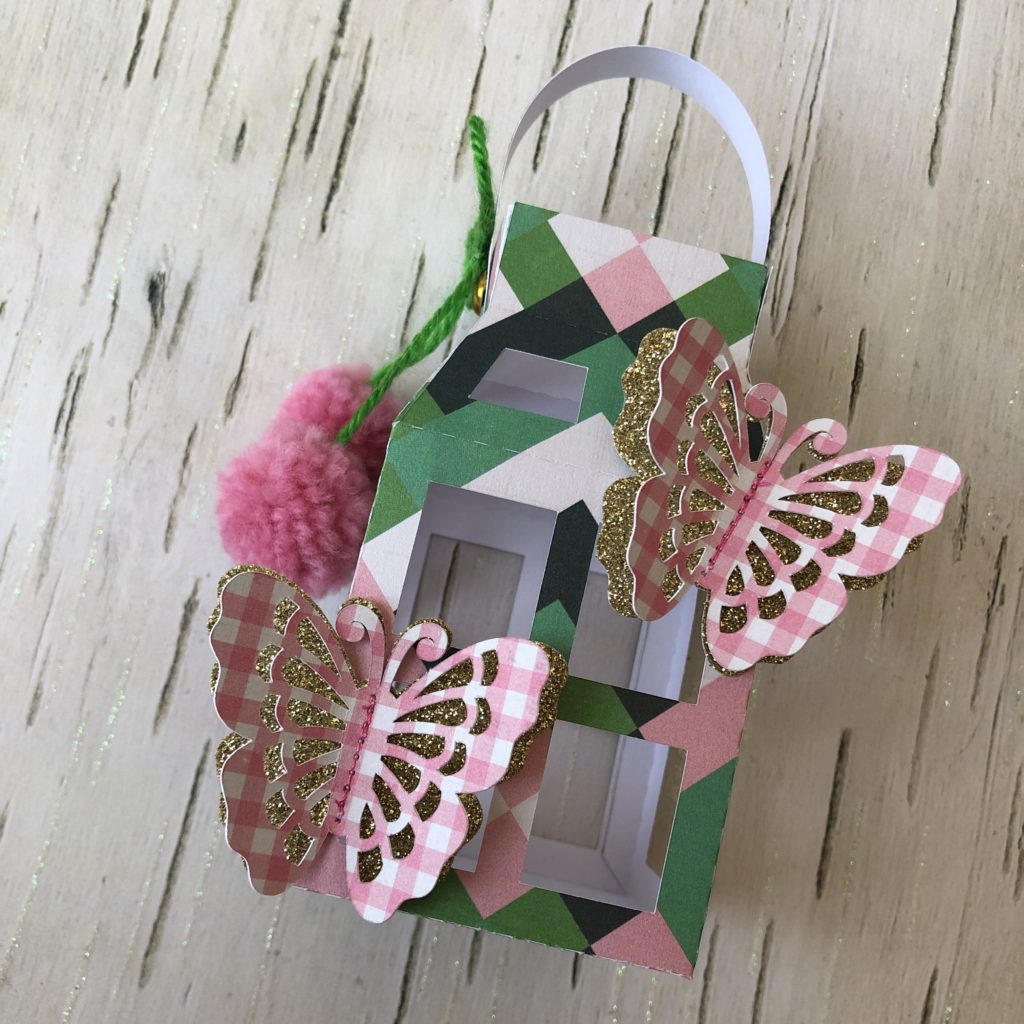
Complete the lantern by adhering the butterfly layers together and gluing to the front of the lantern. For additional dimension, I sewed my butterfly layers together and added a fun cherry pom pom to the side that I received from a friend.
I had so much fun making these and I hope I inspired you to give it a try. Thank you for stopping by!
xo,
Michelle H.