We get a lot of questions from new customers, who are excited about their purchase of SVG files from our shop, but aren’t really sure how to proceed to make something from their new file. I thought a post, bringing you step by step through the process might be helpful. This way you can spend more time creating and less time trying to figure out technical things!
When you purchase a file from the Lori Whitlock SVG Shop, it is immediately available for download to your computer. There are a few different ways to do this.
First, you can immediately download your purchases directly from the confirmation screen by clicking on the “Download the Items You Ordered” link.

You can also retrieve them from by going to MY ACCOUNT>COMPLETED ORDERS>ORDER DETAILS.

Finally, you will receive an email with your download links at the email address you used when registering for your account. You can access the files by clicking on the link in that email.

Once you click one of these links, you will be redirected to this screen. To download your file, click on the file name. The file will automatically download to your computer.

Most computers automatically download the file to the DOWNLOADS folder on your computer.

Files from the Lori Whitlock SVG Shop are delivered in zipped format and need to be unzipped before they can be used in your cutting software. To do this, right mouse click on the downloaded file and select extract all.

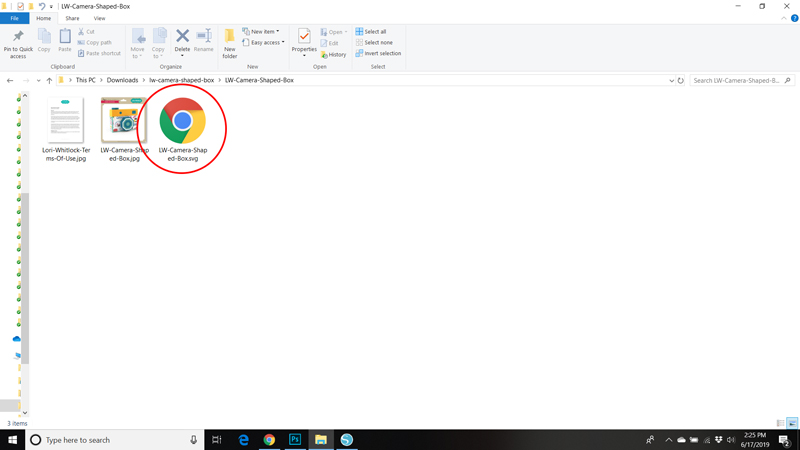
This will bring up a dialog box. If you click extract, it will create a new folder containing the SVG file, a photo of the file and the terms of use document.

A note on the SVG file. Some computers make the SVG file look like an internet or html file. In the case here you can see my computer makes it look like a Google Chrome Document. (If you use Internet Explorer it may look like an IE file) This is the SVG file you will want to open in your cutting software.
Now that you have your file… what next? Simple, upload it to your cutting software.
If you are using Silhouette, you need to make sure that you have the Designer Edition of the Silhouette Software. This is a paid upgrade (available here if needed) that is necessary to work with SVG formatted files. To check to see if you have the Designer Edition go to HELP, ABOUT SILHOUETTE STUDIO. If you have the DE, it will state on this screen.
If you do not wish to upgrade to the Designer Edition, you can still access all of my files directly through the Silhouette Store. Here is a link to my gallery.
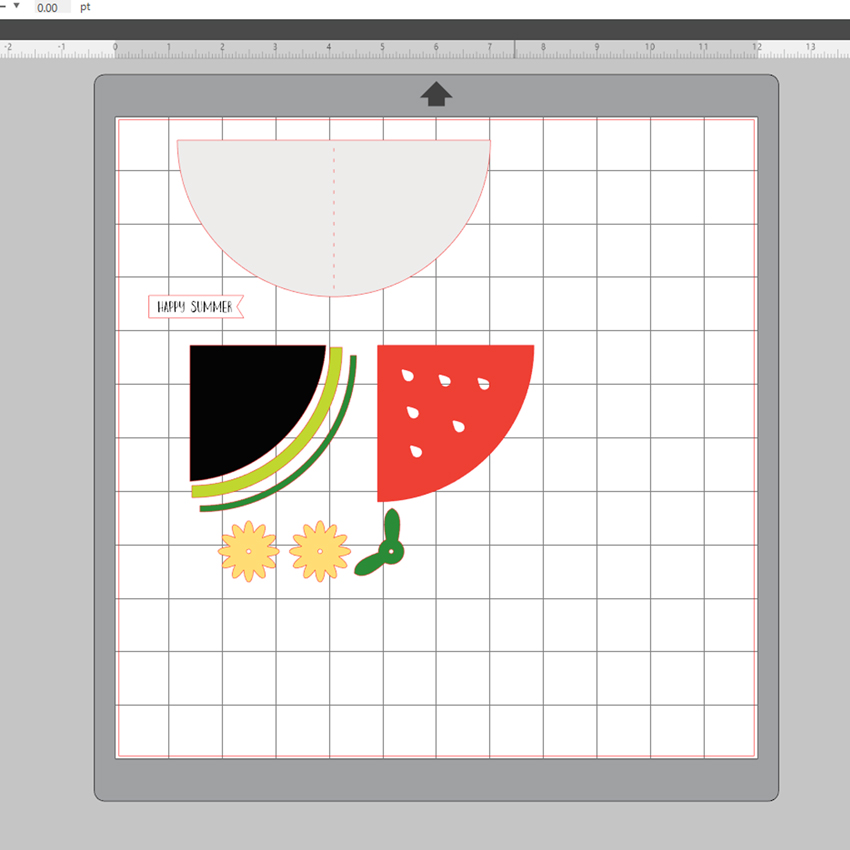
To open the file in Silhouette, go to FILE, OPEN, navigate to where you saved and unzipped the file and select the SVG file. This will add it to the mat in your software.

The process is similar for Cricut Users. Start by launching Cricut Design Space. Click on UPLOAD FILE, then under Image, click on UPLOAD IMAGE. This will allow you to add the file to your Cricut Library. Once it is added, select the design and click on INSERT IMAGE.

A couple of notes for Cricut Users. First, before sending my files to cut, you need to attach the score lines to their corresponding layers. This video will help you with this process. Also, the score lines on my files are dashed cut lines rather than lines that use the Cricut Score Tool. This is because I design my files to work on multiple types of cutting machines, some which do not support a scoring function.
For Customers using Brother Scan and Cut, be aware that Scan and Cut will automatically resize any file that is larger than the 12×12 Mat. If you need to resize the file and know the dimensions of the finished file (for instance an A2 card is 5.5″x4.25″) You can resize the file using the tips in this video I created for S&C Users. If you need more information on dimensions, please email me at help.loriwhitlock@gmail.com to request dimensions. I’m happy to get them for you.
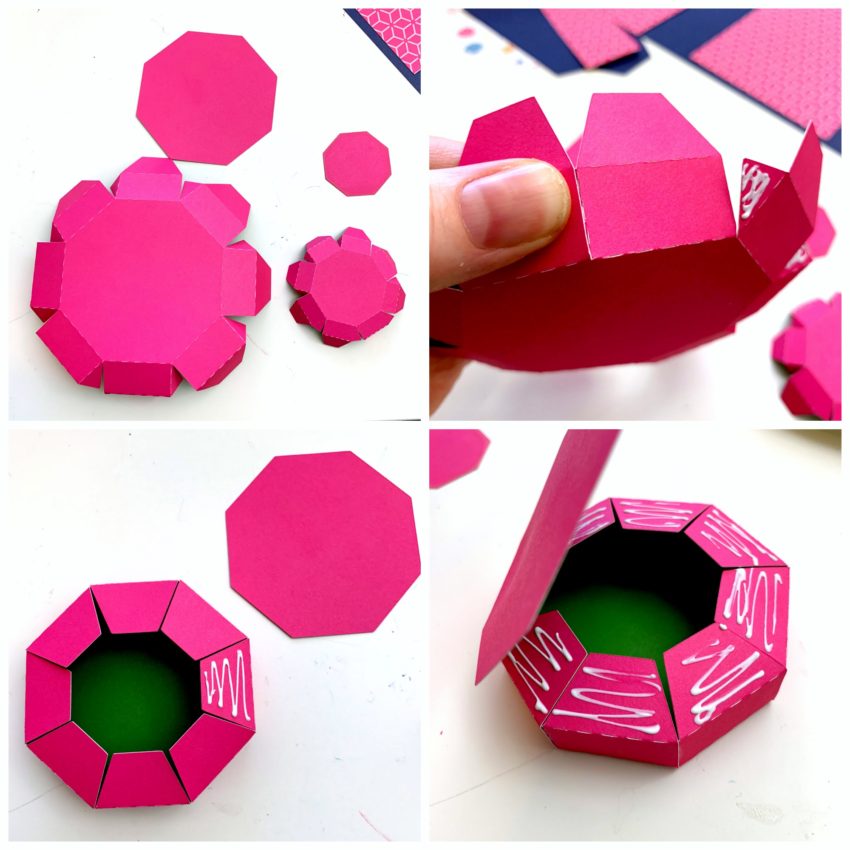
If you need assistance assembling your files, be sure to check out the Tutorials page in my Shop. I’m also happy to help out with questions so don’t hesitate to ask!
I hope this has helped make you more comfortable using files from my shop! Have a great day!