Flower Truck Box Card Tutorial

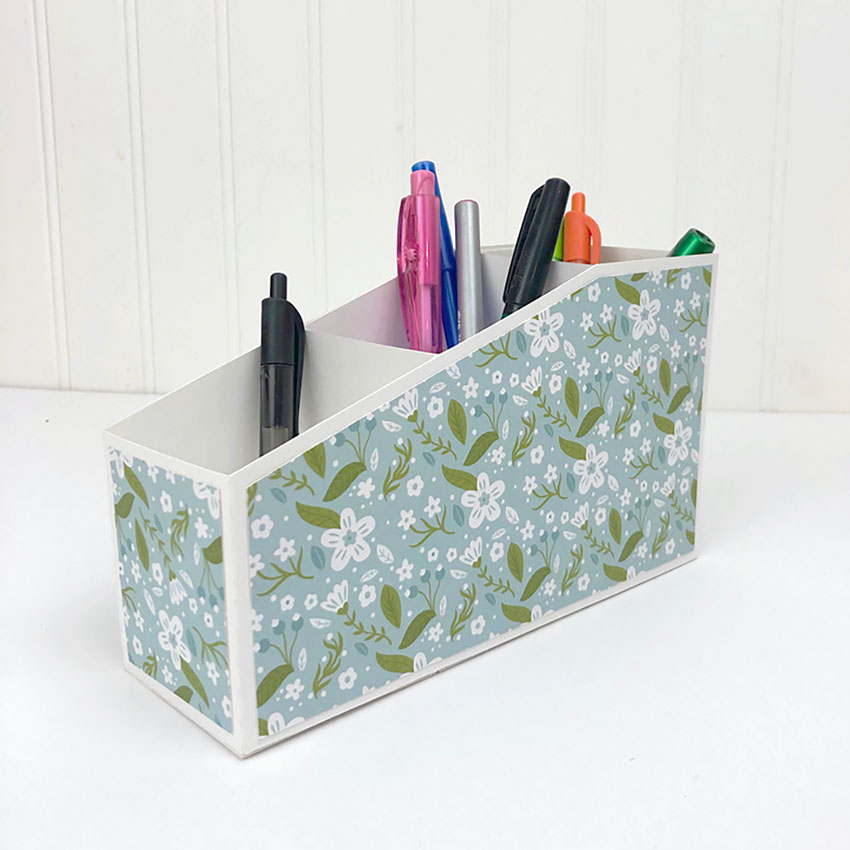
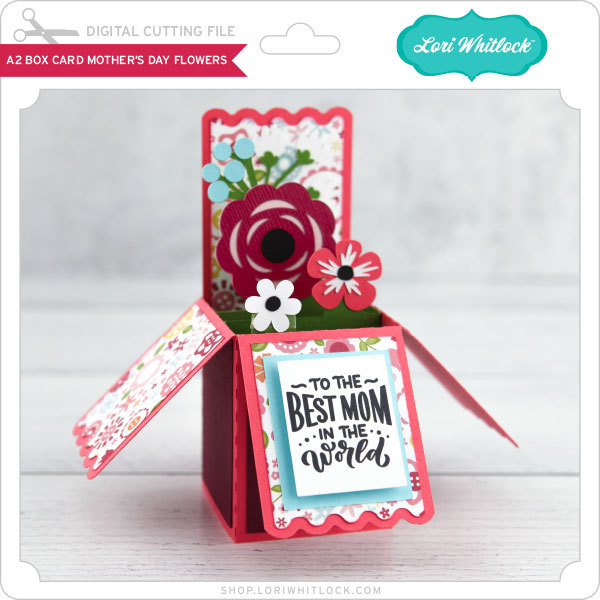
Today I am showcasing this fun XL Box Card Flower Truck.

SVG/Silhouette

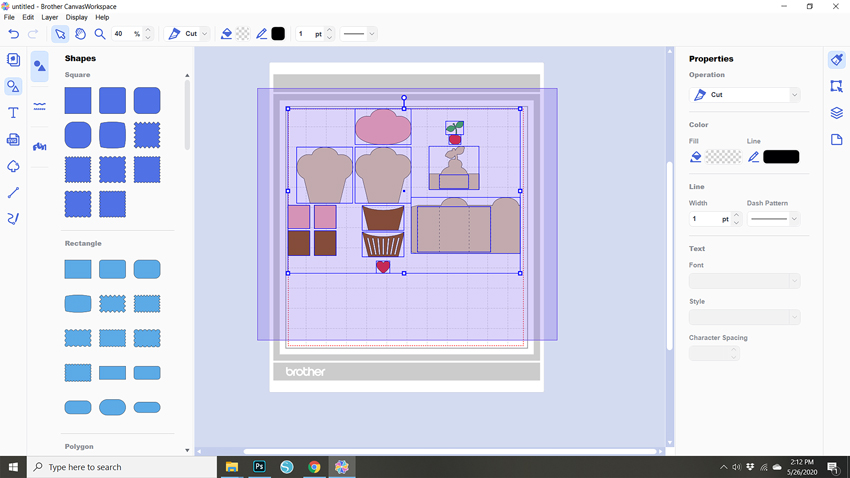
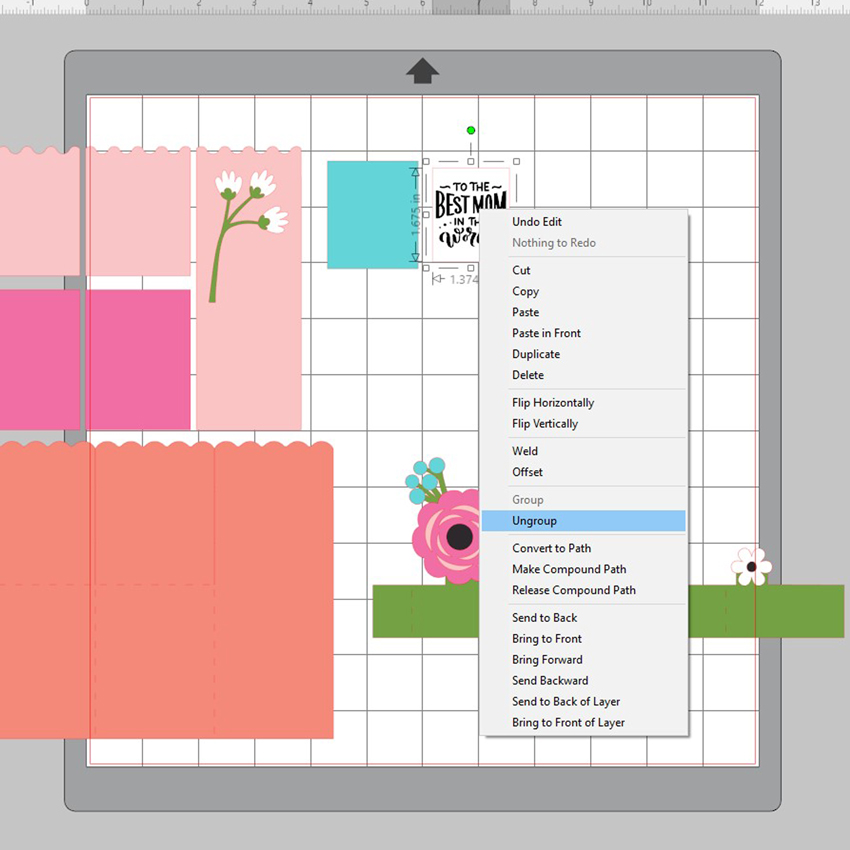
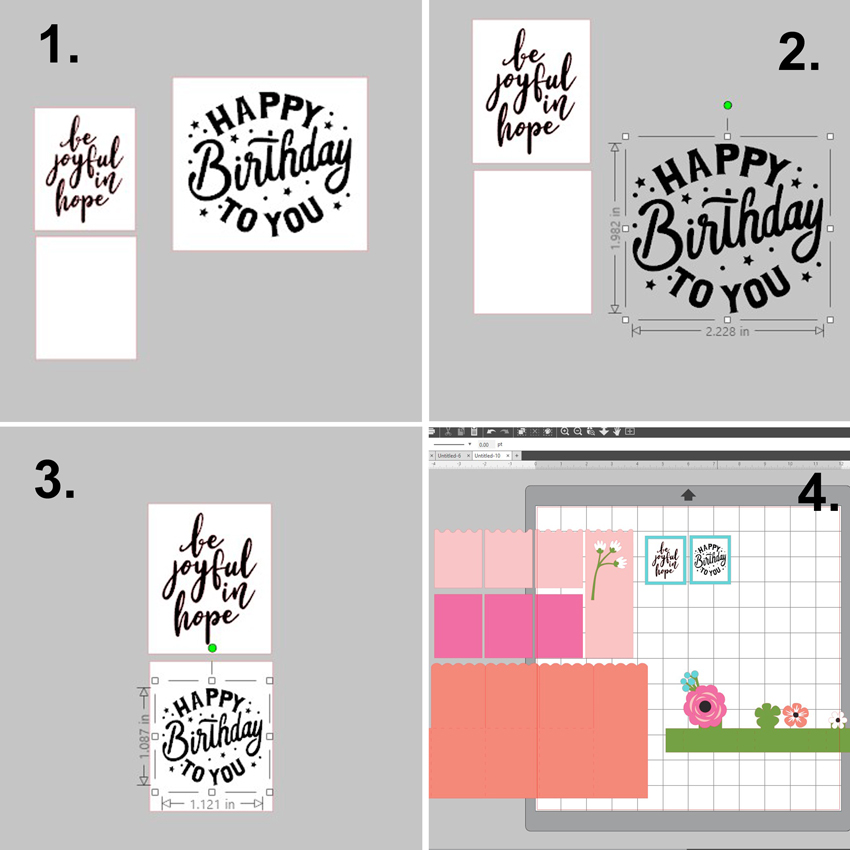
You can make this card with a Silhouette or Cricut machine.  I’m going to show you today what it looks like in the Silhouette Studio software.  When you open the file in Silhouette, it looks like this:

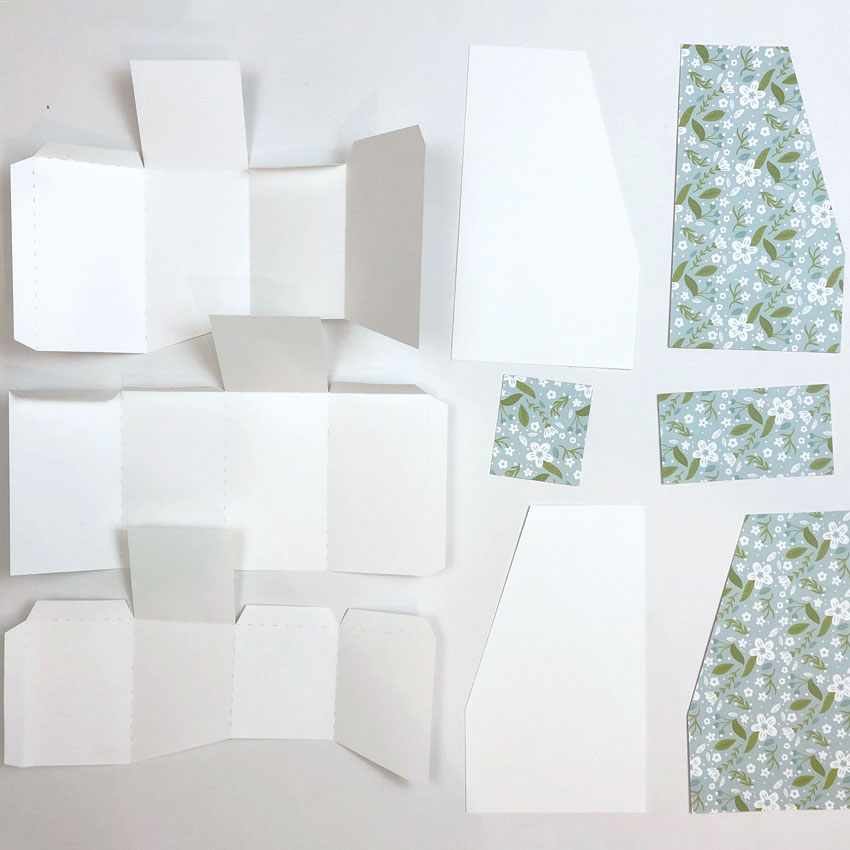
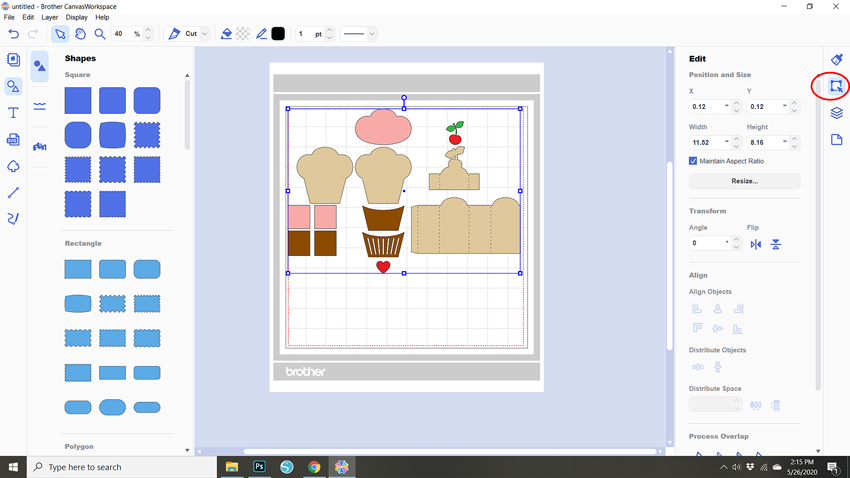
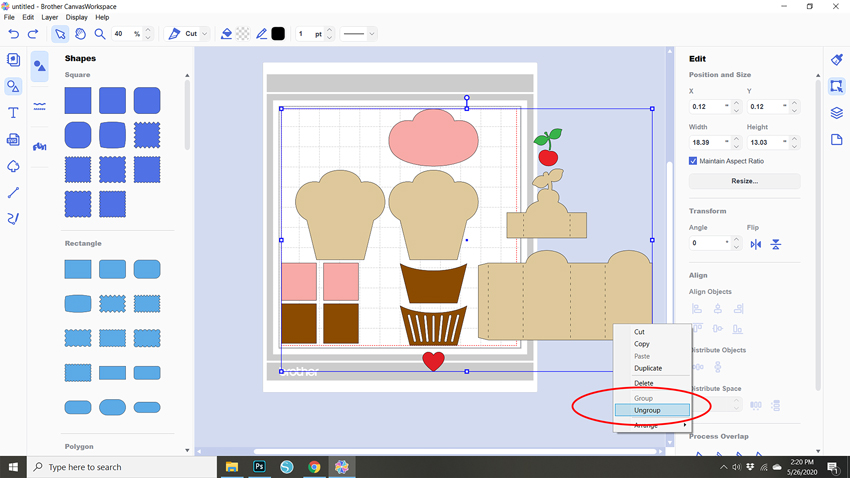
From here, right mouse click on the truck and select ungroup.  You can then move the individual pieces around and group the pieces by color for cutting.

Cut each color on your paper or cardstock. I actually cut some of the decorative pieces from vinyl, it readily sticks to the cardstock base.   I arranged many of the small pieces on the same mat and placed scrap vinyl for each color:


I used the print and cut function for the “Flower” sign and the Mom license plates. After you have all your pieces cut out, it’s time to assemble:

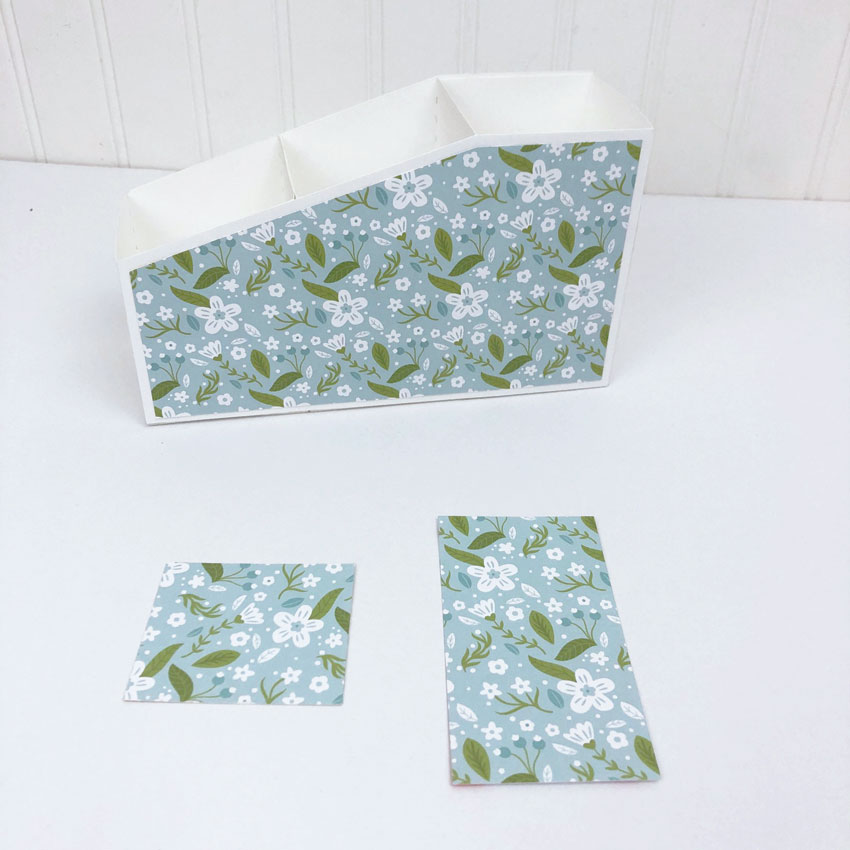
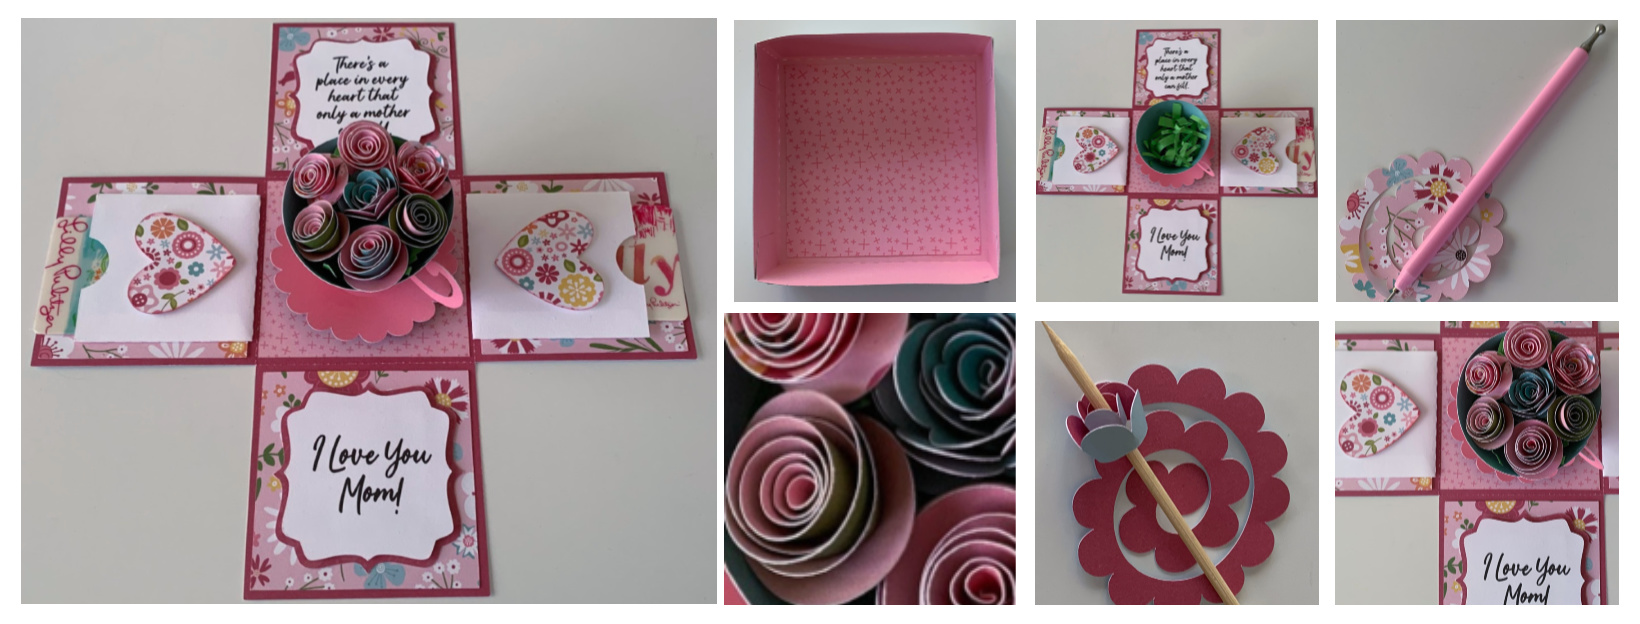
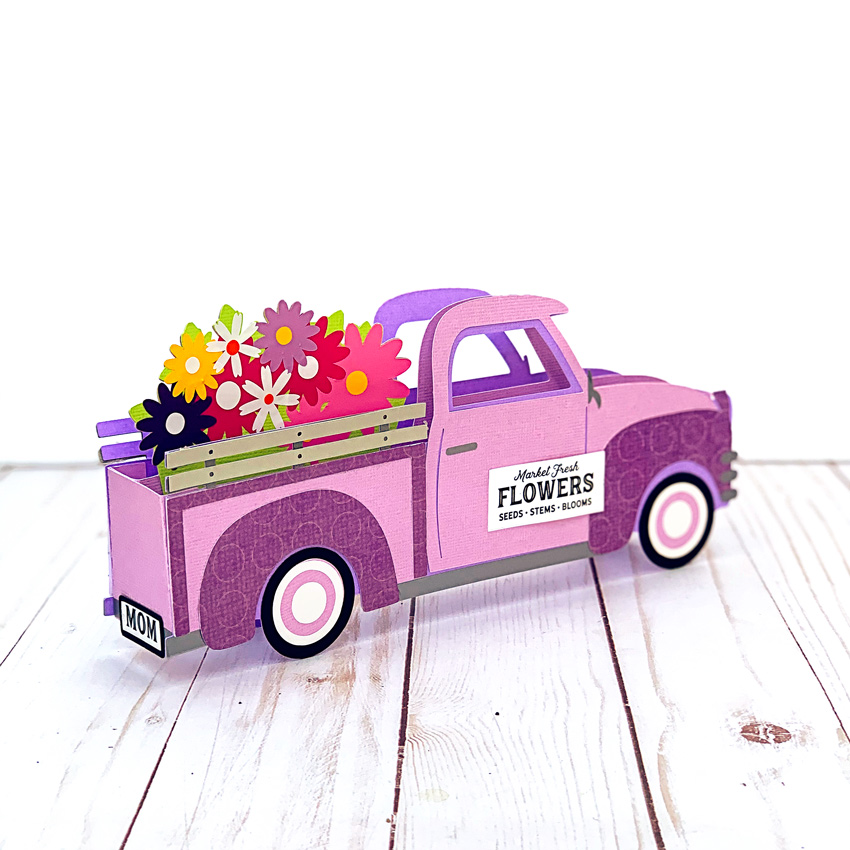
It is helpful to have the product picture, so you can arrange all the pieces correctly. You will want to place the bottom skinny strip of silver at the bottom of the truck before you place the darker purple pieces.

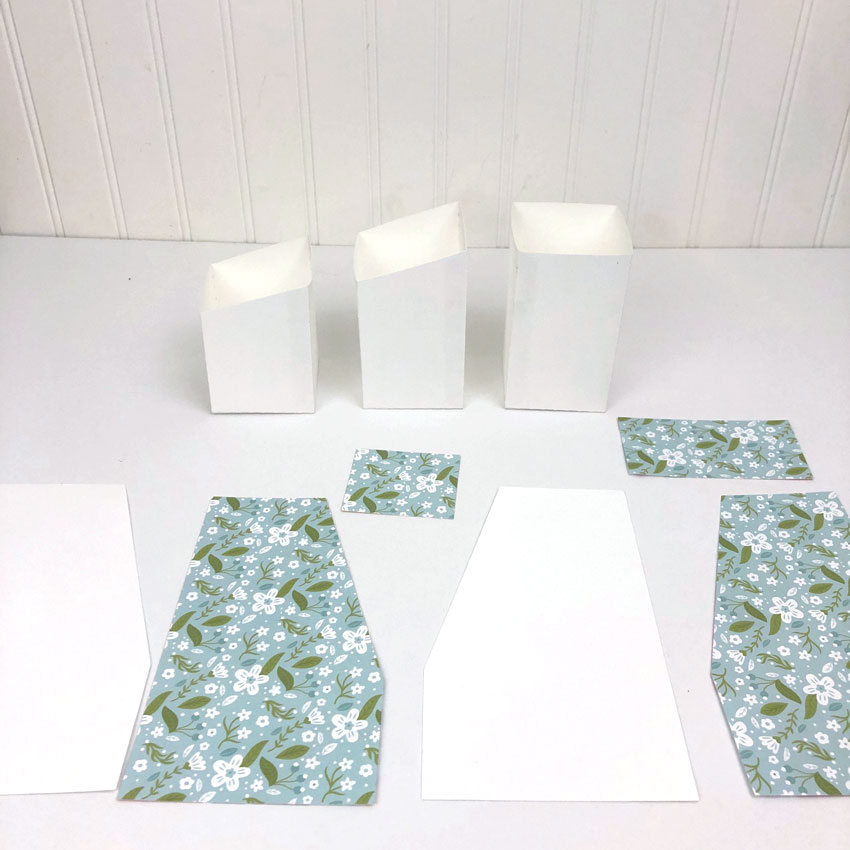
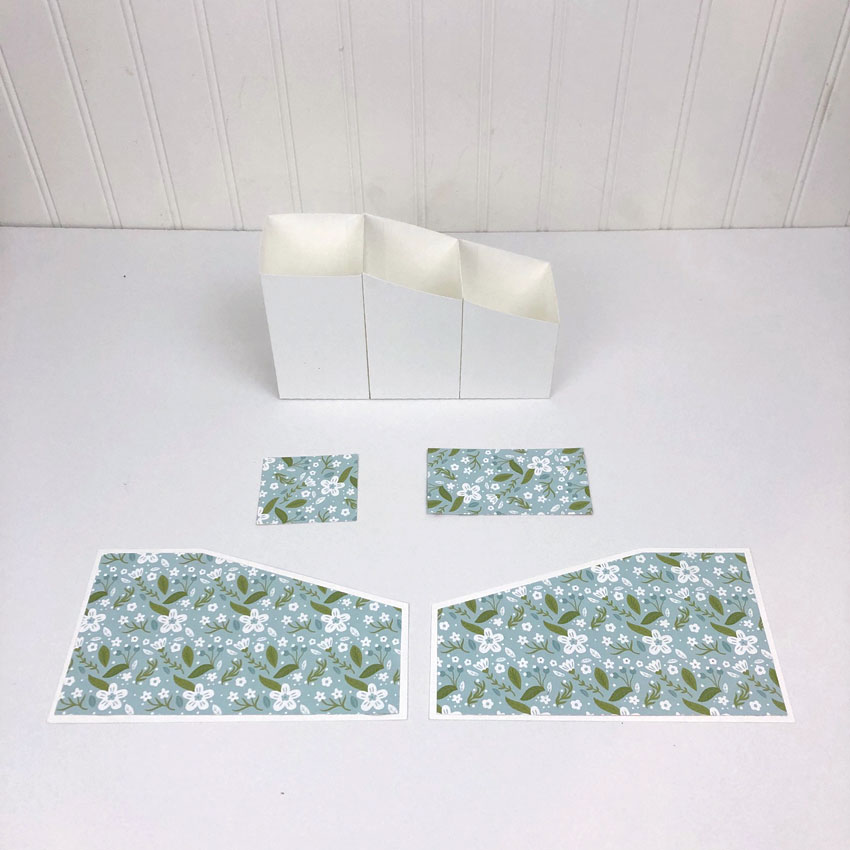
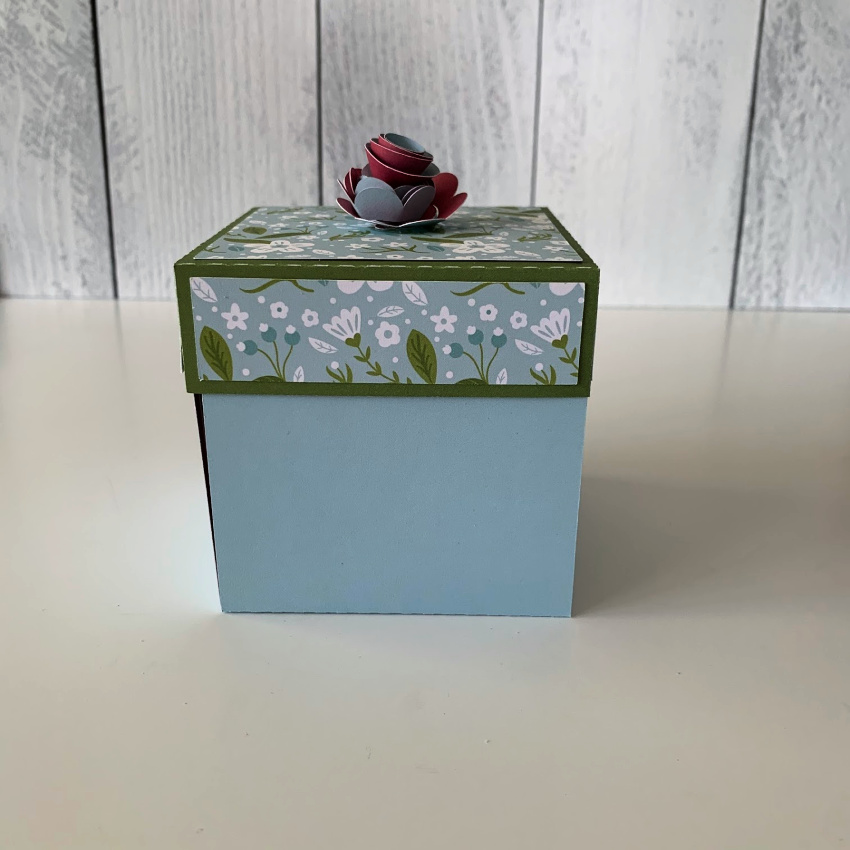
Once you have all these pieces decorated, it’s time to assemble the card.  The square-ish pieces with the license plates are the front and back of the truck.  You glue them to the sides to form the “box” of the card.    Apply adhesive to the tabs and attach those at each end of the truck sides.  Once you have the box formed, apply adhesive to the tabs on the flower insert piece.  Slide that into the box, centering it and press the glue tabs to the front and back pieces to secure.  Done!

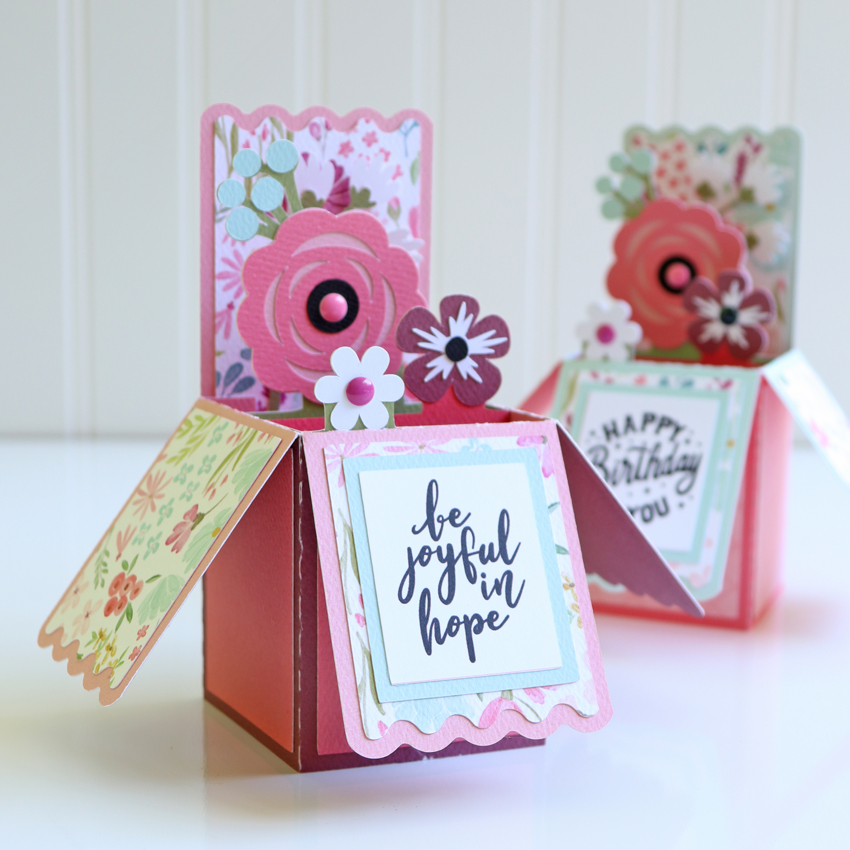
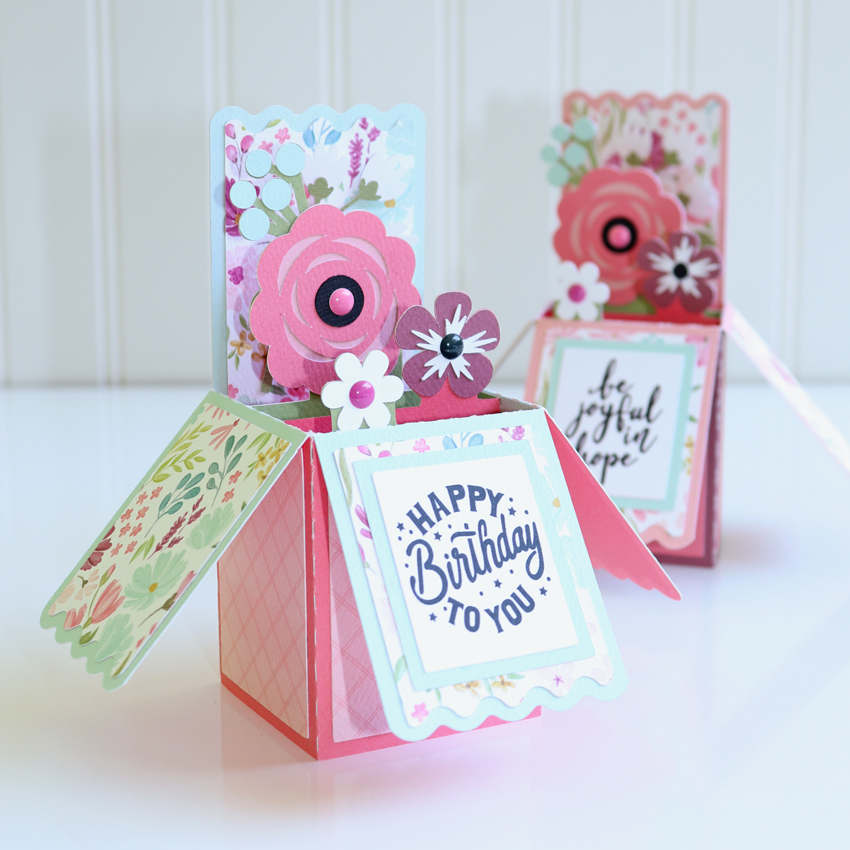
You could use this as a Birthday card. You could also change out the “Mom” for Sis or a name.  It’s east to personalize for someone special.

Don’t forget about the the June Sale is happening now in Lori’s SVG Shop!  Get 30% off all SVGs, Fonts, Pattern Fills and Commercial Licenses when you use code JUN2020 at checkout! Sale ends Saturday, so don’t wait!

Have a great day!

Ashley

Three Compartment Desk Organizer Tutorial

Hi everyone!  Corri here today sharing a quick assembly tutorial for Lori’s 3 compartment desk organizer (Silhouette, SVG).  This desk organizer looks super cute and is great way to keep things organized.

When you cut the pieces this is what you will have.

First, for each box section, apply glue to the glue tab along the edge to form the box.  Then apply glue to close the bottom.

Next, glue the three boxes together in the order shown above. Glue the pattern paper panel to the base panel.

Glue the panels on to the formed organizer.

And that’s it!  Super simple and easy to make!  This would make a cute gift for a graduate.  You could add some pens and pencils and a gift card for a fun addition to their dorm!

Thanks so much for stopping by!

Resizing SVG Files in Canvas

If you’re a Brother Scan and Cut User, you may have run into issues importing SVG files that are larger than your 12 x 12 mat in Canvas.  If you receive a warning that Canvas has resized your file, you can correct the sizing so the completed project is the intended size.  I’ve started listing the correct width in my newer files, and for my older files, there is a sizing page here in my shop which will give you the correct width of the file pieces when grouped together.  Once you have the correct width, it’s simple to resize.  I’ve outlined the steps below.

  1. Start by importing the SVG file into Canvas (File, Import, locate SVG and Import)  If Canvas resizes the file, you’ll receive this message.
  2. Next select all of the pieces by clicking and dragging a box around the pieces.
  3. Once selected, right mouse click and select group.
  4. Click on the Edit button on the far-right side menu.
  5. In the menu that pops up, add the correct width in the box. Widths for my files can be found by searching the file name on this page in my shop. On my newer files the width is listed in the file itself.  Make sure that maintain aspect ratio is clicked and hit enter.  This will resize the file in a uniform manner.

  6. Once resized, you can now ungroup the pieces.  Right mouse click on the design, and select Ungroup.
  7. Before moving pieces around, make sure to re-group any score lines with their corresponding pieces.  Do this by selecting all the necessary parts, right mouse click and select group.
  8. You can now move the pieces around to cut separately.

We’ve done our best to update the sizing list in the shop, but with so many files, there may be ones without a width listed.  If you find you are unable to find a particular file, please email us at info@loriwhitlock.com and we will update the list and get the correct information to you.

Have a great day!


Changing up Sentiments

Hello crafty friends! Aimee here with you today and I wanted to share a little tip with you on changing the sentiments on your Lori Whitlock SVGs that have special print and cut messages. The original message may say Happy Mother’s Day but you can change them to fit any occasion you need such as birthday, Thank You, I miss you, or Congrats!

For the card itself, I used the A2 Box Card Mother’s Day Flowers file (Lori’s ShopSilhouette).

I used the Joyful In Hope sentiment (Lori’s ShopSilhouette)  for one of my box cards and

the sentiment from the Double Slider Card Birthday Balloons (Lori’s ShopSilhouette).

It’s very simple to do. Just open up your file, ungroup the message from its background box, and delete the original message.

1. Duplicate the background box found in the file you intent to use. Import the sentiments you want to use.
2. Ungroup the new message and delete its background box.
3. Move the new message over to the other background box and resize it to fit.
4. Now you have your boxes ready. All you need to do now is print and cut, and then adhere to your project.
Hope everyone is staying happy, healthy and crafty! Thanks for stopping by today!
Aimee

Mother’s Day Explosion Box Teacup Tutorial


Hi Everyone:

Anita here with a tutorial for Lori’s Explosion Box Teacup for Mother’s Day.  You can find this file here in Lori’s SVG shop and here in the Silhouette Design store.  I used Lori’s new Echo Park collection called All Girl.  This card makes such a stunning statement and Lori has several other explosion box designs as well.

I made extra flowers and used two to put on top of my box.

Here is a photo of the box when it has exploded open.  It’s just so pretty.

Here are the pieces that I cut out.  I ended up cutting out extra flowers and cut two more extra square panels, one I put under the tea cup and one in the box lid.

I put the inside of the box together and the cover as well.  I would recommend that if you are planning to put gift cards in the pockets that you put the card in and then put the pocket where you need it to be so that it will close nicely.  I popped  up the hearts and the messages for Mom.

These are the pieces for the saucer for the teacup.

These are the pieces for the teacup itself.

These are the handle pieces for the teacup.

Starting at the top left I took photos of the process of putting together the teacup.  There is a tab on one end of the cup piece and you glue just up to the tab.  I used wet glue for the best hold.  I then took the smaller perforated circle and glued it inside the bottom of the teacup.  Next, I glued on the handle to the teacup.  Bending both tabs and using wet glue again for the best hold.  Similarly there is a tab on one end of the saucer which you need to glue together.  Then I attached the larger perforated circle to the bottom of the saucer.   Once everything was good and dry I glued the teacup to the center of the saucer.

I then set about to rolling my flowers.  I just love doing this and had fun.  There are so many different ways to roll the flowers.  I have photos where I started rolling one flower with a skewer to get it going in a round shape and another one where I used a flower roller which I bought a long time ago.  My fellow Creative Team member, Corri Garza has a tutorial and how she rolls her flowers that is on Lori’s Blog and can be found here.  I used leftover Easter grass to fill my cup so that the flowers would stay in. You could also add a small styrofoam ball in the bottom and attach the flowers to it.   Thank you so much for looking and have a great day. Happy Mother’s Day to all the Mothers out there and very special wishes to a certain mom to be.

Hugs,

Anita