Valentine Explosion Box Tutorial

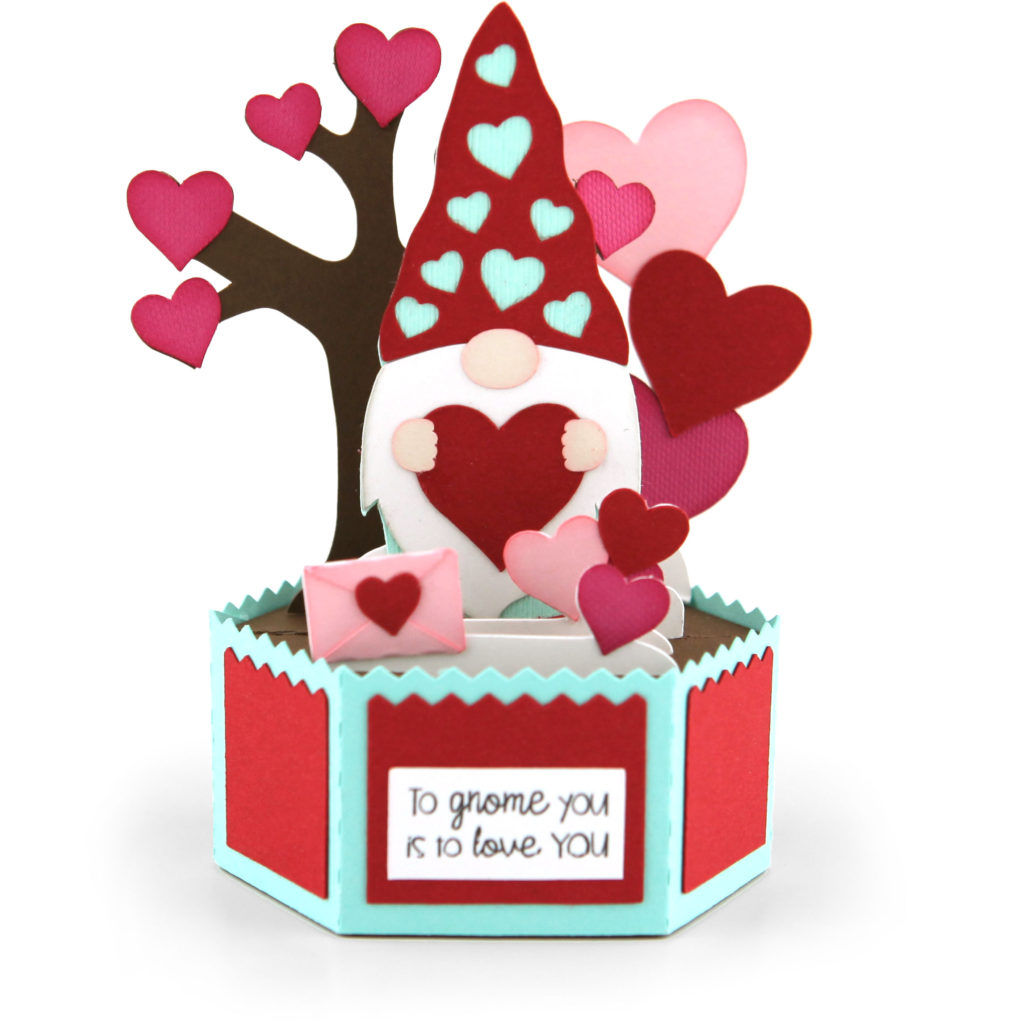
Hi everyone!  Corri today with a quick assembly tutorial for the center box in the Valentine Explosion Box (SVG, Silhouette).

The box of the explosion box is pretty straight forward.

Start by adding the covering panels to the inside and outside of the box.
Fold the pockets into shape and glue to the inside of the box bottom.  Same for the little envelopes.
The cover is one piece, add the panels and fold into shape and glue.

The trickiest part is assembling the little heart box that glues to the middle.  Here are the pieces that form the center heart-shaped box.

Fold along the perforations and glue the two narrow strips together end to end.   Follow the same steps and glue the wide strips end to end.
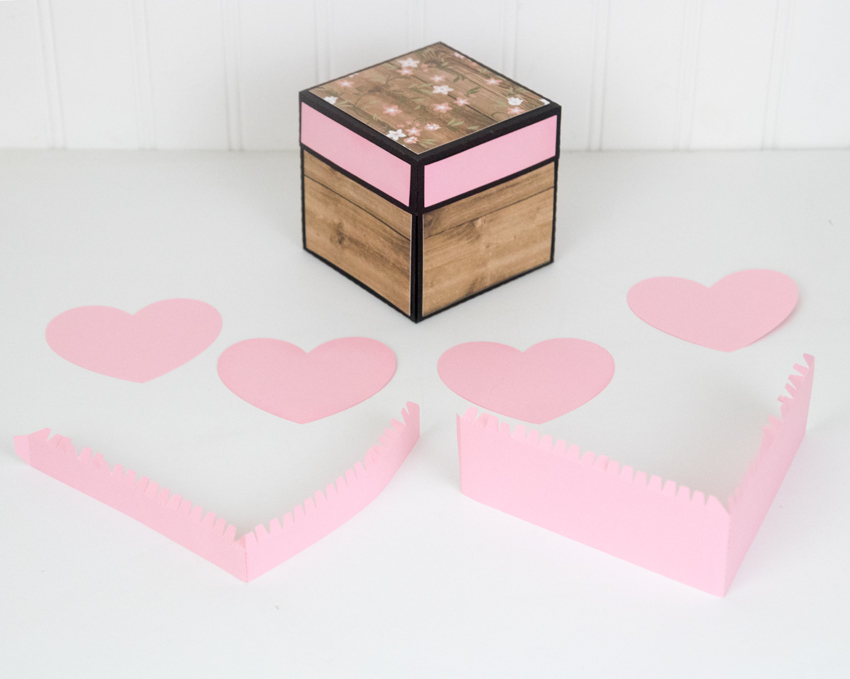
After the glue has dried, apply glue to the tab at the end of each strip and from a loop.  The wide loop is for the box bottom and the narrow loop is the box lid.

Next, form the heart shape, apply glue to the inside tabs.  Insert one and glue one of the die cut hearts on the interior of the lid and box.    I find it easier to start in the “dip” of the heart.   The second heart shape is then glued on top to cover the tabs.  It also helps to allow some time for the glue to dry as you move around the curves. Note, the two hearts for the lid are slightly larger than the hearts for the bottom.

Finally, glue the heart box into the center of the explosion box.
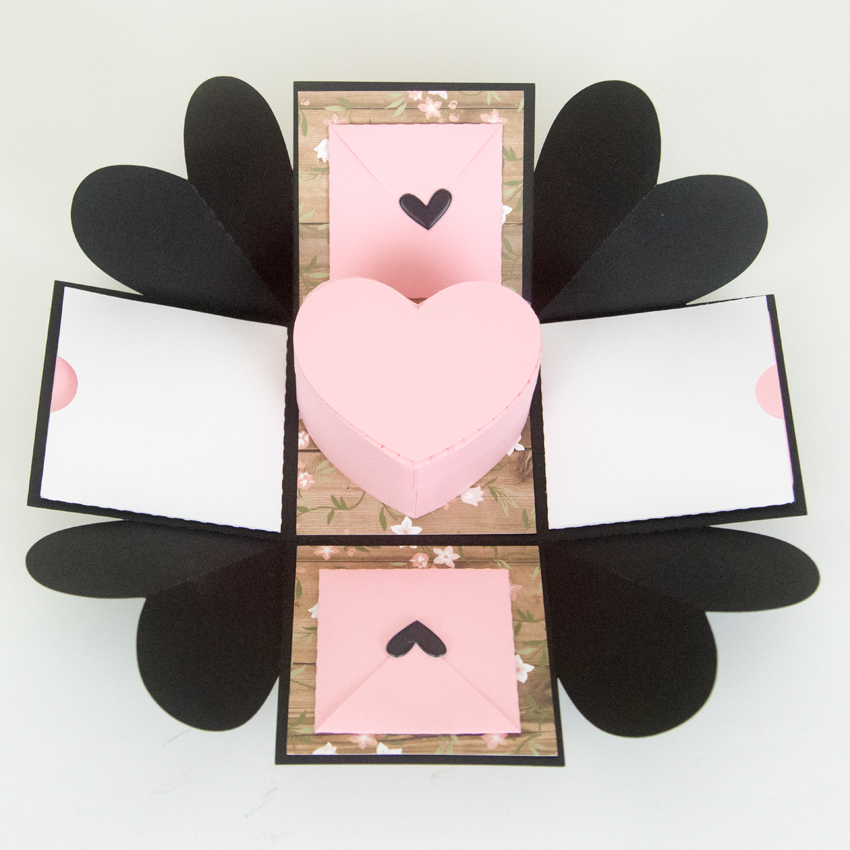
This little box is perfect for Valentine’s Day.  You can write little notes in the pockets and add a treat to the center box! I used paper from the Our Wedding Collection from Echo Park.  I love the soft pink mixed with the woodgrain.   And don’t forget, all SVGs, Fonts, Pattern Fills and Commercial Licenses are 30% off through Saturday when you use code FEB2021 at checkout!

Thanks so much for stopping by!

Corri
New Spring Pop Up Card Bundle

We have a fabulous new Spring Pop Up Card Bundle in the shop this week!  It’s full of fun cards for Valentine’s Day, St. Patrick’s Day, Easter, Mother’s Day and more!  Included in the bundle are three new types of cards, the Rectangle Pop Up Card, Round Pop Up Card and the Decagon Pop Up Card. I have new tutorials for each new card type on my YouTube Channel.  Take a peek…

Round Pop Up Cards – Tutorial

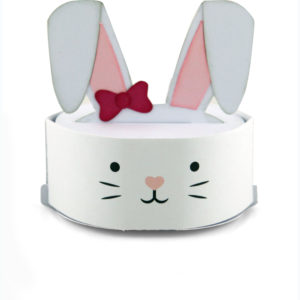
Round Pop Up Card Cat Face (SVG, Silhouette)
Round Pop Up Card Easter Bunny (SVG, Silhouette)
Round Pop Up Card Bunny Basket (SVG, Silhouette)
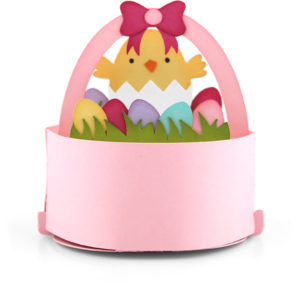
Round Pop Up Card Chick Basket (SVG, Silhouette)


Decagon Pop Up Cards – Tutorial

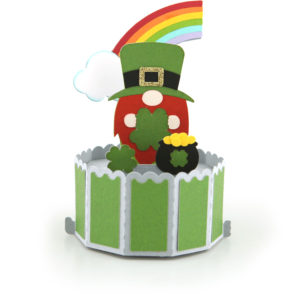
Decagon Pop Up Card St. Patrick Gnome (SVG, Silhouette)
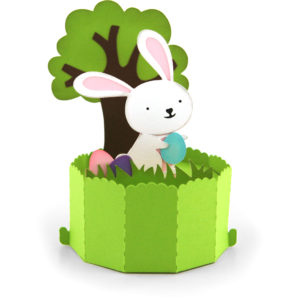
Decagon Pop Up Card Easter Bunny (SVG, Silhouette)


Rectangle Pop Up Card – Tutorial

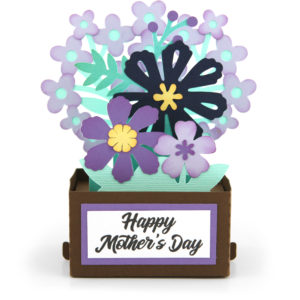
Rectangle Pop Up Card Mother’s Day (SVG, Silhouette)
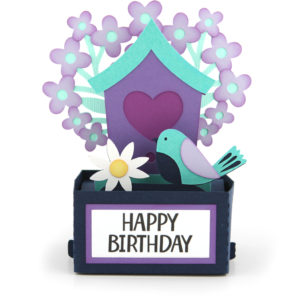
Rectangle Pop Up Card Birdhouse (SVG, Silhouette – coming soon)

Tutorial

Hexagon Pop Up Card Valentine Gnome (SVG, Silhouette)

These cards all fold flat for mailing and they make great décor pieces as well.  Even better, they along with all SVGs in my shop are on sale through Saturday.  Get 30% off when you use code FEB2021 at checkout!

Have a great day!

Valentine Heart Envelope Box Card Tutorial

Hello everybody, Marcia here today. Valentine’s Day is only a few weeks away. Are you ready yet? Lori has the cutest new Valentine cards in the shop, like this Valentine Heart Envelope Box Card (SVG, Silhouette). I created this with pattern papers from Lori’s Our Wedding collection and added some older ephemera from my stash.

Let me show you how you can create this card. In Silhouette Studio, I turned on registration marks, then printed and cut the “I Love You” sentiment. No need for a stamp and ink pad. The registration marks help the Silhouette Cameo cut where it should, in this case the banner with the printed I Love You perfectly centered. You set registration marks in the Page Setup Window. Click on the third icon and select Registration Marks ON. You will know they are on when you see the grid appear at the top with the black square and corner marks. Go back to the first Page Setup menu and adjust the width and height so they match the size of the cardstock you are using in your printer. Check the Show Print Border and Show Cut Border. You want the text you are printing to be inside of the print border. Then remove the banner so only the text remains and send to the printer (see printer icon at very top on the left). Once printed, place your cardstock on your cutting mat and load into your Silhouette Cameo. Move the banner back into place around the I Love You and select Send to cut. Go back to the Page Setup to remove the registration marks and print border and resize the width and height back to 12×12.

Select your cardstock and pattern papers and cut shapes without resizing. This design has a lot of hearts that can make assembling confusing. I like to lay out my pieces as I cut them so I know exactly where they will go. This is easiest if you cut the card base and panels first.

Next, I ink the edges of my pattern papers. This subtle shading gives your cut pieces depth. Select an ink shade that matches your pattern papers as close as possible. It’s better to go with a little darker shade rather than a lighter shade.

Adhere your panels down on the card base and create your box by gluing the tab on side to the back panel. Adhere the hearts to the center insert. You can use foam dots to pop a few of them up for dimension. Then glue the tabs of the insert to the inside of your box card lining everything up along the sides of the card.

Add remaining hearts to the back panel so they can be viewed above the center insert. Embellish as desired. I added these adorable fox and the large Kiss Me ephemera pieces.

On the back of the card I added a white circle for writing on and another ephemera piece.

I love these 3D cards! They fold flat for mailing, but can be popped up and displayed on a table or countertop. Send one to someone you know who could use a little extra love right now. Thanks so much for stopping by.

~Marcia

Valentine Mini Mailbox Treat Holder Tutorial

Hello crafty friends! Aimee here with you today sharing a tutorial on one of the many new and fabulous Valentine SVG files from Lori. I have been so giddy over these new treat containers, cards, and 3D decor files that I want to make them all!

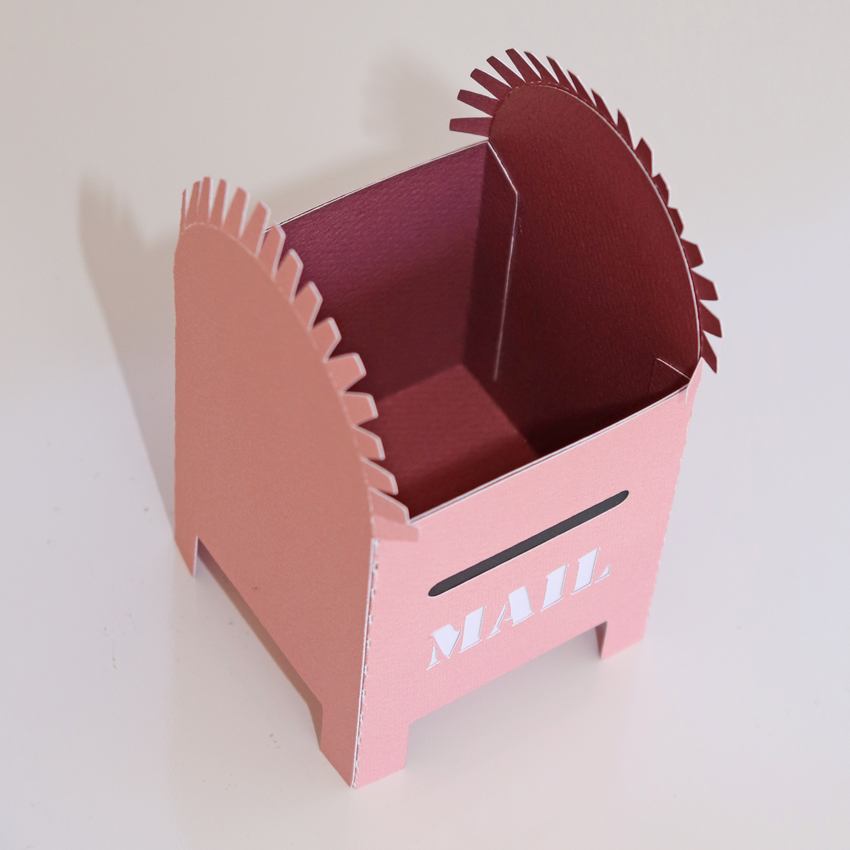
But I will rein myself back in and focus on the MINI MAILBOX TREAT HOLDER (Lori’s Shop, Silhouette) that is super cute!!! Alright, here we go…

Cut out all of the pieces to this project

At this point I’m going to give you 2 different options on getting the main 2 pieces adhered together.

1. adhere both pieces and slide the center piece into the outer mailbox shell

and adhere the two pieces together

Or….

2. Adhere the center box together and then wrap the outer mailbox piece around it and adhere the two pieces together as you go

Now we can adhere the center layer into the box

Adhere the sweet little envelopes onto the center divider piece

Add your adhesive to one of the long strips and start adhering it from the bottom of the front side…

to the bottom of the back side.

Adhere both sides down and you’re done!
Now add some cute embellishments and some candy and you are ready to hand this over to your sweet someone.

That’s all from me! Hope you enjoy making this sweet project as much as I did! Now I am off to go make some more of the new files!
Aimee

A2 Tiered Box Card Tutorial

Hi there friends! Brandie here with a tutorial on the new A2 Tiered Box Cards. I made the A2 Tiered Bird Mountain (SVG, Silhouette). This snowy mountain card will make a perfect birthday card for my dad who loves the outdoors.

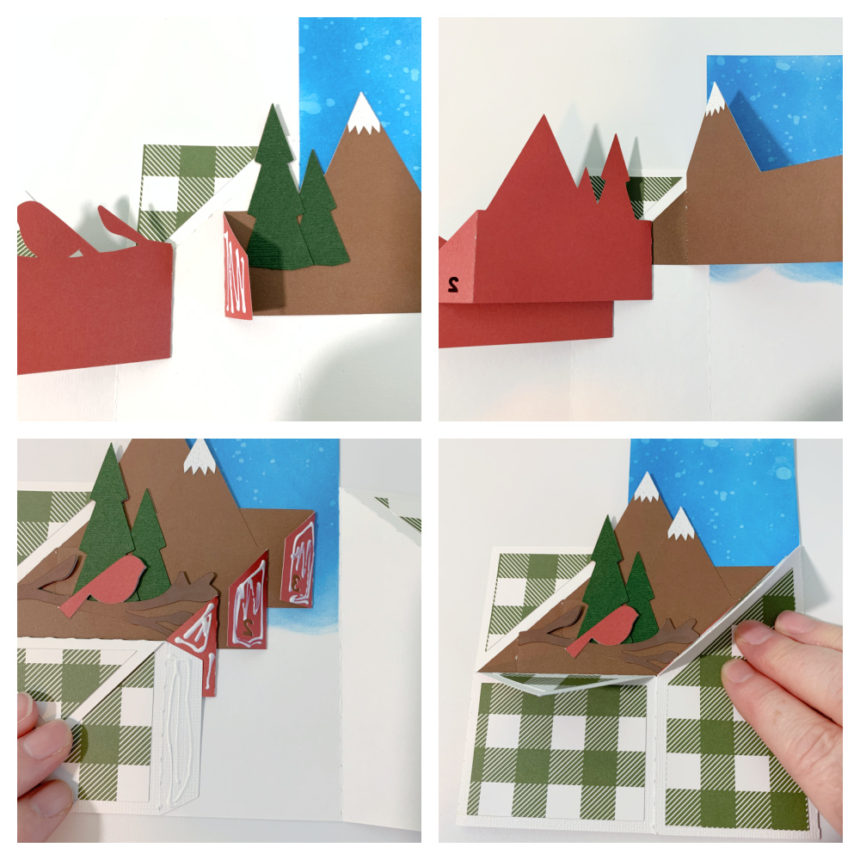
I cut the box card body out of white cardstock but wanted a blue snowy backdrop for the mountains. So I used some distress oxide inks on the tallest middle panels. I then made all of the folds on the score lines (see picture for fold diagram). Then I assembled the inserts. All of the inserts will have a valley fold on the tabs. I also applied the decorative panels to the outside of the box. Once I was ready to glue the inserts in I applied the glue to the outside of the tab(red side for me). Then lined up the front of the tab to the vertical score line and the diagonal score line of the box.

For the second the third insert I lined the tab up to the tab in front and the diagonal score line of the box. I then folded the tabs all in and applied glue to the backs of the inserts and the tab to close up the box (see picture below on how I applied the glue to avoid gluing the box tab to the inserts).

Now that the box is assembled I added the background mountain and the snowflakes.  The green plaid paper is from the My favorite Christmas collection by Echo park Paper Co.

And don’t forget, the New Year’s Sale is happening now in Lori’s SVG Shop.  Get 50% off All SVGs when you use code NEWYEAR at checkout!  Don’t wait, sale ends tomorrow!

Thanks for stopping by today and have a safe and happy New Year!

Brandie