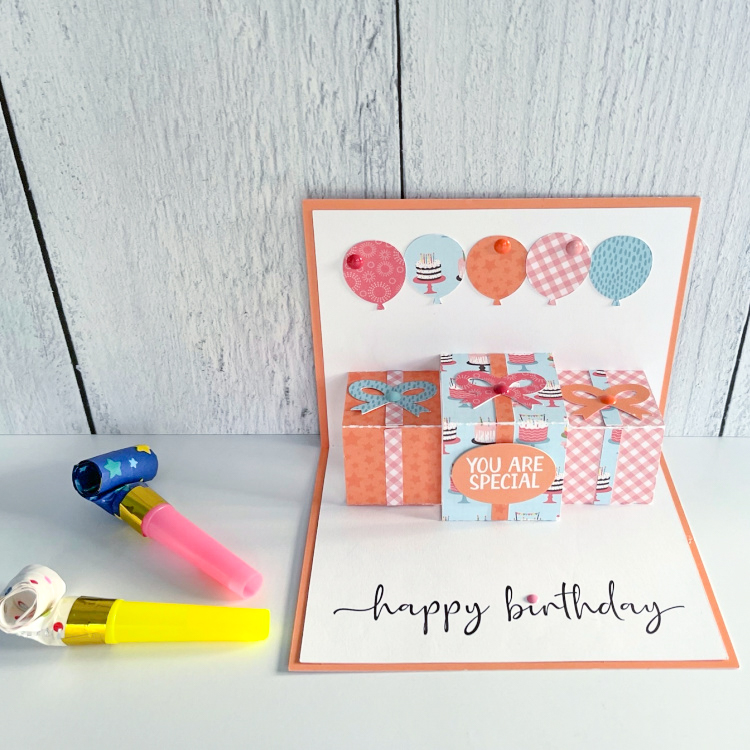
Happy Birthday Pop Up Presents Card Tutorial


Hello Everyone:

Anita here with a tutorial for assembling Lori’s new Happy Birthday Pop Up Presents Card (SVG, Silhouette).  I used one of Lori’s new Echo Park Paper lines called Birthday Girl.  This card is so fun and pretty easy to put together.
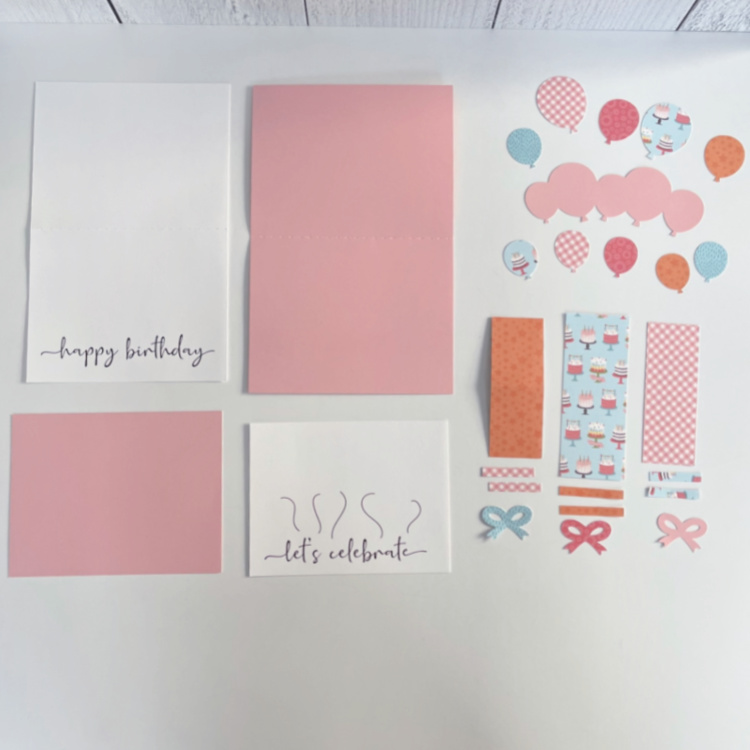
There are two print and cut parts to the this card, the base and the card front as you can see from above as well as all the other parts of the file.
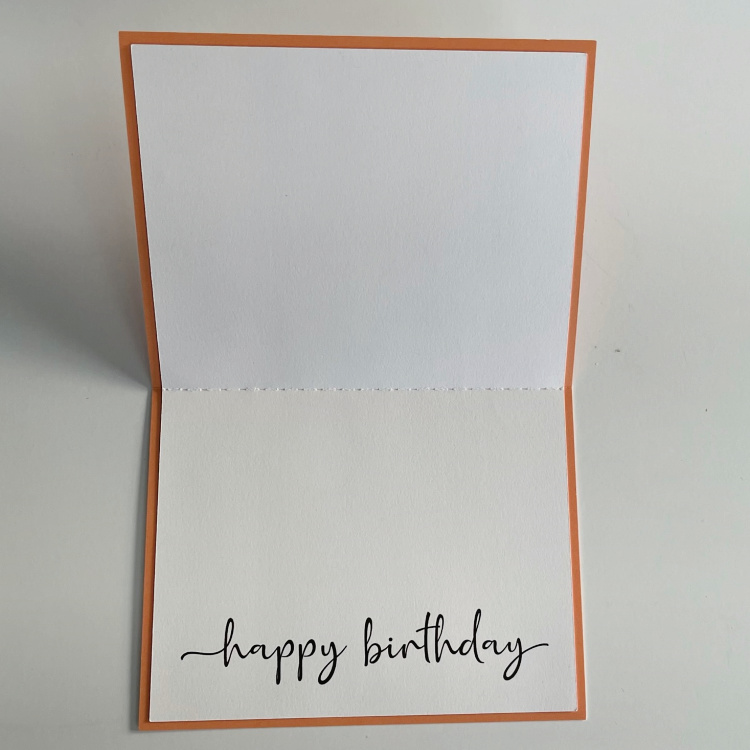
The first thing that you are going to do is glue the inner part of the card to the outer card.  Center the inner card and glue down.
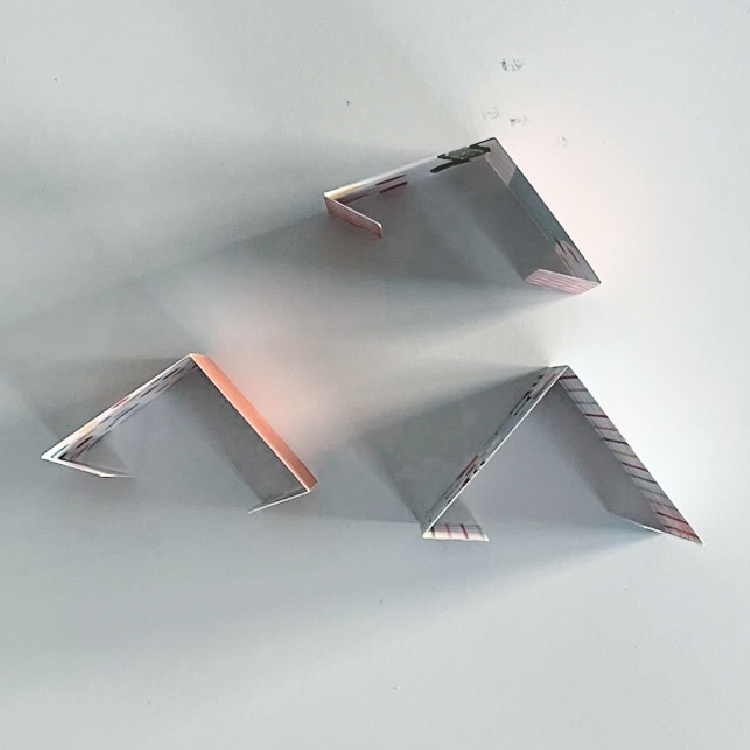
The second thing you are going to want to do is fold your present pieces like this with a mountain fold and the tabs on either end are folded in.
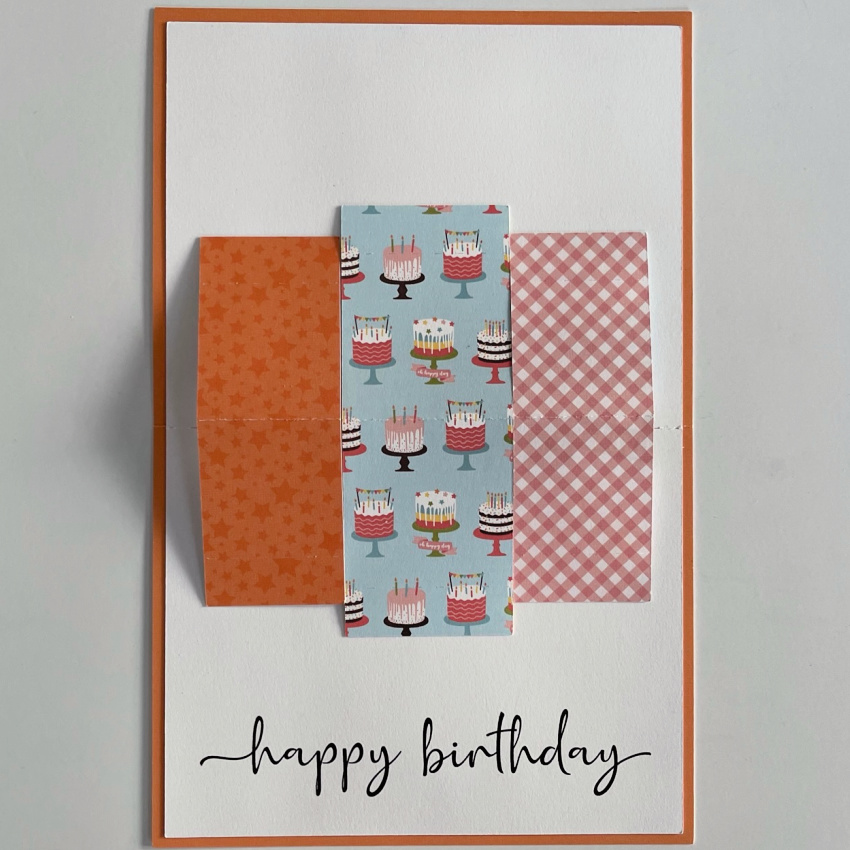
Next I laid out my present pieces and lined up the center score marks on the presents with the center score mark on my card.  I made sure that the presents fit together closely but did not overlap as they won’t pop up if you don’t.  I counted over two score marks to line up my first present.  I then folded under the top and bottom tabs, and glued them to the card base, making sure the center score lines were all still aligned.
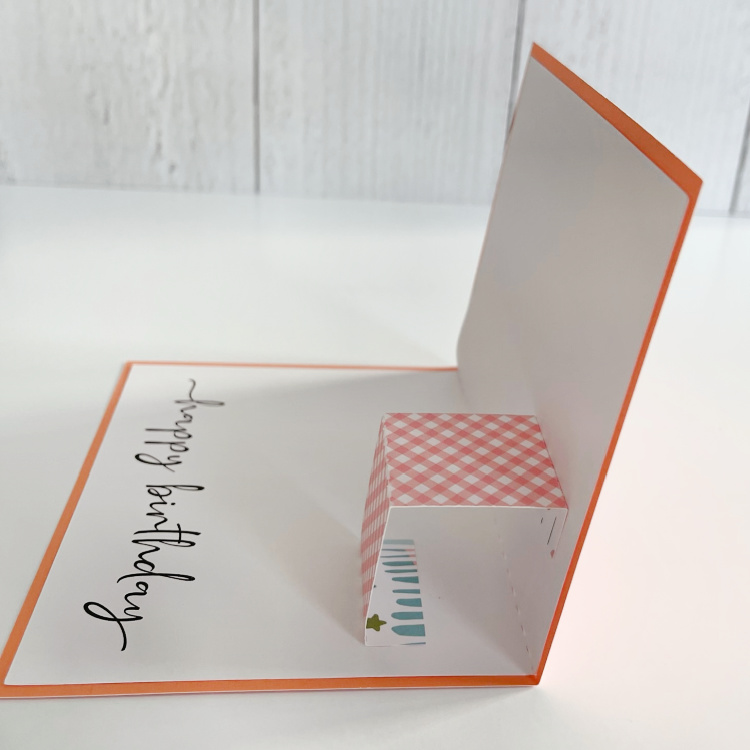
You can see the first present glued into the card here.
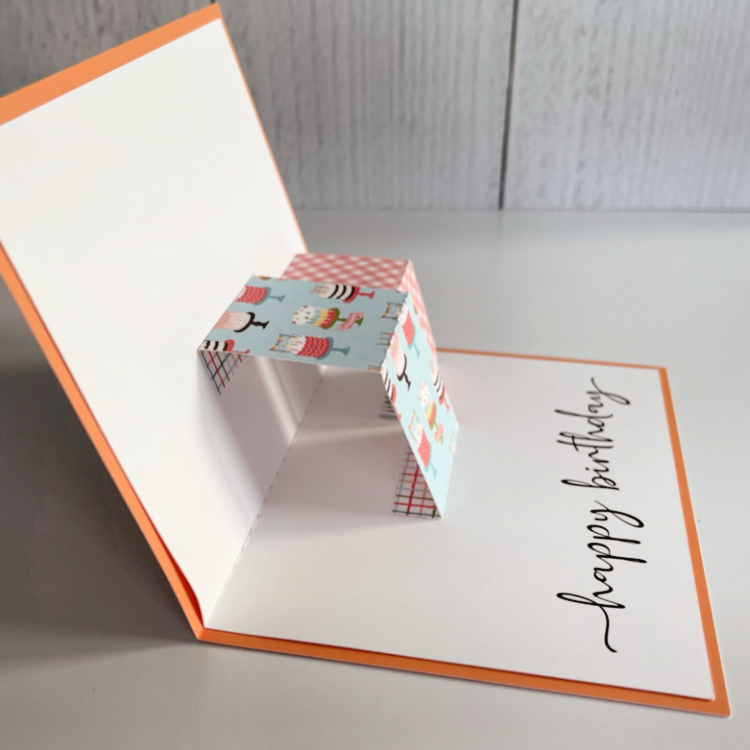
Here you can see two of the presents are glued into the card.  I worked on the card when it was open flat and made sure that everything was lined up as I glued each tab onto the card base.
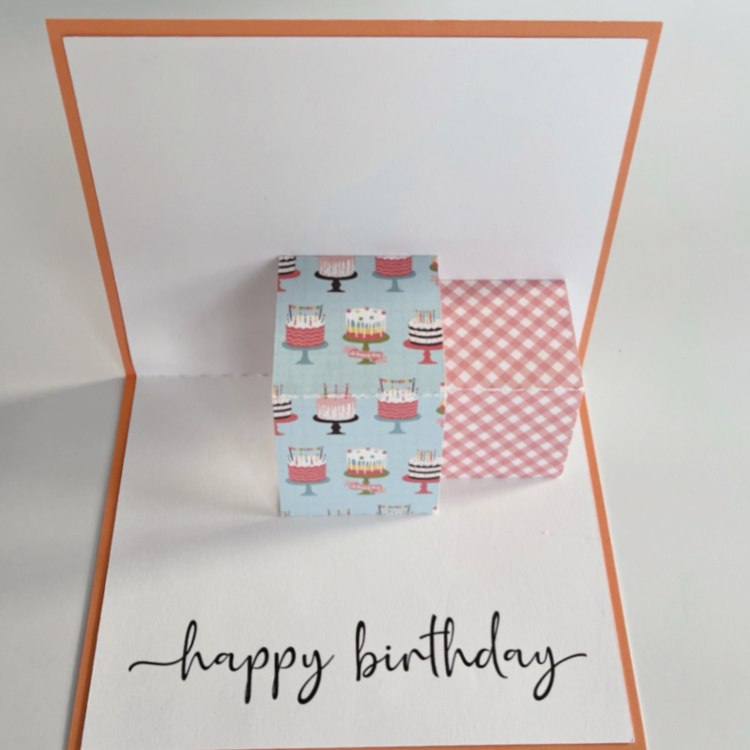
Here is the front view of the two presents glued in so that you can see how close I put them to each other.
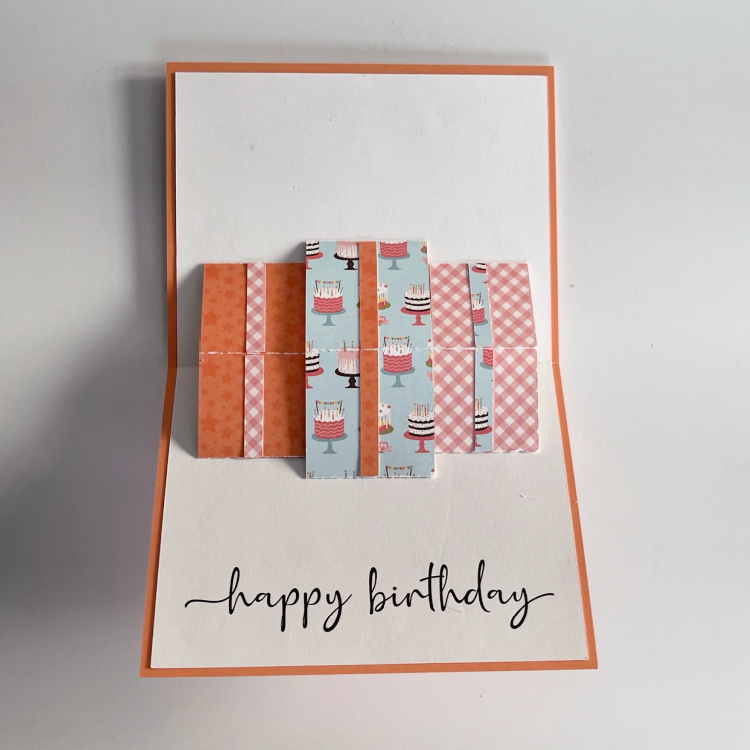
Here is my last photo with all three presents glued into the card and the ribbon paper pieces attached.  Add the balloons to the front of the card and inside the card and you are done.

That’s it for me today.

Hugs,

Anita
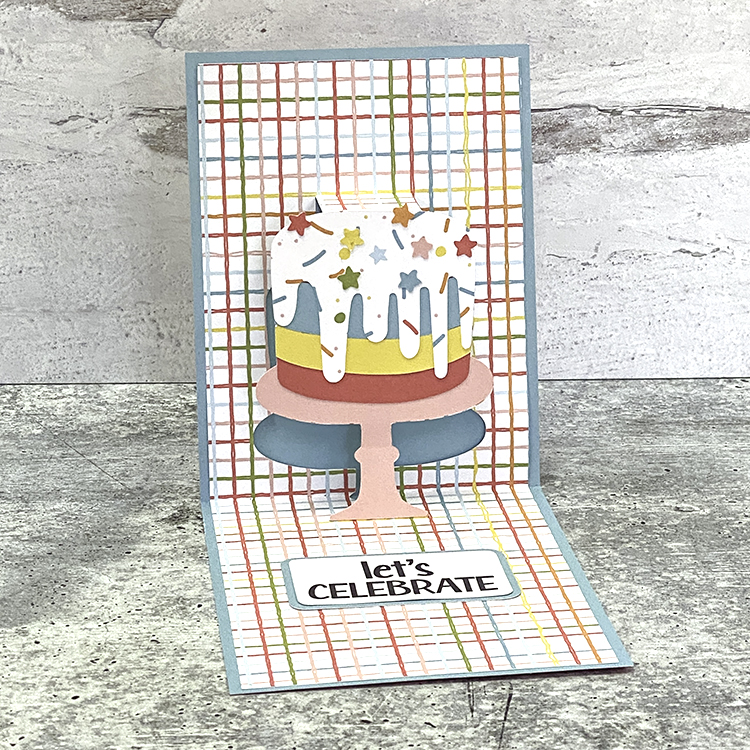
Happy Birthday Pop Up Cake Card 2

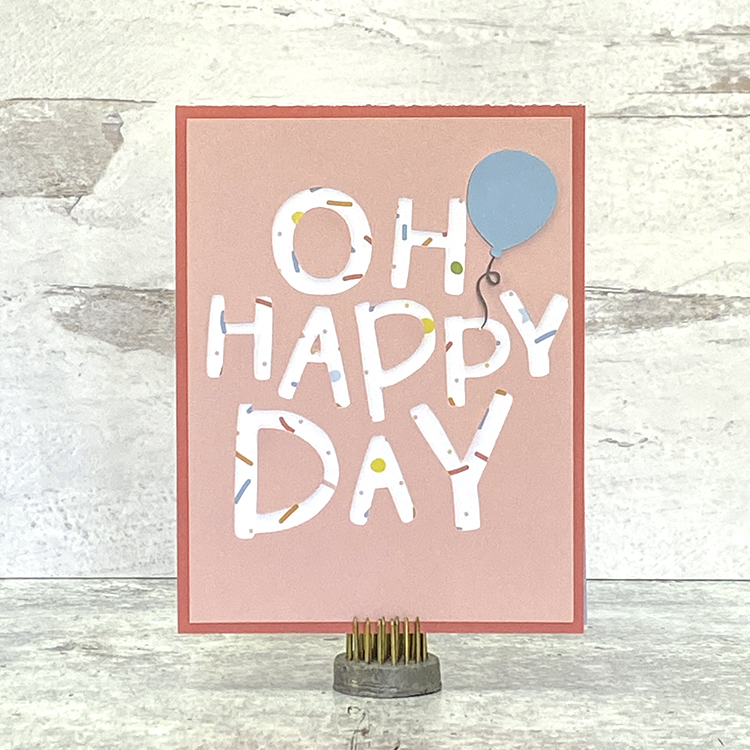
Hi Everyone!  It’s Kathy today with one of Lori’s fun new cards from the Awesome Birthday Card Bundle.  This Happy Birthday Pop Up Cake Card 2 (SVG, Silhouette) is such a fun card, and really easy to put together.  I put my version together with Echo Park Paper’s new Birthday Girl Collection, take a peek…

And the outside is just as cute!

I put together some easy instructions for this card below….

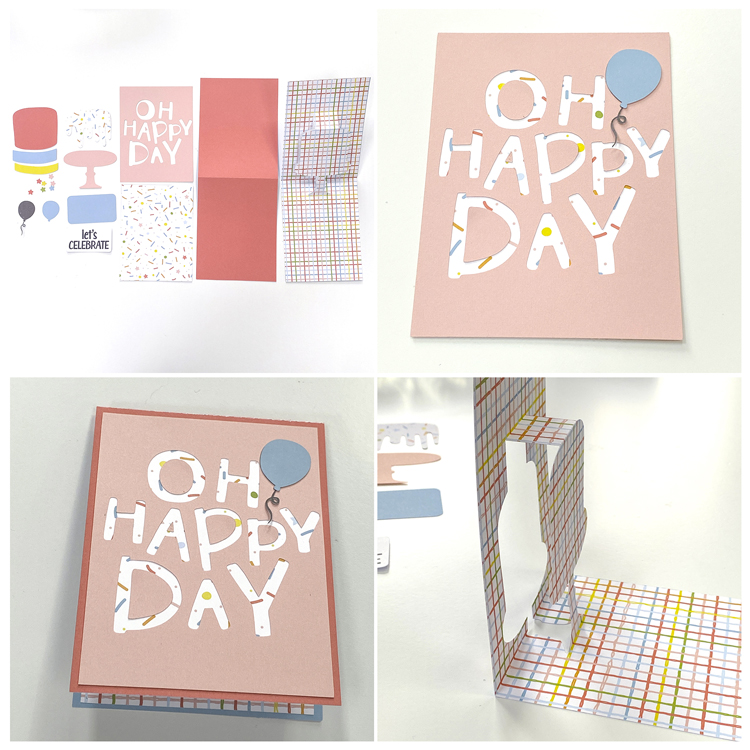
I started by cutting all of my pieces.  I also print and cut the sentiment piece.  Note that I did save the “inside pieces” of the letters on the Oh Happy Day piece so that I could add them to the card.

Next I assembled the front pieces of the card.  Layer the words panel over the background piece.  Add the insides of the letters and the balloon

Add the completed front to the front of the main card base.

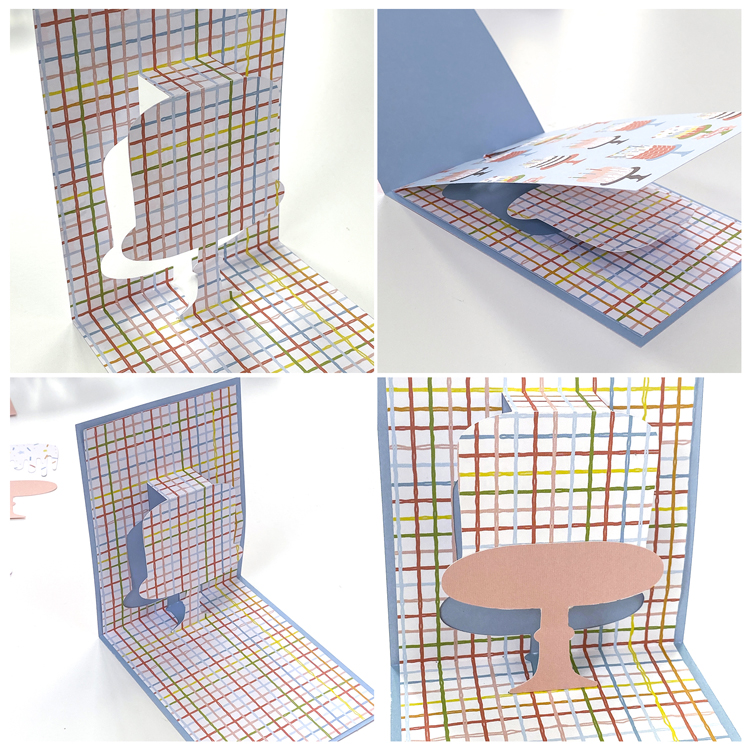
Next, I folded the pop out insert along the score lines so that the cake “pops out” when the card is opened.  Here is a side view so you can see how I folded it.

I added another view of the folds.

To add the insert to the inside of the inside of the card, I added adhesive to the “top” or cake side of the insert.  Do not add any adhesive to the part that pops out (the cake)  Fold the insert along the center score line and align and center the fold of the insert with the inside crease of the card base.  Press down to secure the first side.

Add adhesive to the remaining side and fold the whole card over and press to secure.  Note:  Make sure the outside front of the card is on the same side as the cake so it opens correctly

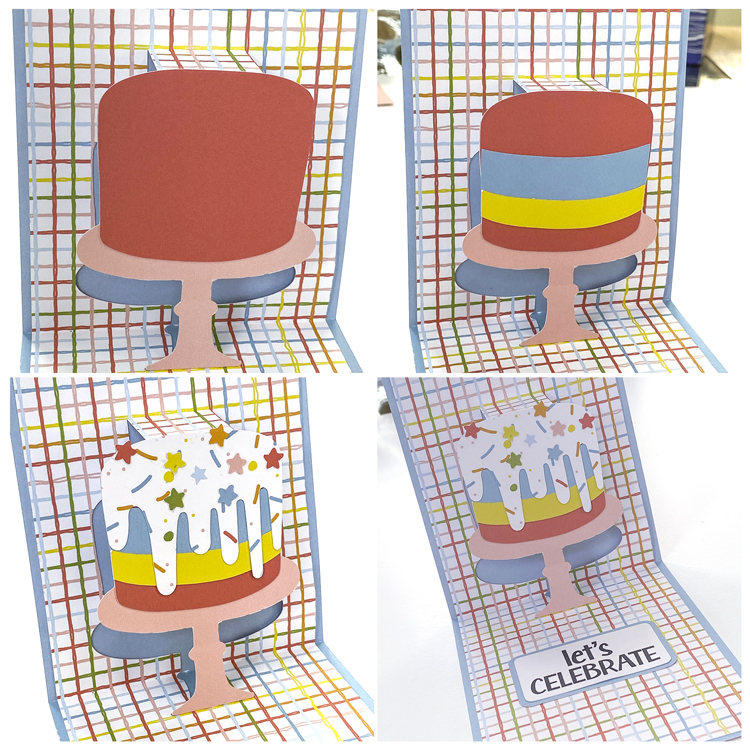
Once the insert was added, I glued cake stand and pieces to the pop out part of the card.  I started with the base.

Next, I glued the cake on the base, added the stripes to the cake and lastly the frosting and stars.  To complete, I added my sentiment.

Check out all of the fun cards in the Awesome Birthday Card Bundle, there is something for just about everyone on your list!  That’s it for me today, thanks for stopping by to peek!

BLOG | INSTAGRAM

Nuggets of Love: Valentine Nuggets Heart Box Tutorial

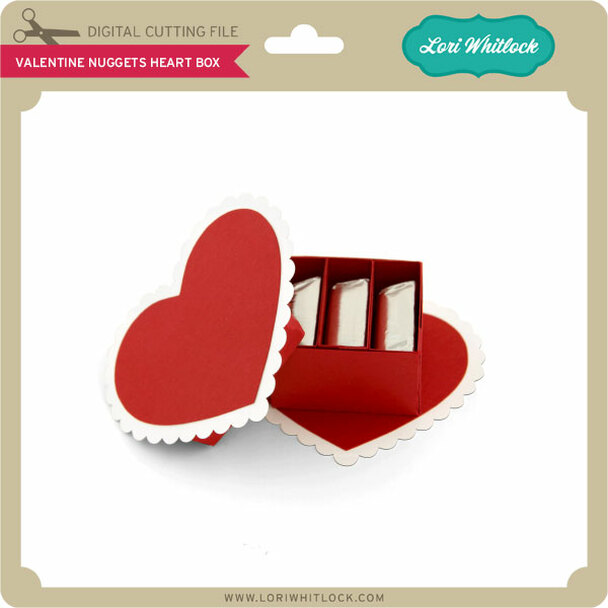
Hi there paper crafting friends!  It’s Michelle Starcher, aka the Bookish Designer, hopping onto the blog to walk you through the steps to create Lori’s Valentine Nuggets Heart Box (SVG, Silhouette).  This adorable little box holds three Hershey’s Nuggets and is perfect for spreading some love this Valentine’s Day.

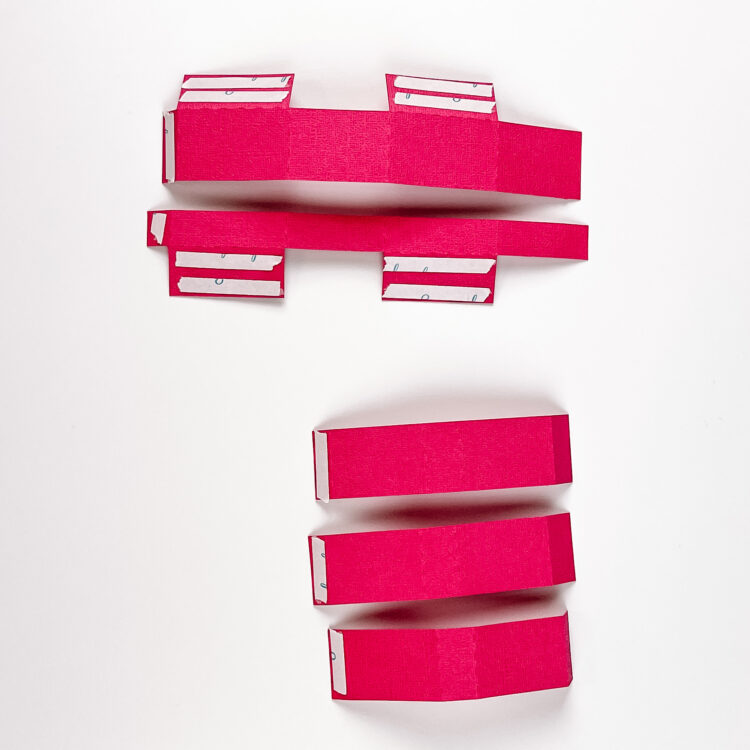
I used my Cricut Maker to cut the pieces for the Valentine Nuggets Heart Box.  For this step, I had to ungroup all of the pieces and attach the score marks to the pieces that would be used to make the box.  There are two pieces that make up the outer box and three for the individual nugget holders.  Once I cut out all of the pieces, I folded along the score lines and added adhesive tape to the tabs.

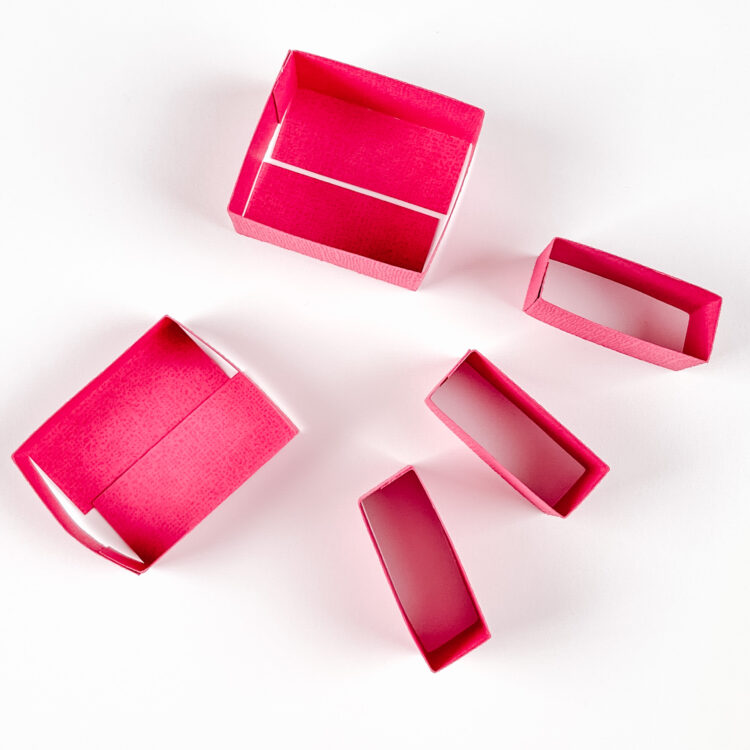
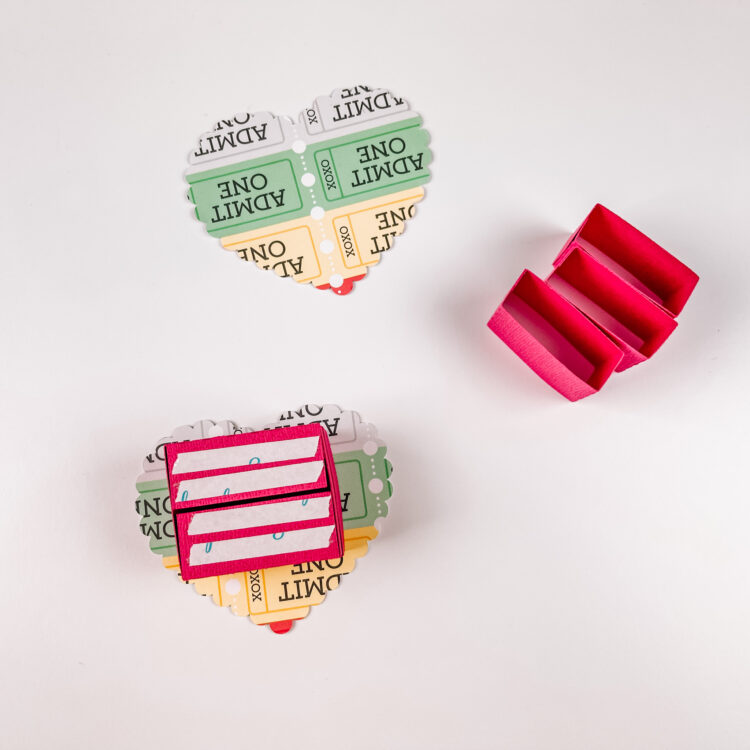
Next, I built the box, lid, and nugget holders using the adhesive tape to connect the tab with the other side of the paper strip to form a “box”.  The bottom flaps of the box and lid do not connect to anything at this point.

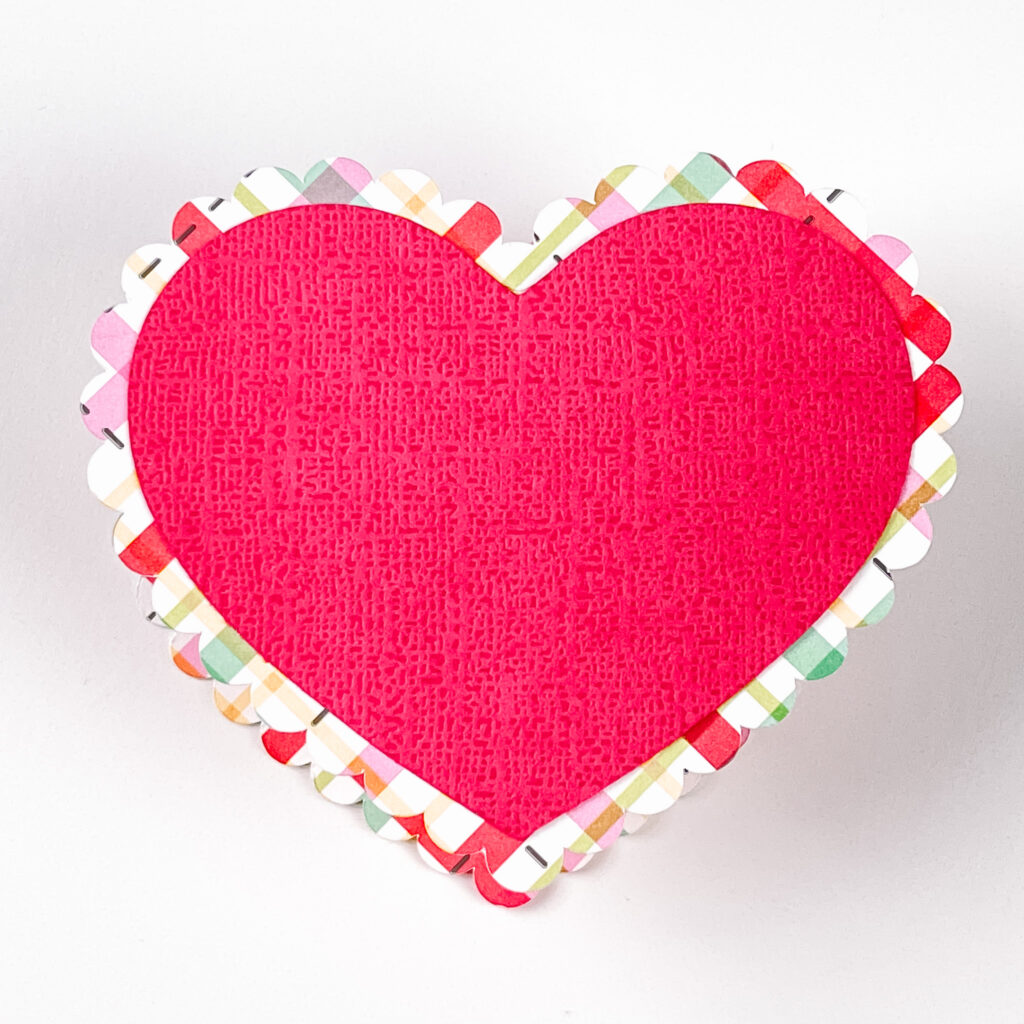
Attach the smaller hearts to the larger scalloped hearts.  These will form the base for you box and lid.  Attach the lid (shorter piece) to the back of one of the hearts.  Small notches on the scalloped heart will help you to line up your lid in the appropriate place.  Next, insert the box into the lid with the tabs/flaps on the outside. Then attach the other scalloped heart to the box using the adhesive on the tabs/flaps.  Use can use the lid’s heart to help you align the top and bottom pieces.  (Note:  You want to attach the bottom tabs/flaps of the box to the side of the heart where you can see both hearts.)

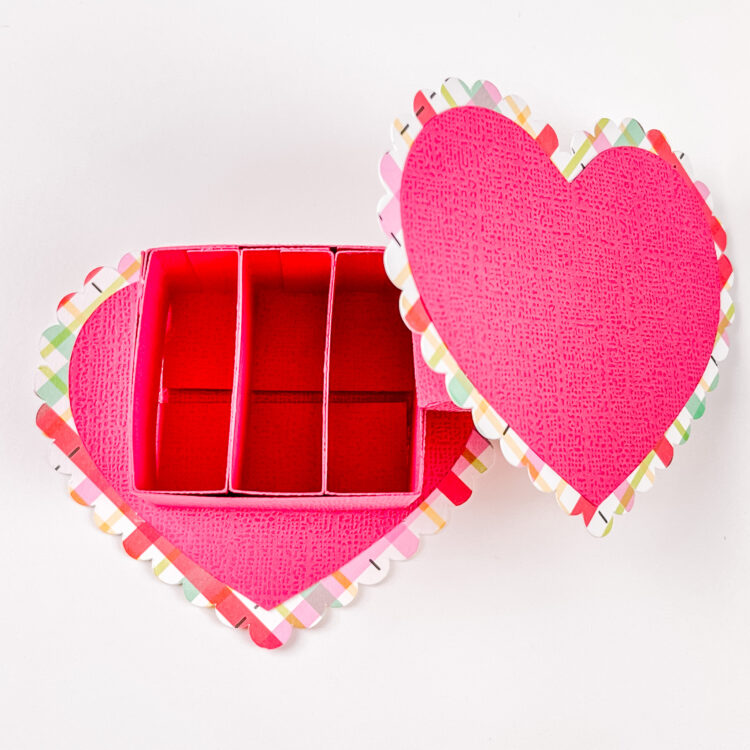
Finally, you need to insert the nugget holders into the box.  You can use adhesive to connect all three nugget holders, but I just placed them inside the box without any adhesive.

You can add stickers or other embellishments to the top of the box to give it a little more flair. Otherwise, it is ready to fill up with yummy chocolate nuggets.  In addition the the Valentine Nuggets Heart Box, Lori has a couple of other Valentine’s Day heart boxes available that hold Hershey’s Kisses.   Here are the links to all of the Valentine’s Heart Boxes.

Valentine Kisses Heart Box Small (In Silhouette Store here)  Holds 4 Kisses
Valentine Kisses Heart Box Large (In Silhouette Store here)  Holds 9 Kisses
Valentine Nuggets Heart Box (In Silhouette Store here)  Holds 3 Nuggets

Until next time,

Michelle


Sleigh Box Card Tutorial

Merry Christmas!  I can’t believe that Christmas is just a few days away.  Time flies this time of year.  Lori has so many holiday cards and projects in the shop, and I simply do not have enough time to create.  But it’s no secret that I love to make her Box Cards, they are so easy and they just have the best Wow! factor when you are giving them or mailing them.  They are really a gift within themselves.  I will show you how easy they are to create.  I used the Sleigh with Presents Box Card in Lori’s SVG Shop or you can find in here in the Silhouette Design Store.

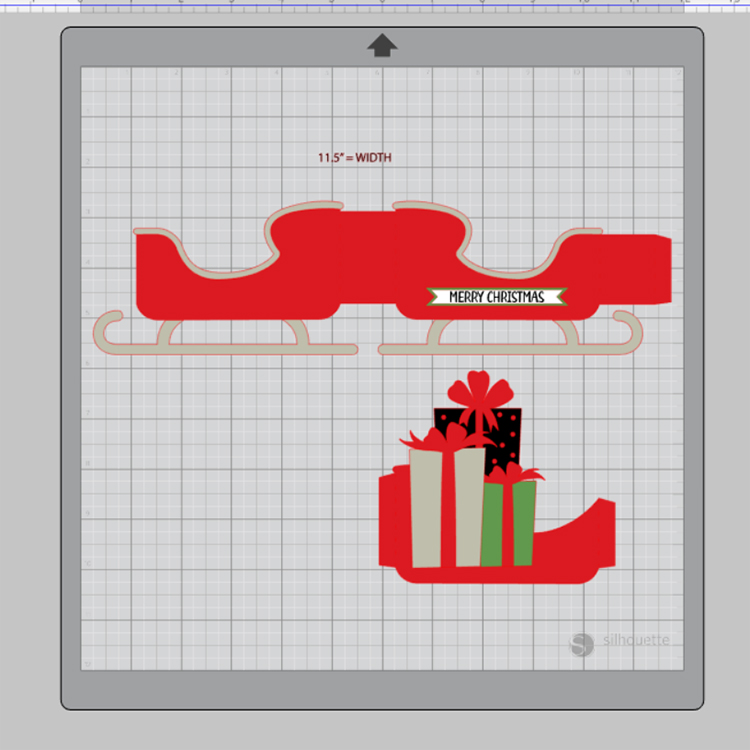
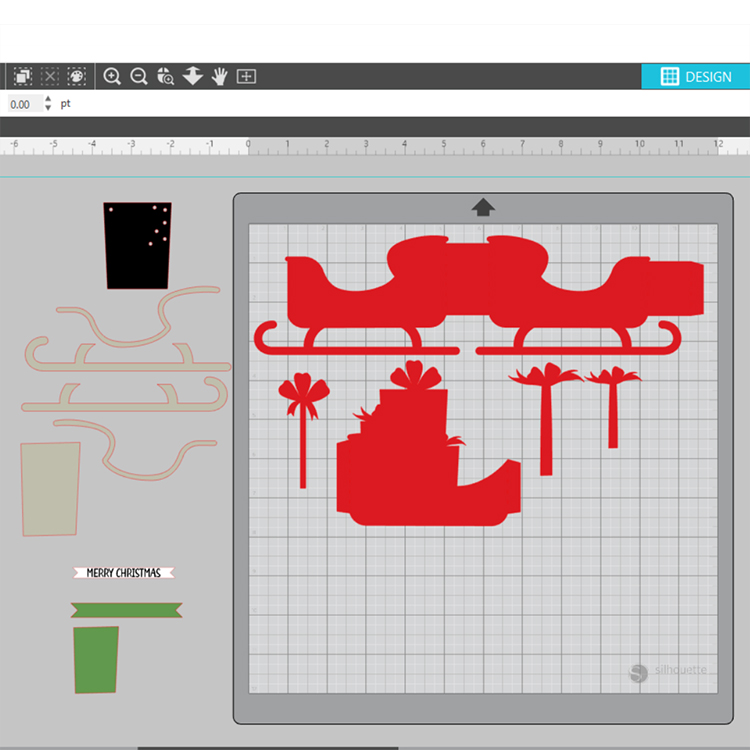
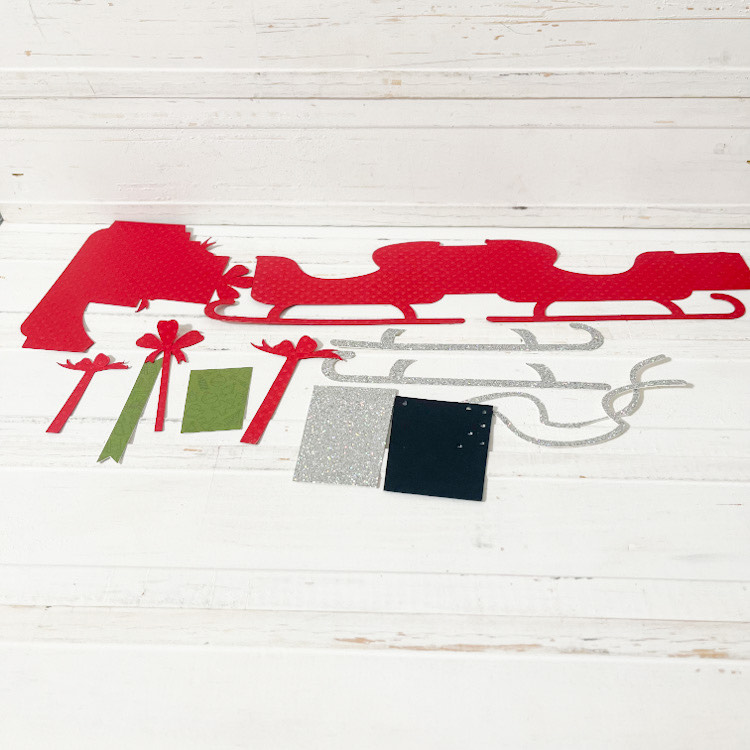
You can see the file here on my screen.  The first thing I do is ungroup the file and I always sort my pieces by color.  I love that Lori adds color to her files, it makes them so much easier to separate.

Here you can see how I separated the pieces, then you can start cutting color by color.

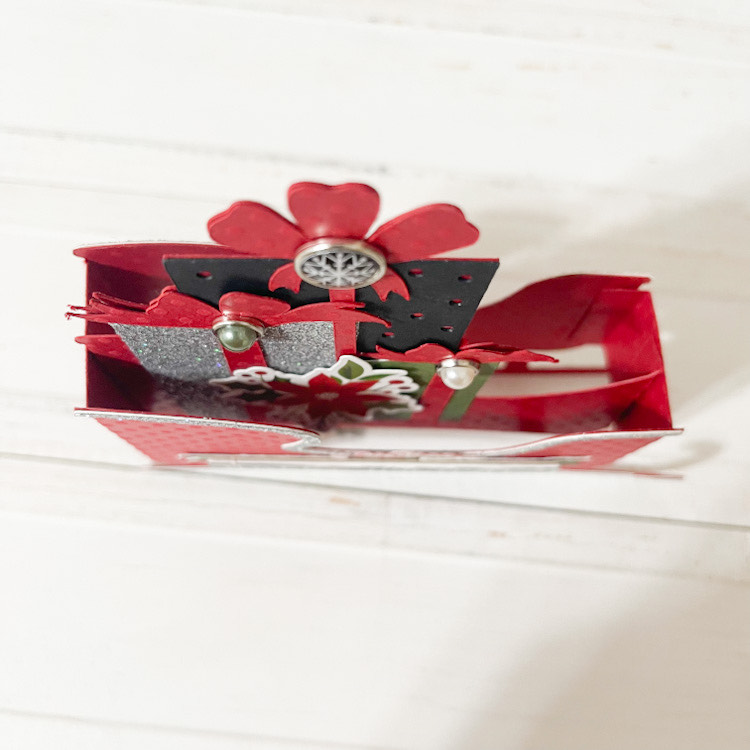
Below you can see that I have all my pieces cut out and ready for assembly!  For this card, I added my silver sleigh runners and silver trim while I had the pieces laying flat.

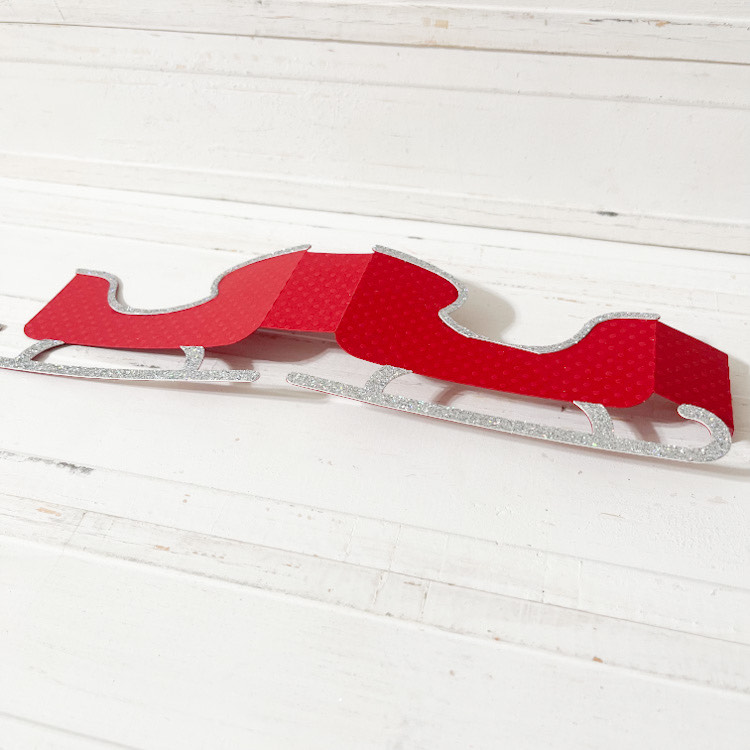
You see here that I added my silver trim and folded my score lines.  Yeppers, I have a boo boo on my silver trim, but didn’t have enough silver glitter paper to recut it, so I will just cover that little error up and customize it a bit….lol!  All you need to do here is add some adhesive to the little tab and create a box shape!

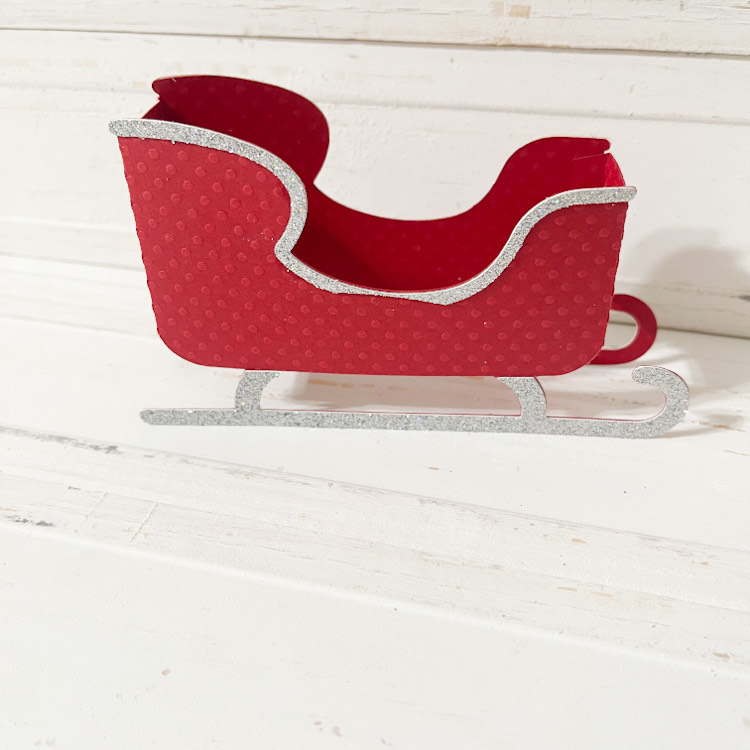
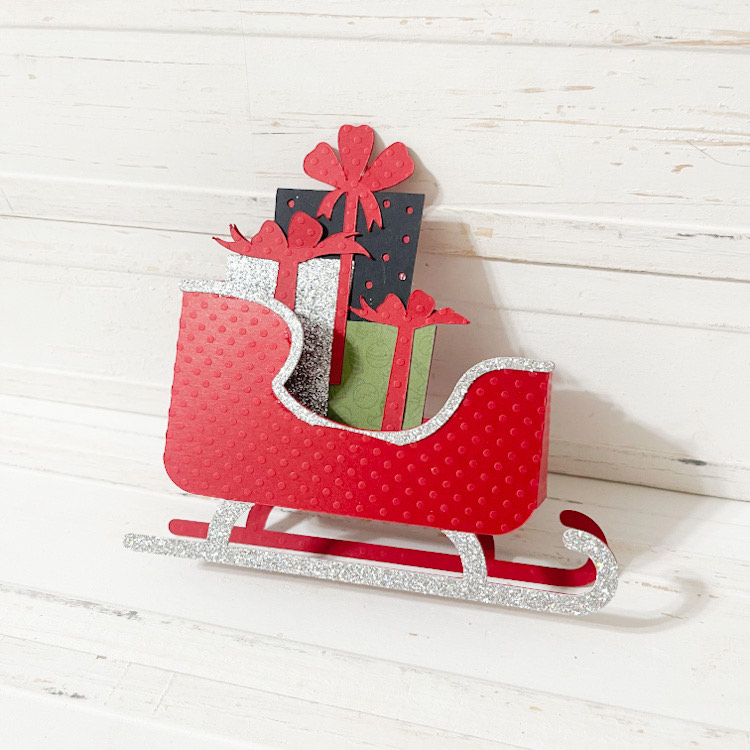
Now we have our little sleigh with that little boo boo!

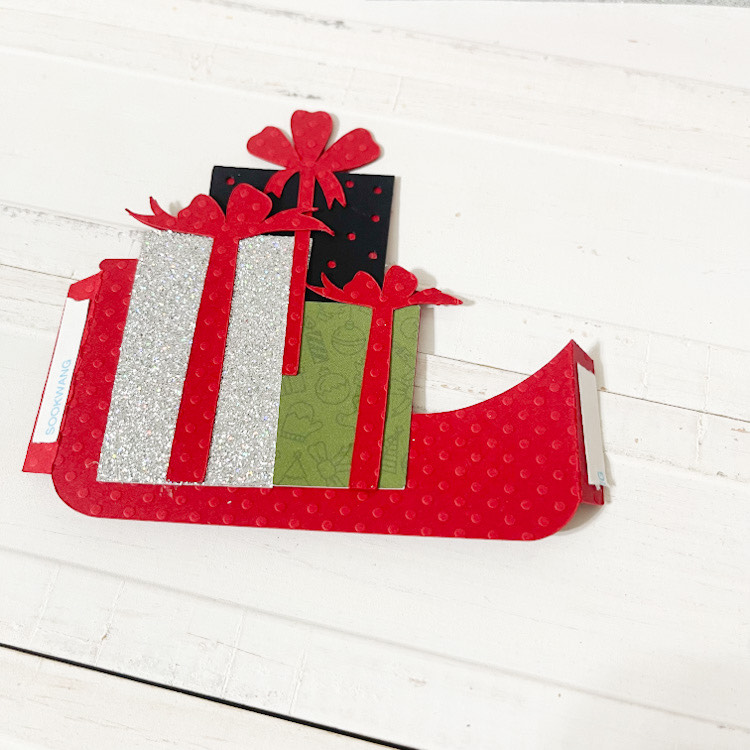
Next, you can adhere all your little pieces to the present insert piece and add you adhesive to the little tabs.  This insert is now ready to adhere to the inside sides your sleigh!

It just sits down, inside your sleigh.  Just adhere the tabs even to to sides.  And just like that you’ve created a box card.  This little sleigh only has one insert, but Lori has lots with more than one insert, and when that is the case, she numbers them in order for you.  So much fun!

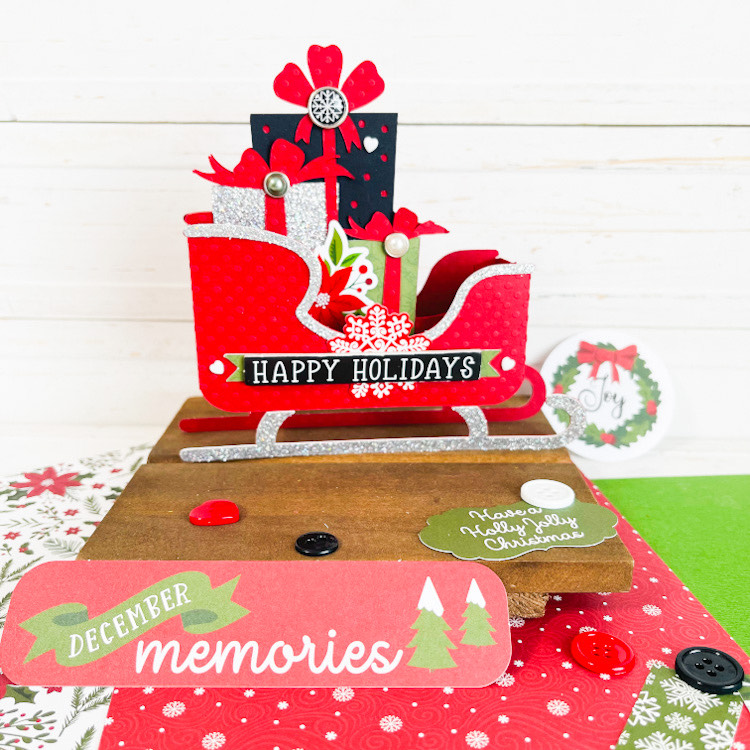
I used Lori’s Echo Park Christmas Magic collection to embellish my sleigh!  The picture below shows my sleigh before I started embellishing….my favorite part!

All done!  So cute!  You can’t even tell where my little error was with the silver glitter paper.  I love how this turned out!  So easy and quick to create.

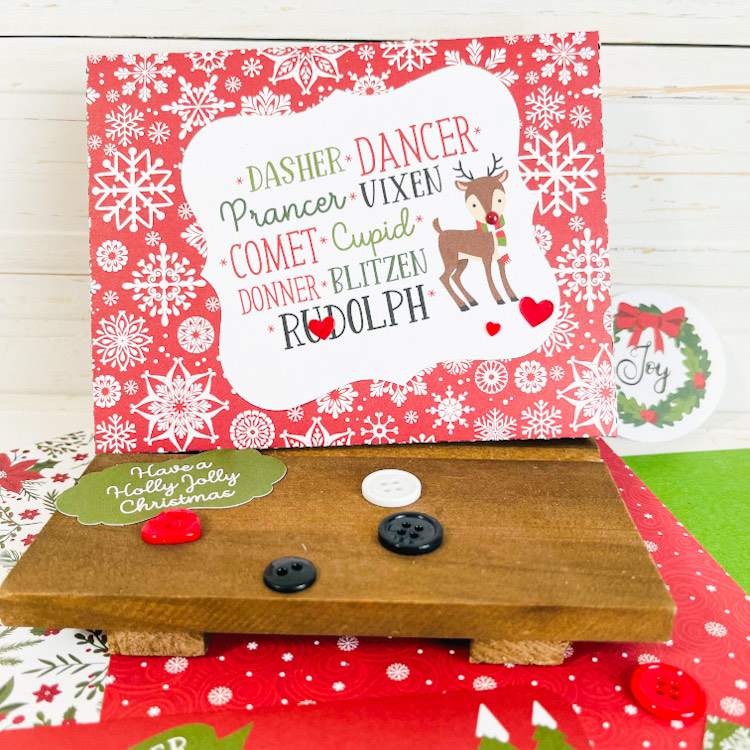
The box cards even fold flat for mailing!  Who wouldn’t want to receive one of these in the mail!?

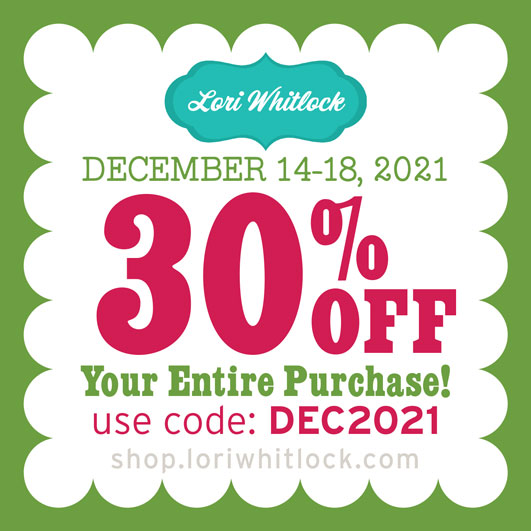
And don’t forget, there is a sale happening now in the Lori Whitlock SVG Shop!  All SVGs, Fonts, Commercial Licenses and Pattern Fills are 30% off when you used code DEC2021 at checkout! Don’t miss out, sale ends Saturday!

Thank you for joining us today, we can’t wait to see what you create!  Wishing you all a very Merry Christmas! ~ Cathy

Stadium Box Card Tutorial

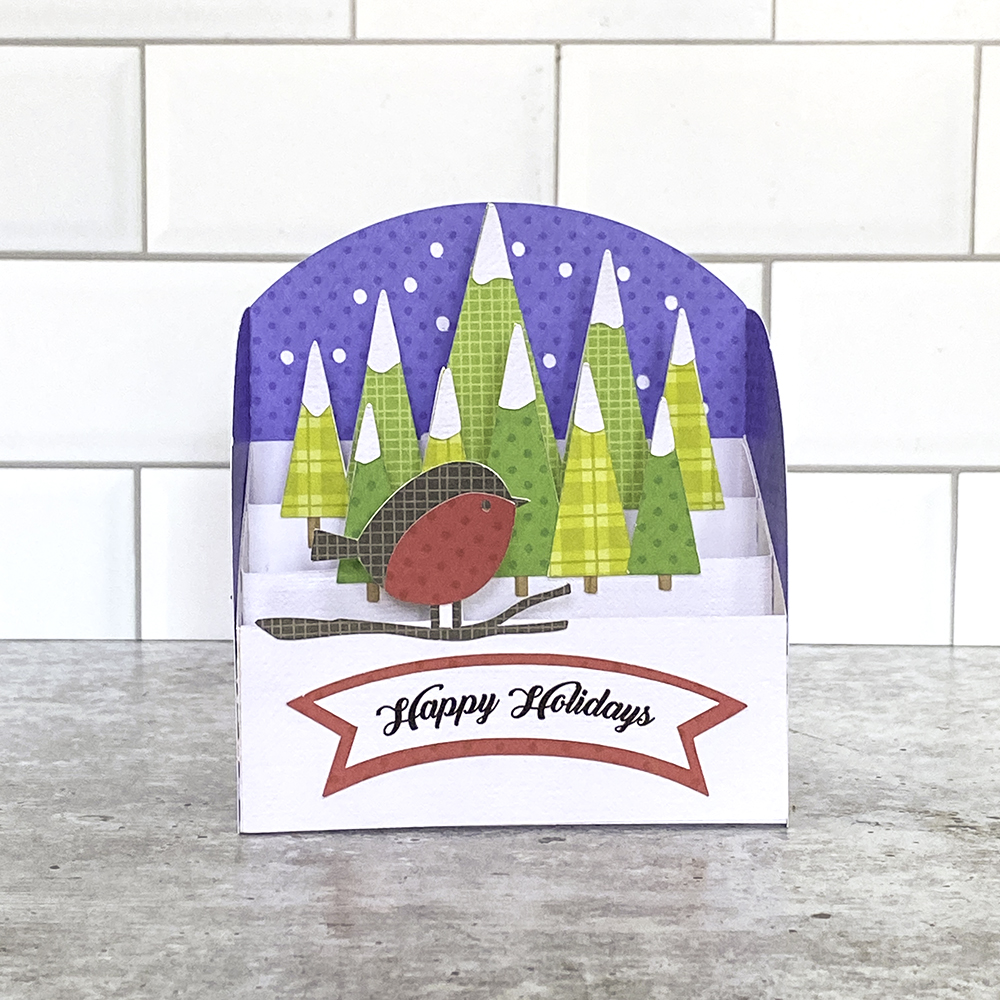
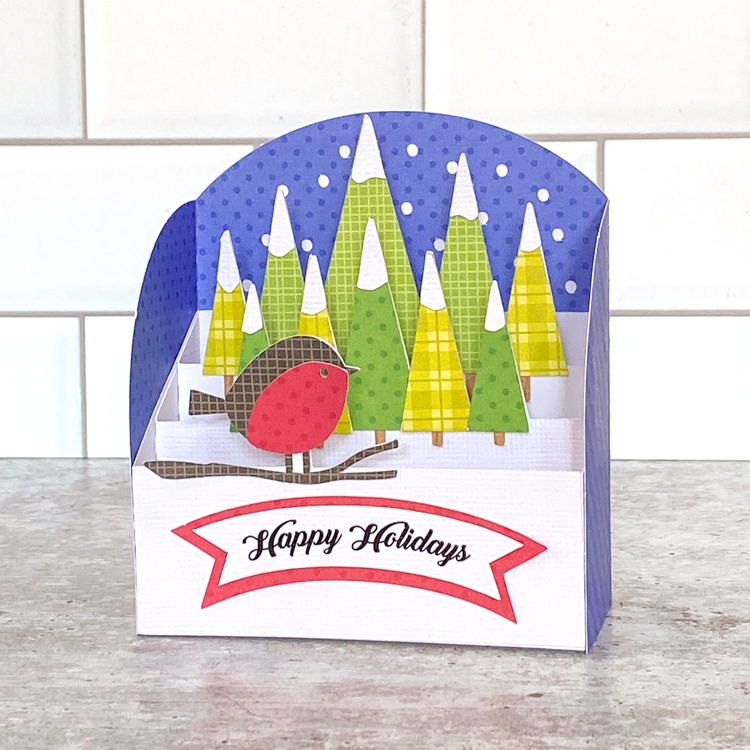
Hi Everyone!  It’s Kathy today with a fun new style of card from Lori, the Stadium Box Card.  These cards are very similar to a regular box card, but they have a nice wrap-around piece along with the inserts.  They fold flat for mailing (standard A2 Envelope) and they look so pretty on display! I’ve made a few, including this Stadium Box Card Winter Bird (SVG, Silhouette) As I mentioned they are very similar in their assembly to a regular box card, with a couple of small differences.  I’ve outlined the assembly below.

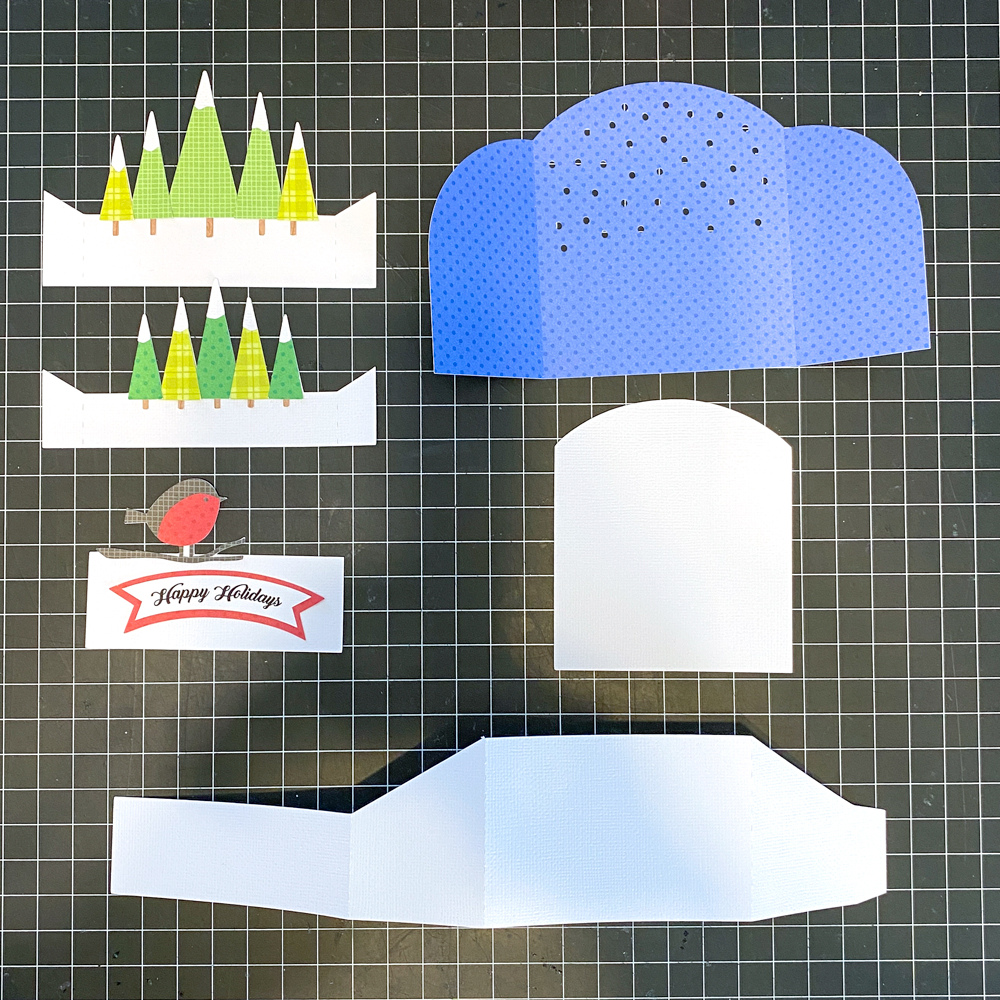
To start cut out all of your pieces.  I’ve pre-assembled some of them.  I added the trees to 2 of the inserts and the bird and branch to the 3rd.  I also created the sentiment using the Print and Cut Feature of my cutting machine.  If you ever need help with piece placement, I always find it helpful to reload the cutting file in my software.  Lori groups the pieces together as they go on the final project so it definitely helps when your trying to place that one last piece!

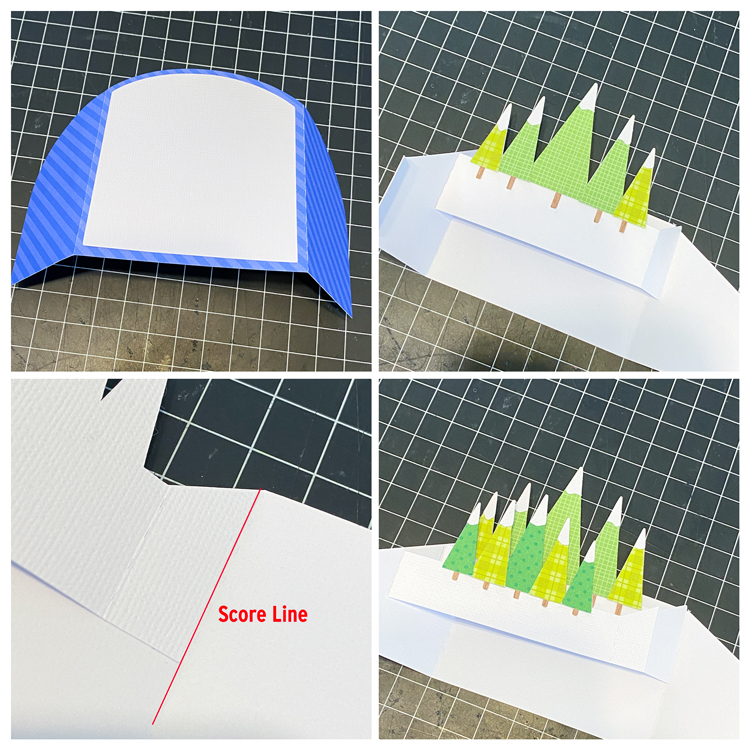
I started by adding the arched white piece to the back side of the blue piece.  When facing forward, the white looks like snow falling in the background of the card.

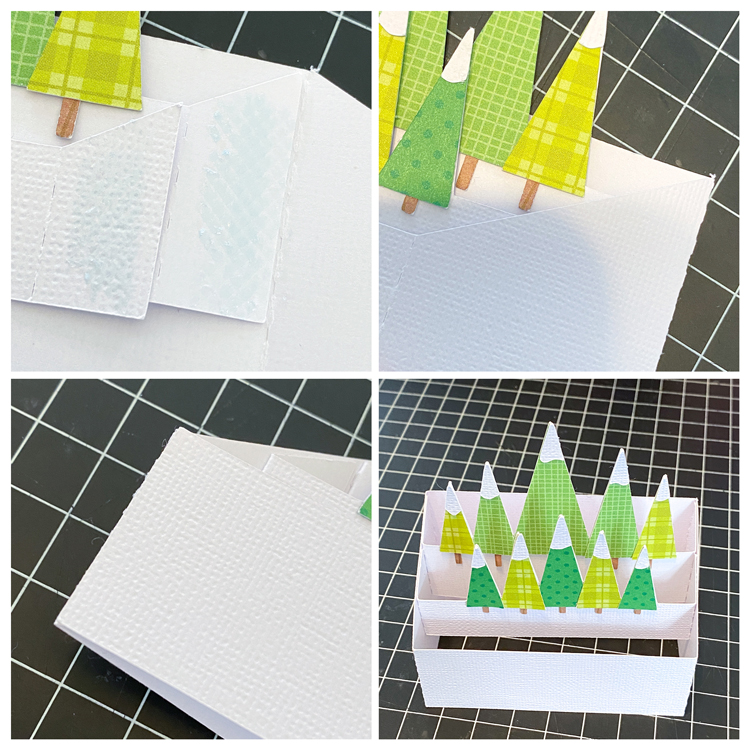
I then added the inserts to the card base.  I find this easier to do before I glue the “box” into shape,  I started with the backmost insert.  Align the tab of the insert along the slanted edge of the box side, and also the score line between the side and back of the card.  Don’t overlap the score line, just right to the edge.

Add the second insert, aligning that tab along the slanted edge of the side as well, then right up next to the previous insert.  When flattened it should look like the bottom photo.

Once you have the left side glued, flatten out the two inserts, and add adhesive to the remaining two tabs on the inserts as shown in the first photo.

Fold the right side of the card base over, and press down to adhere the tabs to the side.  They should be aligned with the slanted edge of the side.

Finally add adhesive to the tab on the box base and press down.  Now when you open the box it should look like the bottom right photo.

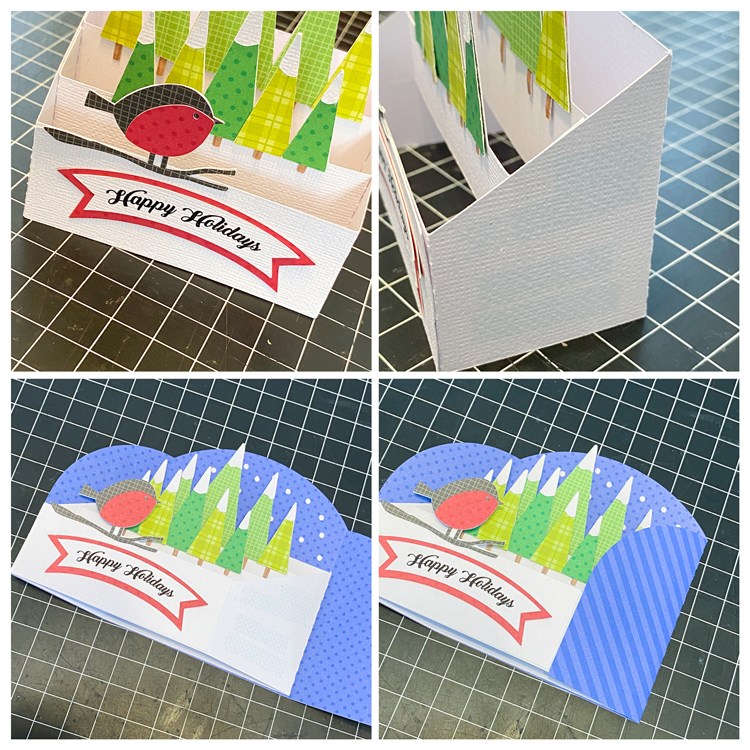
Once you have the box in shape, add the bird insert directly to the front of the box on the outside.

Finally you want to add the wrap around piece.  I started by adding adhesive to the sides and back of my box.

To align the box perfectly in the wrap piece, I folded the box as shown in the bottom left photo, and then lined up the edges with the leftmost and bottom edges of the wrap.  Once I had that in place, I folded over the remaining flap of the wrap piece and pressed to adhere.


And done!  They really do go together quickly, and just look so cute!  That’s it for me today, thanks for stopping by to peek!

BLOG | INSTAGRAM