Happy Thursday everyone! Today I am bringing you a tutorial for this fun floating easel card with a sunflower. (Lori’s Shop, Silhouette)
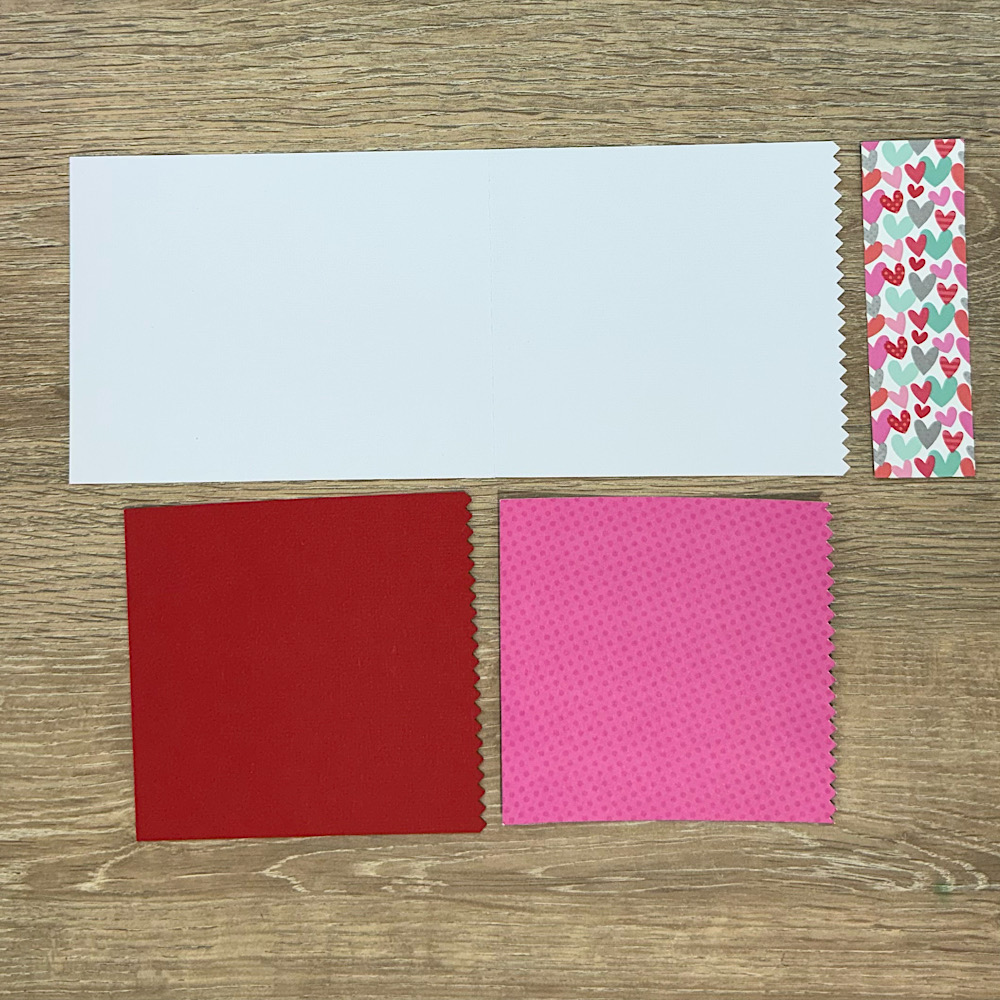
As always, cut all your pieces and have your supplies ready. You will need fishing line for this card.
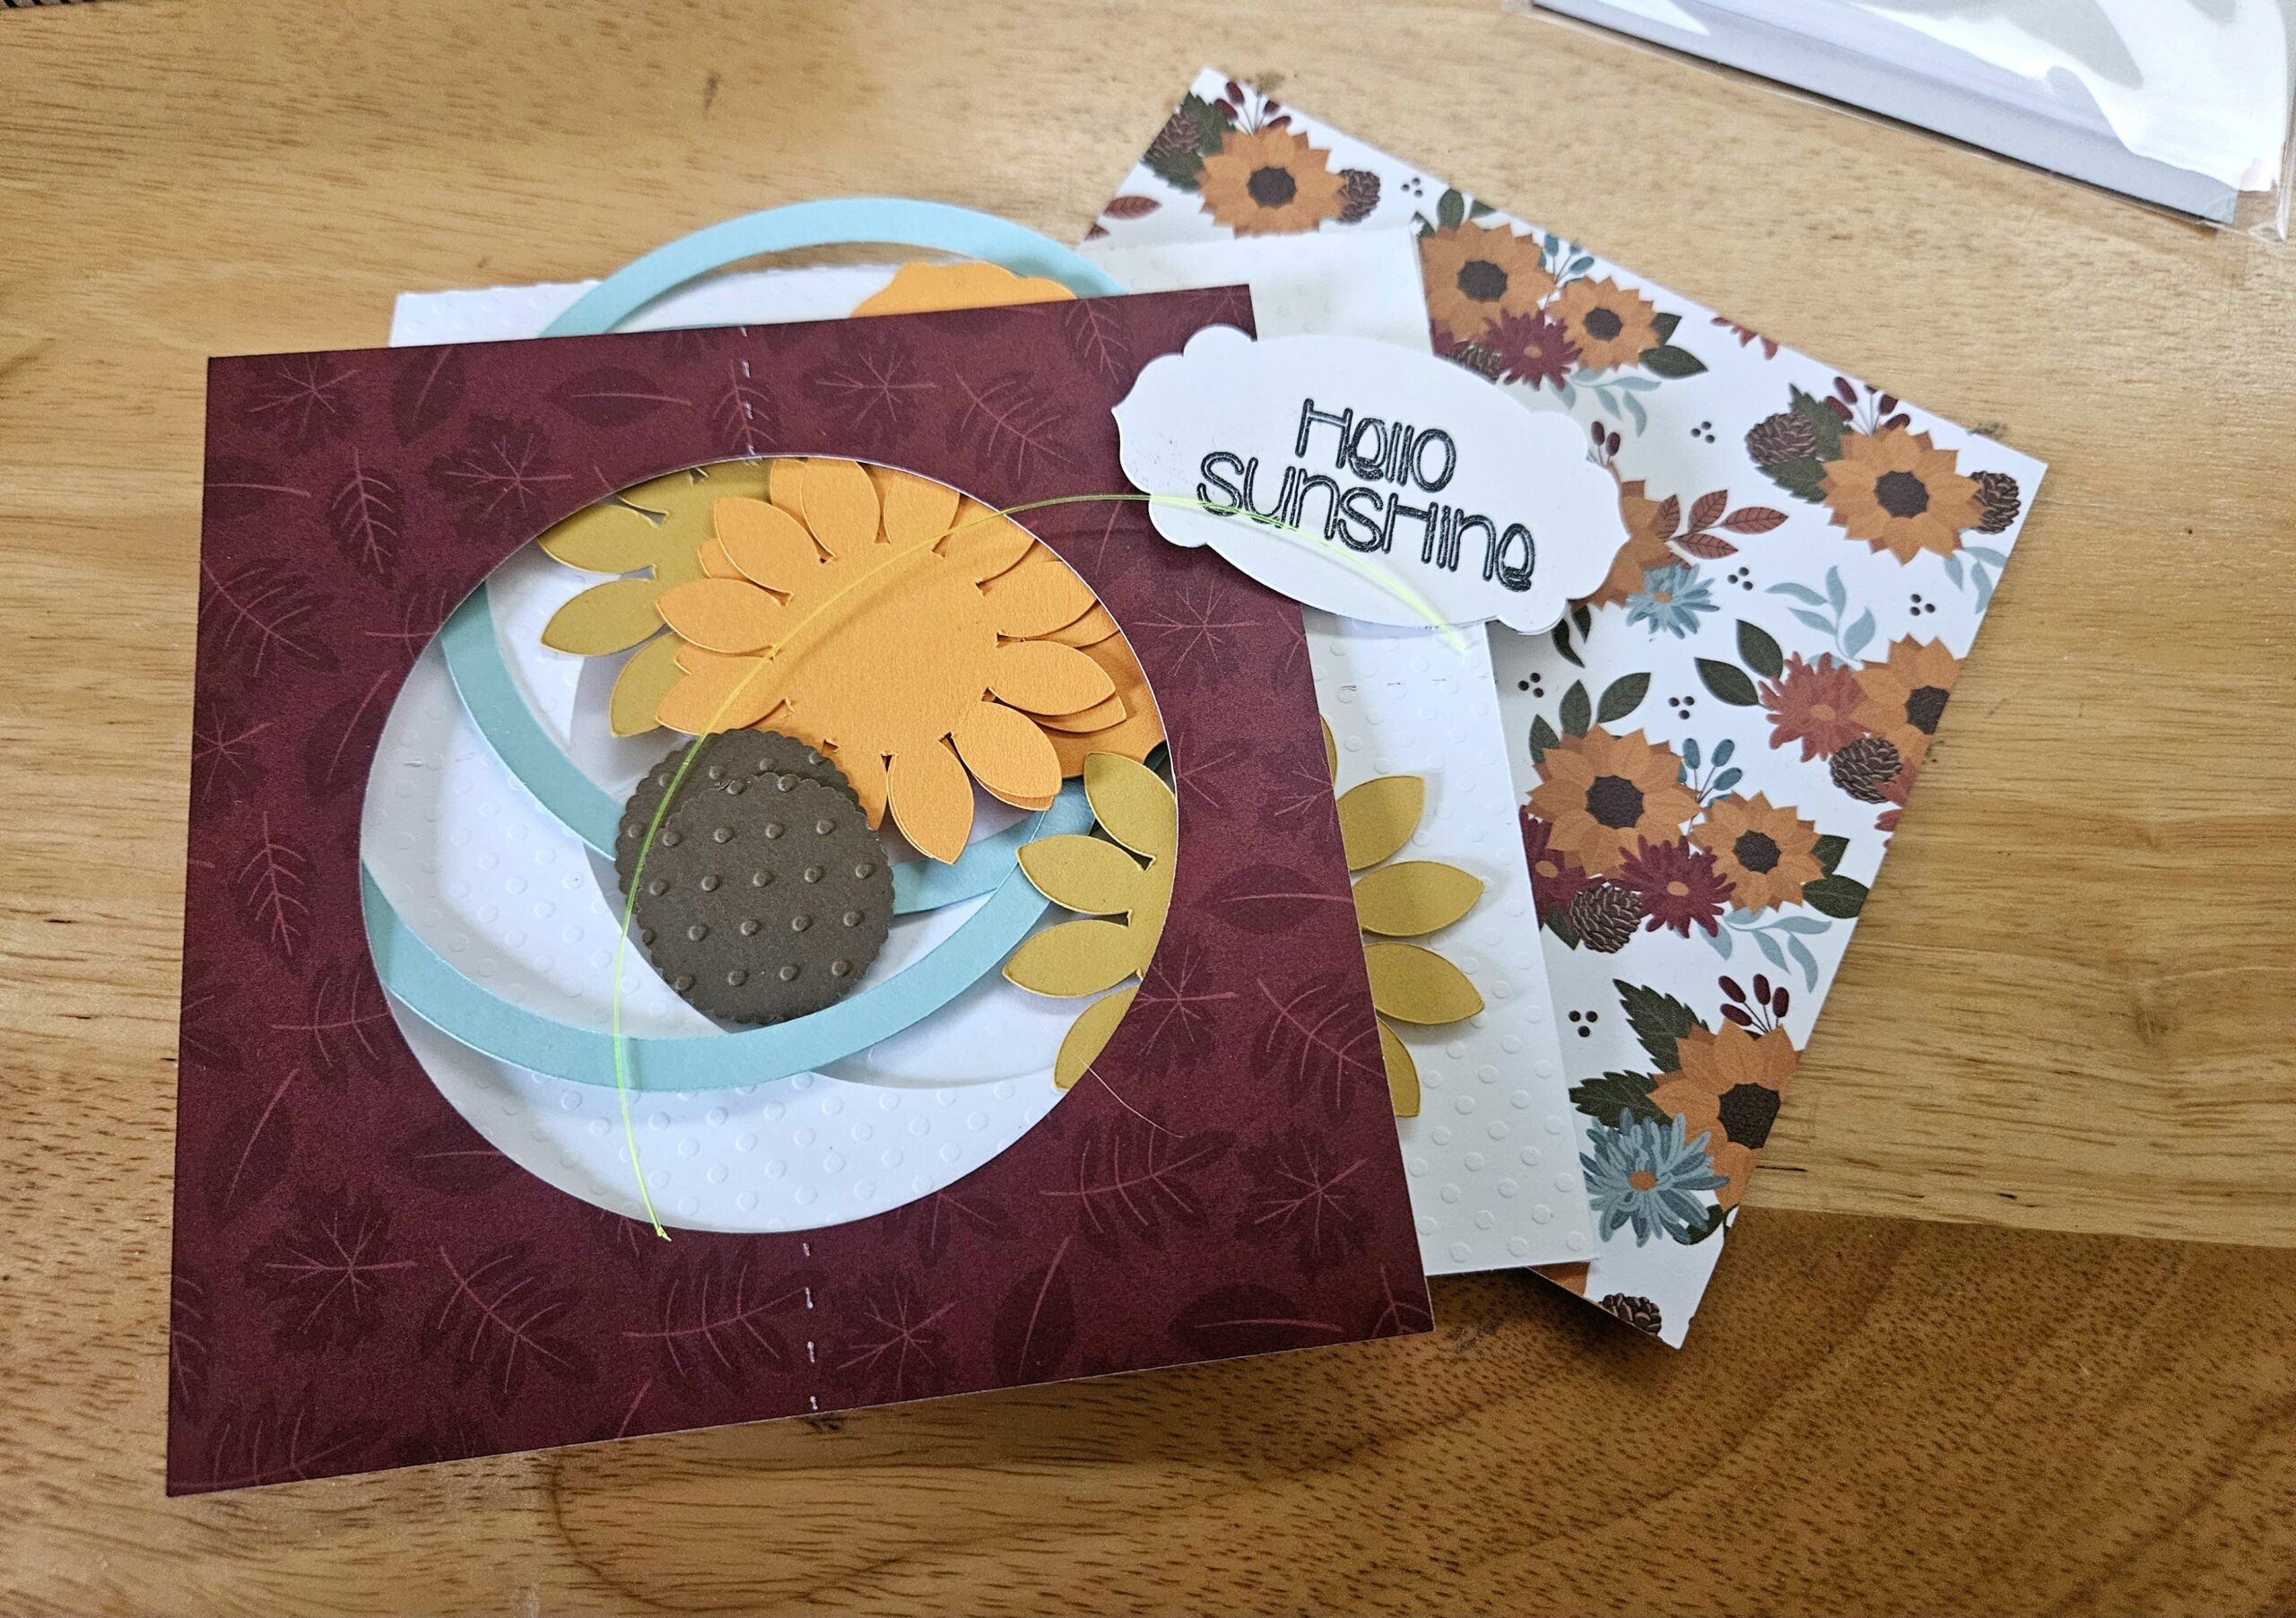
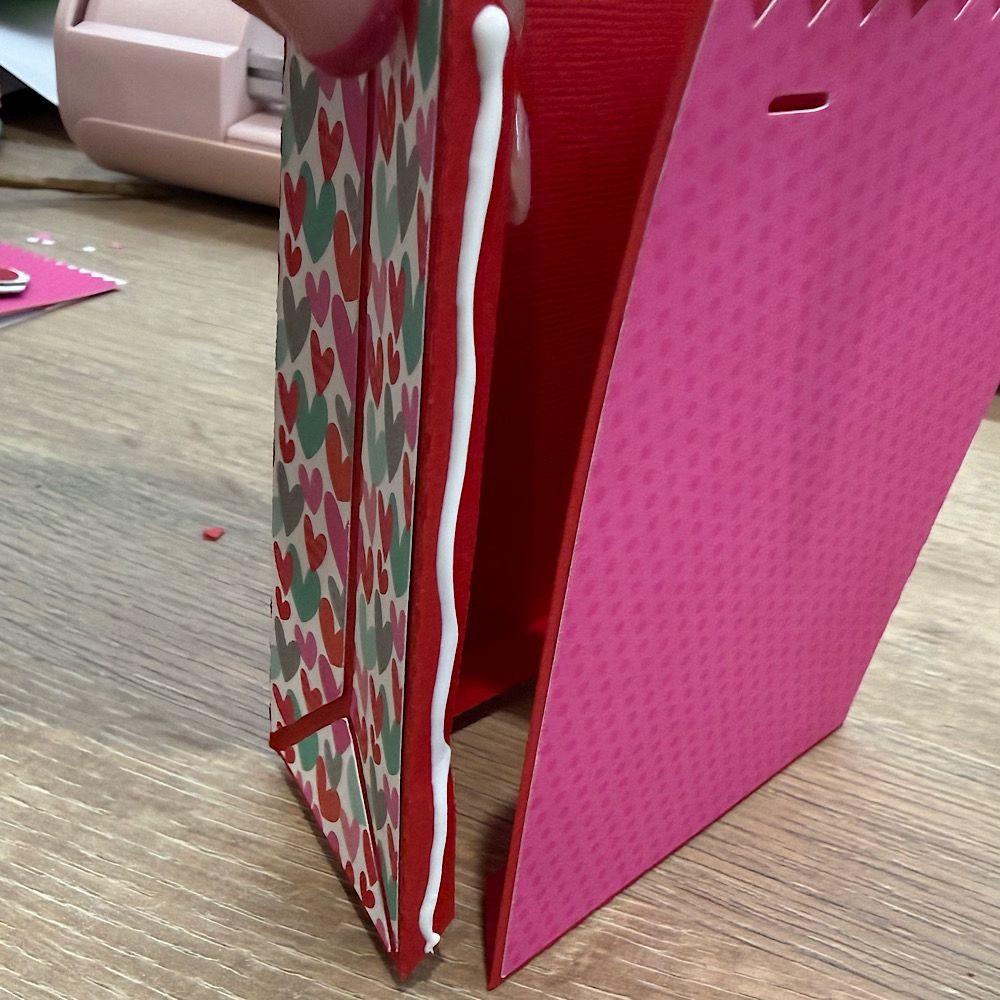
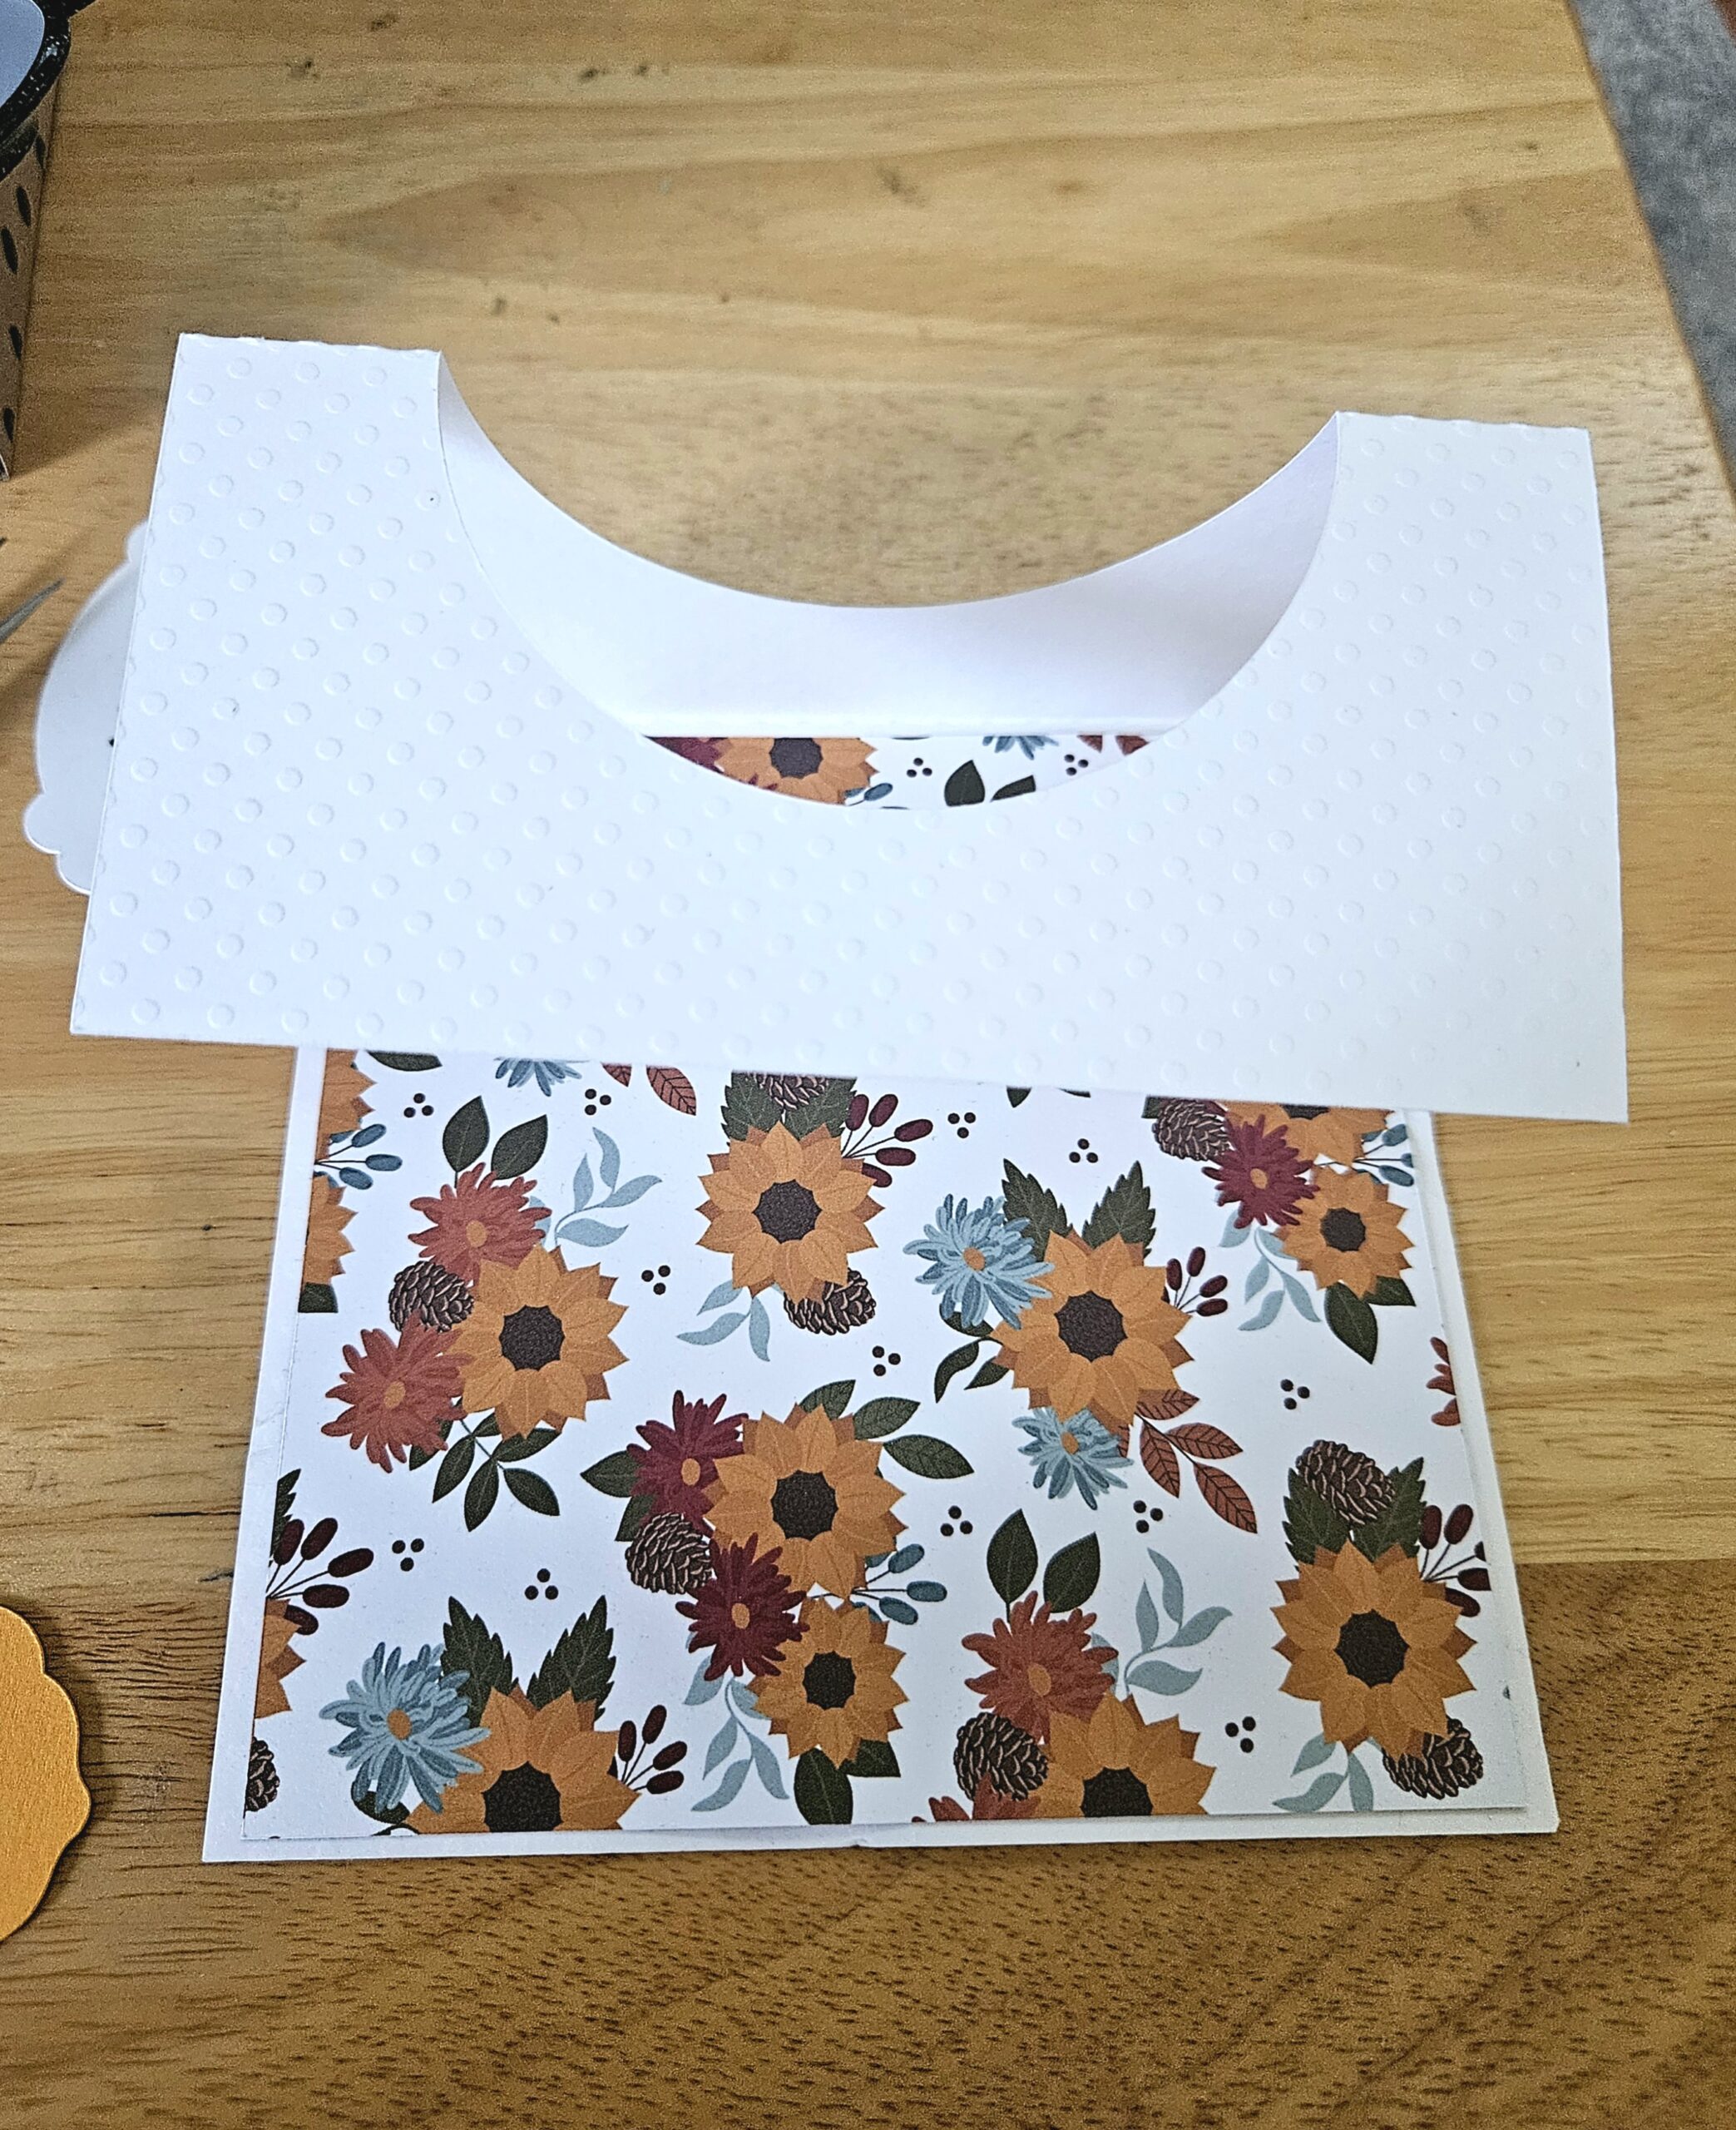
I folded my 2 pieces on the score marks.
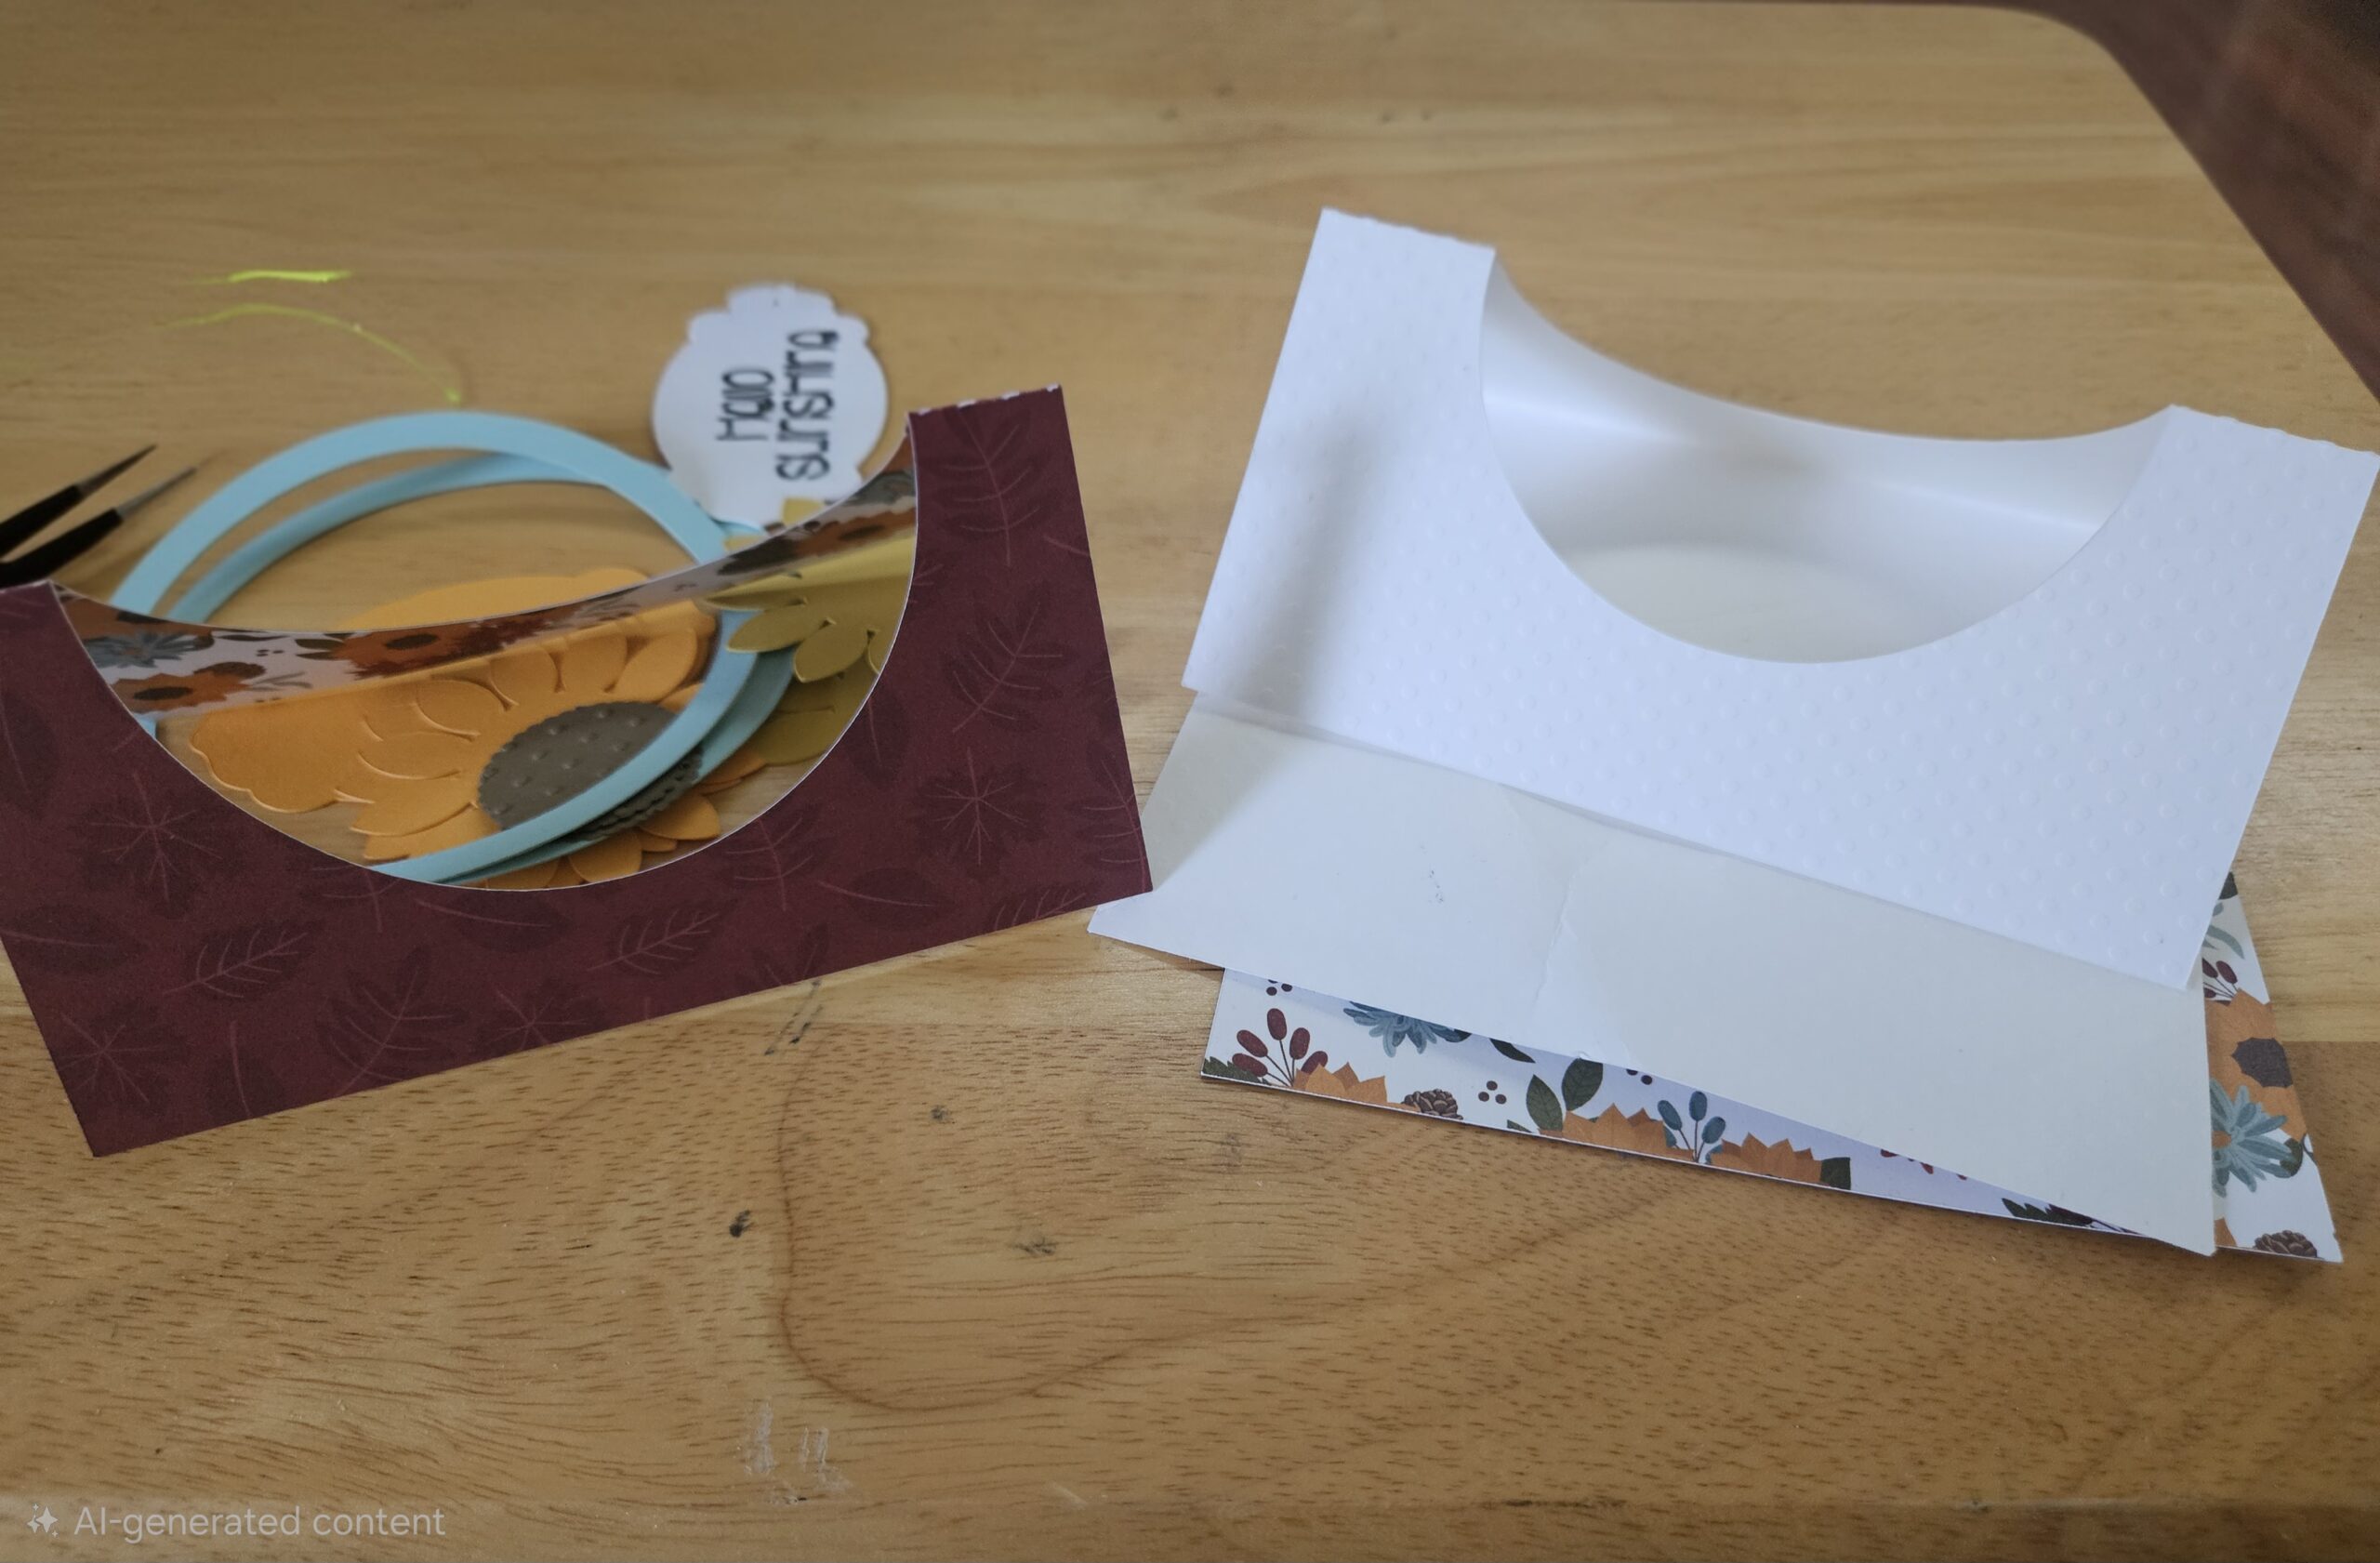
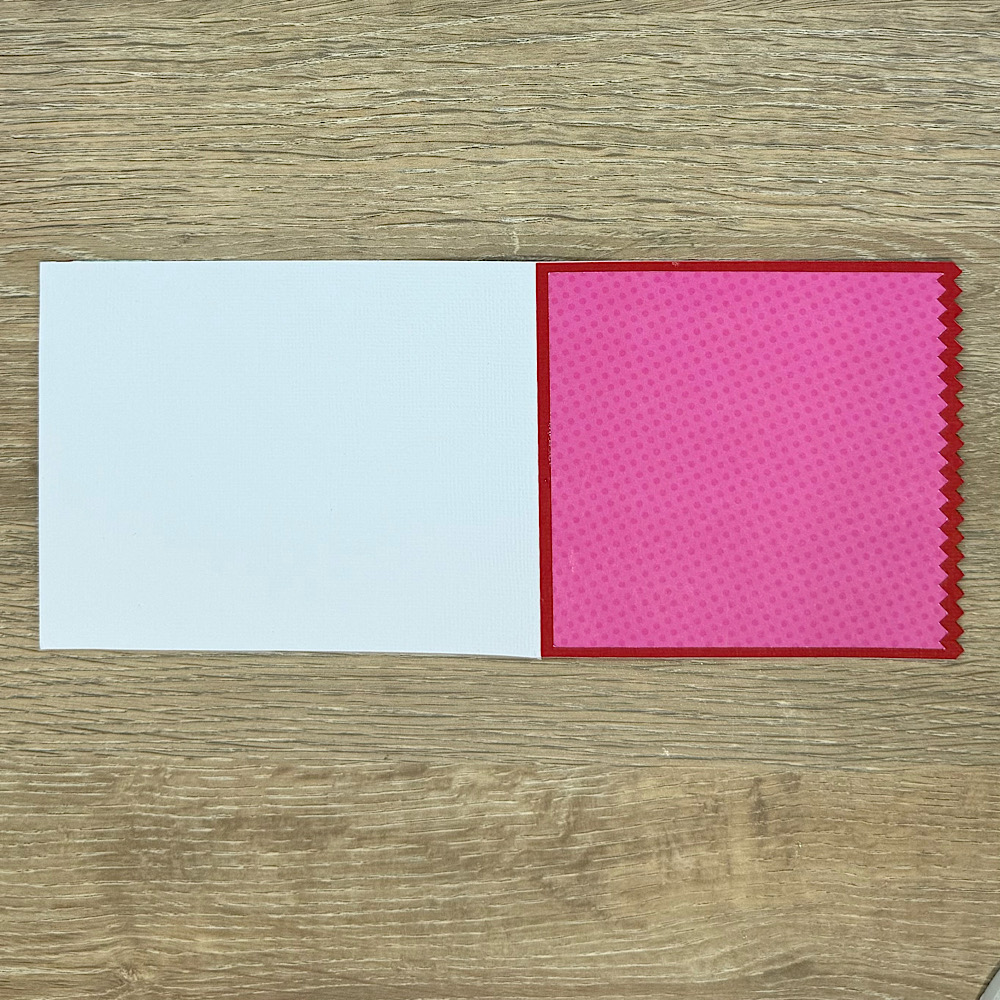
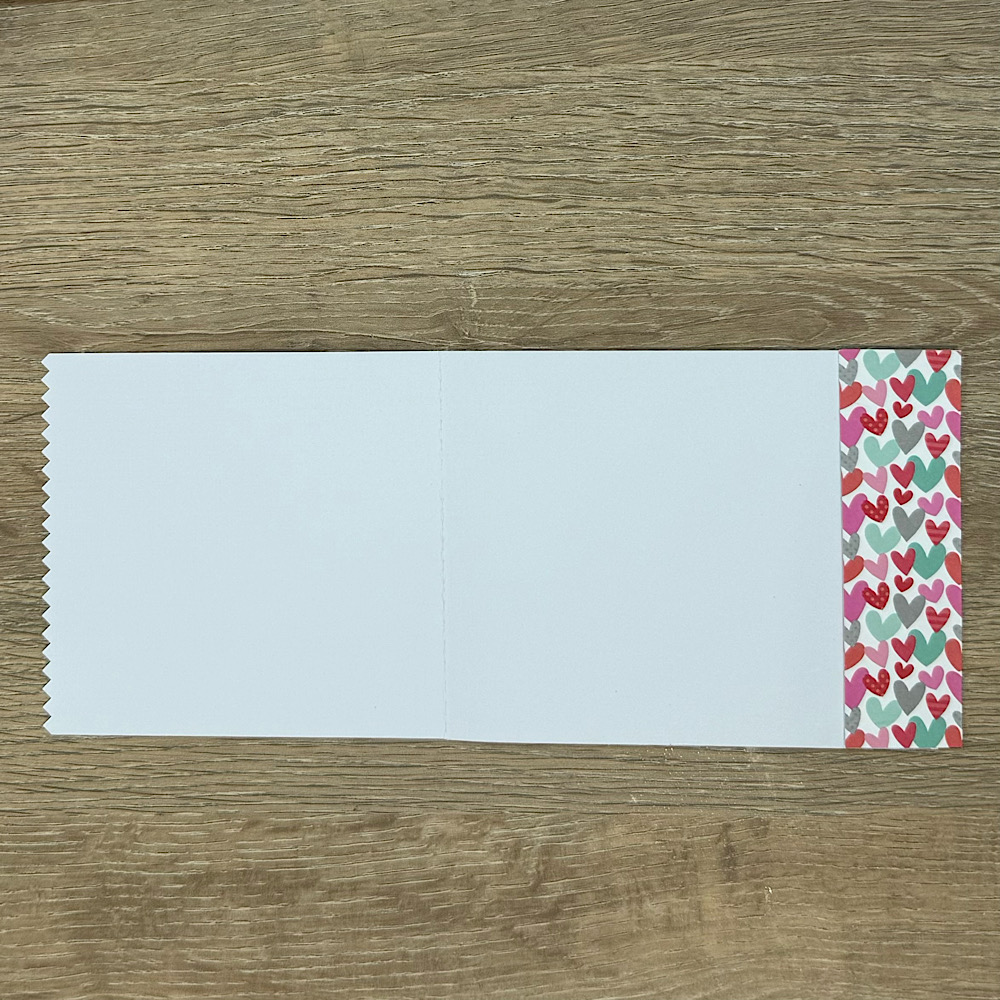
Then added the patterned paper to the base.
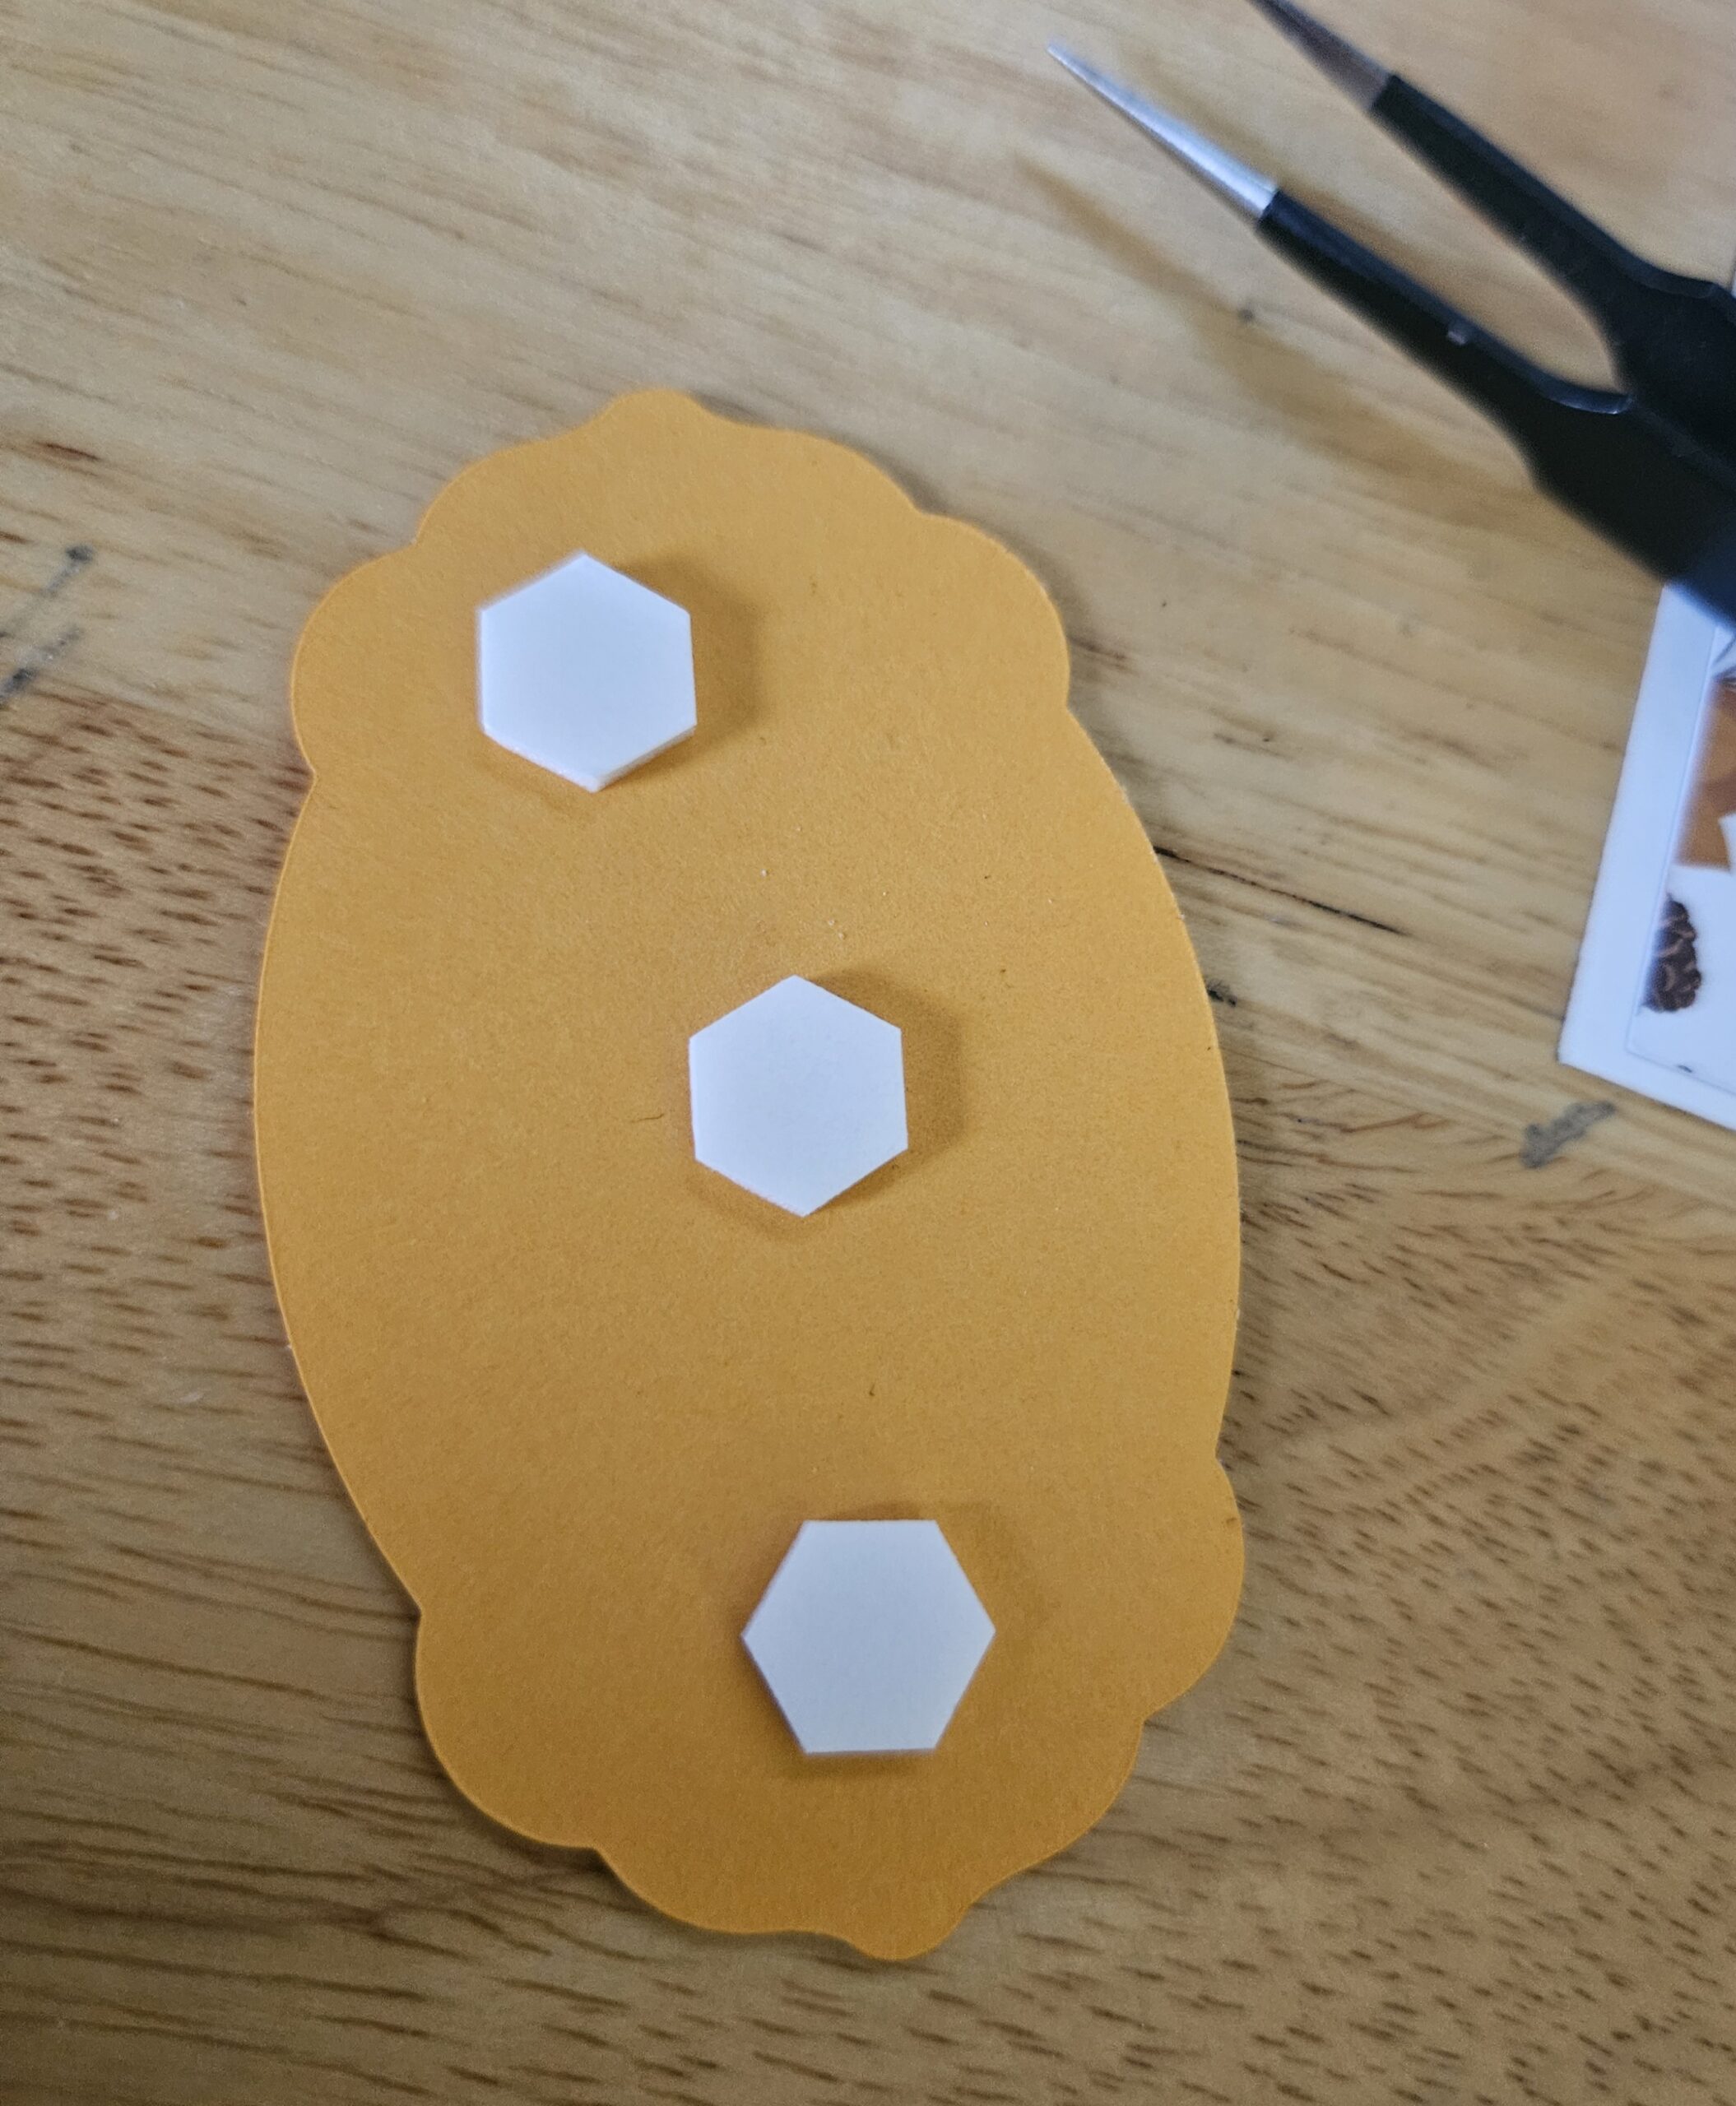
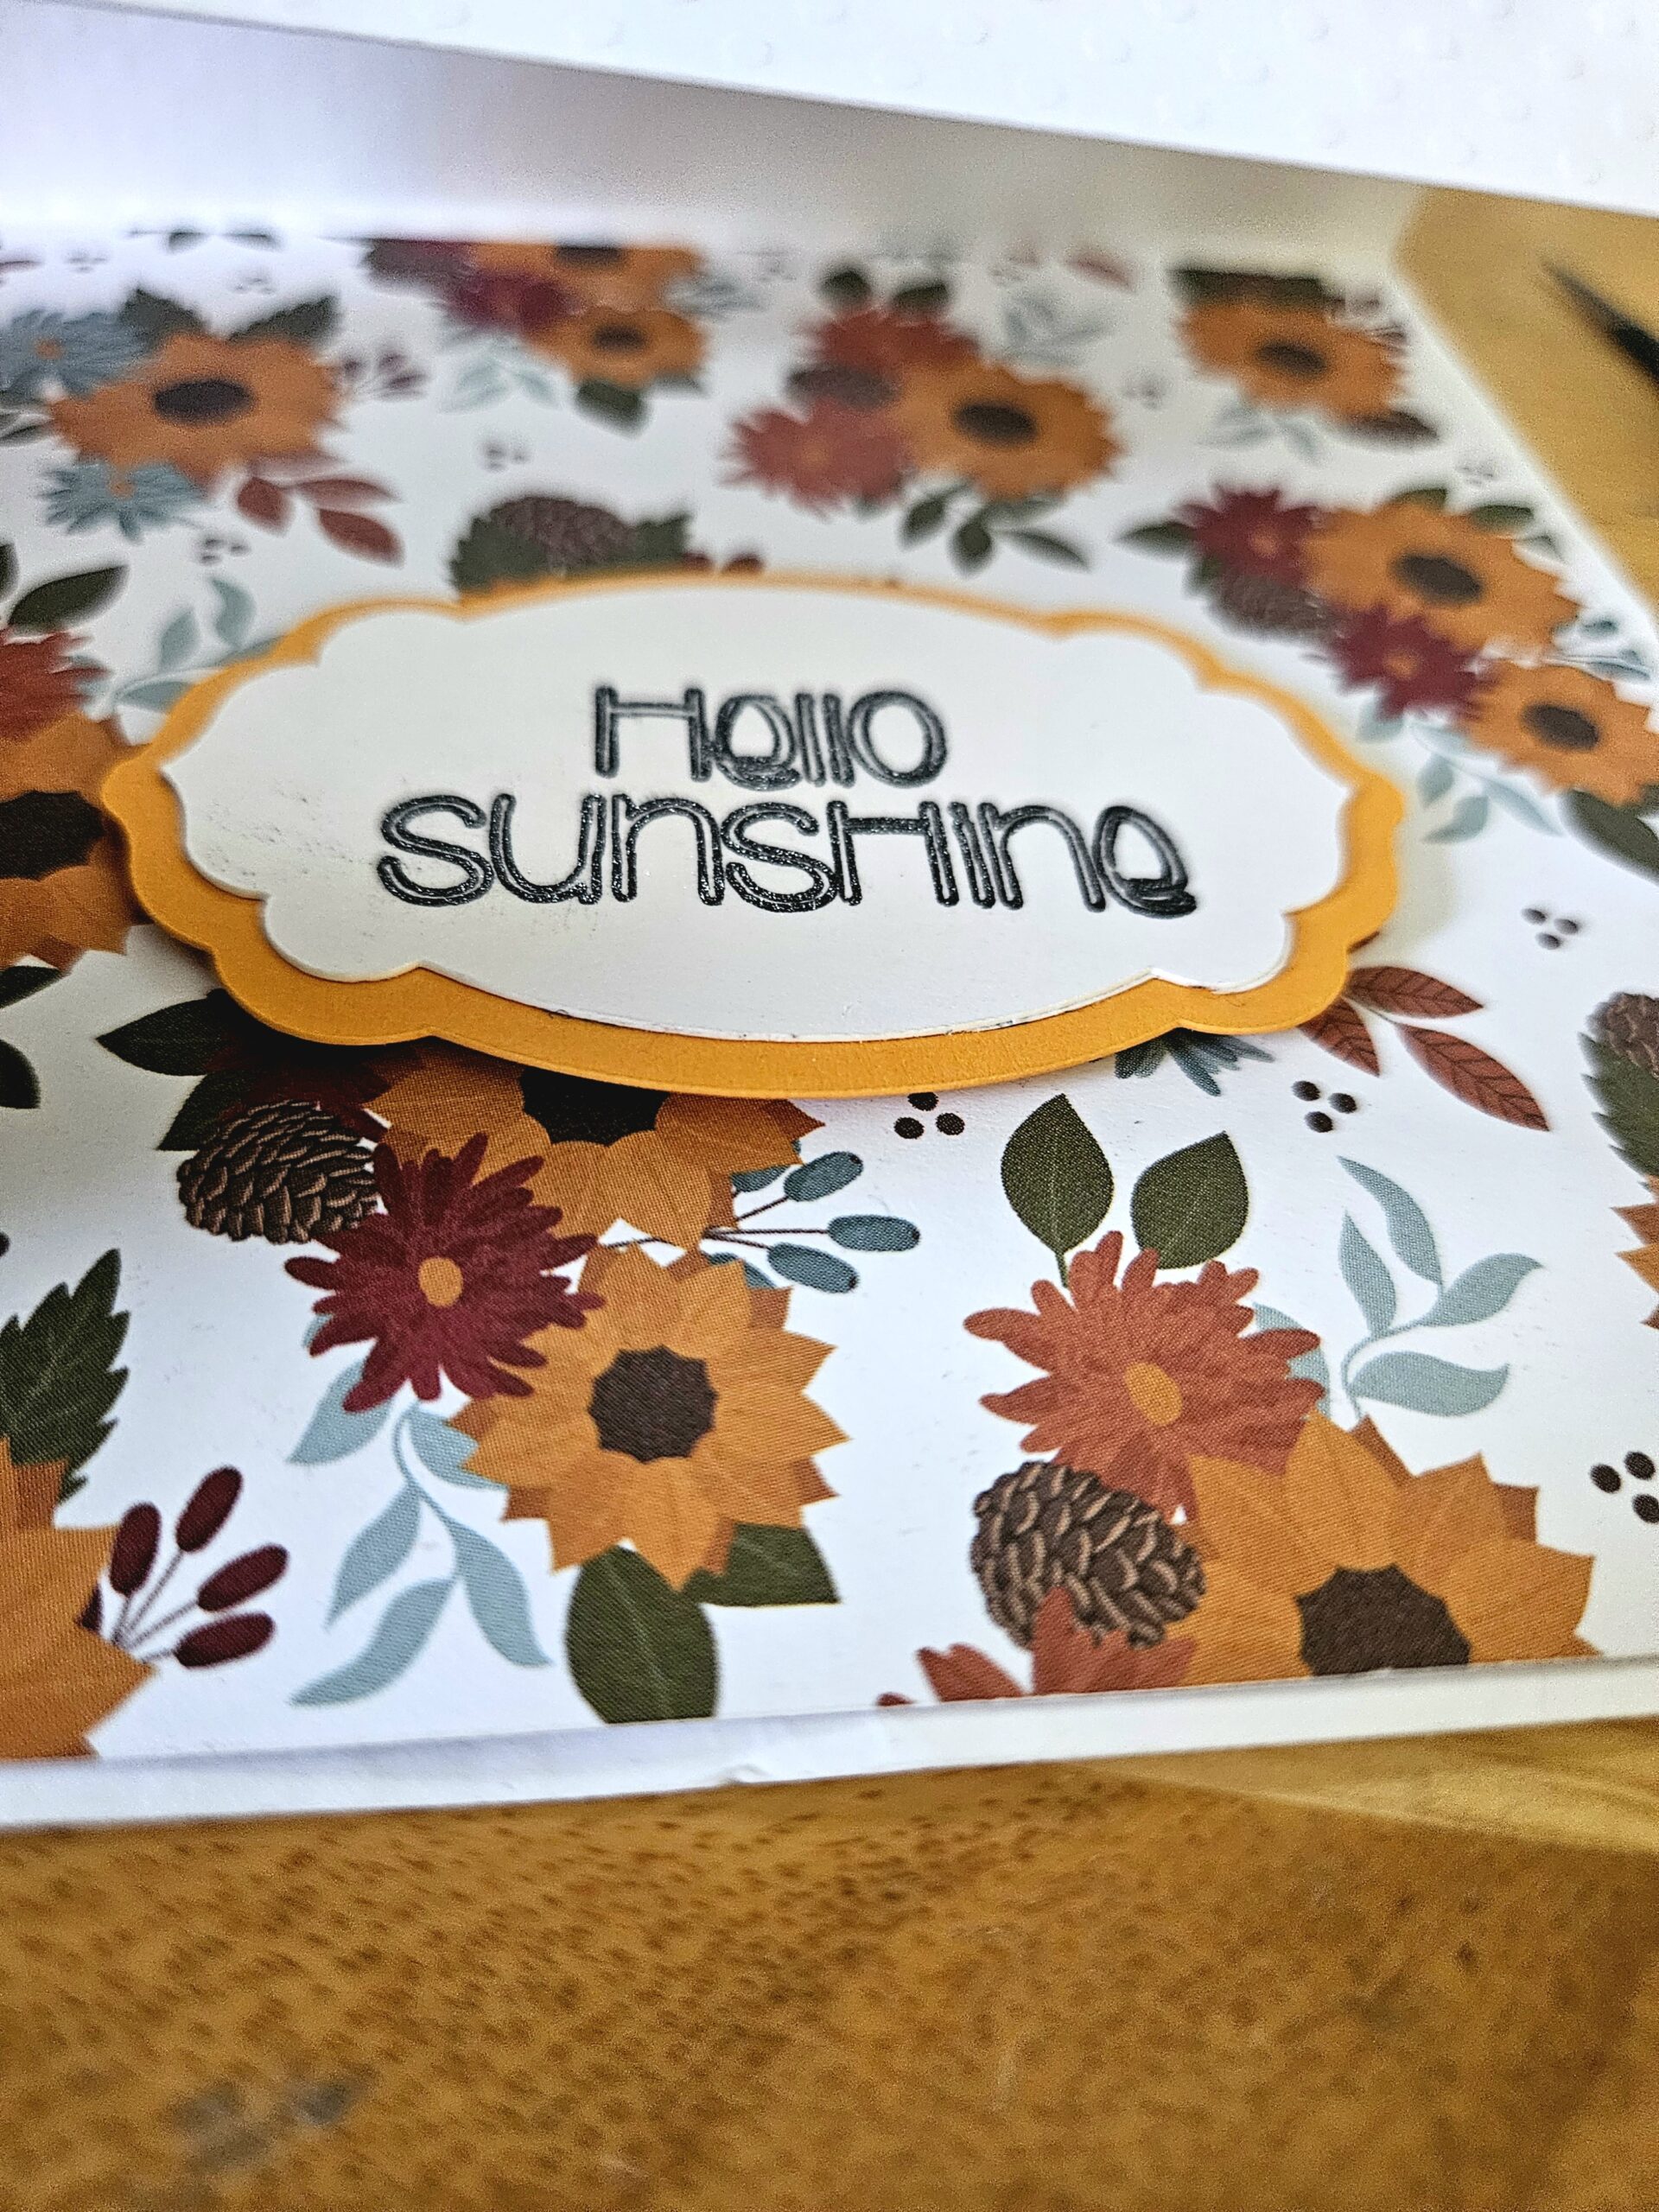
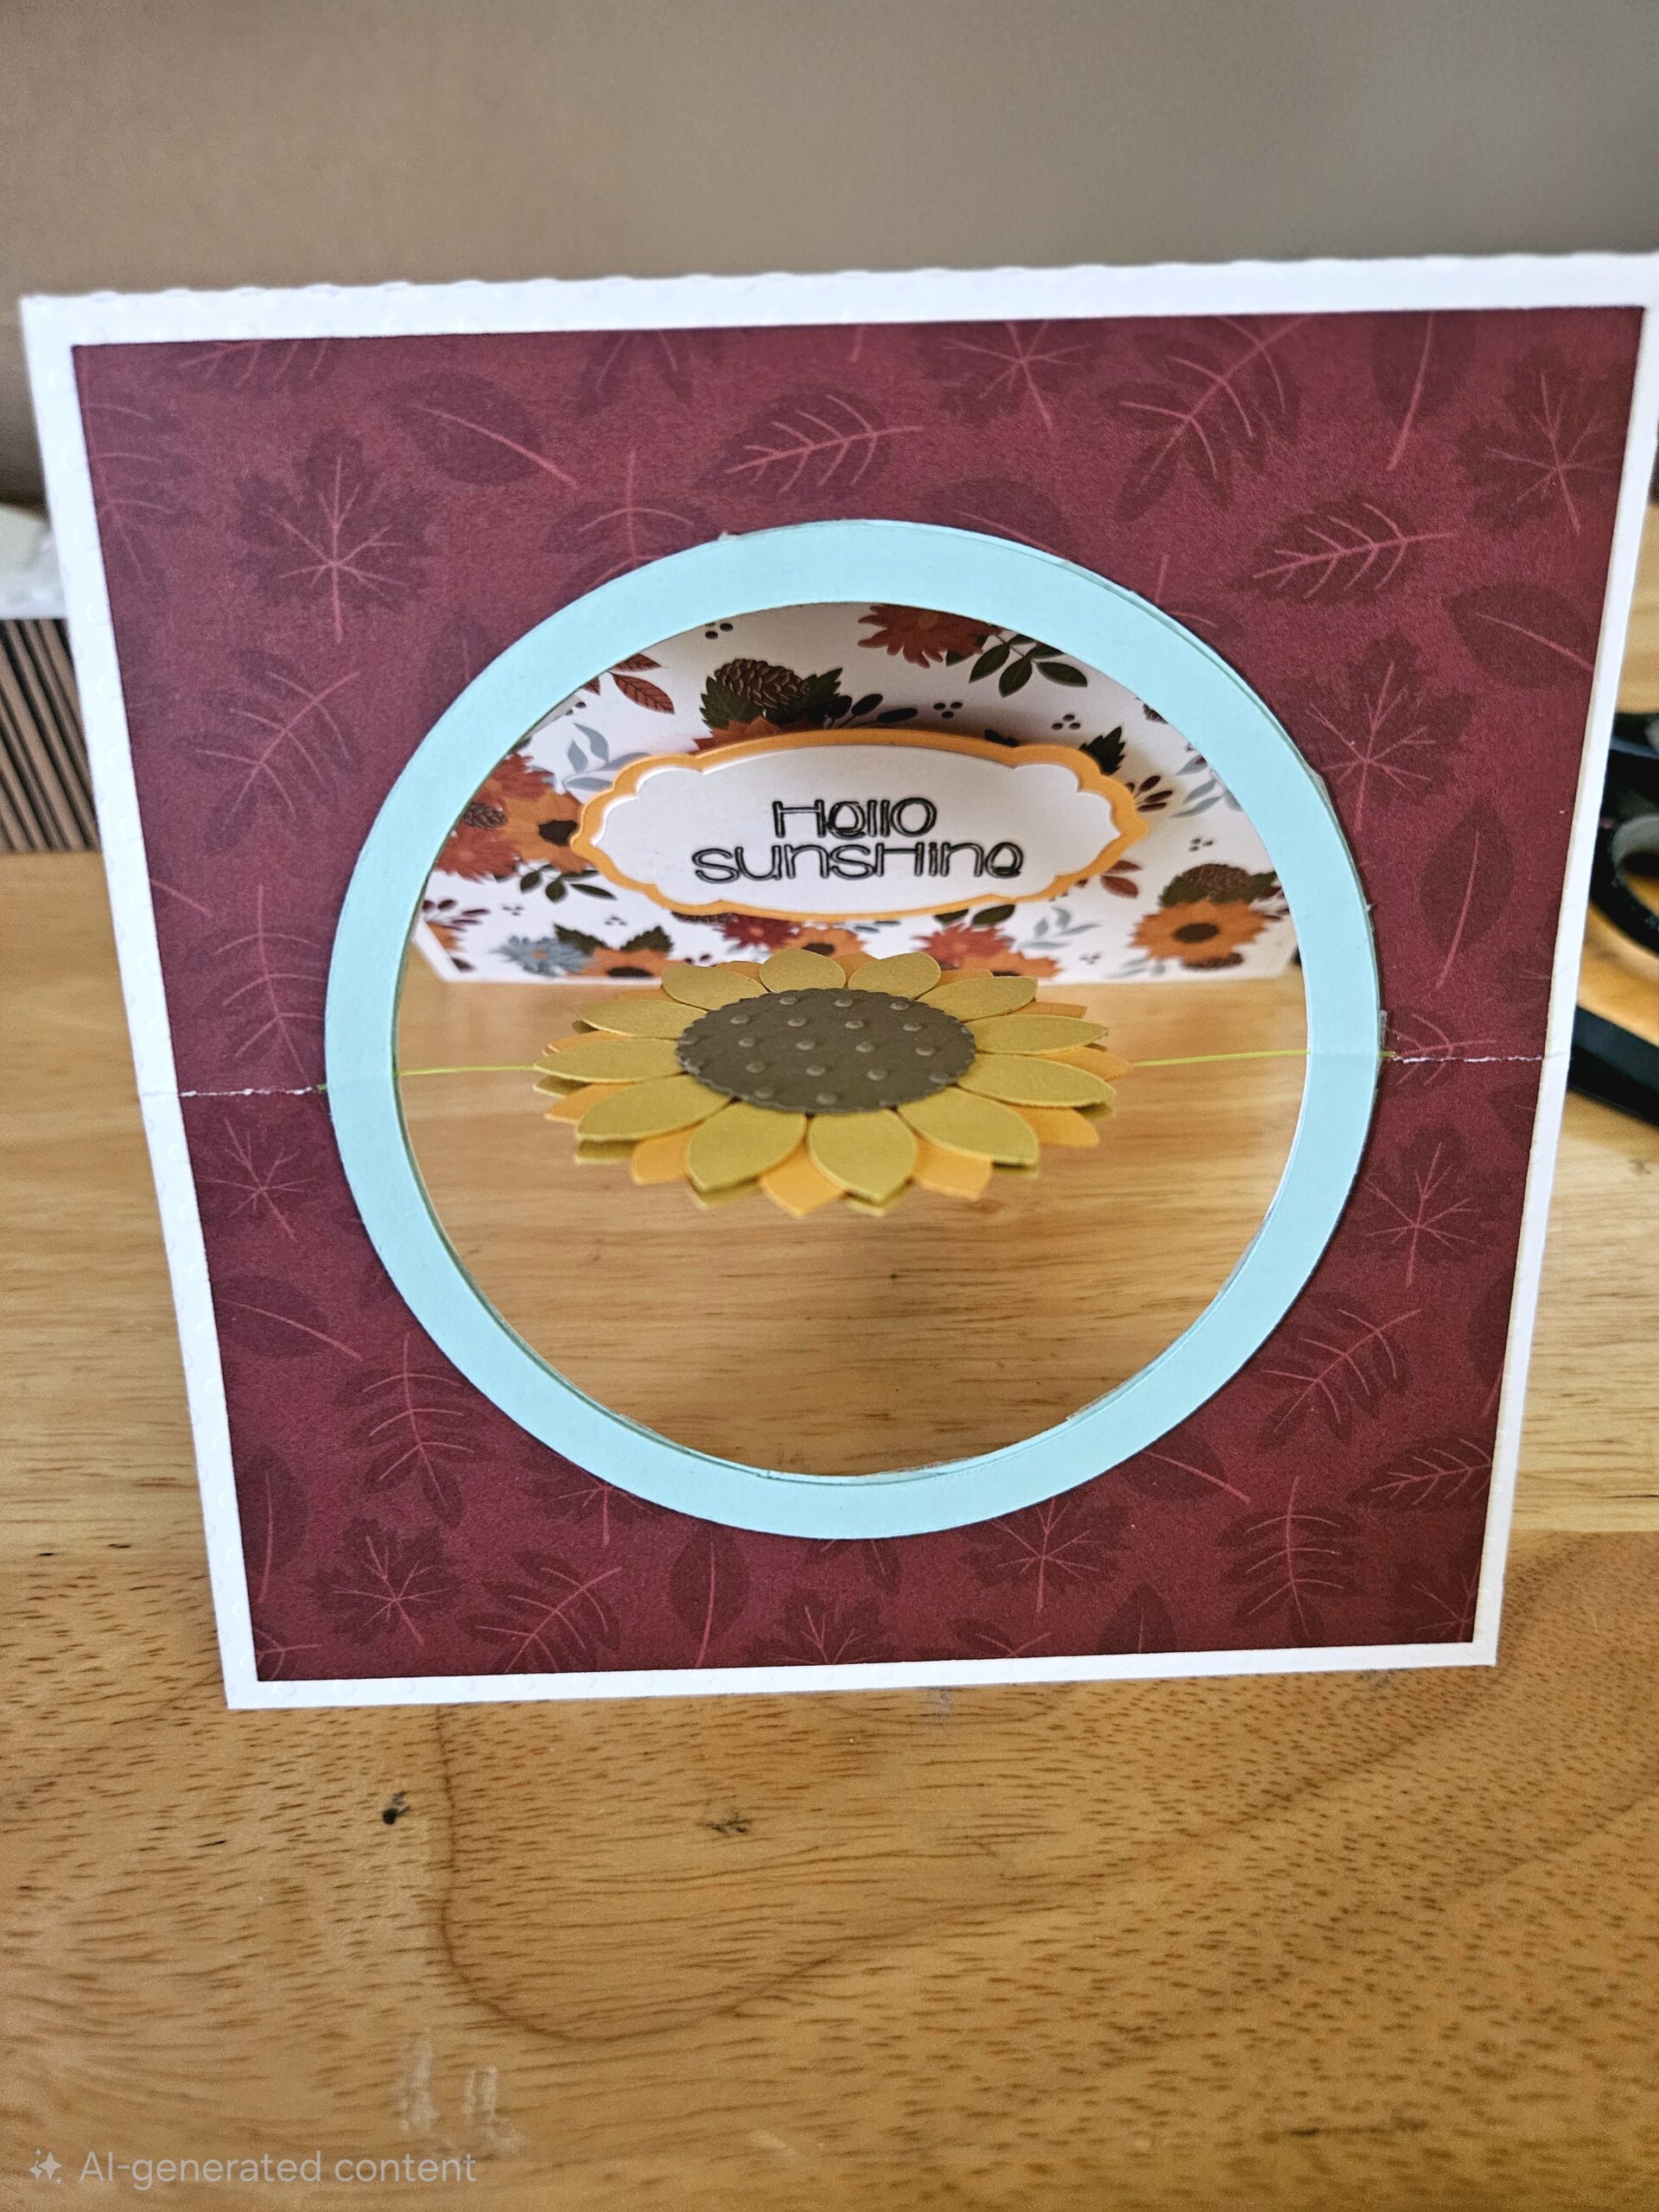
I assembled my sentiment and added dimentionals before centering it onto the base.
Assemble your flowers by offsetting the 2 colors of the flower. I also embossed my centers for a little extra texture. You will need to attach the backs of your 2 flowers with your fishing line between the 2 flowers (my fishing line is yellow for you to see better).
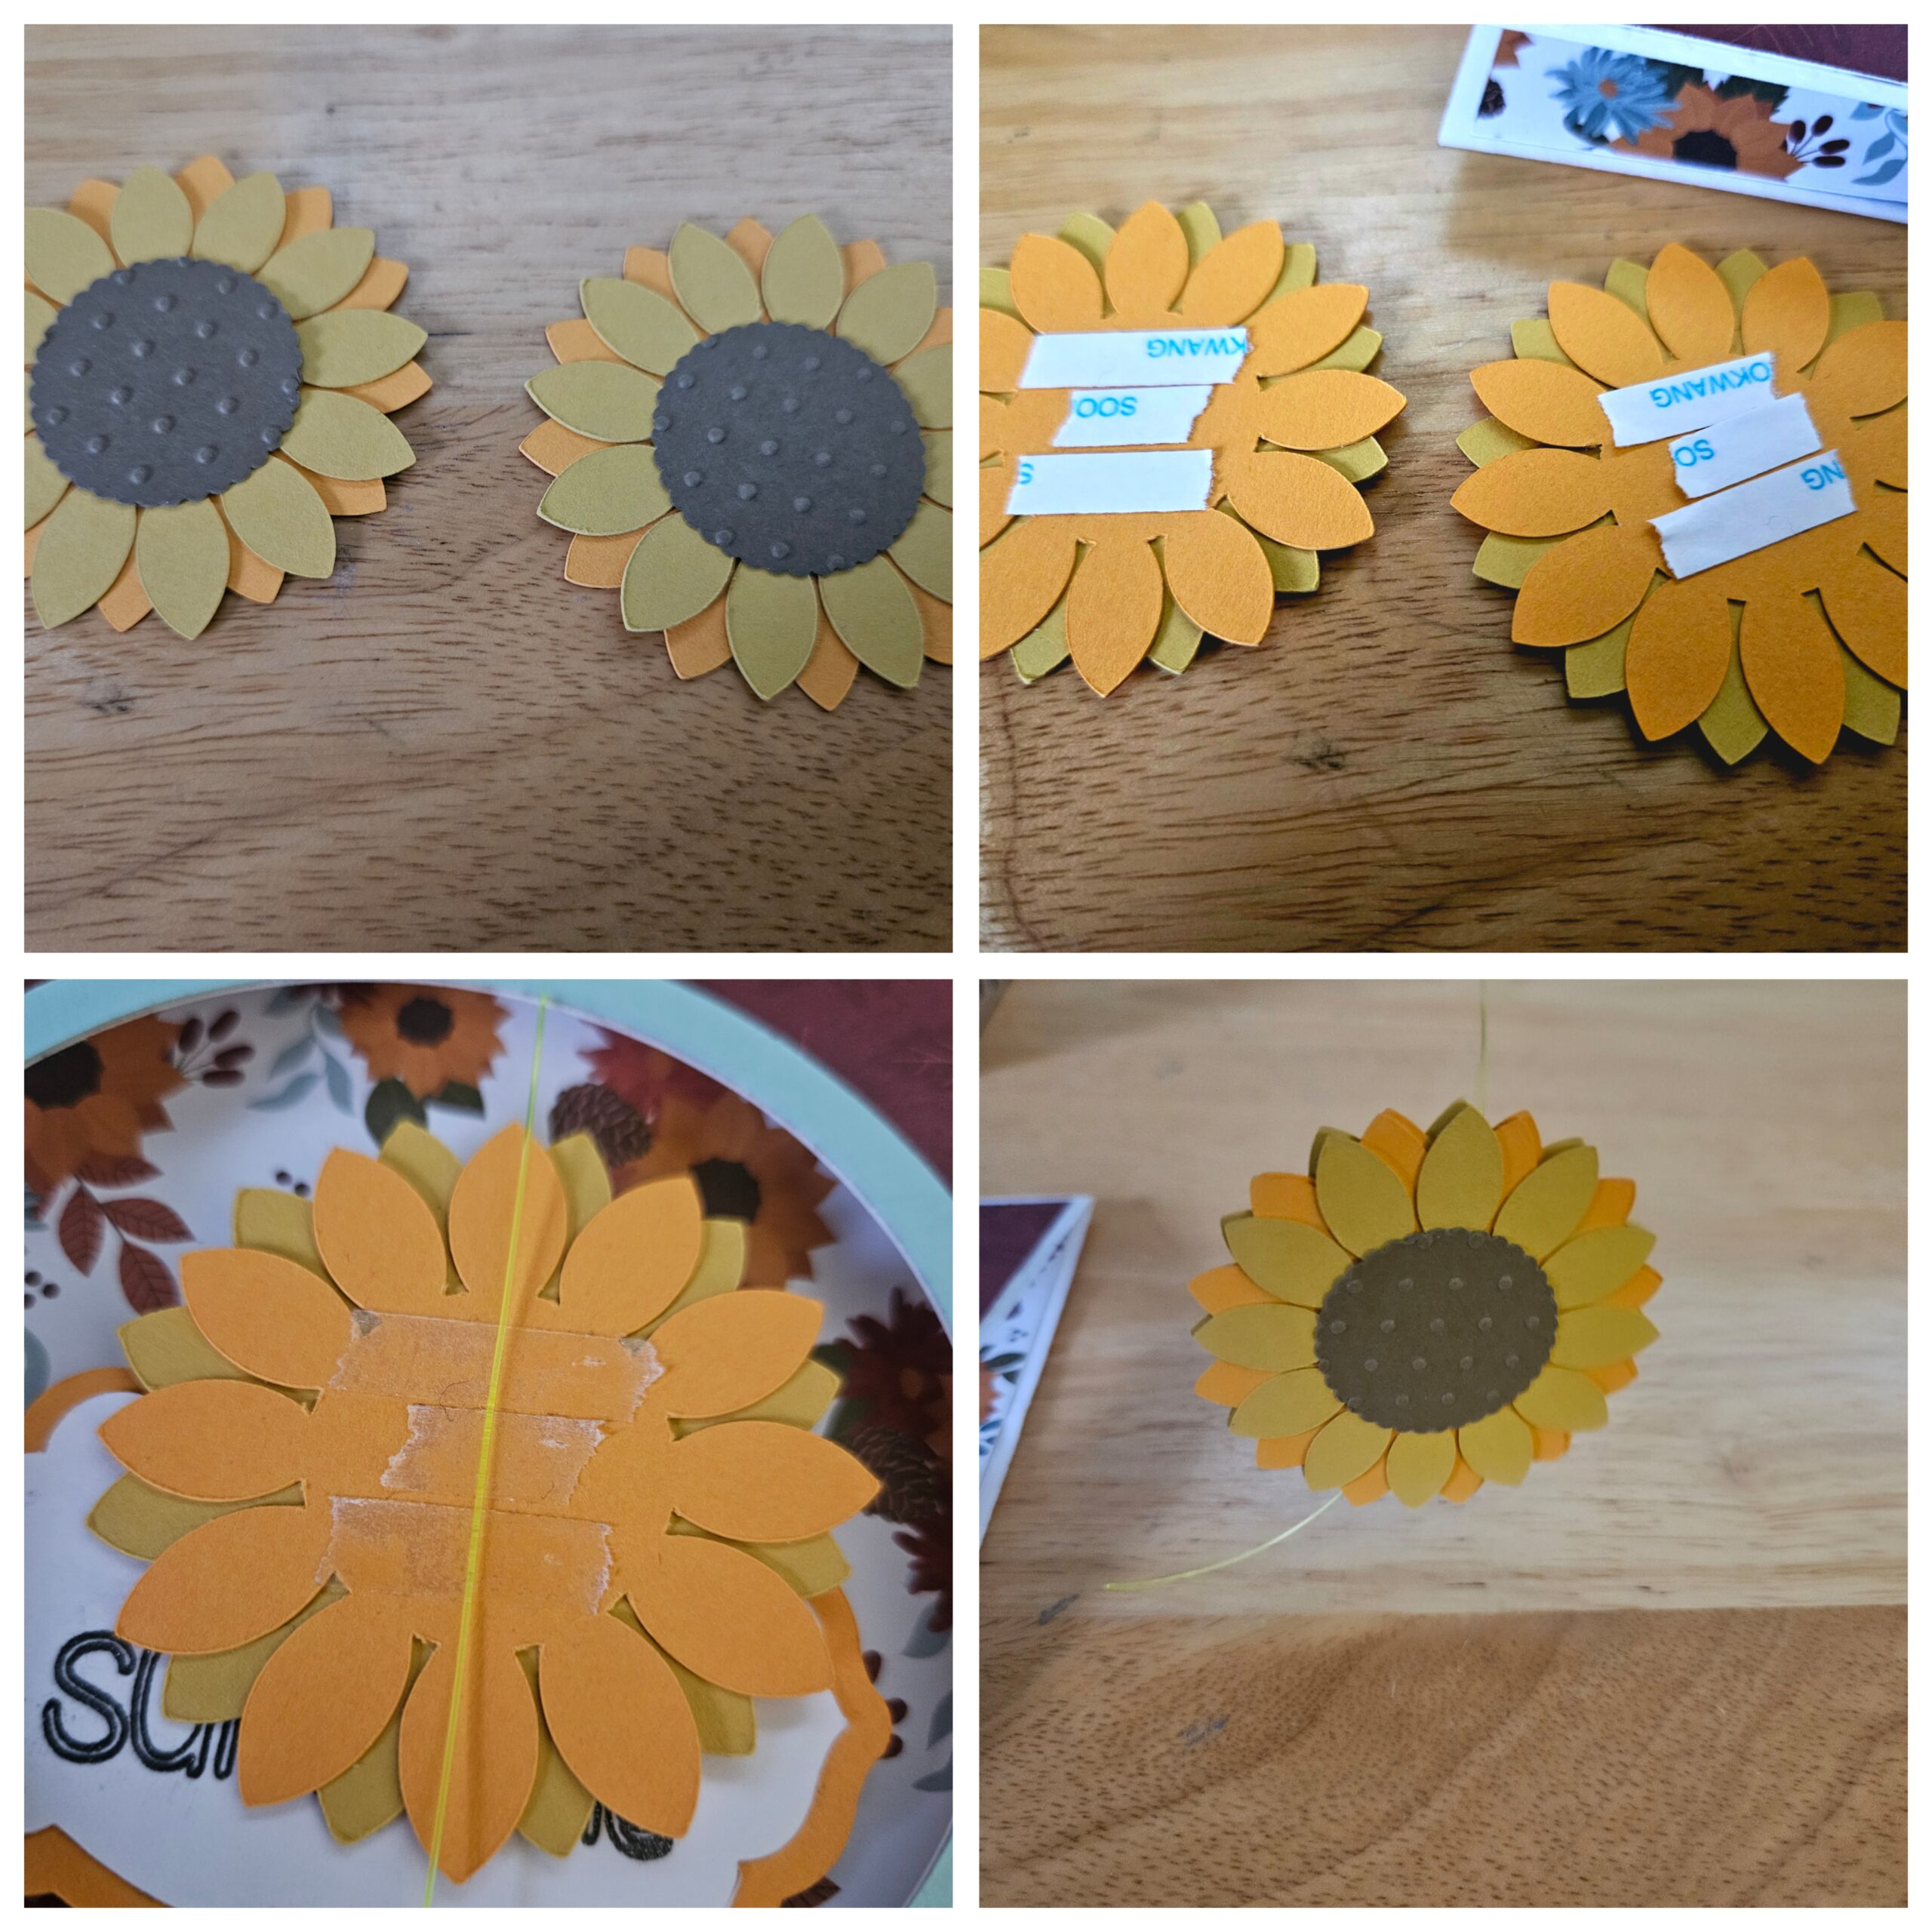
Add your circle piece of patterned paper on top followed by your 1st circle border. Attach your fishing line to the top of the circle border left to right. Trim your fishing line so it does not go past the circle border. Add the 2nd circle border over top of the 1st.
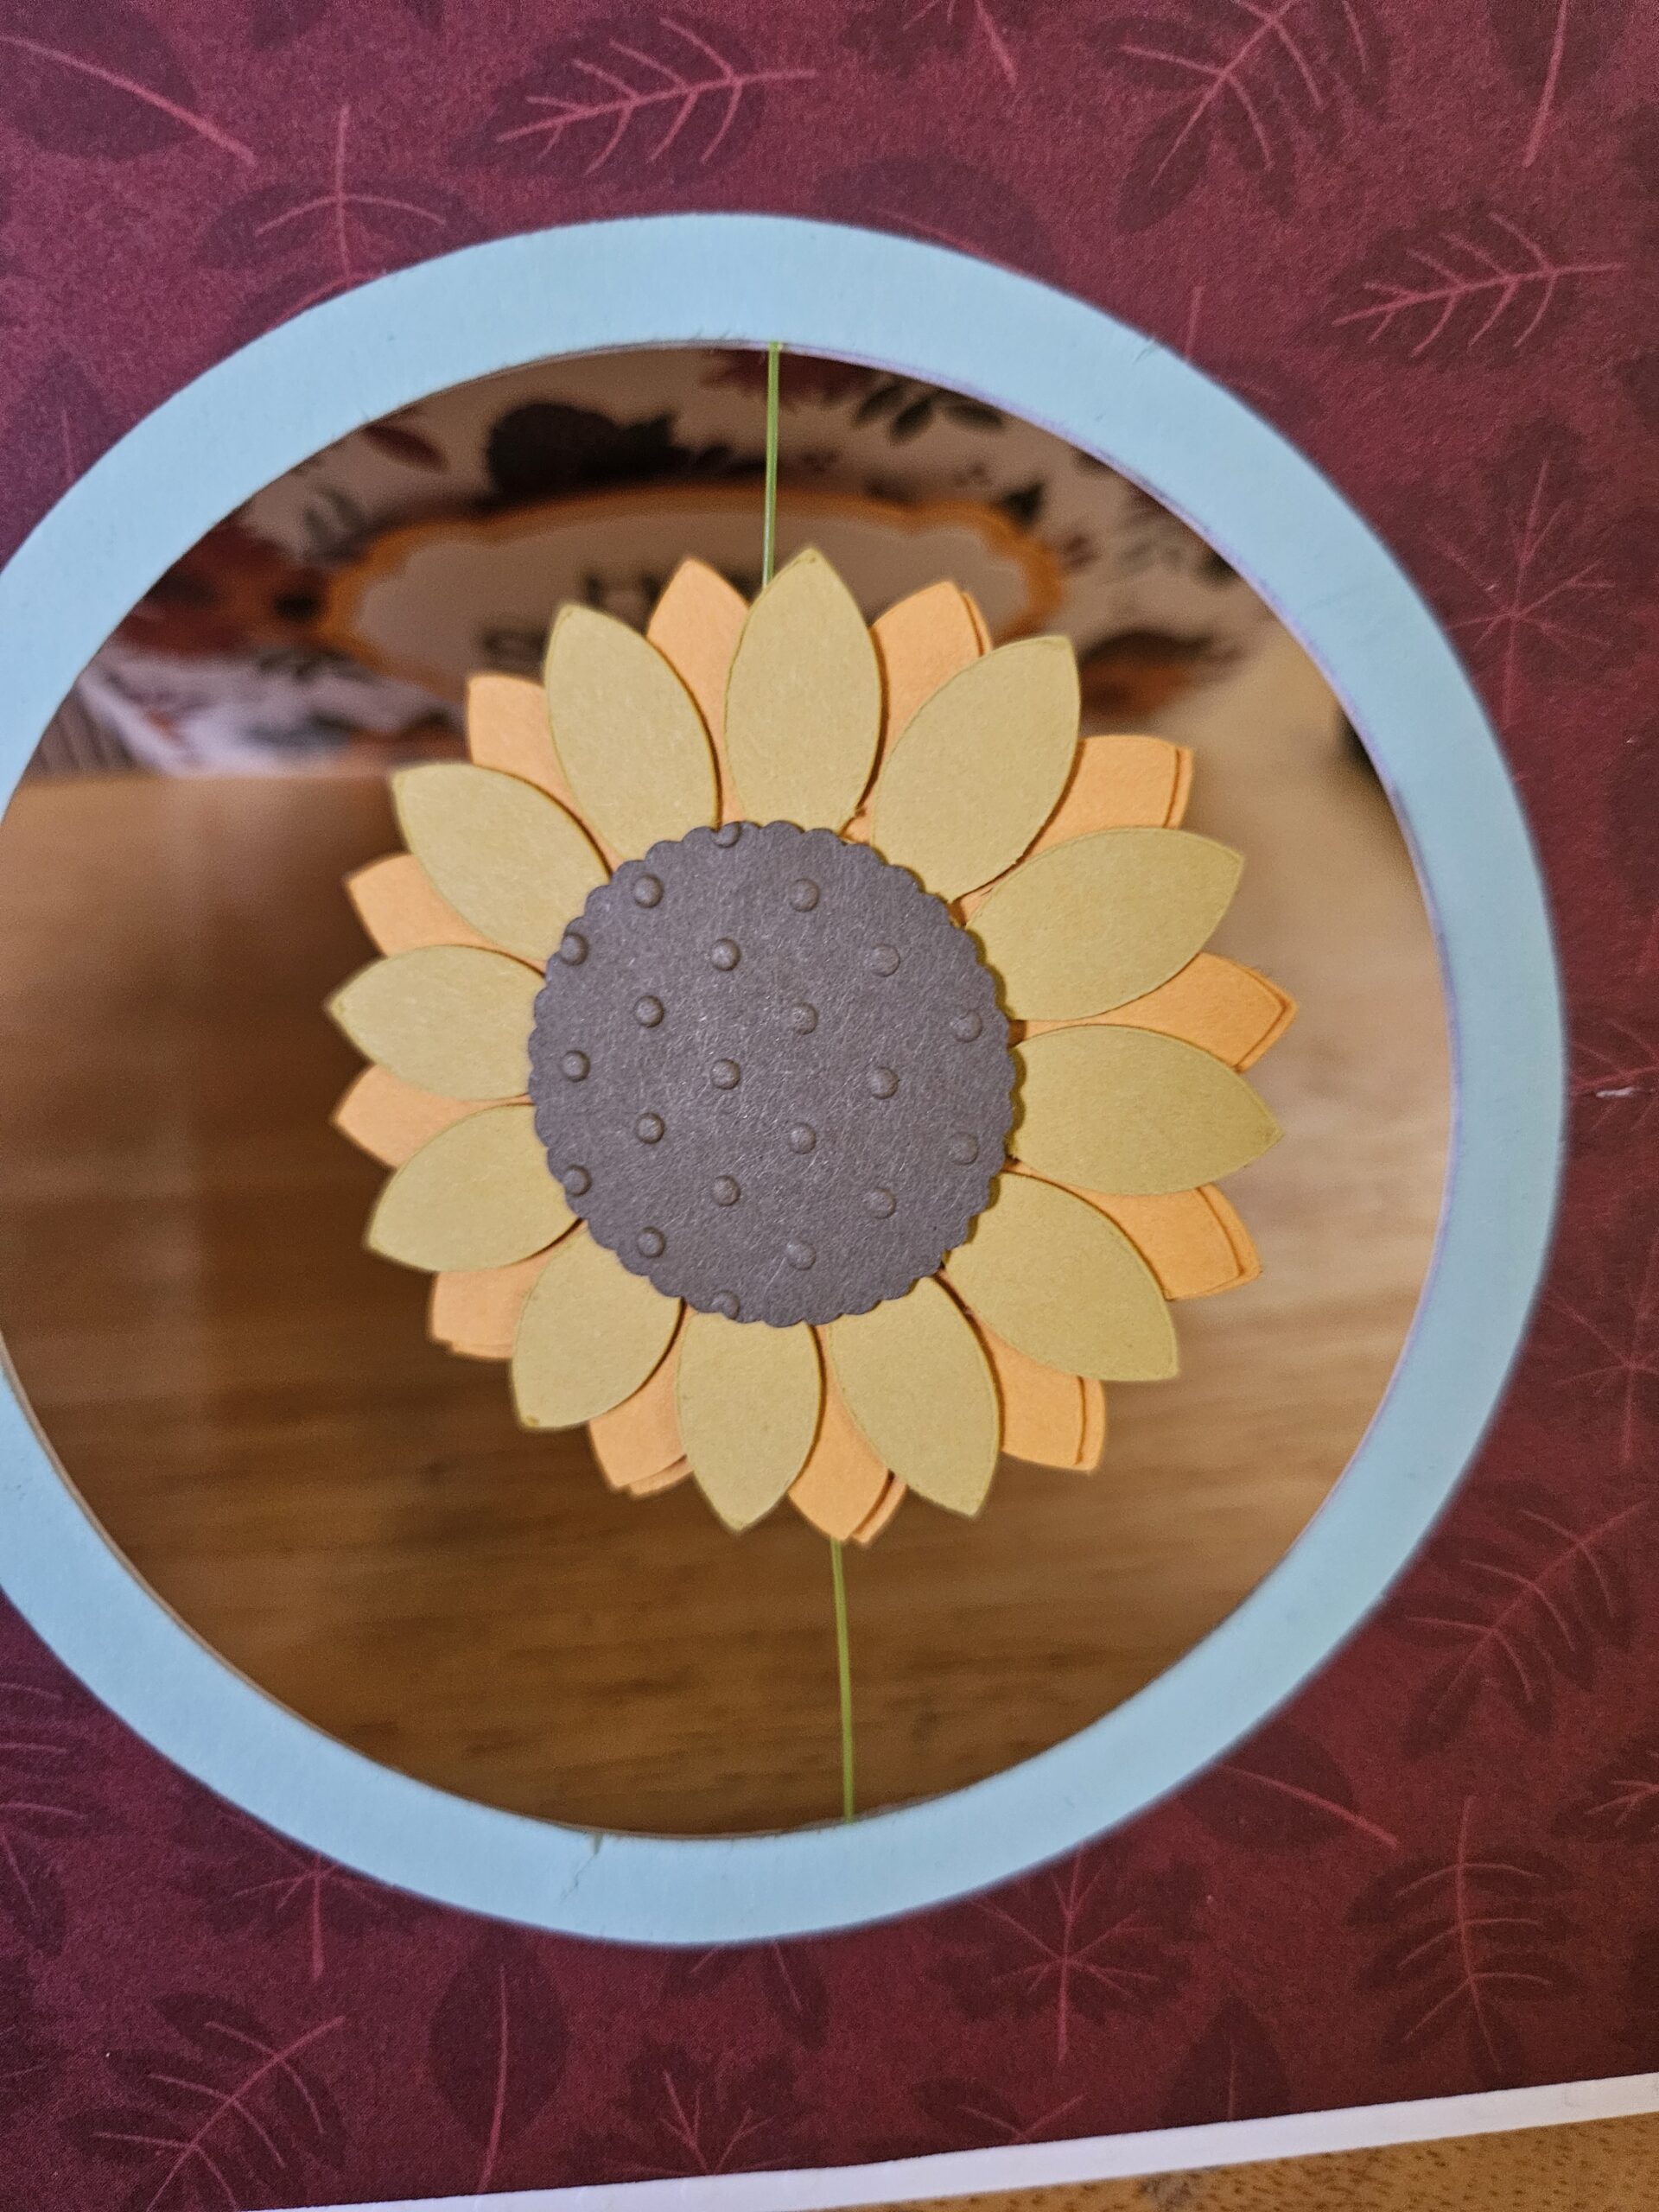
When the card is done, the flower will be hanging within the circle.
And when the easel is in place, it is a cute little floating sunflower.
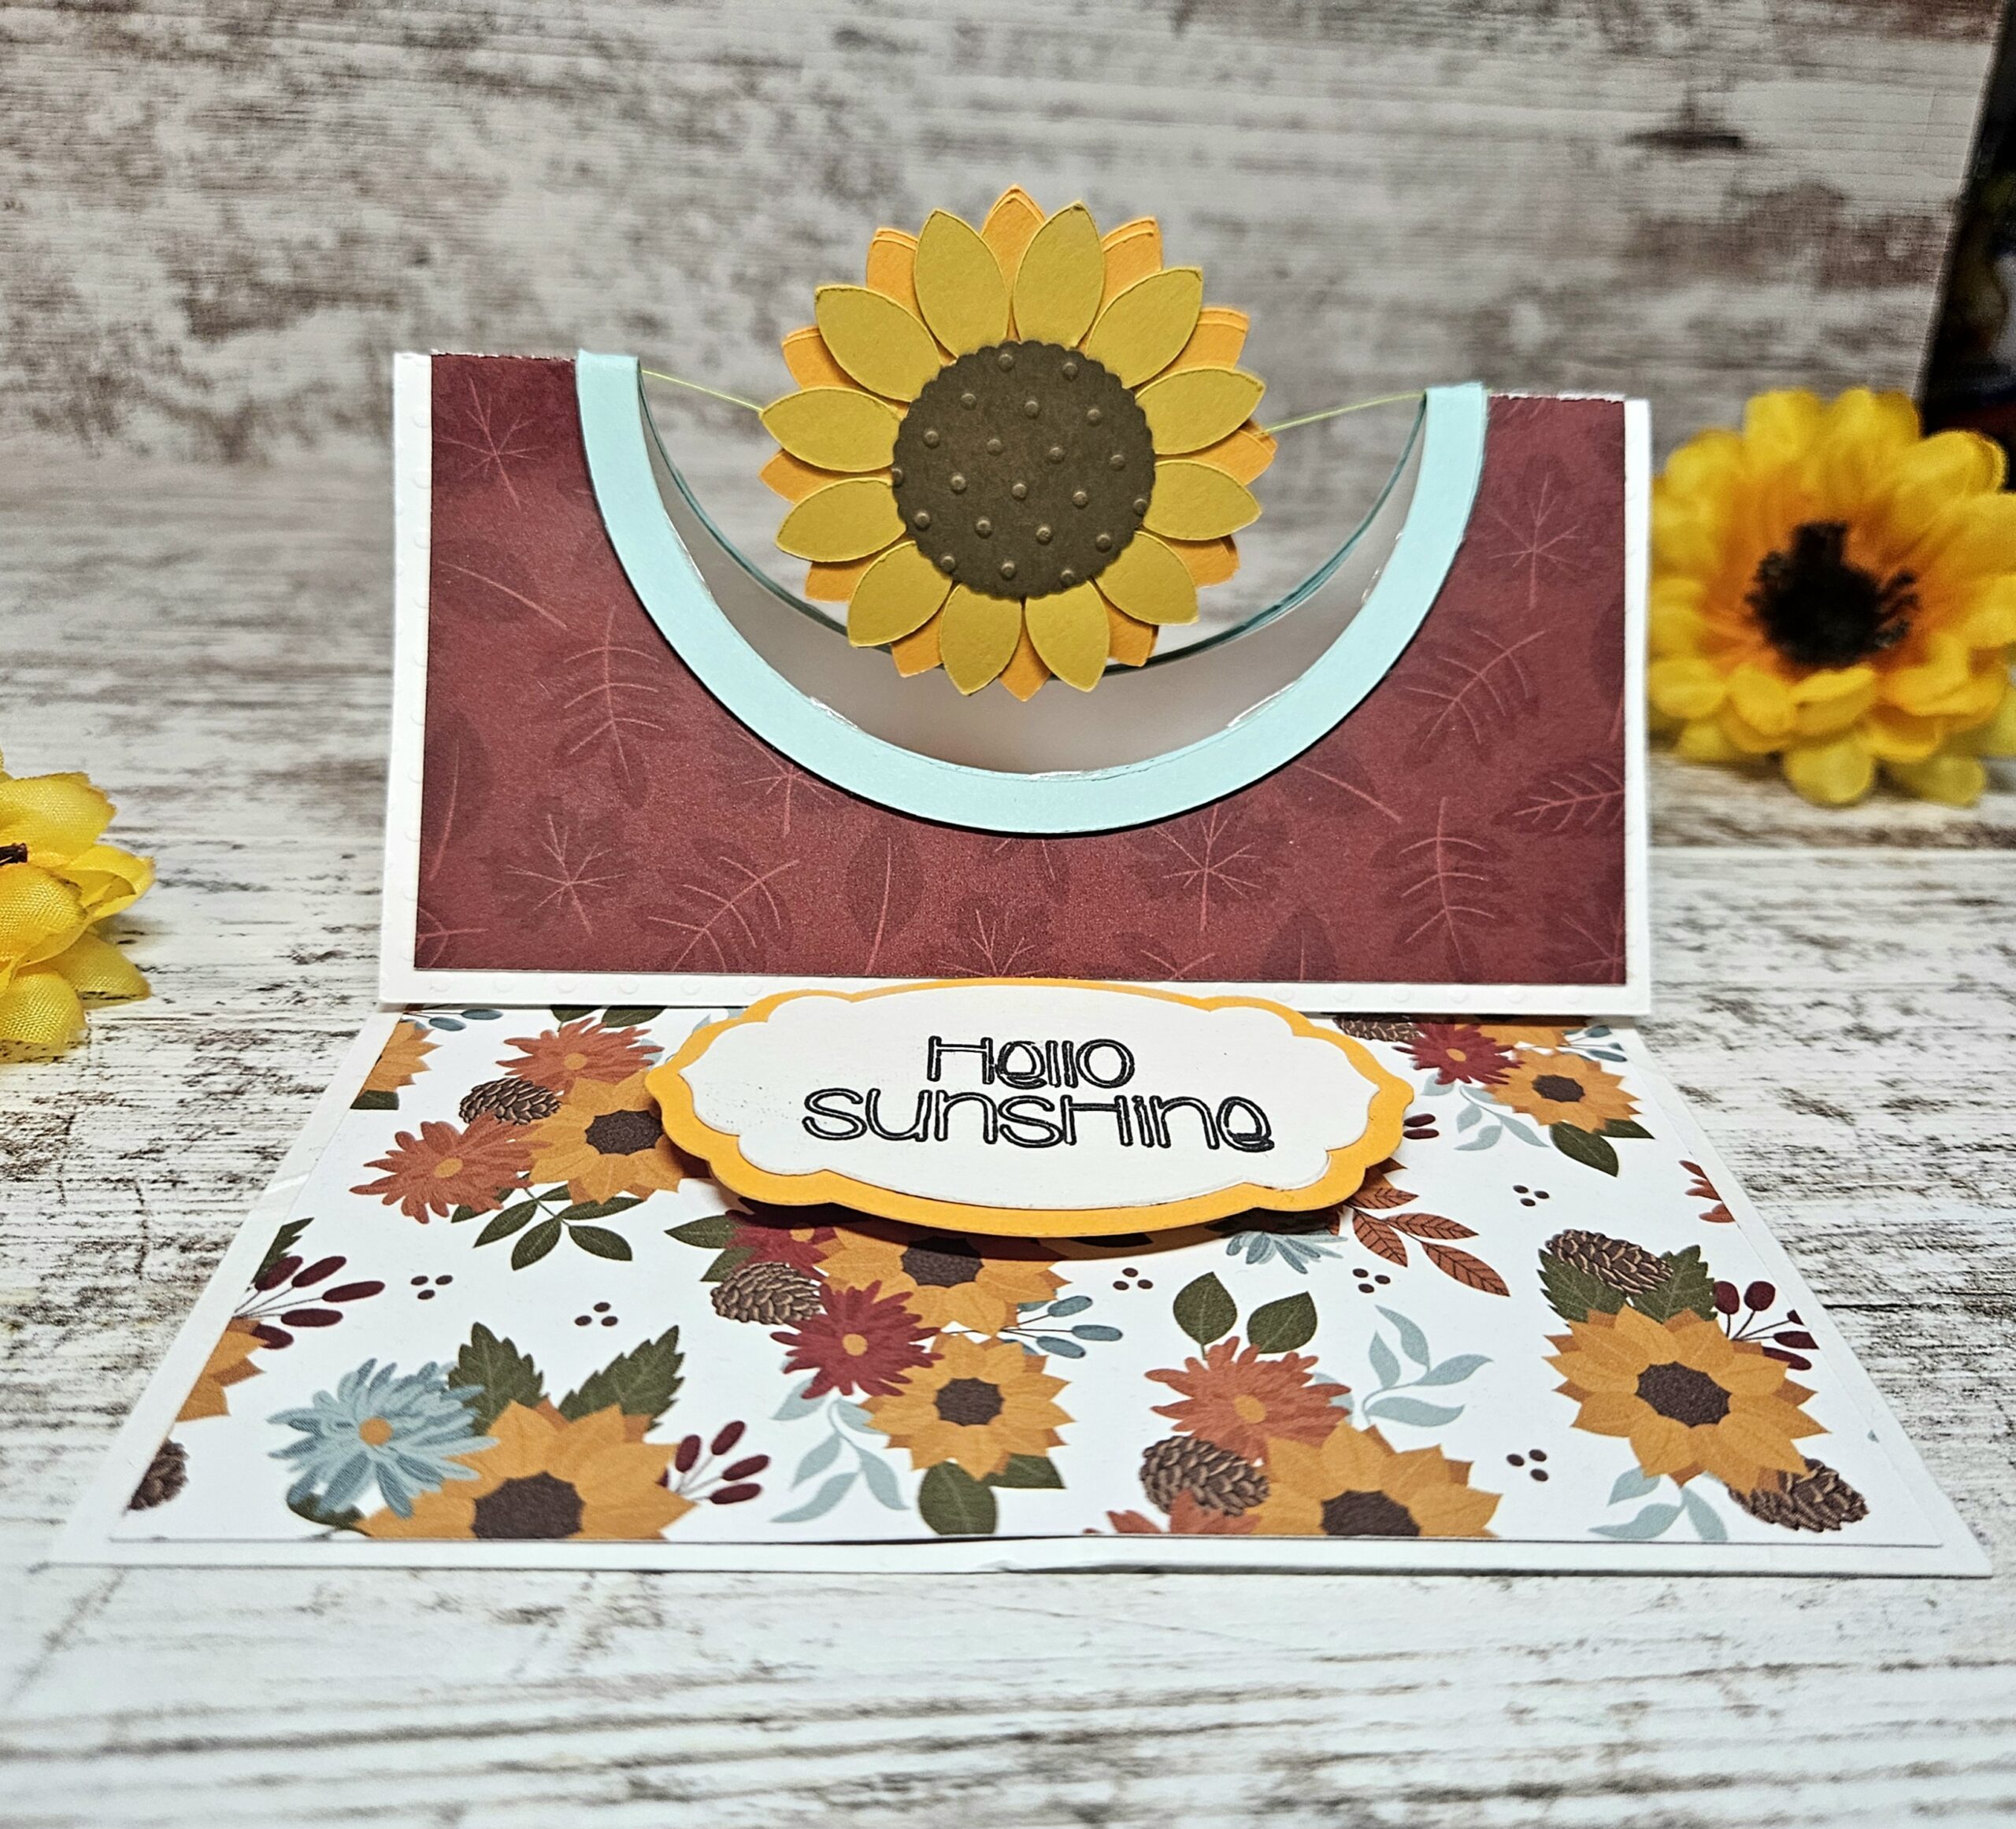
It even swings like the video below.
I’d love to see if you make one of these fun cards. Until then, thanks for stopping by and Happy Crafting!


.png)
.png)