I’m a self proclaimed font junkie! I admit it, I love fonts. Have you seen all the gorgeous fonts out there these days? You can buy some pretty awesome fonts like the ones offered by FontBundles (you must go check out the freebies there). Many of them come with extra characters, glyphs, and swashes. However, when you go to use them in Silhouette Studio you can only see the regular version of the font while there are often hundreds of additional characters (glyphs) included in the font. How do you access those?? In order to take full advantage of the extra characters included in these beautiful fonts in Silhouette Studio you need to know a few tricks.
MAC
Below is a video tutorial showing you how to use the gorgeous extra characters included with Michael, one of the fonts included in the lovely Calligraphy Font Bundle. This technique can be used with any properly coded font that includes glyphs and extra characters on a Mac.
PC
Below is a video tutorial showing you how to use the gorgeous extra characters included with Lovely Melissa. This technique can be used with any properly coded font that includes glyphs and extra characters on a PC.
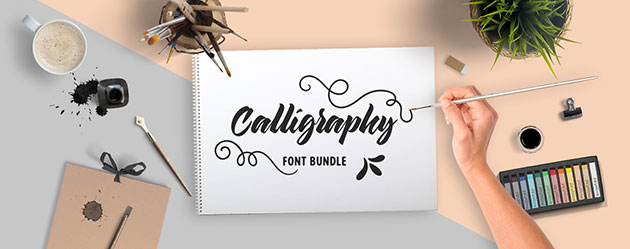
If you have not had a chance to check out FontBundles, I highly recommend that you do. They offer beautiful fonts at AFFORDABLE prices! Seriously, the Calligraphy Font Bundle has 40 absolutely amazing fonts worth over $500 for only $29. That is less than a dollar per font. Who can resists… SERIOUSLY? But, you better hurry because this bundle is available for a short time. Once it’s gone… it’s gone.
The techniques taught in this post will are applicable to any properly coded font that includes extra characters, glyphs, or swashes. If for some reason you run into a font that won’t work, it was probably not coded properly. However, I’ve tested several from FontBundles and they do work…and as I mentioned before they offer several fonts for FREE. Go give them a try.
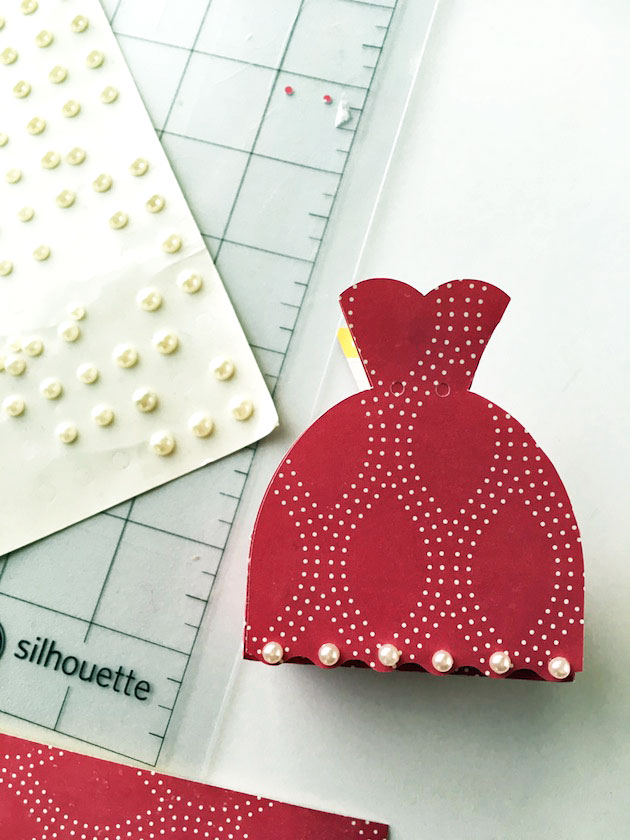
Designing with fonts in Silhouette Studio can be super fun you can really make some awesome vinyl wall art, heat transfer projects, or print and cut files quickly and easily. Once you learn how to access and use all the beautiful extra characters in Silhouette Studio you can really take your artwork to the next level.
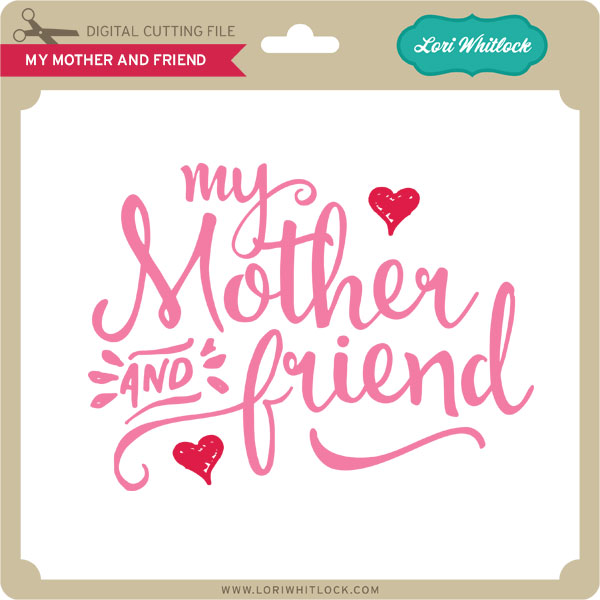
If you watched the Mac video I walked you through how to design the above artwork. Click HERE to download the FREE Silhouette Studio and SVG file for the “My Mother and Friend” phrase. It’s my gift to you for sticking around for this tutorial. I hope you enjoy this FREE file… and be sure to go pick up the Calligraphy Font Bundle while it’s still available.
Have a great day!