Vinyl Tutorial – Hinge Method

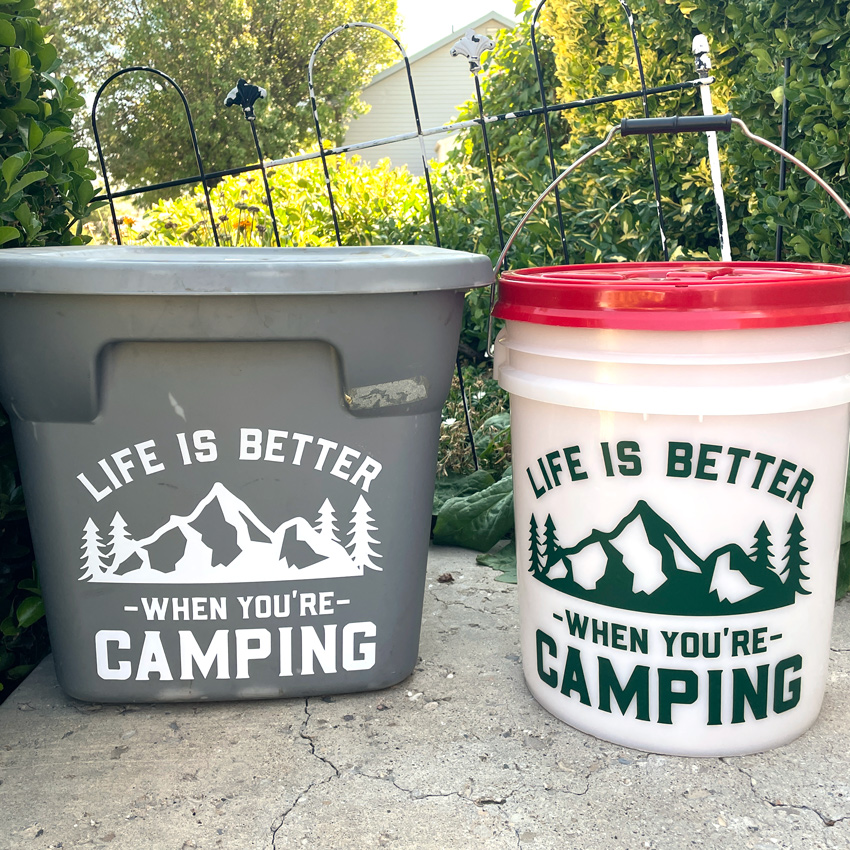
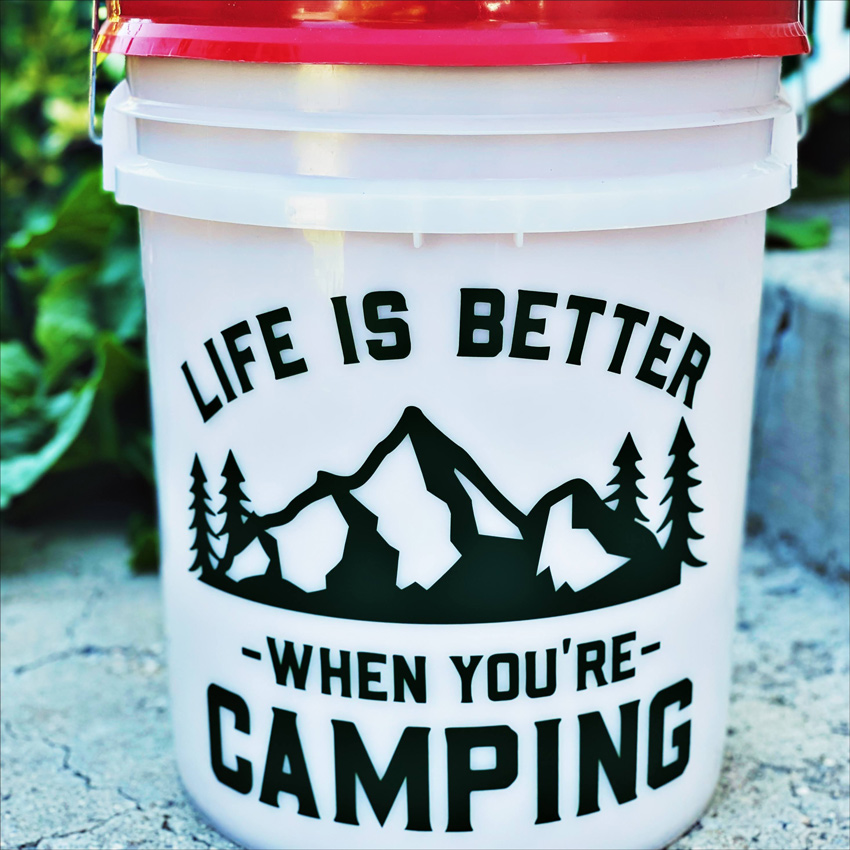
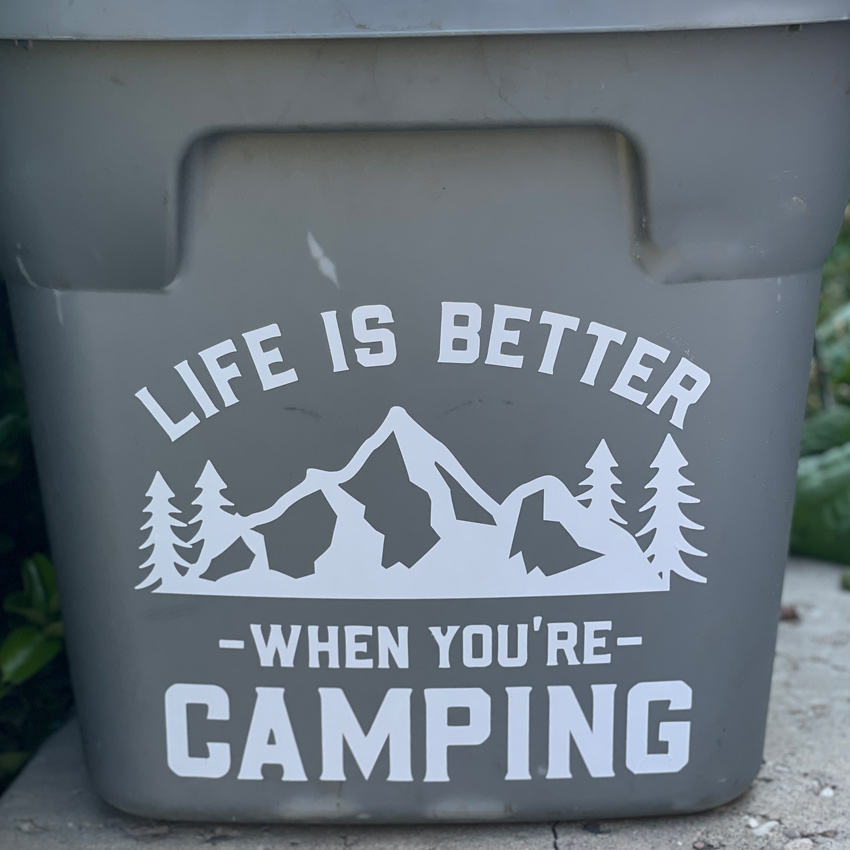
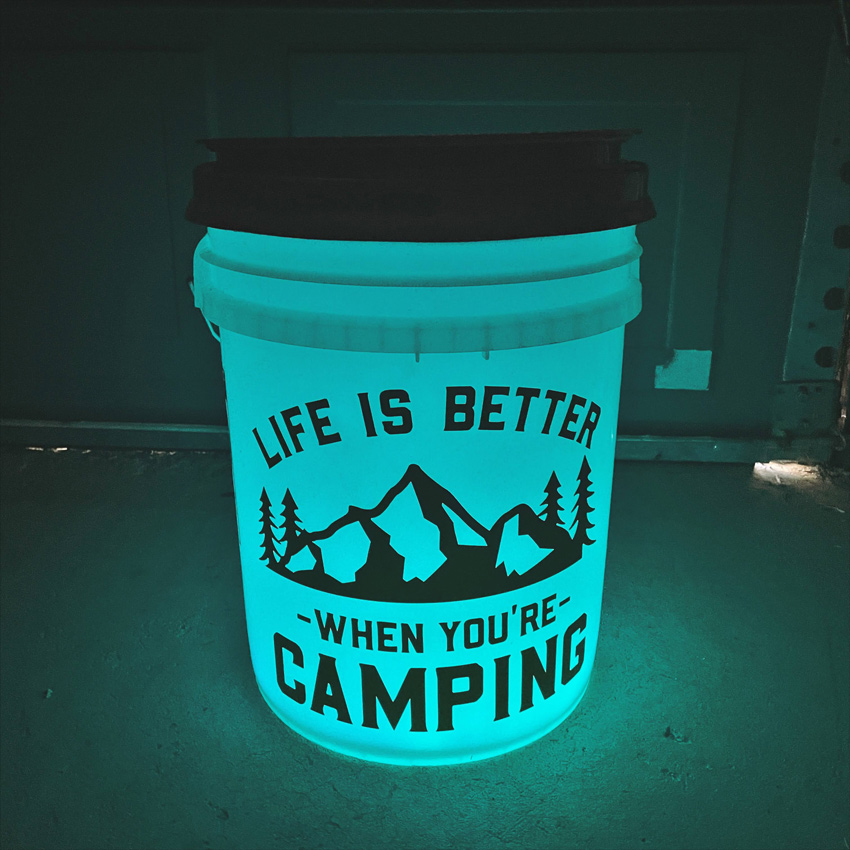
Do you love camping? Or have people in your life that camp? Lori recently added some fun files that could be used for camping décor or even camping trailer décor.  I have several tubs that have camping gear in them. The bins aren’t labeled, and I thought using the camping file would be a fun way to “label” them.  I also added the same file to a white bucket.  The bucket can be used to stow camping items, and at night, well look what I did below!

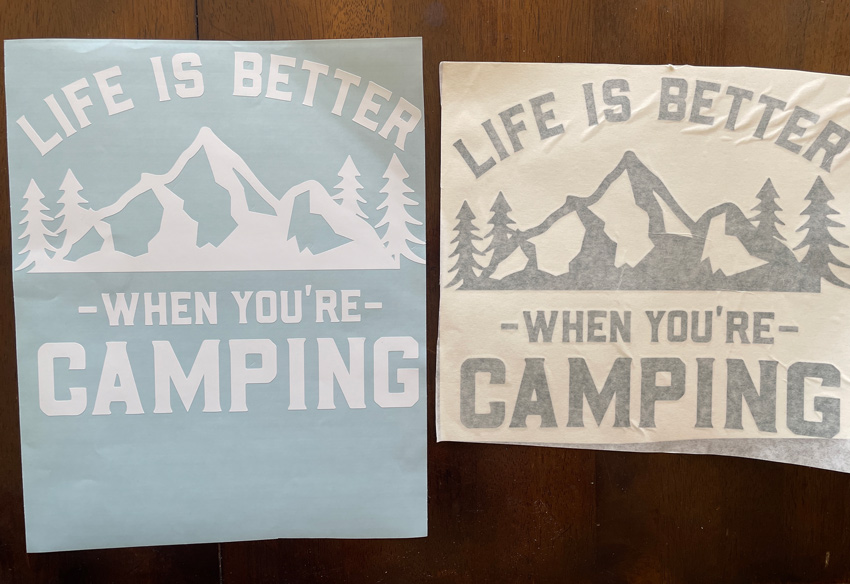
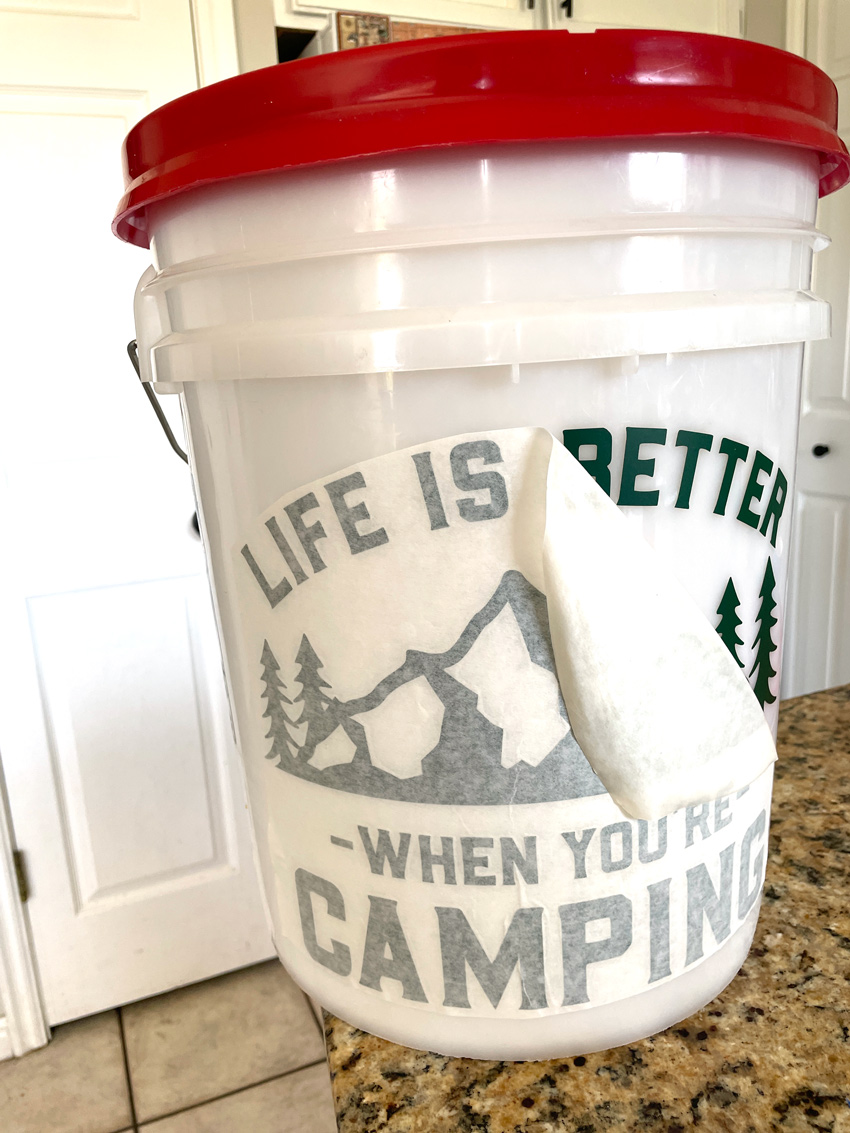
For this project I used the Life is Better When You’re Camping File (SVG, Silhouette).  It can be difficult applying a large vinyl decal to a curved surface, I used a method called the hinge method. I’ve outlined how I did it below.

1. Cut and weed your vinyl. Apply transfer tape to your vinyl project.  Leave the backing piece on.

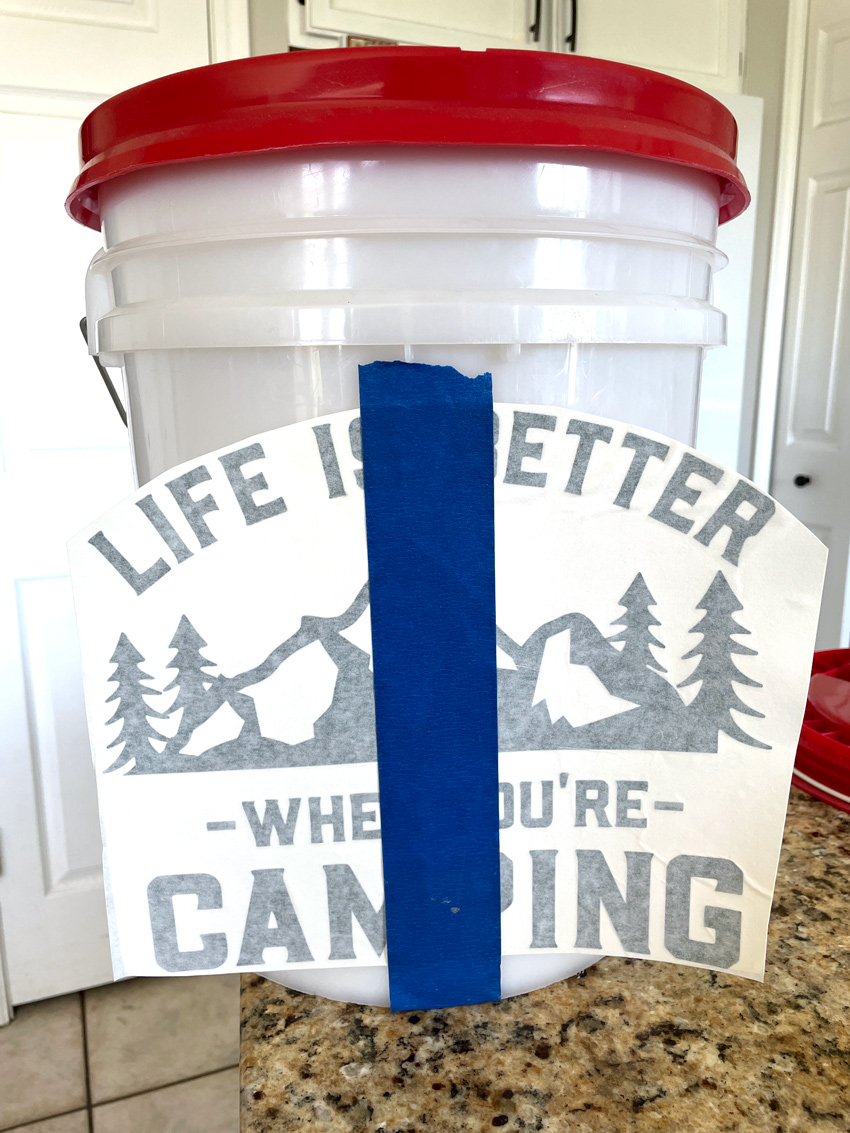
2. Place your vinyl on the surface, making sure it’s centered, leaving the backing paper on for now, and tape it down the middle with some painter’s or washi tape.

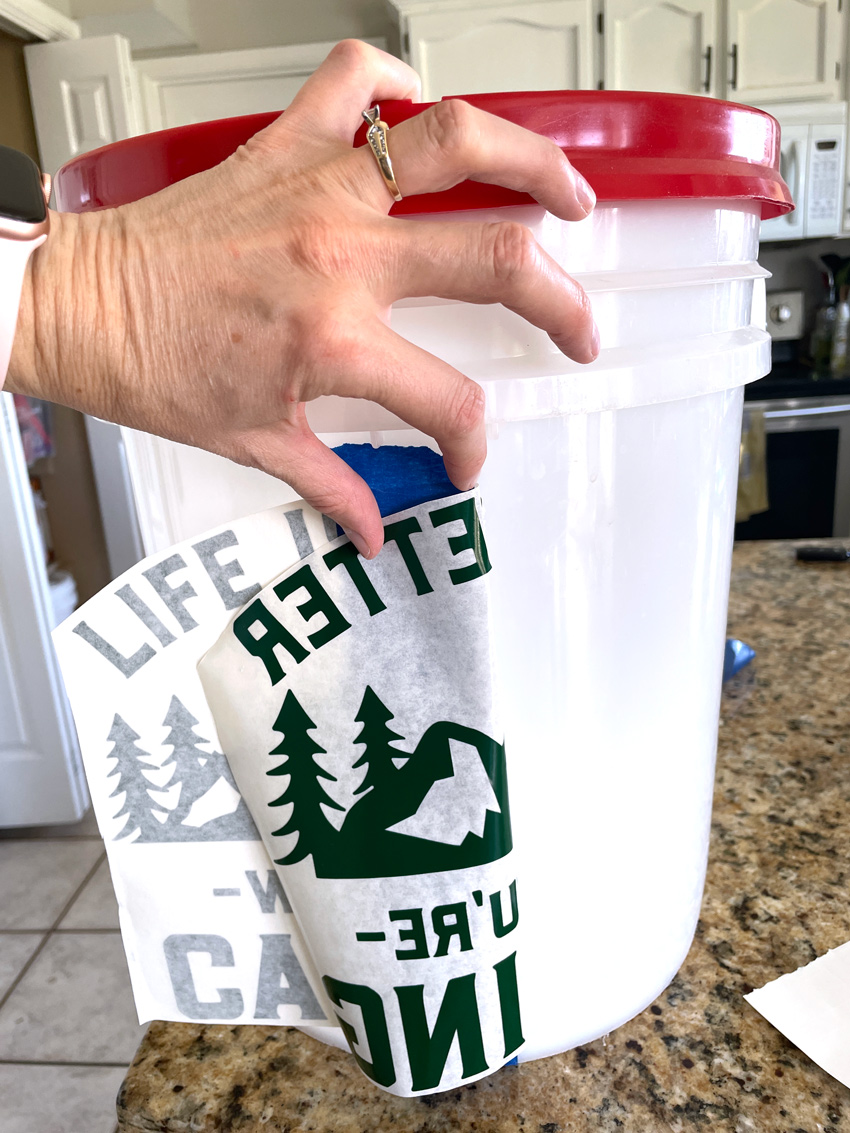
3.  Working on one side of the tape, peel back the transfer tape with vinyl, separating it from the backing paper.  Cut or rip the paper backing off.  I just rip the backing straight down.

4. Now you have one side of your vinyl ready to apply.  Smooth the vinyl to the surface. And repeat for the other side.

5. Burnish the vinyl to the surface before peeling back the transfer tape.

campingbucket

Repeat on all the surfaces.

With a white or light colored bucket, a light can be placed inside for a fun night time glow at the campground!

Now you are ready to vinyl all the things!

Have a great day!

Ashley

Camping Backpack Tutorial

Hello everyone Brigit here, I’m so happy to be back on Lori’s Creative Team again, I’ve really missed being here!

I have a tutorial to share today, I love making bags and boxes to fill with treats and I thought this Camping Backpack that Lori made for Father’s Day (SVGSilhouette) would be such a cute fall gift box with hot chocolate and marshmallows inside.

This is really a super easy box to put together and it can be used for so many different gift ideas.

I use Silhouette Studio so the first thing I always do is select the paper I want to use and then I separate the pieces into groups like I’ve done above and then I’ll group and change the color. On this project, I only ended up using one sheet of solid cardstock and three-patterned sheets from Echo Park’s My Favorite Fall Collection. All the embellishments I used for this project are also from that same collection.

For the pockets you can see in the photo above on the 3 medium blue rectangles that I welded the top and bottoms together, the paper is double-sided so I just folded down for the top flap.

I didn’t use the tag in this file but if you need a tutorial on print and cut Kathy has a good one here using Silhouette Studio. We also have one for Cricut here.

The main box is just one piece, I added the layers first and then folded all the score lines and glued the side flap first and then the top and bottom, that’s it, I just love how this box went together!

After assembling the box I added the two straps in the back, I trimmed them a little just to make them a little bit shorter and then added the pockets.

For the top sleeping bag I used a bone folder to curve it first, this really helps with the assembly. I glued two flaps at a time going from one side to another and it worked out great.

Here is the sleeping bag all rolled up, I just added the two bands and then the side pieces. Last I glued it to the top of the backpack and embellished it.

I really enjoyed putting this project together!

Thanks for stopping by

Brigit

Donut Worry Be Happy – Food Truck Tutorial

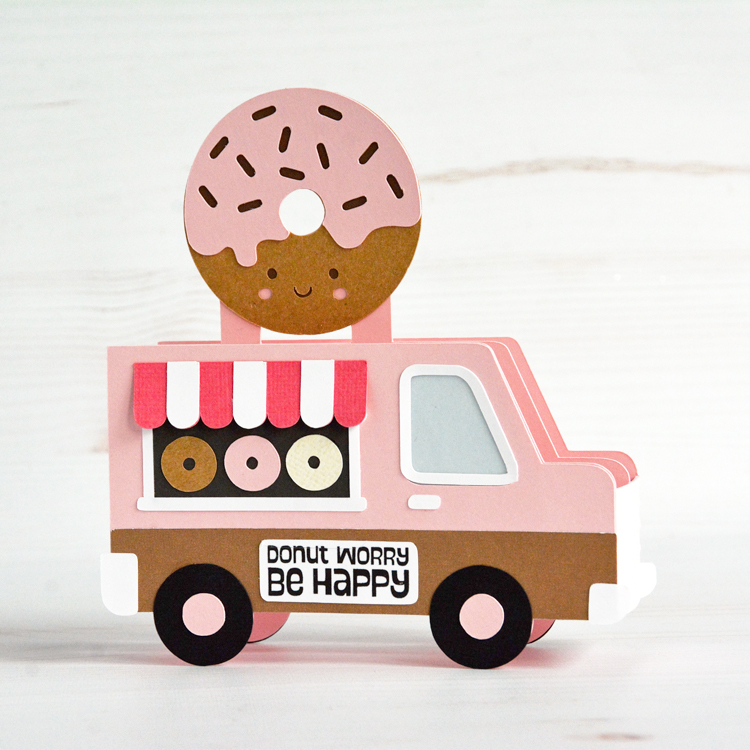
Hello friends! Marcia here today. Toward the end of summer when all the county fairs are in full swing and the state fair is looming, I start craving mini donuts. I can’t help myself. I thought it appropriate to indulge myself and at least make a donut card. Lucky for me Lori has the cutest little Donut Truck Box Card in her store (SVG, Silhouette).

This card has lots of pieces, but it is super easy to put together. Let me show you how.

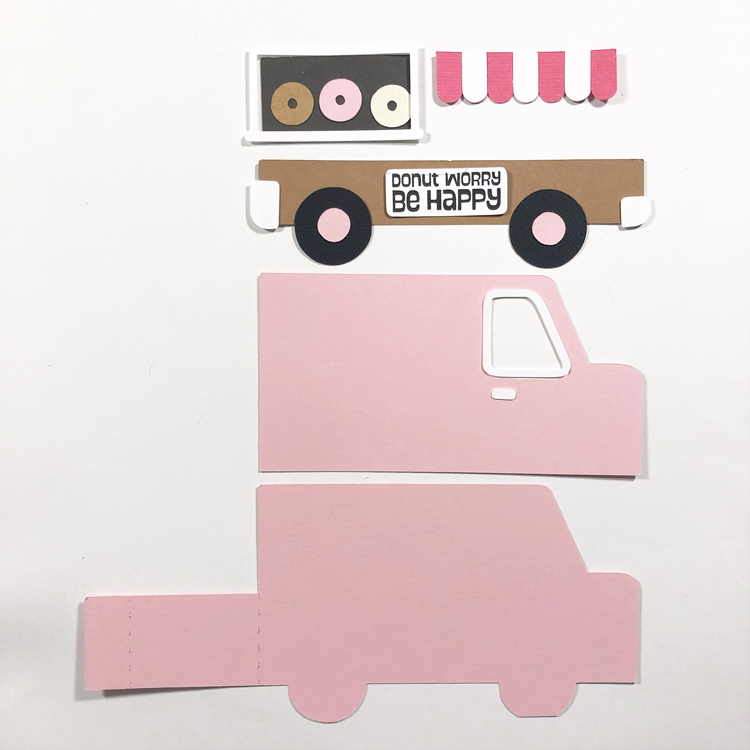
  1. Cut out all the donut truck pieces from the desired color of cardstock or pattern paper. I used the Print and Cut feature in the Silhouette Design Studio to print Donut Worry Be Happy on my computer’s printer before cutting it out.
  2. Arrange all the front cut outs with the front base cardstock truck and start to glue the pieces in place as shown.  I found it easier to work from the bottom up. Layering the truck body on first, followed by the truck’s side panel and tires. Last I added the truck window and awning. I placed foam tape under my awning only on the bottom so that it would pop up away from the truck. The top of the awning was glued to the truck.

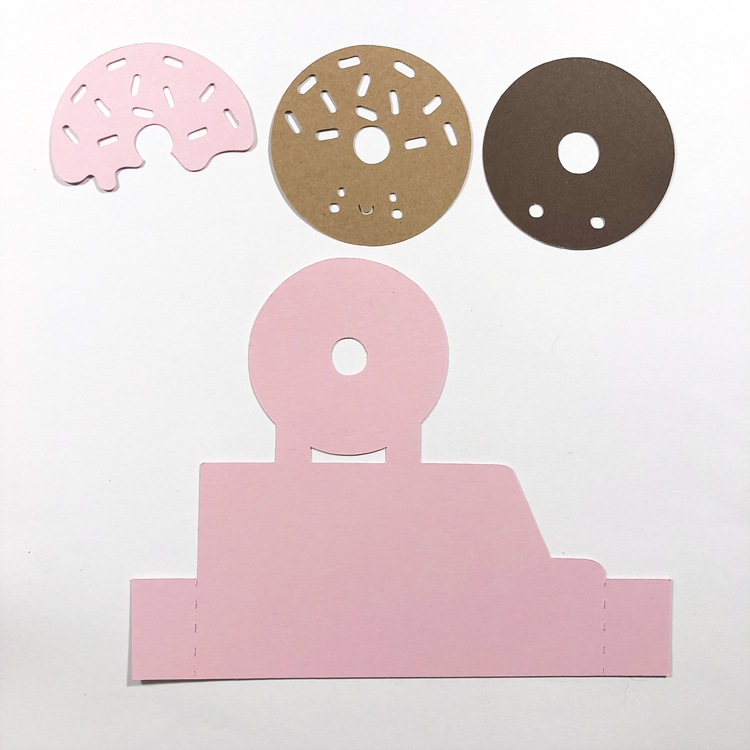
3. Arrange the middle card cut outs and glue in place lining up the sprinkles and cheeks. Pink on top of the light brown. Then that on top of the dark brown and finally adhering the donut to the center card base.

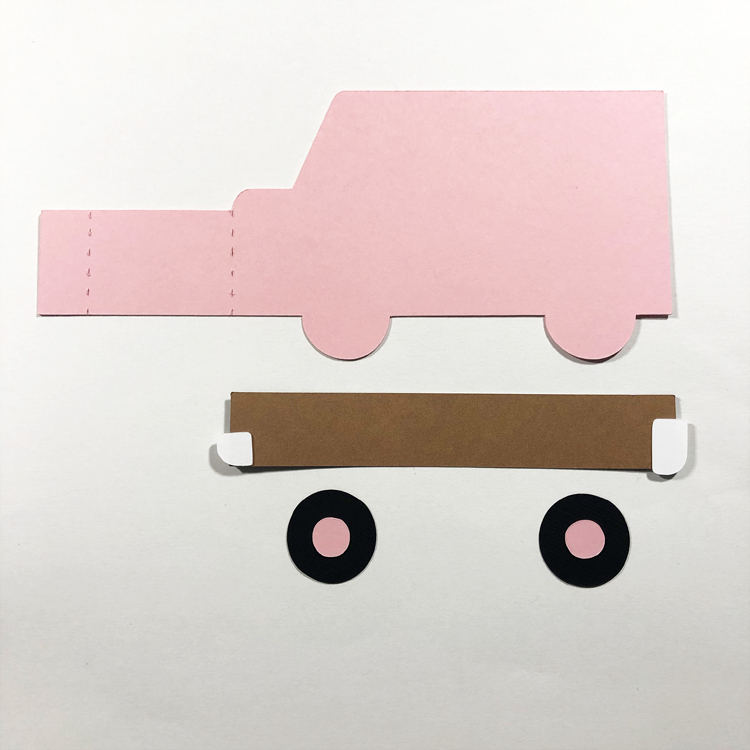
4. Then we assemble the back of the truck card, gluing down the side panel and wheels.

5. Now that all the pieces are assembled, it is super easy to glue the front to the back of the truck creating a box. Add some glue to the center card tabs and carefully adhere to the inside of the card, lining up the top.

This is such an adorable card and is sure to lift the spirits of any recipient, especially if gifted along with donuts 🙂  Be sure to check out all the other food truck box cards in Lori’s shop as well. Note: This box card does fold flat for mailing in a 5×7 envelope.

Have a great week!
~Marcia

3D Camper Tutorial

Hello crafty friends! Aimee here and I’m ready to share a tutorial on how to assemble the ever so adorable 3D Camper Father’s Day file (Lori’s SVG Shop, Silhouette).  As you can see this is clearly not a Father’s Day camper but a Summer camper. It really could be made for any season or occasion. So kick your flip flops off at the door and come on in my sweet camper and let me tell you how I made this!

To get started I picked out some beautiful papers from Echo Park Paper’s  A Slice of Summer collection and cut out all of the pieces.

Before I started assembly of the camper I adhered some of the pattern paper pieces to it. Start by folding on the score lines as it helps guide where to adhere the bottom camper pieces. For the windows, adhere the light blue pieces on the inside of the camper and then the curtains will fit just inside the boxes on the camper shell.

Then adhere the outside frames to the windows and door.

Next you will want to adhere the tabbed pieces to the main body of the camper piece. Lay pieces out and adhere them just as shown in the picture below.

Lift these pieces up until they meet and adhere them together. Next use your hands to shape these pieces to the contour of the camper shape and then add your adhesive to the solid tab on one side and every small tab piece on one side and adhere it to the main body piece of the camper. When that side is dry adhere the other side down.

The last piece is the hitch. The main piece is simply folding it and adhering the two pieces that are similar with one over lapping the other. Take the other piece (rectangle) and roll it up on the handle of a small paint brush. Adhere the end and roll it over to keep the entire piece adhered together. Then adhere the two pieces together.

Then adhere the completed piece to the bottom of the camper.

And now your camper is complete and ready for some embellishments. I found some butterfly stickers in my collection and sprinkled them around because that’s how it is in my perfect camping world! LOL!!

Use this as a happy decoration in your camper or as a centerpiece at a Summer BBQ…how cute would that be? This is fairly good size of decoration that measures 8.50″ tall and about 8″ wide and I promise you it will stand out no matter what you use it for.

That’s all from me today…how you all enjoy!

Aimee

Box Card Tackle Box Tutorial

Hi Everyone!  Today I have an Anniversary version of Lori’s Father’s Day Box Card Tackle Box (SVG, Silhouette).  My husband is a big fisherman.  I thought it would be cute to swap out the Happy Father’s Day sentiment that comes with the card,  with a funny anniversary sentiment.  Our anniversary is still a bit away, but I’ll be all set with a card!  Take a peek…

This card looks complicated, but it’s really just a shaped box card.  I outlined below how to assemble it.  There are a lot of little pieces, so if you forget where one goes, remember, you can always reload the cut file into your cutting software, Lori groups the pieces together as they go in the final project.  I started by cutting all of my pieces.  The next few photos show the pieces, and where they go on the different inserts.

The base of the card has pieces glued to both sides.  This is the “outside” of the tackle box…

And here is the inside.. (my paper was green on one side and orange on the inside)

Once you have the card base and the inserts assembled, it’s time to assemble the whole card.  I started with the first insert (shown below)  This piece is attached right behind the front of the card.  I used some foam tape to give it a bit of dimension.

Once I had the first insert attached to the inside front, I added adhesive to the glue tabs on the card base and folded to form the “box.”

Next, I added the 2nd insert.  This insert is added just to the top “drawer”.  Add adhesive to the tabs, then position it about halfway in the top section of the base and press the tabs to secure.

All that is left is to decorate the outside of the card.  I added the gray strips to both sides of the box to look like the hinges.

And finally I added the bucket of fish to the front of the tackle box.  I used foam tape here as well.

Finally I added the sentiment I created.

Now I hope I remember to give him the card when our anniversary does come around!!  And don’t forget, this card along with all SVGs in the Lori Whitlock SVG Shop are on sale through Saturday!  Be sure to use code JUL2021 at checkout to get 30% off your order!


That’s it for me today, thanks for stopping by to peek!

BLOG | INSTAGRAM