3D Clover Décor Tutorial

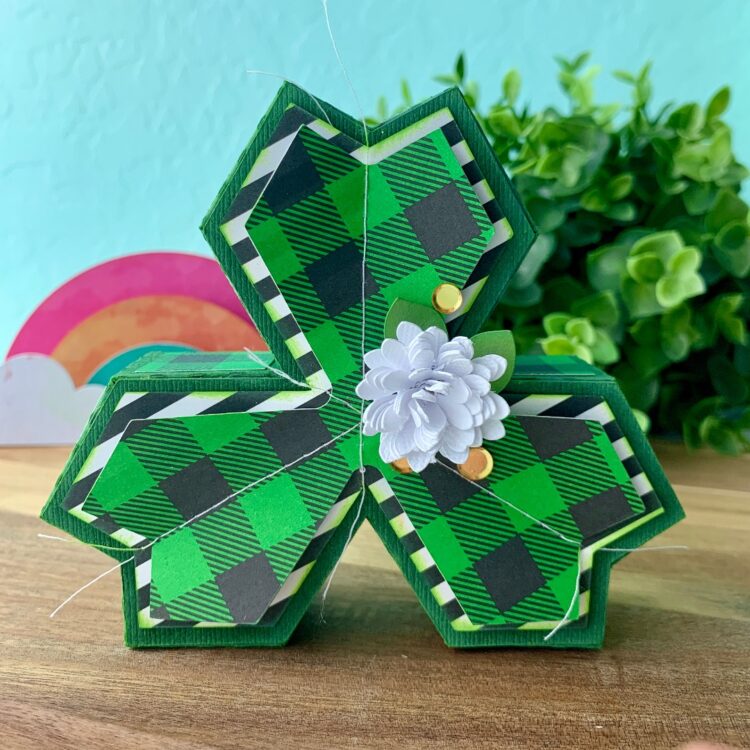
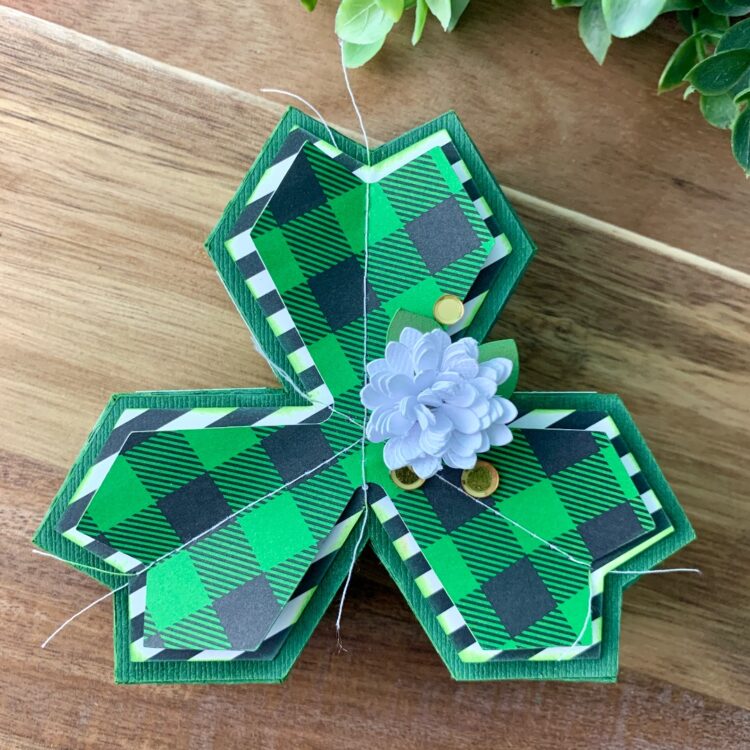
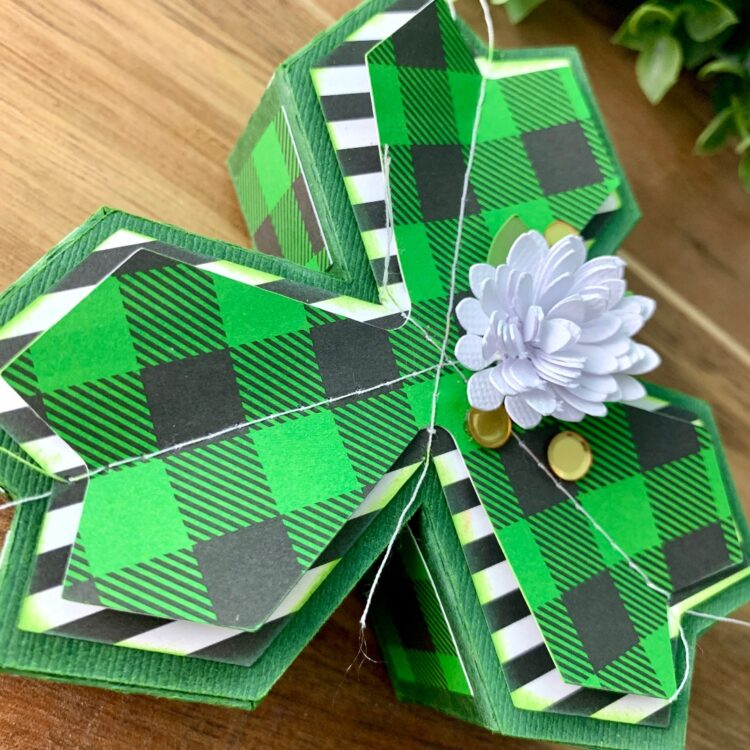
Hi there! Have you jumped on tiered tray bandwagon yet? I have! And have had a lot of fun making décor items for it. Lori has a new group of files for St. Patrick’s Day home décor that are perfect for a tiered tray. You can find it in her shop here. Today I’m going to show you how to assemble the 3D Clover (SVG, Silhouette).

I started by cutting all of the pieces. In the file there is only one side of the clover, but you will need to cut two. I also wanted two layers of the front decorative panel, so I customized a piece by making an internal offset and cutting that out as well.
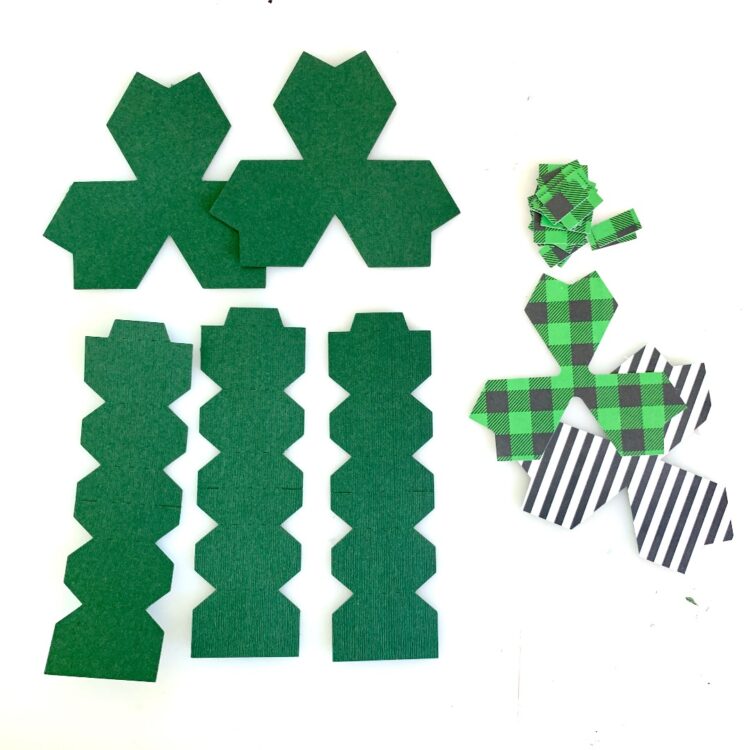
I folded all of the tabs. Most of the folds are mountain folds. The very middle score line is a valley fold as well as the tab on the end.
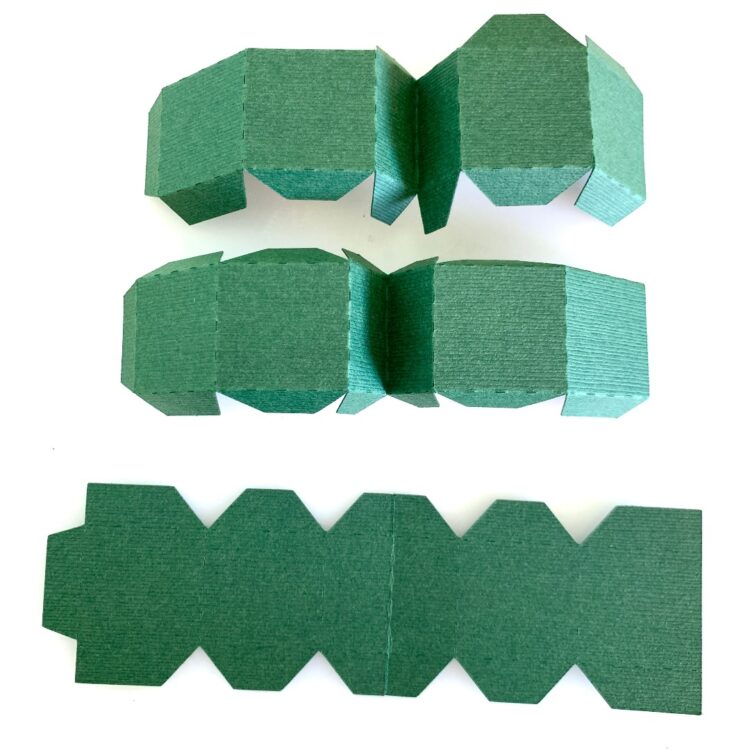
The middle valley fold will be in the middle of each of the clover petals.
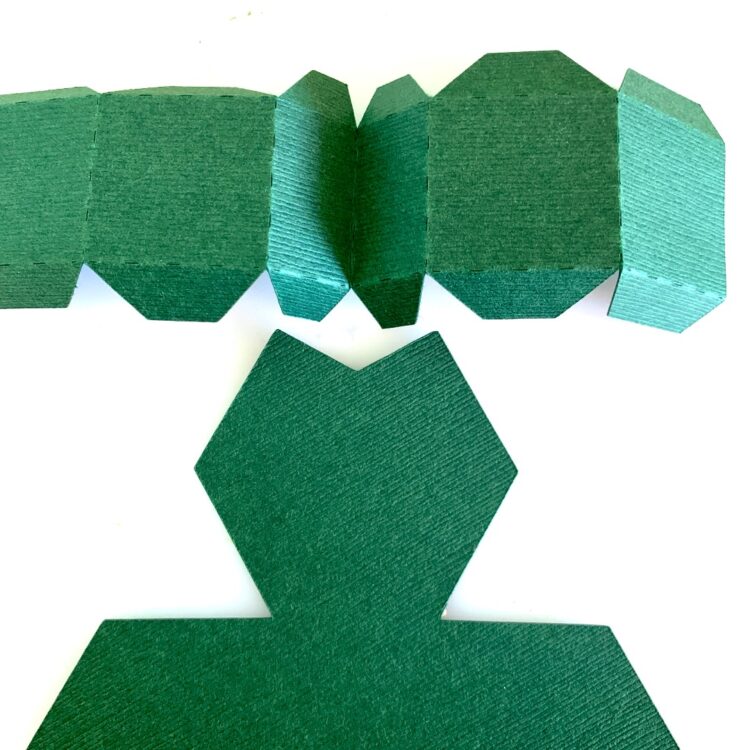
With some liquid glue I secured the first tab. I like to get a good anchor established before moving around the rest of the petal.
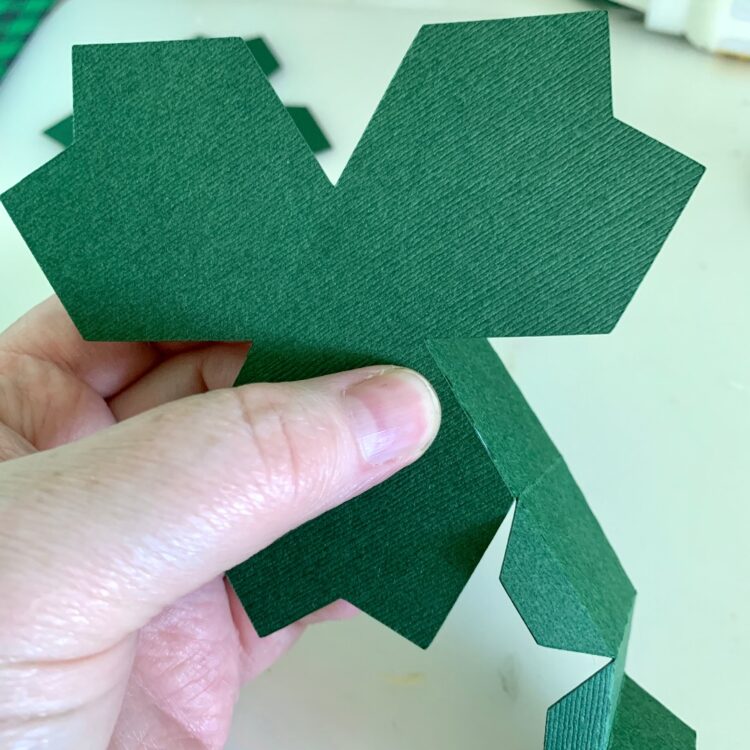
Then added glue to the next few tabs and secured them to the clover petals.
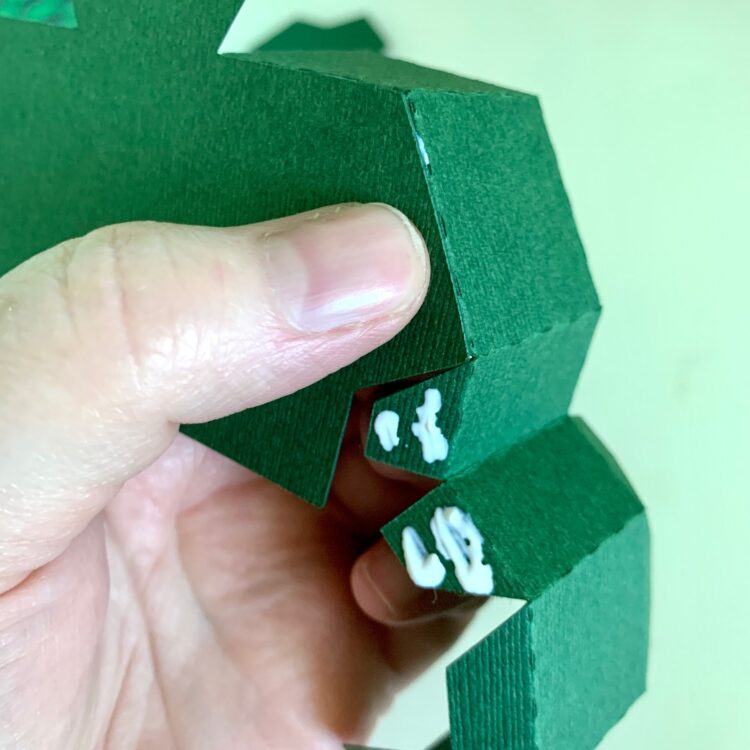
I repeated the process for the other two petals.
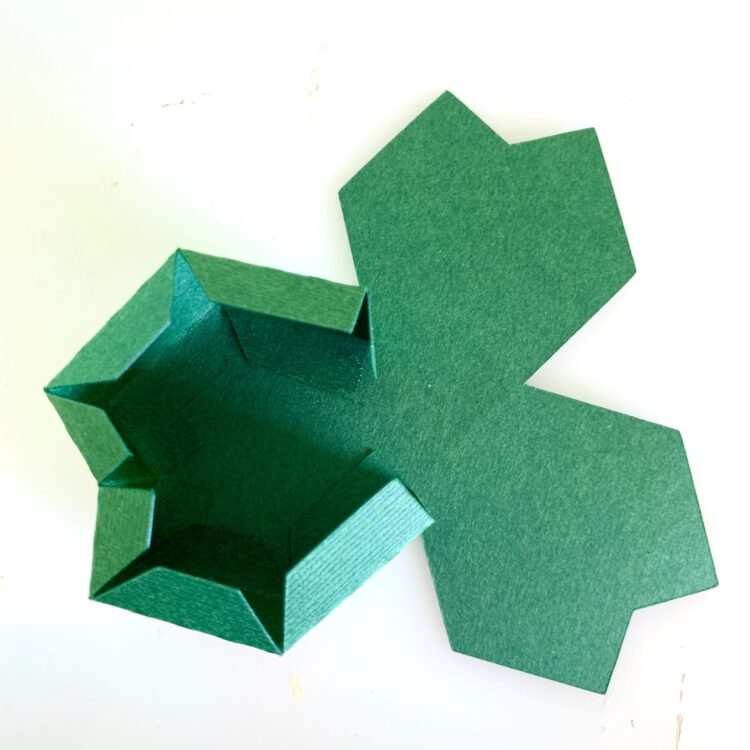
Once I had the other two petal edges complete, I glued the end tabs in place. It would also work really well to glue all of the edge strips together then glue them to the front of the clover. Rather than doing each petal separately.
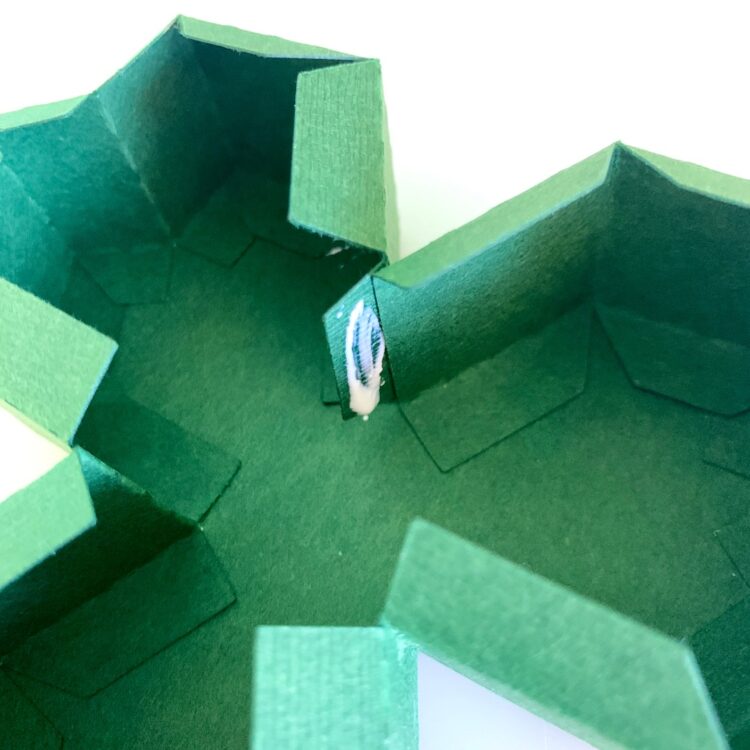
For the back piece I just went for it and added glue to all of tabs and laid the cover on top while I adjusted and lined up all the edges. It would probably be easier to anchor one tab then add the glue to the rest of the tabs and adjust/line up as needed.
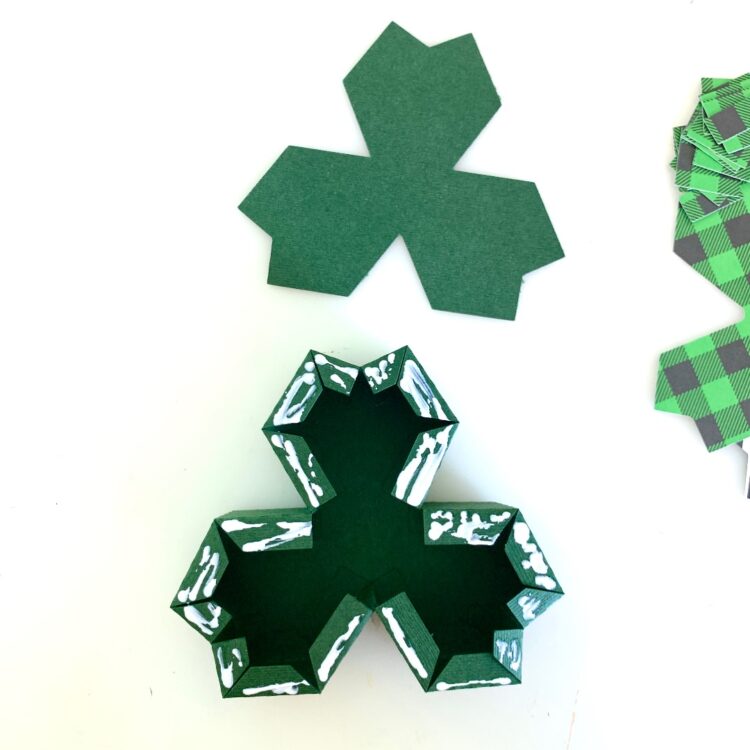
The last bit is the best part. I inked the all the edges. I glued all the decorative panels on the outside edges. I used my sewing machine to stich the two front decorative panels together. I added a rolled flower (SVG, Silhouette) and a few gold sequins.
And don’t forget, there’s a sale happening now in Lori’s SVG Shop!  Get 30% off all SVGs, Fonts, Pattern Fills & Commercial Licenses when you use code MAR2022 at checkout.  Don’t miss out, sale ends Saturday!

That’s it for me today. I hope you have a great weekend and thanks for stopping by!

Brandie


French Door Easel Card – St. Patrick’s Day Tutorial

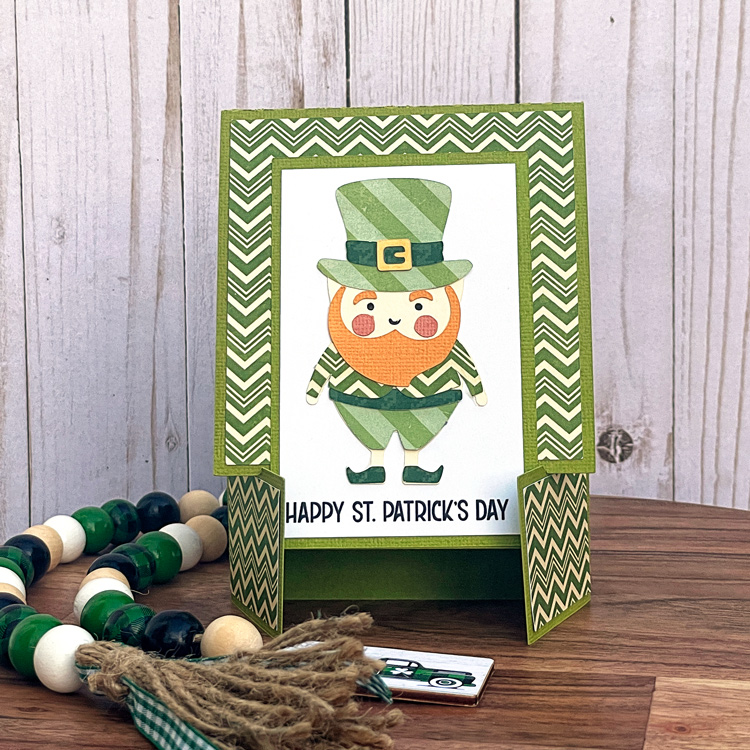
Happy Tutorial Day.  Lori has added some new French door easel cards to the shop. I’m making the St. Patrick’s Day Version today. You can find it in Lori’s SVG Shop or in the Silhouette Store.

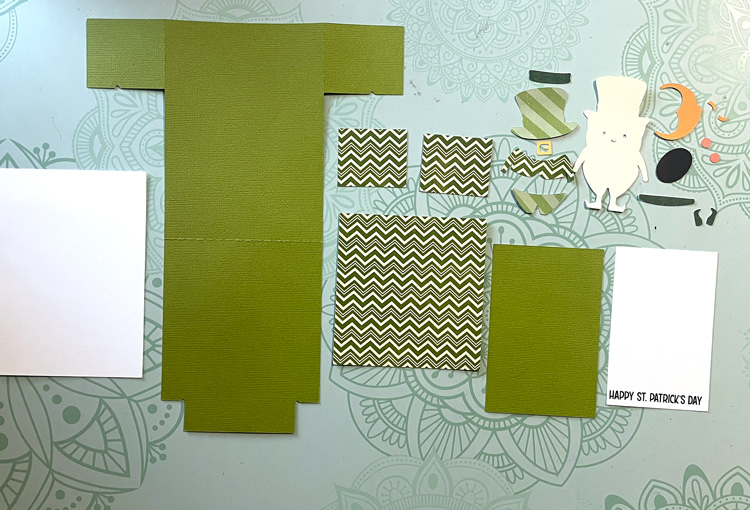
I started by cutting all the pieces.

French Easel Pieces

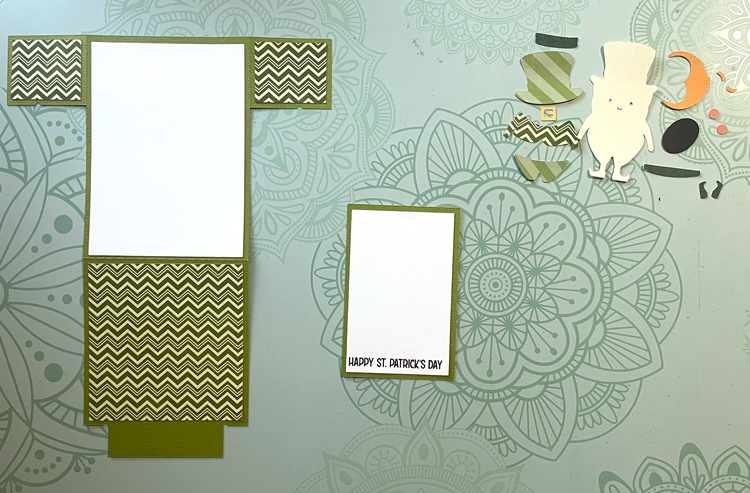
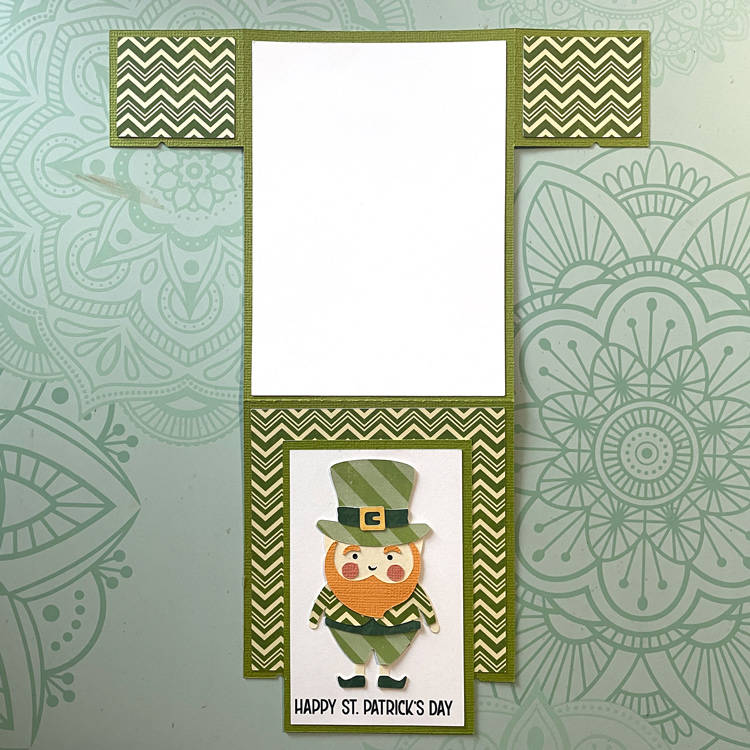
Next start building the layers of the card.  Glue the pieces to he base as shown.  Print and cut the sentiment and add it to its background piece.

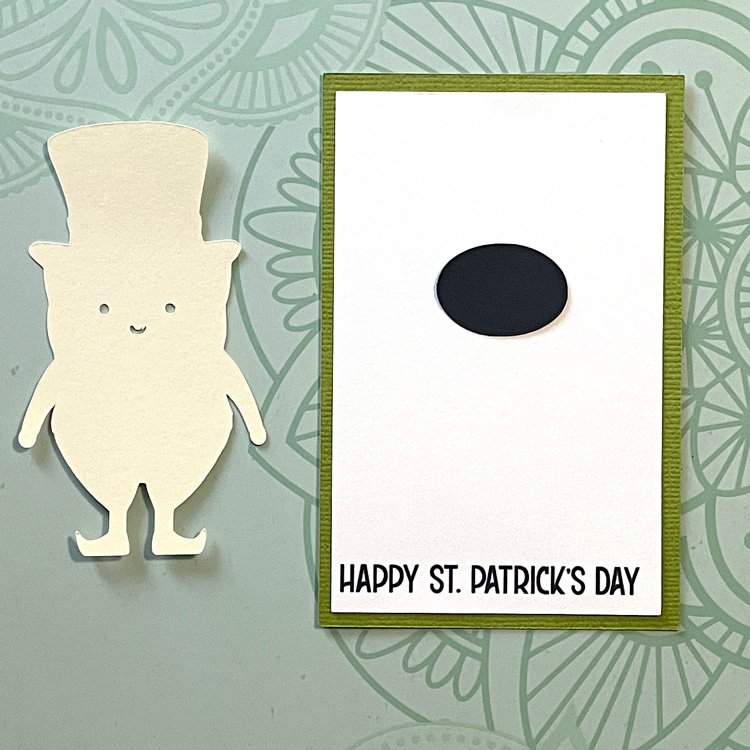
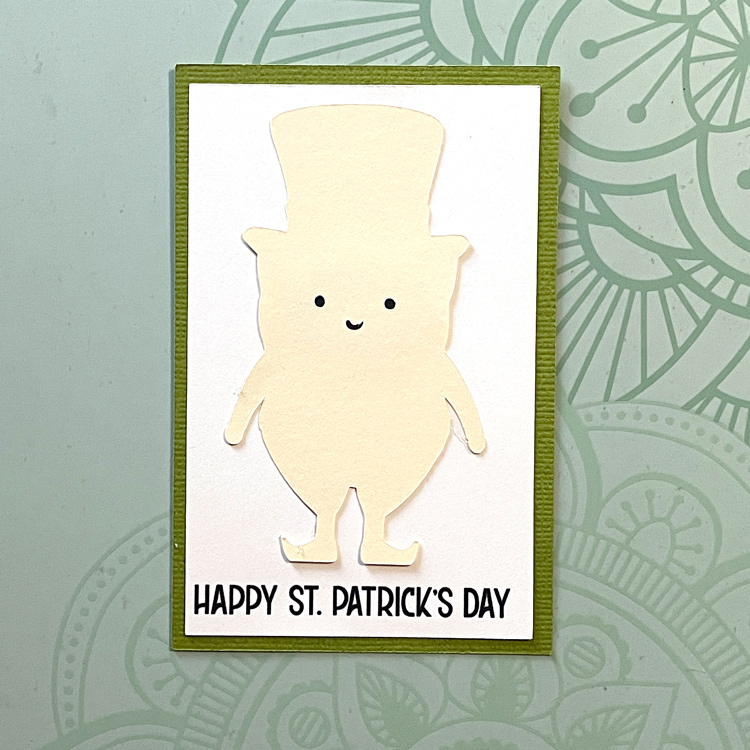
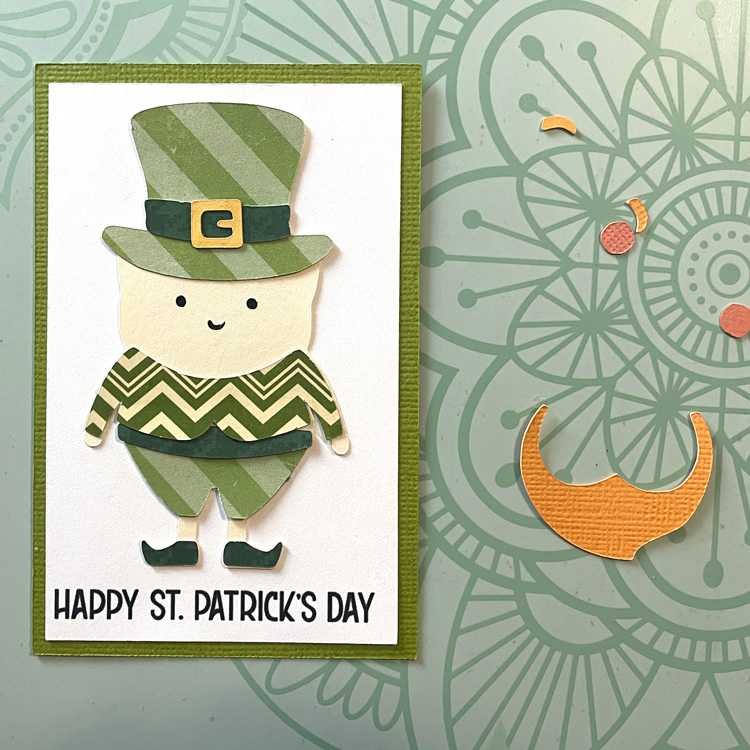
Now let’s make the leprechaun. The black oval goes behind the leprechaun body for the color of the eyes and mouth. Then layer over the body of the leprechaun.

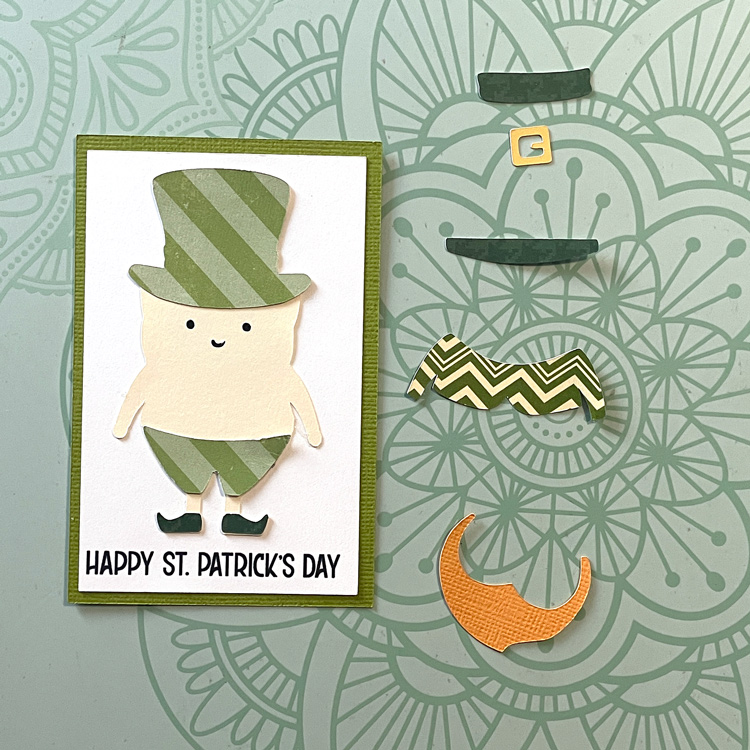
Now let’s dress the Leprechaun. Add the hat, pants, and shoes.

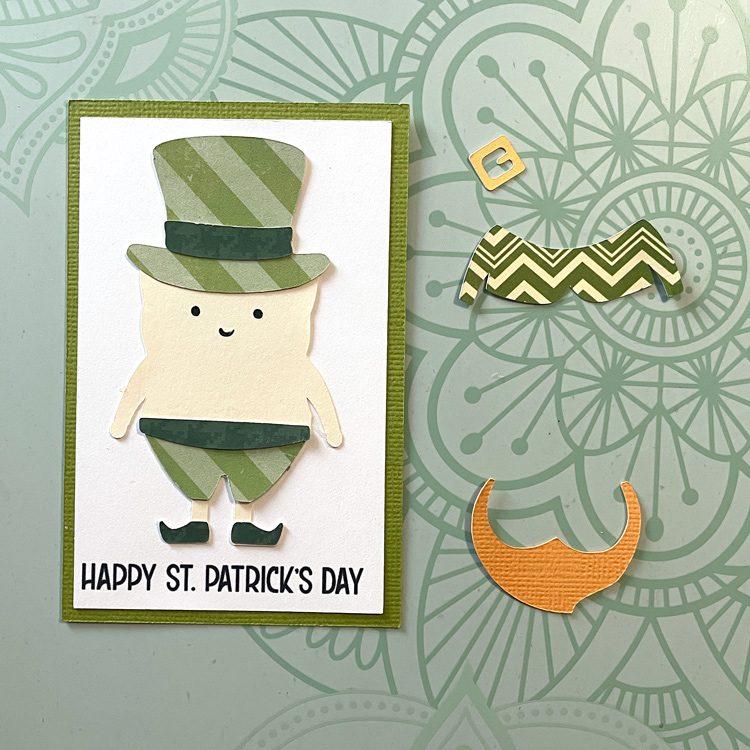
Now add the band to the hat and add the belt.

Add the shirt and buckle on the hat.

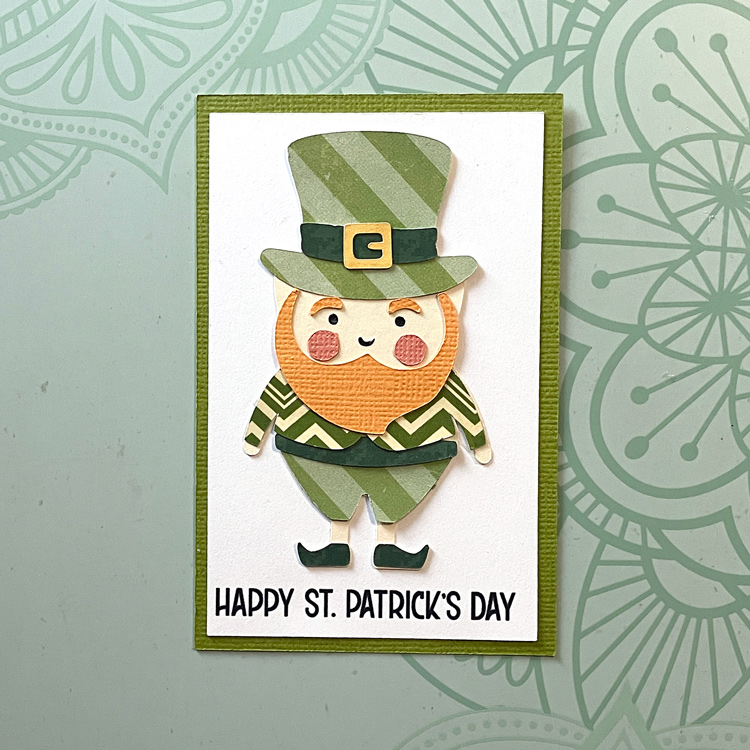
And finally add the beard and other face pieces.

Attach the completed leprechaun piece to the card base as shown below.  It should be centered horizontally, and hang below the base by about 3/4″.


Look how fun this card is!  To get it to stand, fold the card along the main score line.  Bring the two side tabs inward, and rest the card front into the notches.  This card folds flat to fit into an A2 envelope for mailing.

Now all that’s left is to gather your favorite green papers and make a fun St. Patrick’s Day card!

Have a great day!
Ashley


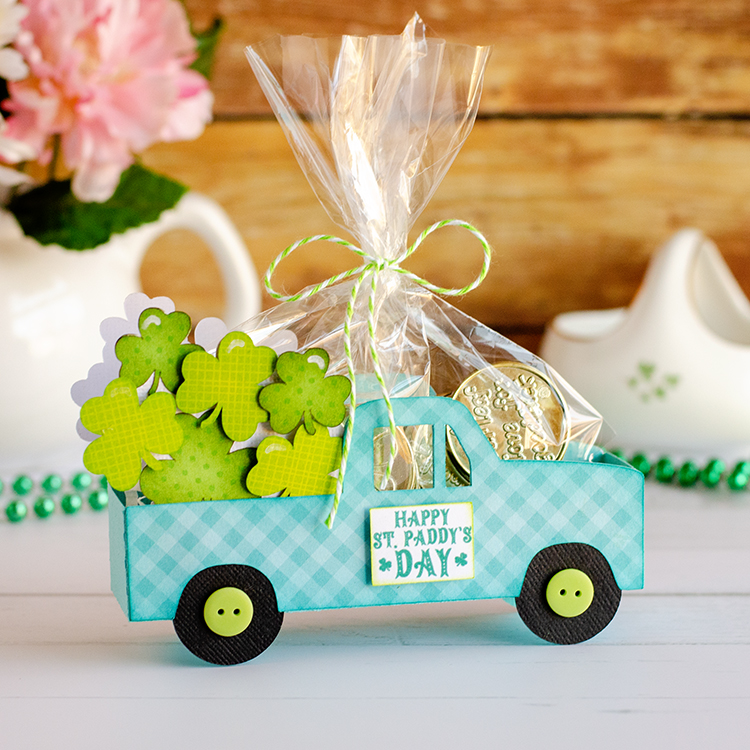
Saint Patrick’s Truck Box Tutorial

Hello there! Here is a quick tutorial on the new Saint Patrick Truck Box, (SVG, Silhouette), this is a super simple project to put together.

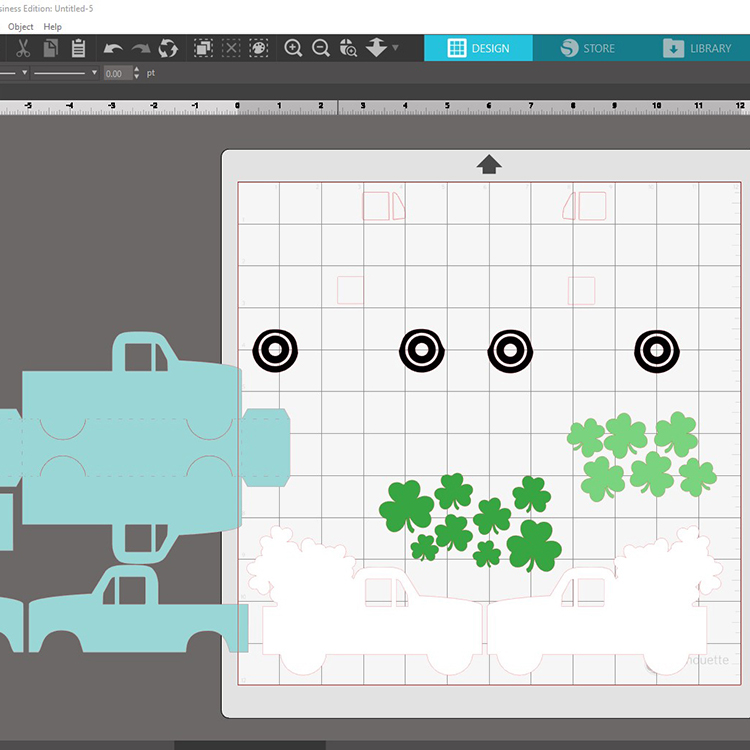
The Silhouette version of the file, currently has extra window cutouts you don’t need, if you ungroup and move the pieces you will see them, see photo below. The tires need to be ungrouped to delete those window pieces also. We have asked Silhouette to fix this, but if you see it, no worries.

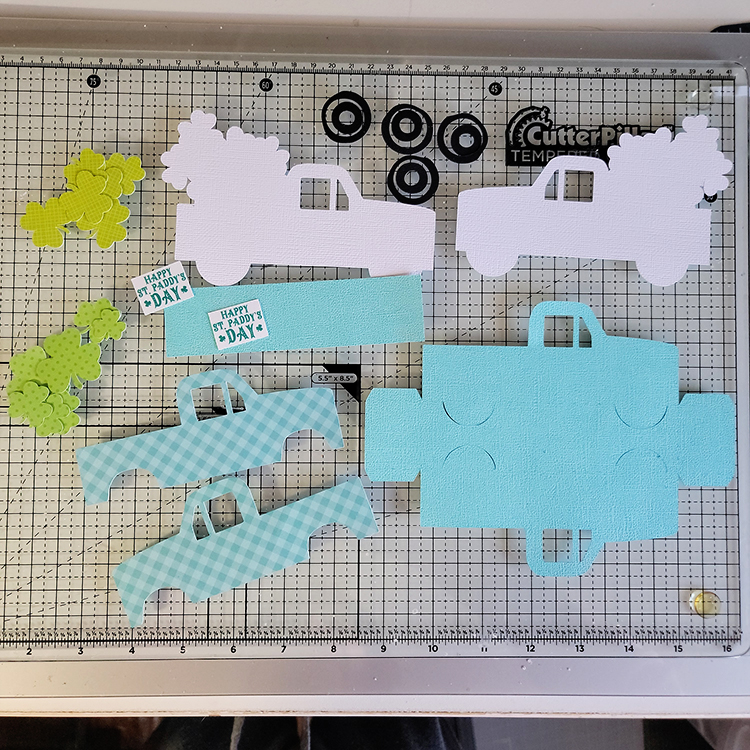
Here is a photo of all the pieces cut out, I used one of the sentiments from the St. Patrick Dingbats Fonts, (SVG, Silhouette) instead of the shamrock on the door.

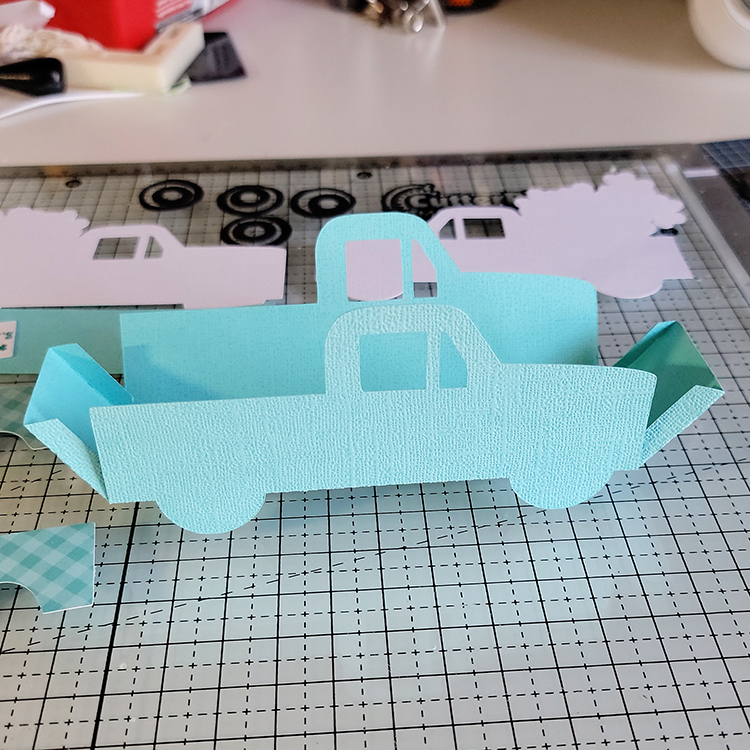
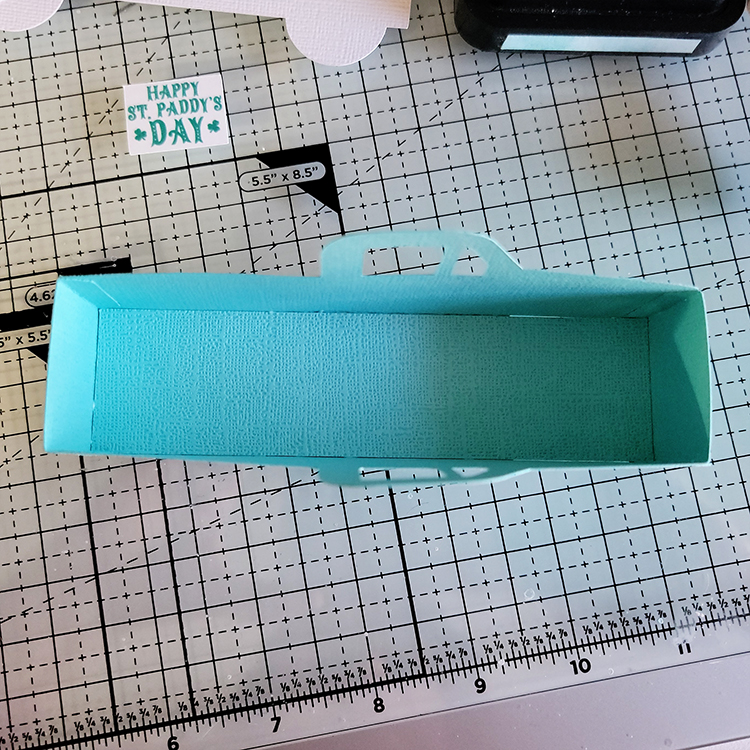
All you have to do is fold on all the score lines, the cutout tires will flip out, glue the four sides together.

Add the bottom piece to the inside, this hides the tire cutouts.

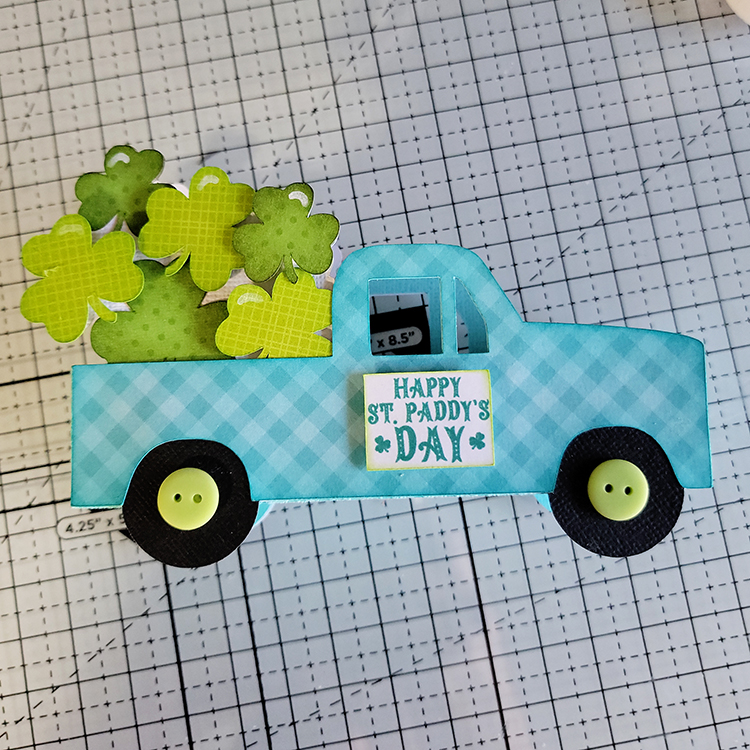
Add all the shamrocks, I popped some of them up, I also ended up changing the tires out with a solid piece, I wanted to add buttons and liked the look better this way.

Repeat the other side and glue both panels on the box. This makes a great treat box, you can make a bunch of these in no time!  Thanks for stopping by and have a wonderful day!

A Shaker Tutorial

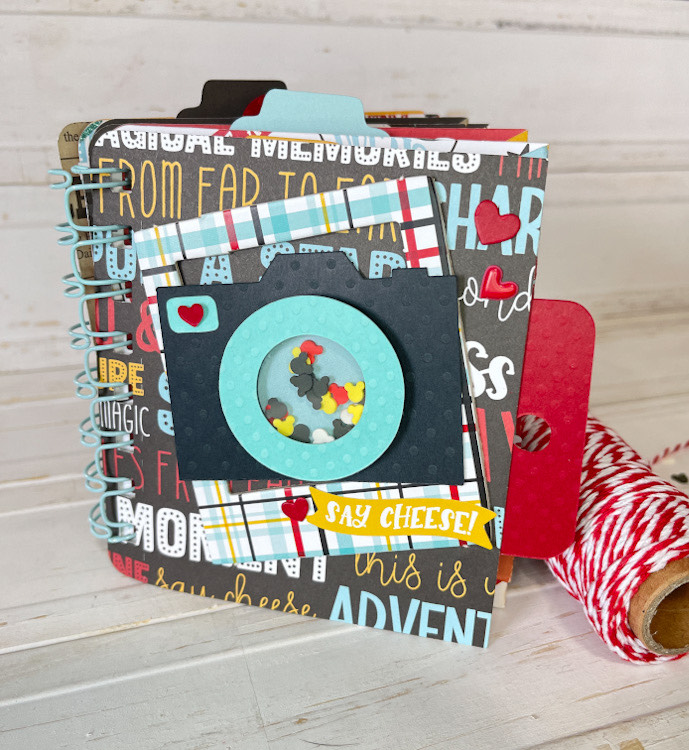
It’s no secret that I love to make shakers for my projects.  They are a go to in my Lori Whitlock library.  You can change up the sizes and customize your shaker for any project.  I thought I would share a quick tutorial with you.  I wanted to use Lori’s new Pocket Page Mini Album (SVG, Silhouette) using her Echo Park A Magical Place collection,  I just need the perfect embellishment for the cover, so I chose Lori’s Shaker Camera (SVG Silhouette)

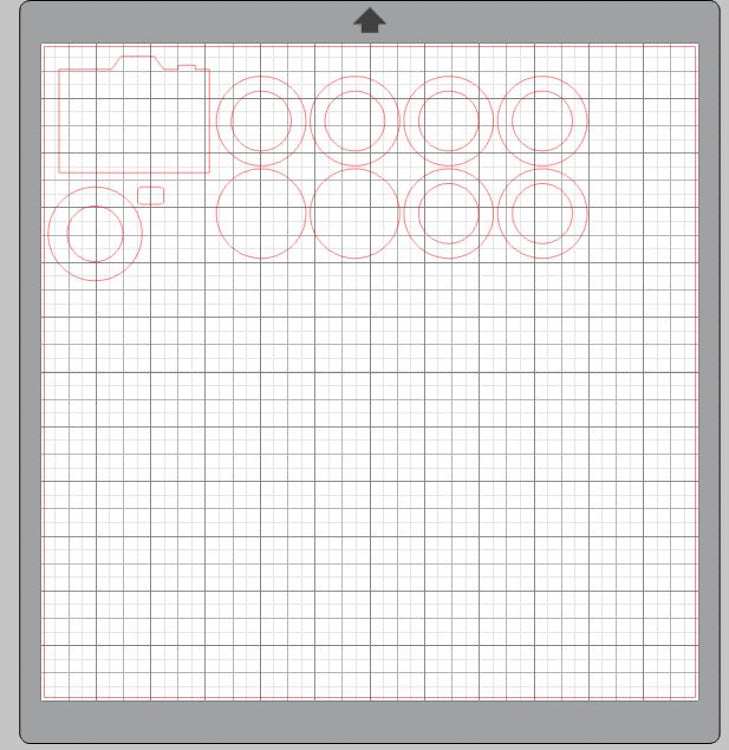
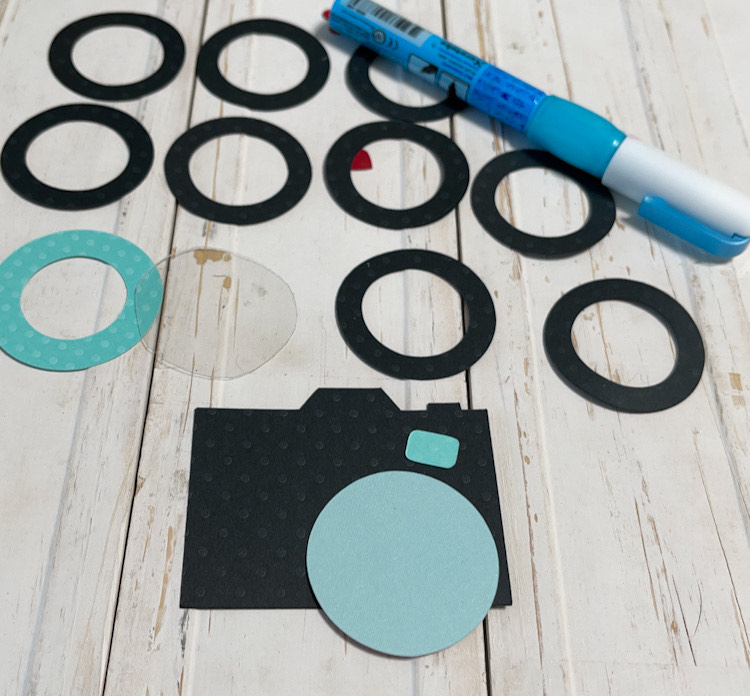
Here you can see how the file comes up on your screen.  I did not change this size at all, as I knew if would be a perfect fit for the cover of my mini!  You will just need to choose your colors, I did a black camera with a teal lens and button.  You will also need a piece of this acetate for your lens window.  I’m always amazed at how easily my machine cuts acetate.

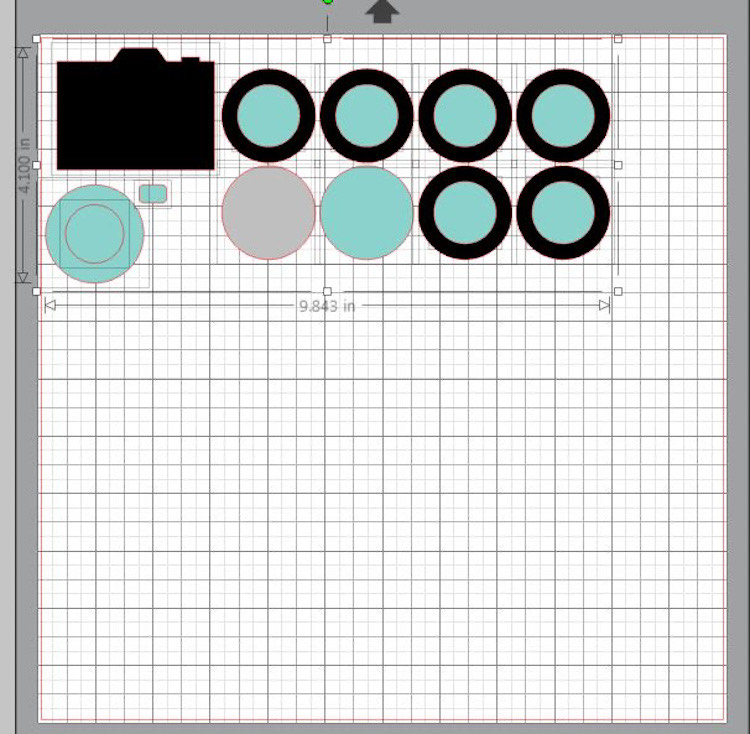
You can see the colors I chose.  Keep in mind that the inside of the black circles, where I highlighted them blue, will not be used in your shaker, nor will the inside teal circle,  The two complete circle’s are the back of your shaker leans, and the grey piece represents your acetate circle.

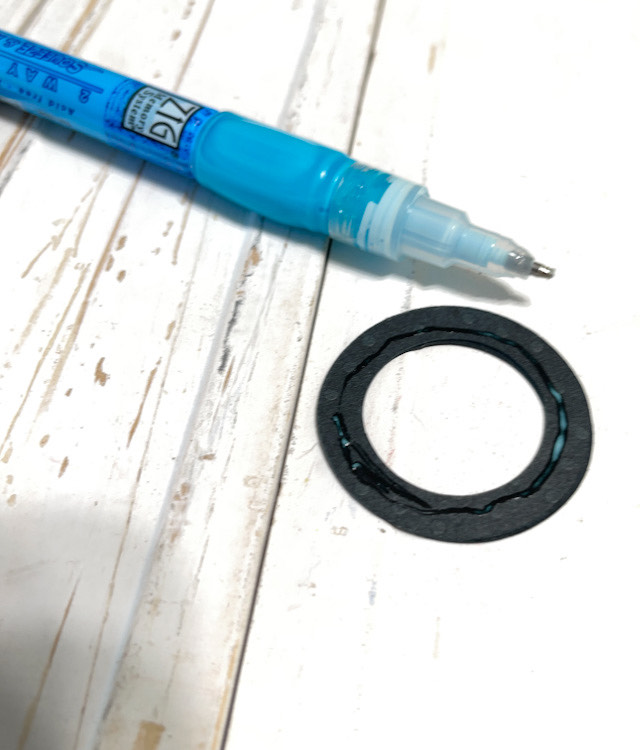
Here you can see all the circle’s that I cut.  Grab a glue pen and get to gluing a stack of circles together.

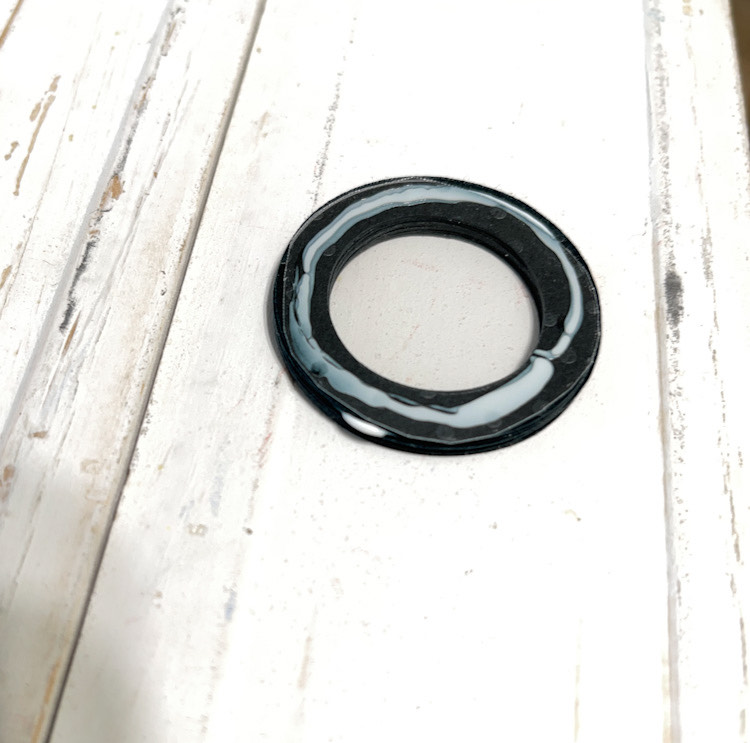
Layer or stack all your black circles up.

Keep stacking them up, you want to add quite a bit of depth so that your embellishments move freely in the shaker.

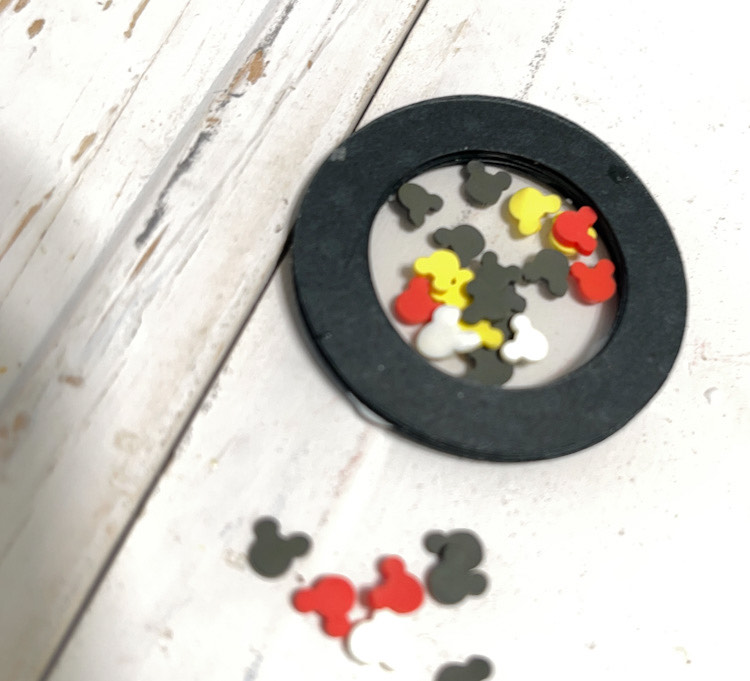
Add your acetate circle to the front of you stack of circles, fill with your embellishments and the glue on the back circle of the lens.  Center your little shaker lens on your camera piece and you’ve got the perfect embellishment.

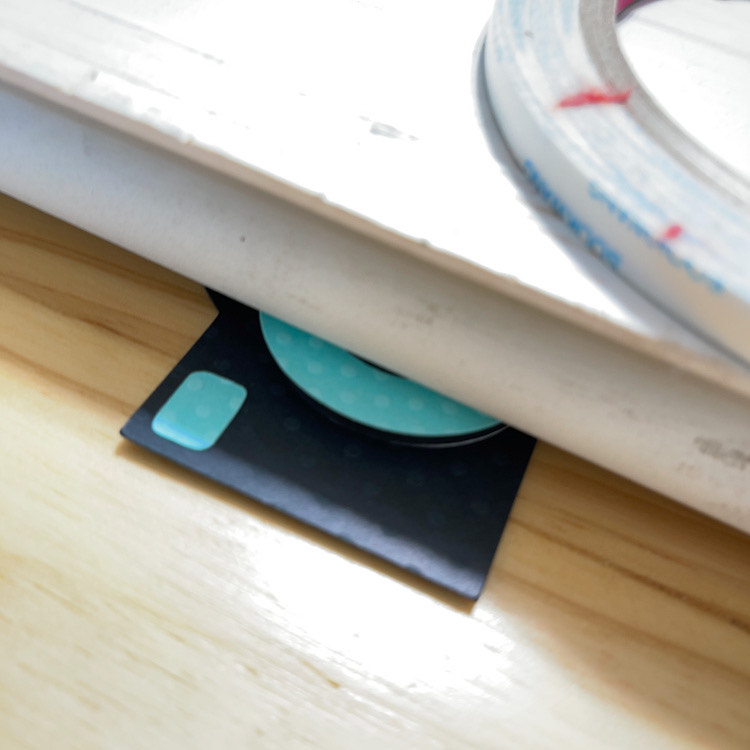
I always set mine under something heavy to make sure I get a good seal on everything so no little bits and pieces escape when someone shakes it up.  I let it dry for an hour or sol

How cute is this?!!!  I love it.  The shakers are just so much fun, they make everybody smile.  This is the cutest little book too.

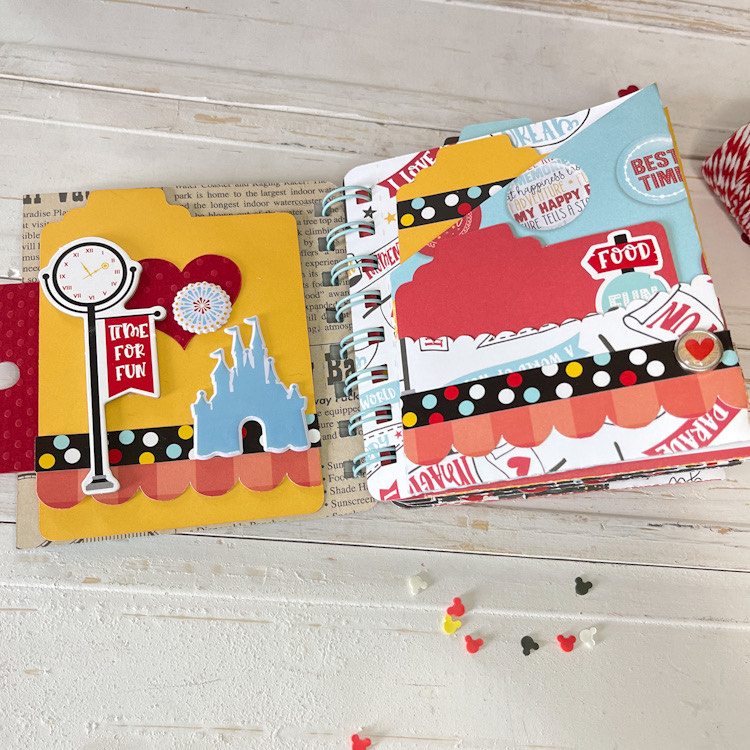
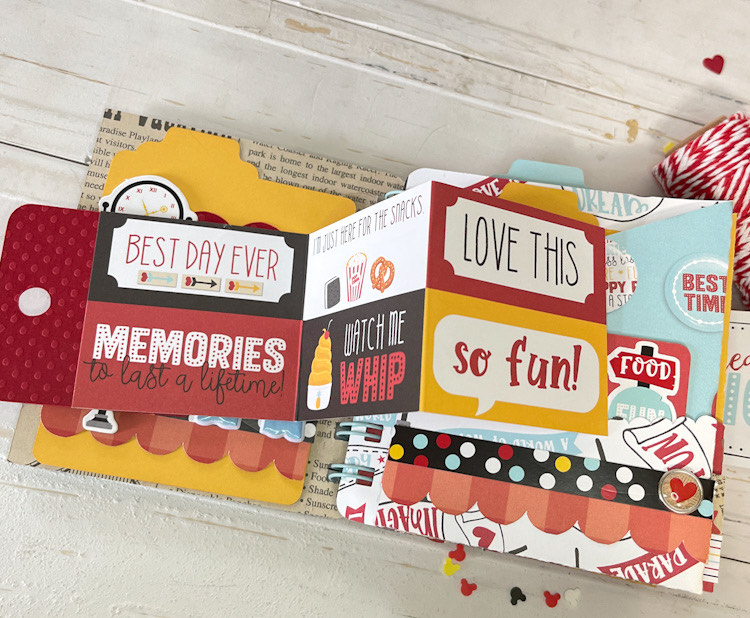
I’ll share the book on my Facebook and Blog soon….here’s a sneak peek of the inside that features lots more of Lori’s files.

Have a great day!

Cathy

Happy Birthday Pop Up Presents Card Tutorial


Hello Everyone:

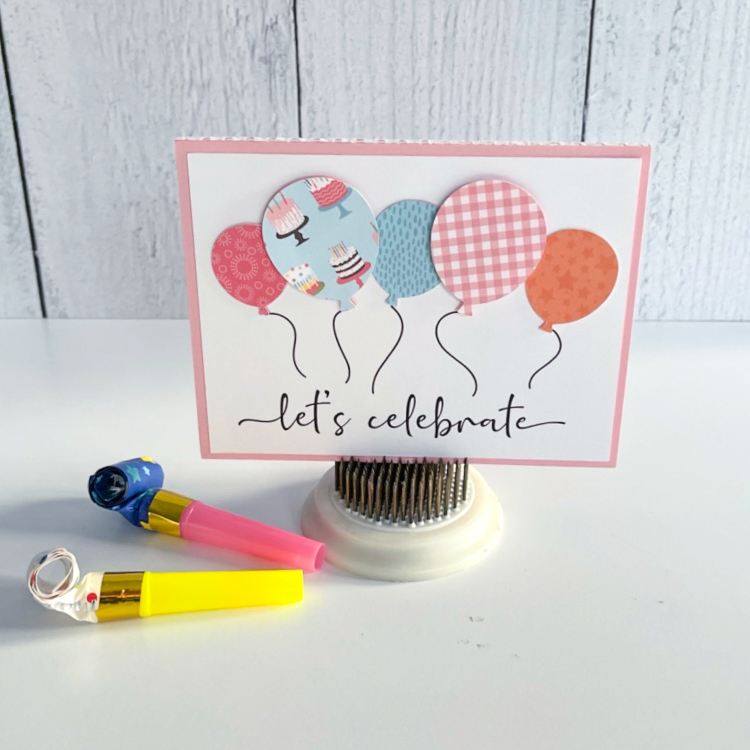
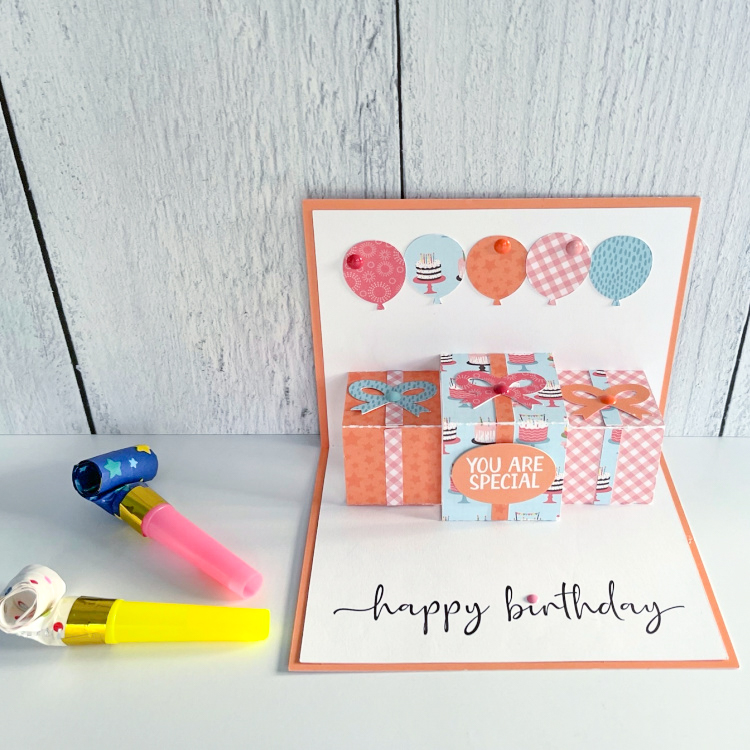
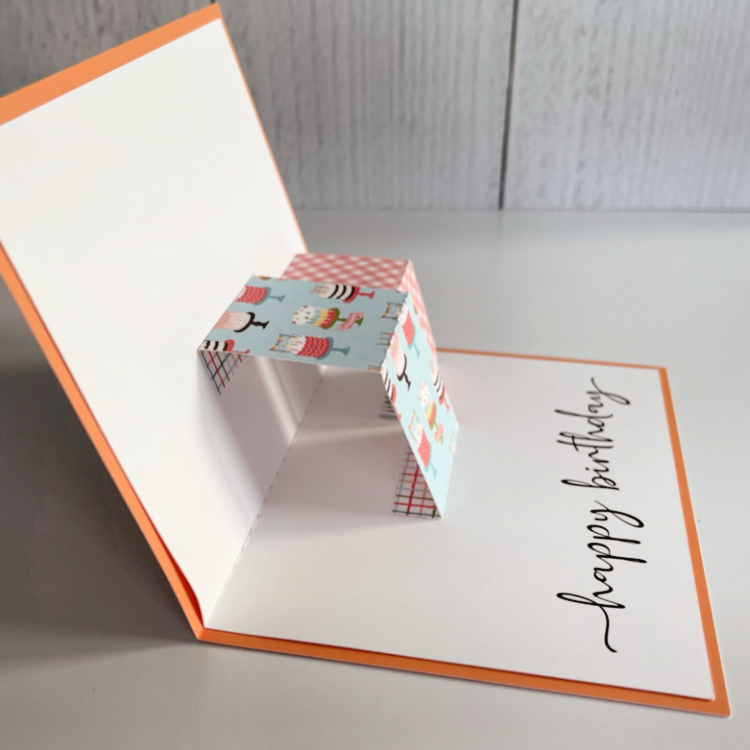
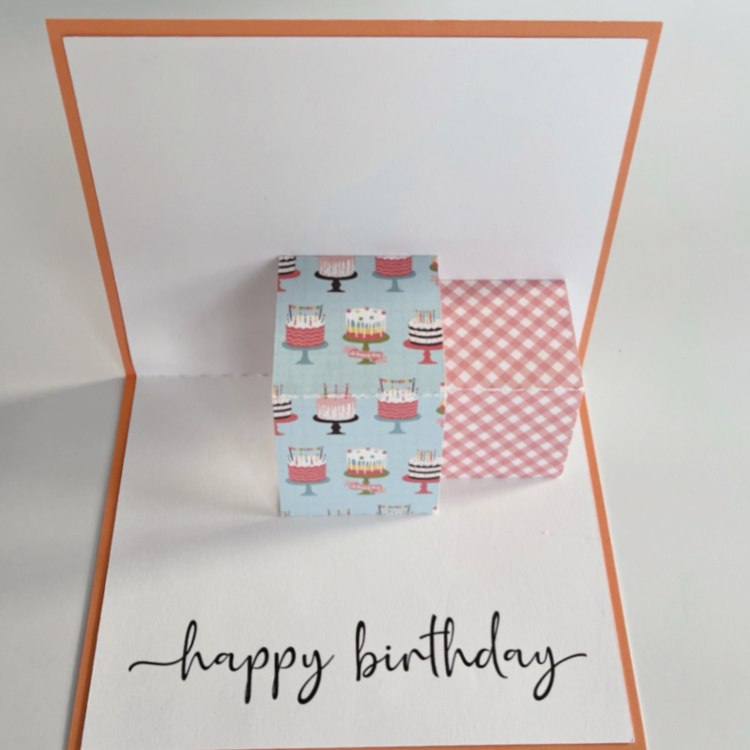
Anita here with a tutorial for assembling Lori’s new Happy Birthday Pop Up Presents Card (SVG, Silhouette).  I used one of Lori’s new Echo Park Paper lines called Birthday Girl.  This card is so fun and pretty easy to put together.

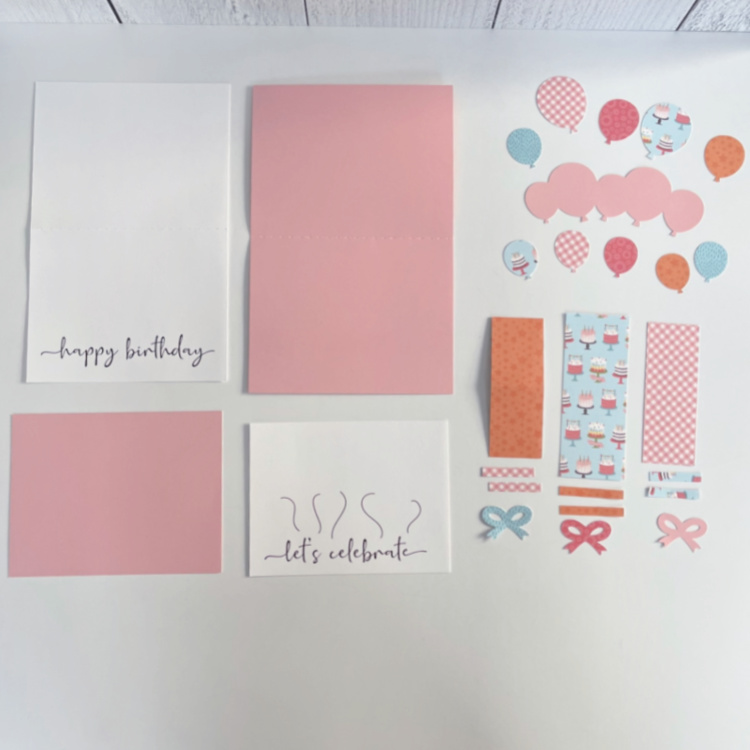
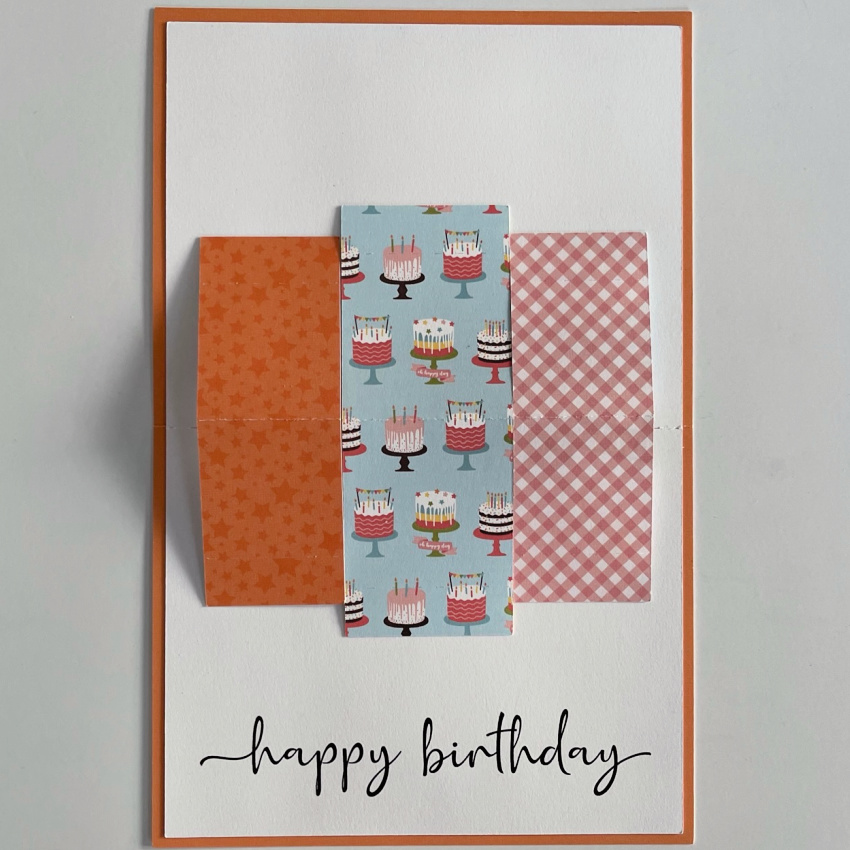
There are two print and cut parts to the this card, the base and the card front as you can see from above as well as all the other parts of the file.

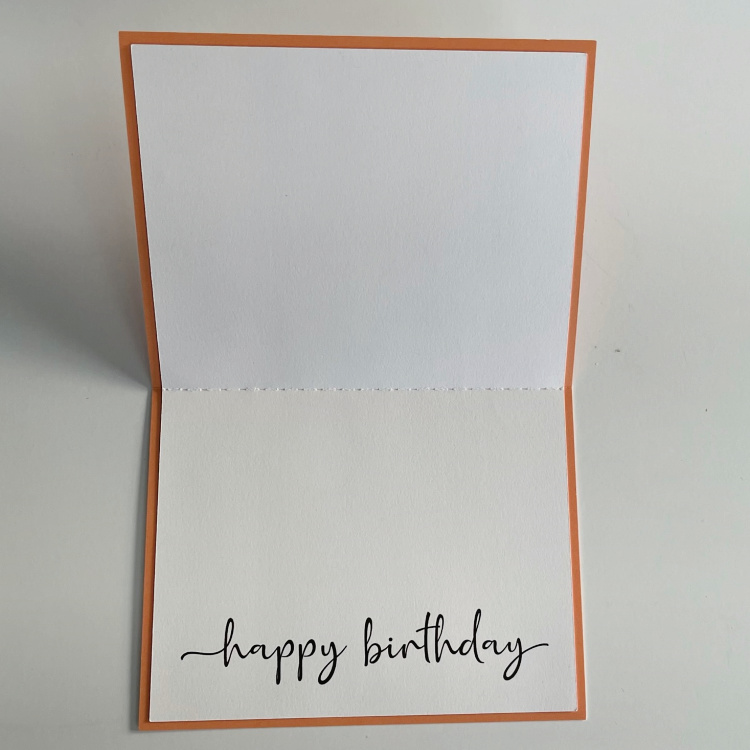
The first thing that you are going to do is glue the inner part of the card to the outer card.  Center the inner card and glue down.

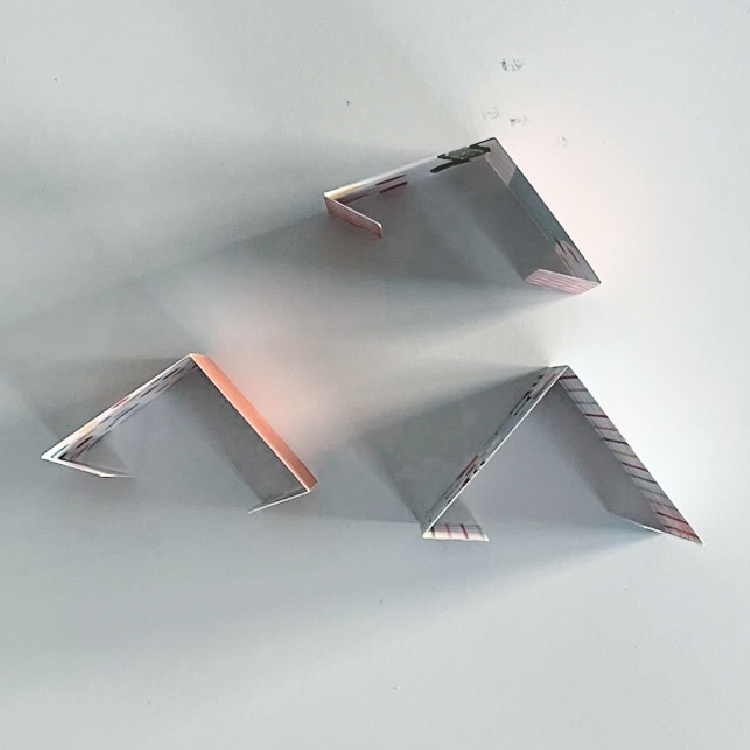
The second thing you are going to want to do is fold your present pieces like this with a mountain fold and the tabs on either end are folded in.

Next I laid out my present pieces and lined up the center score marks on the presents with the center score mark on my card.  I made sure that the presents fit together closely but did not overlap as they won’t pop up if you don’t.  I counted over two score marks to line up my first present.  I then folded under the top and bottom tabs, and glued them to the card base, making sure the center score lines were all still aligned.

You can see the first present glued into the card here.

Here you can see two of the presents are glued into the card.  I worked on the card when it was open flat and made sure that everything was lined up as I glued each tab onto the card base.

Here is the front view of the two presents glued in so that you can see how close I put them to each other.

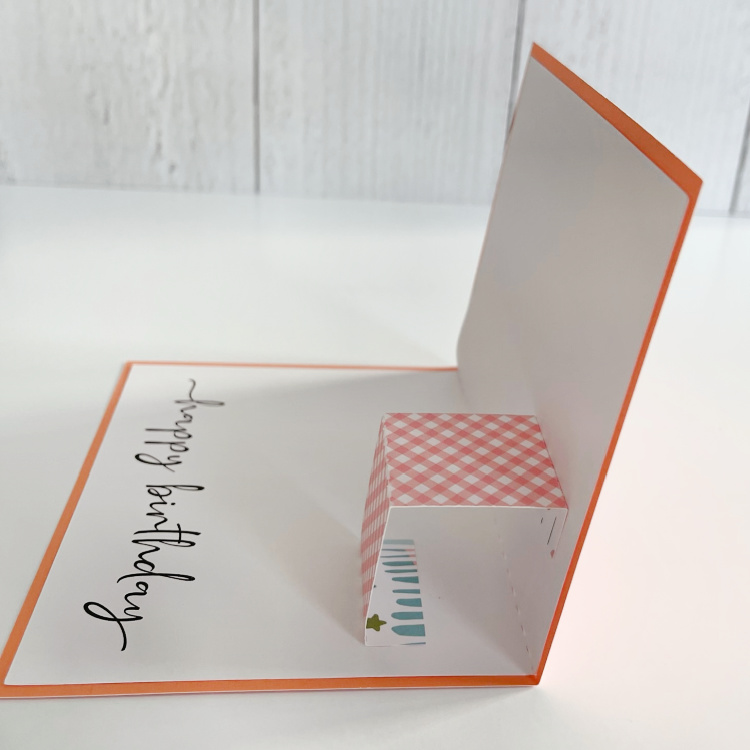
Here is my last photo with all three presents glued into the card and the ribbon paper pieces attached.  Add the balloons to the front of the card and inside the card and you are done.

That’s it for me today.

Hugs,

Anita