Pop Up Cards 101

I love a good pop up card.  Looks like a regular card on the outside, then open it up and you get a fun surprise.  We get a lot of questions on how to assemble these cards, so I thought I’d put together a quick tutorial showing how easy they are to make!  For my sample, I put together the Pop Up Card Birthday Present Hat (SVG, Silhouette).  Take a peek…

That little hat is just so cute!  Here are the basic steps for putting together this card, and pop up cards in general…  First I cut the pieces of the file.  I used Echo Park Paper’s new All About a Girl Collection to make this card.

I pieced together the present and the hat.  I used pop dots for the 2nd bow layer and the hat’s pom pom.

Next, I folded the insert with the pop up mechanism.  Below are 3 different views of how it is folded.  For this card, and all pop up cards in general, there’s a bump-out section that you want to fold so it sticks out into the center of the open card.  The last photo shows how it should look when folded flat.  You want it to be inside the folded card.

Once you have the insert folded correctly, you want to glue it into the card base.  On the left, you can see that I added adhesive everywhere EXCEPT under the pop out section.  You don’t want any adhesive there, so it will stick out into the card when opened.  Starting with one side, I centered the insert in the card base, and then folded over the other side to secure.  Now when the card opens, the bump-out pops out into the center of the card.

Now you want to attach the hat to the bump-out so that it will pop up when the card opens.  I added adhesive to the only the front portion of the bump-out.  I then lined up the hat with the bottom score line on the side with the adhesive, centered it in my card, and pressed to secure.  Now when the card is opened the hat pops up.

To finish my card, I added the print and cut sentiment to the bow with some twine.  It’s all ready to send off now!

I hope this helped to show how easy pop up cards are to make!  That’s it for me today, thanks for stopping by to peek!

BLOG | INSTAGRAM

How to Change the Color of Stickers in Cricut Design Space

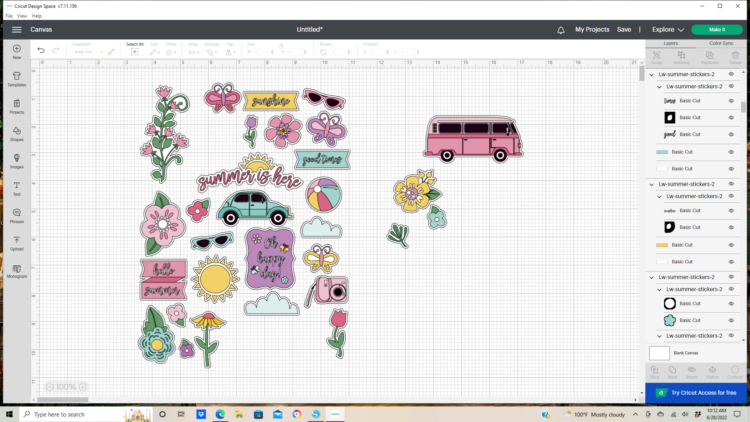
Hi friends! I’m stopping in today to share a quick tutorial on how to change the color of your print and cut stickers in Cricut Design Space. I used the new Summer Stickers 2 (SVG, Silhouette). These stickers are so cute, but I wanted something a little less pink.

I uploaded the stickers into Design Space and ungrouped the large group of stickers and moved out the images I wanted to use for this project. Be sure to keep the individual stickers grouped together.  Then I deleted the rest of the sticker I wasn’t using from the mat.

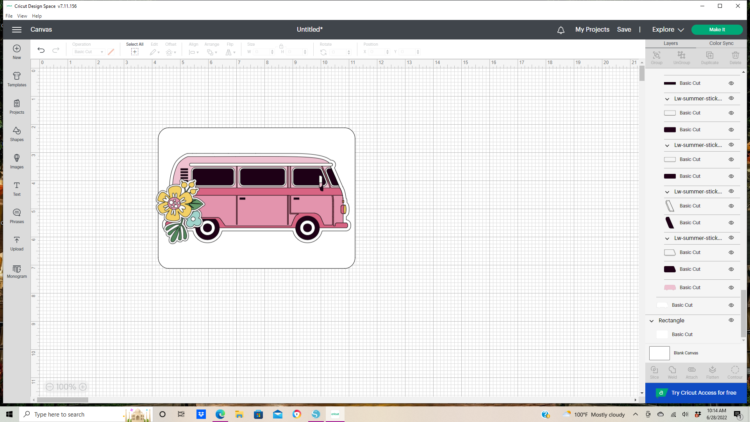
I then added a 5×7 rectangle and resized the stickers to fit my card.

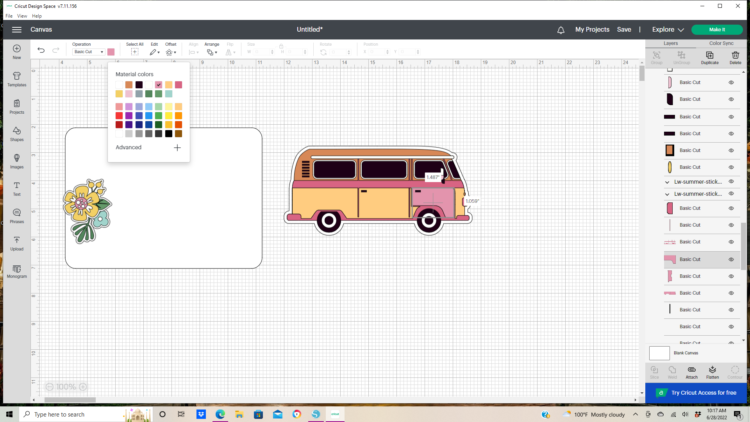
Using the layers panel on the right side of the design mat select the individual pieces that need to be color changed. With the image selected in the layers column move to the Operations tab on the top left and select the colors drop down, pick the new color, and repeat for the rest of the pieces on the sticker. Be sure to keep the stickers grouped together.

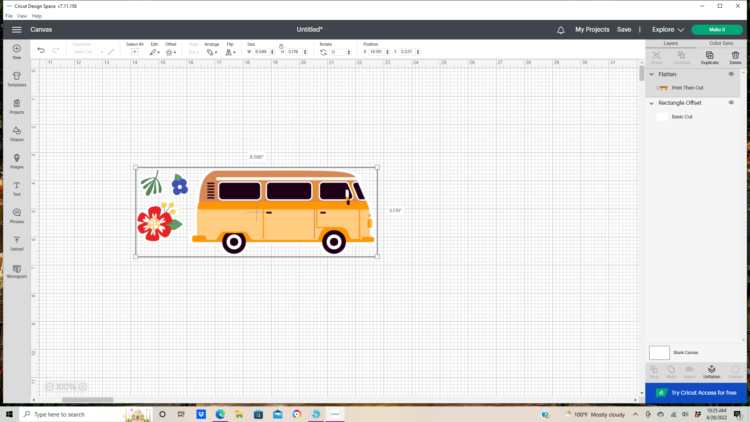
Now that the sticker colors are changed they are ready to be flattened, sent to the printer, and cut.

I used the printed stickers and the Endless Summer collection by Echo Park Paper Co. to finish off this card.

That is it for me today. Thanks for stopping by!

Brandie

Patriotic Bird House Tutorial

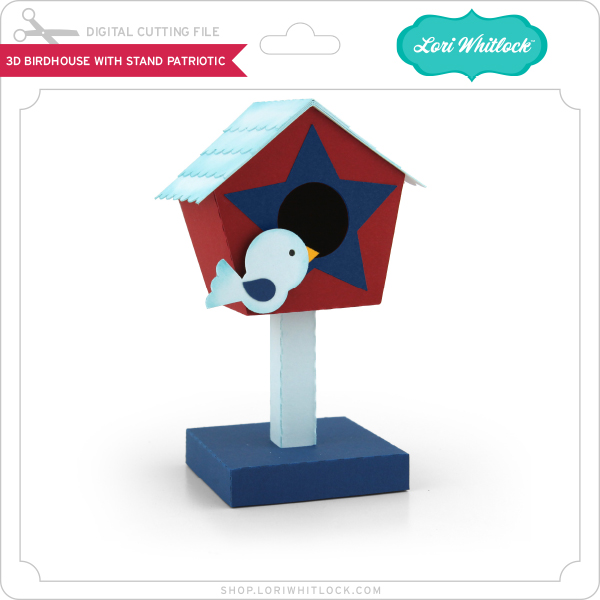
Have you seen the new Patriotic Birdhouses in Lori’s SVG shop and in her Silhouette Store Gallery?


Today I’m featuring the 3D Birdhouse with Stand Patriotic File (SVG,Silhouette)  I put together a quick tutorial for you.

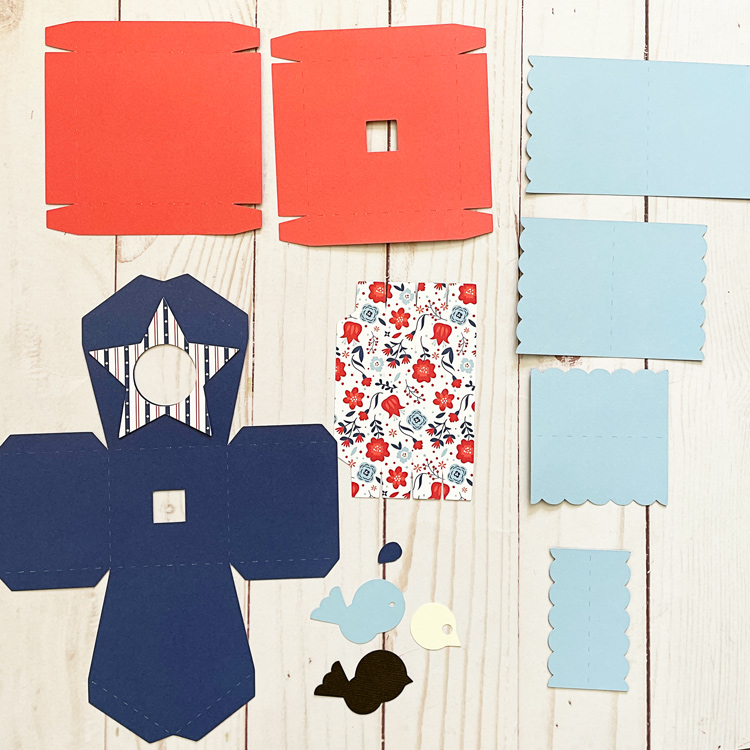
1. First, cut out all the pieces of the Birdhouse:

2. Next, glue all the roof layers starting with the biggest piece and stacking and adhering each smaller piece on top of it.

3. Adhere the star to the birdhouse door.

4. Fold the tabs on the body of the birdhouse, and fold to form and glue.  All tabs are folded in the same direction.

4. Glue the bird pieces together.  Black piece is the back, the light piece in the middle, and the blue piece on top with the wing.

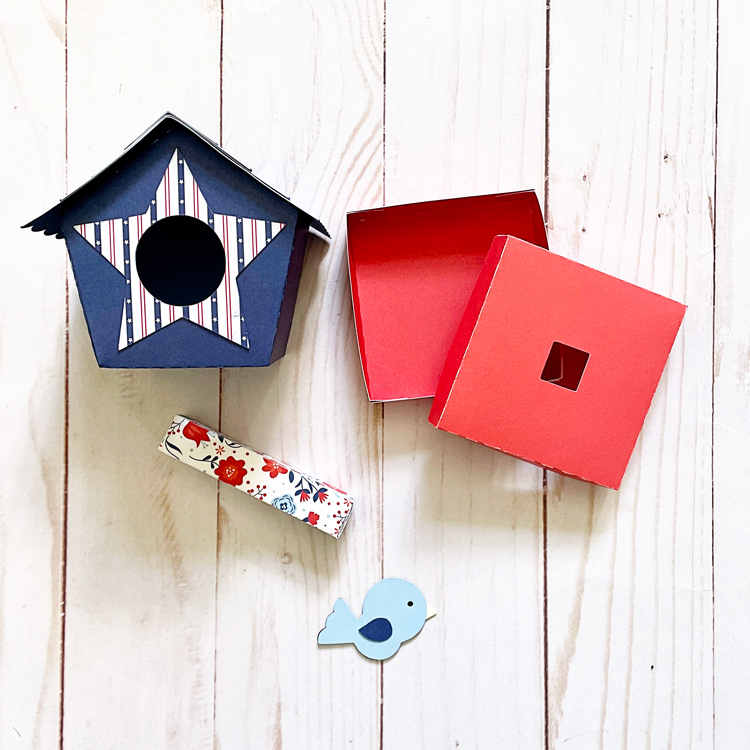
5. Fold the base pieces and glue the tabs together.  These form a little box that will hold the post.

6. Fold and adhere the post.

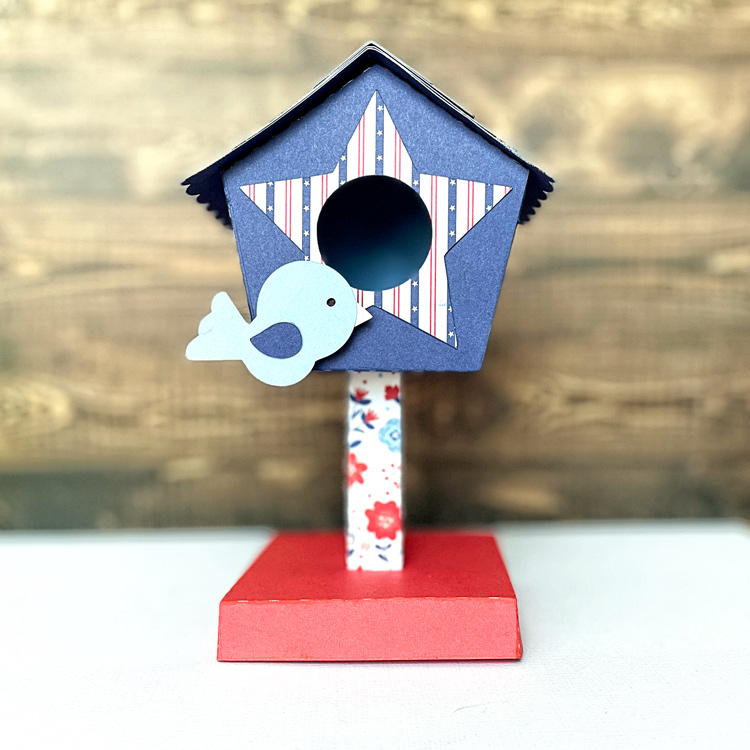
7. Use glue or glue dot to attach the bird to the front of the birdhouse.  Stick the post into the base and glue. And stick the birdhouse onto the post and glue.

It is such a fun birdhouse to add to your décor for the summer!
Have a great day!

Ashley


Canoe Shaped Box Tutorial

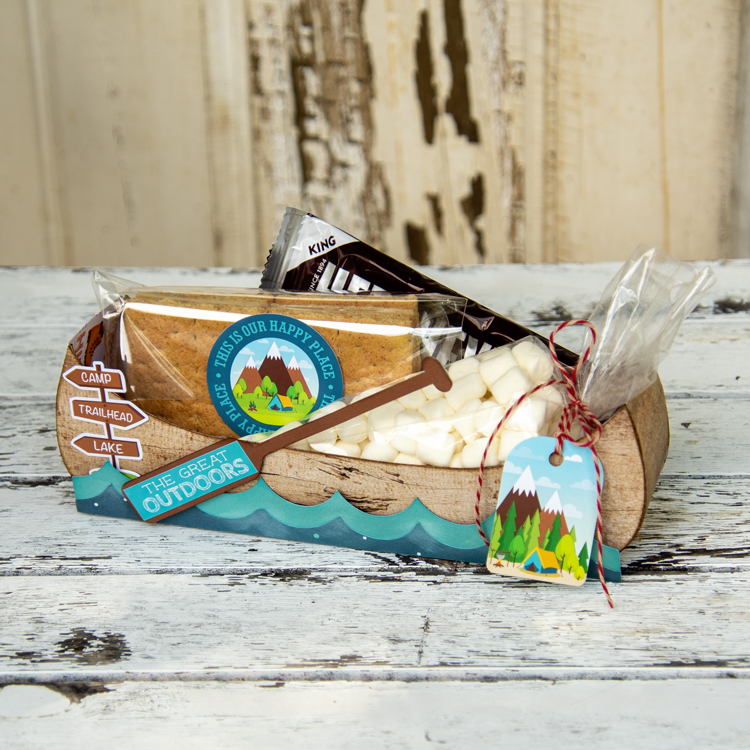
Hello everyone, I have a quick and fun tutorial to share with you today, the canoe-shaped box, (SVG, Silhouette). This makes such a cute gift box filled with marshmallows, chocolate, and graham crackers, what little camper wouldn’t want to receive this! I used Echo Park’s Summer Adventure collection of papers and stickers to decorate.

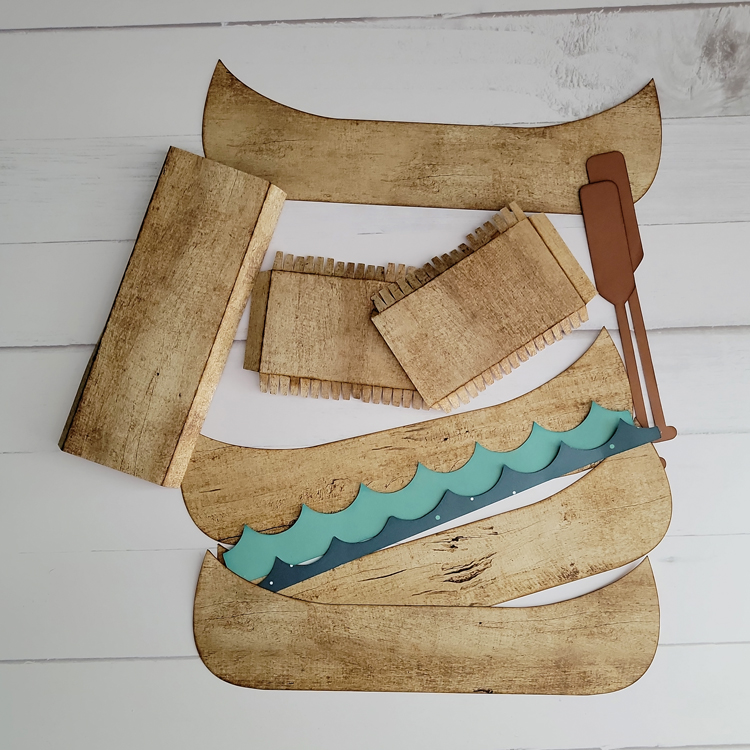
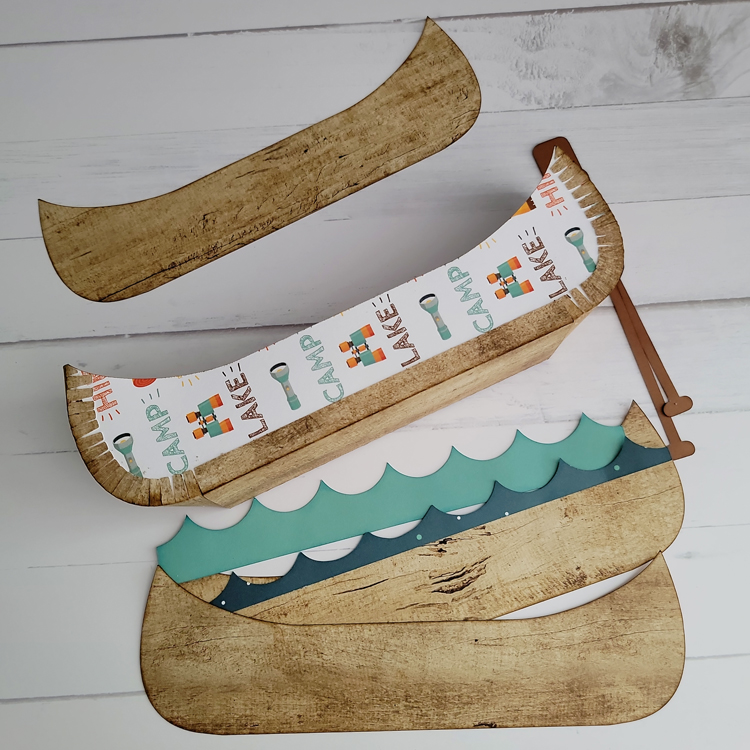
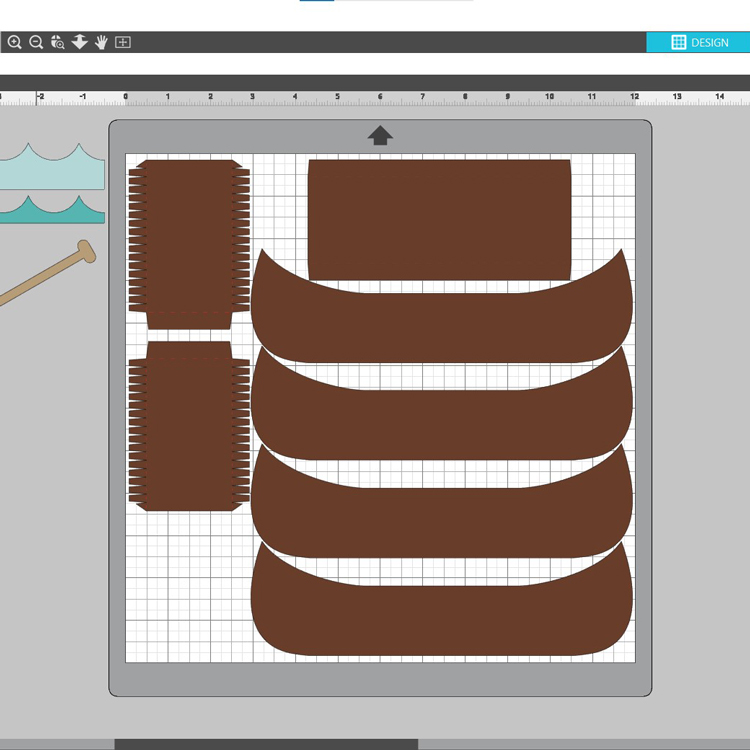
I was able to get all the canoe pieces on one sheet of paper as you can see below. I also made two of the oars and glued them together so it would be sturdier.

After cutting all the pieces I folded all the score lines and inked all the edges.

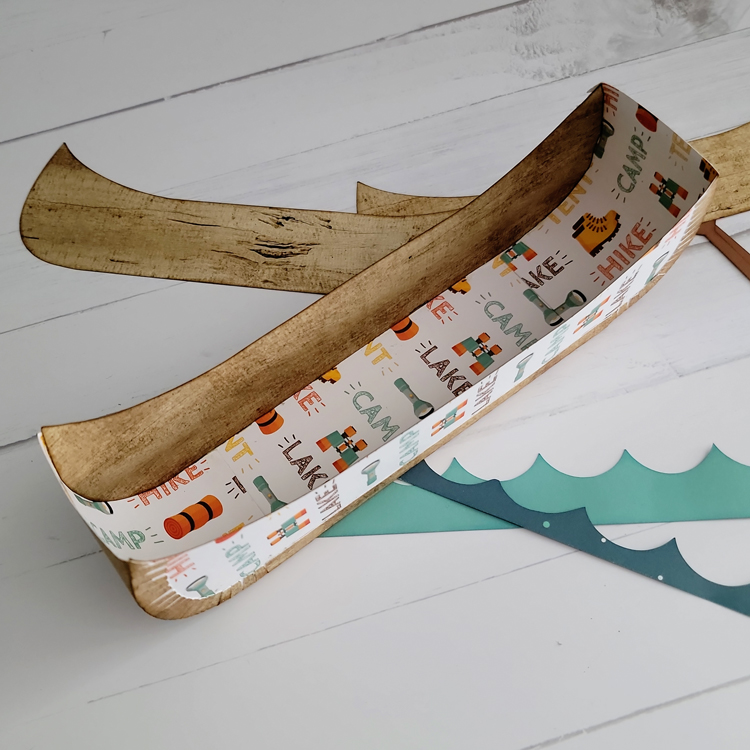
I glued the three bottom pieces together and then added one of the side canoe pieces inside. So you wrap the flaps around the piece as you can see below. I find you get such a nice fit when you do it this way.

Then I add the other inside piece which forms the canoe.

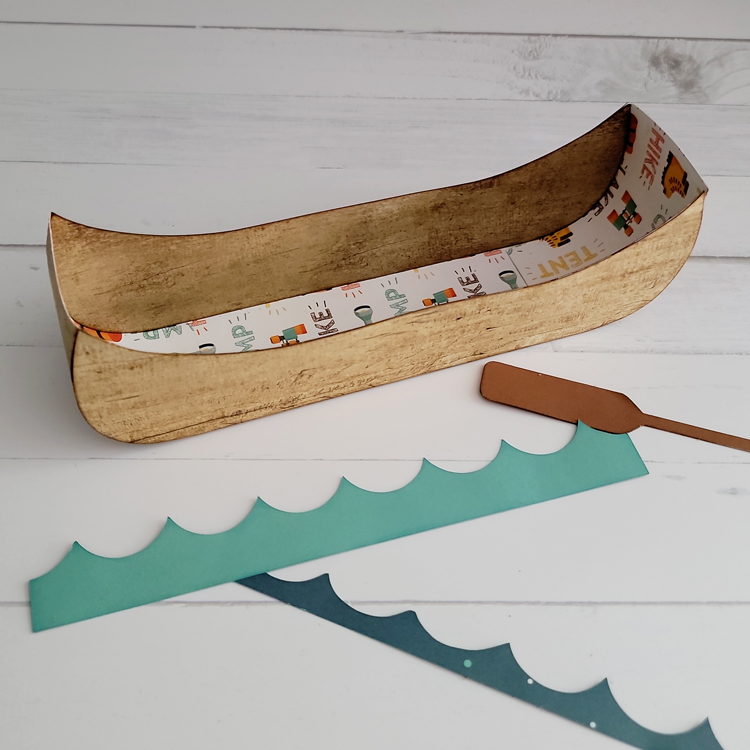
Then I added the outer canoe sides which fit perfectly!

Last the waves and oar is added. I really enjoyed putting this together it came out so cute I think!

And don’t forget, this file and all SVGs in the Lori Whitlock SVG Shop are 30% off through Saturday when you use code JUN2022 at checkout~

Thanks for stopping by and have a wonderful day!

Hello Sunshine!

Hello Sunshine!  I’m so glad that summer is here, time for summer decorating!  Do you ever go somewhere and see a super cute item, and then say to yourself, I don’t need to buy that, I can totally make it.  Well that happened to me a couple weeks ago, and I’m happy to say that I like what I created even more than the item I thought about buying.  I love taking Lori’s files and changing them up!  So here we go!

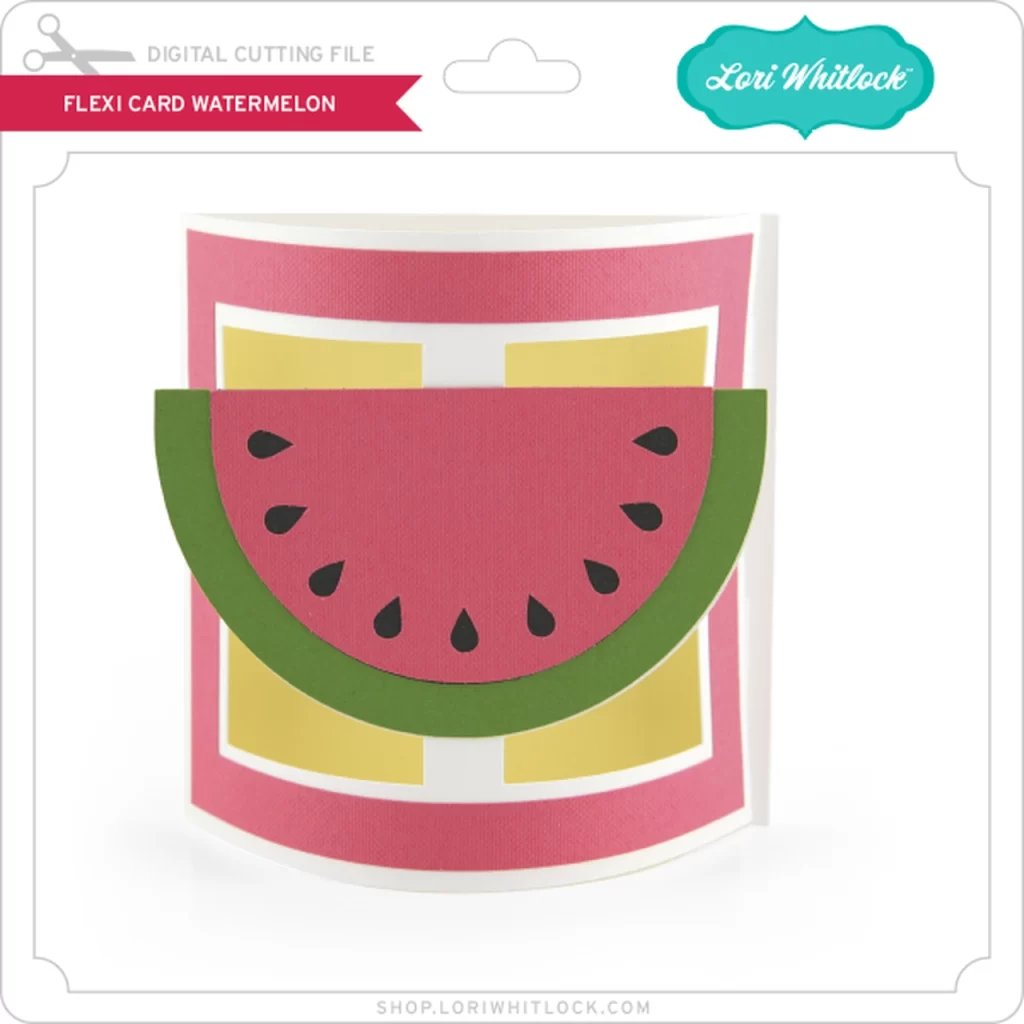
I started with this Watermelon Flexi Card that you can find here in Lori’s SVG Shop or here in the Silhouette Design Store.


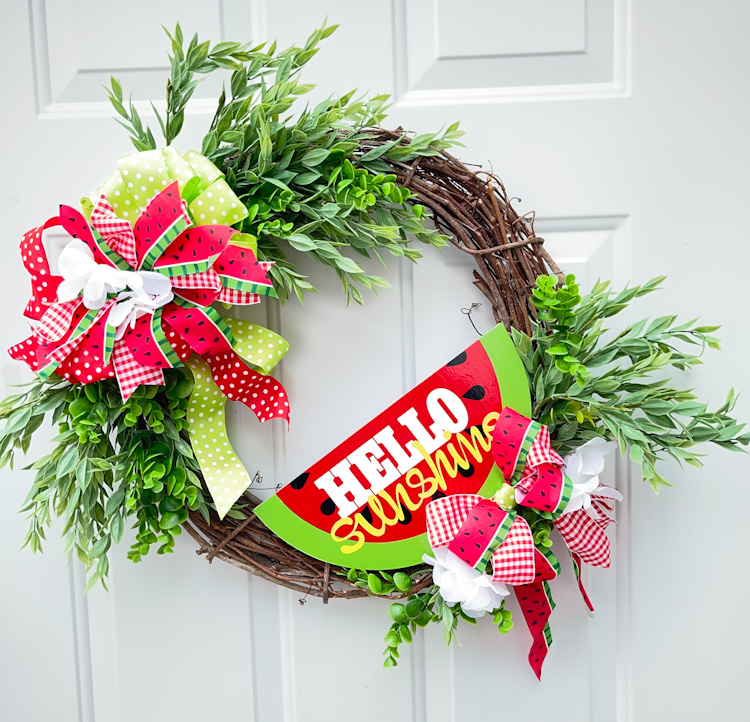
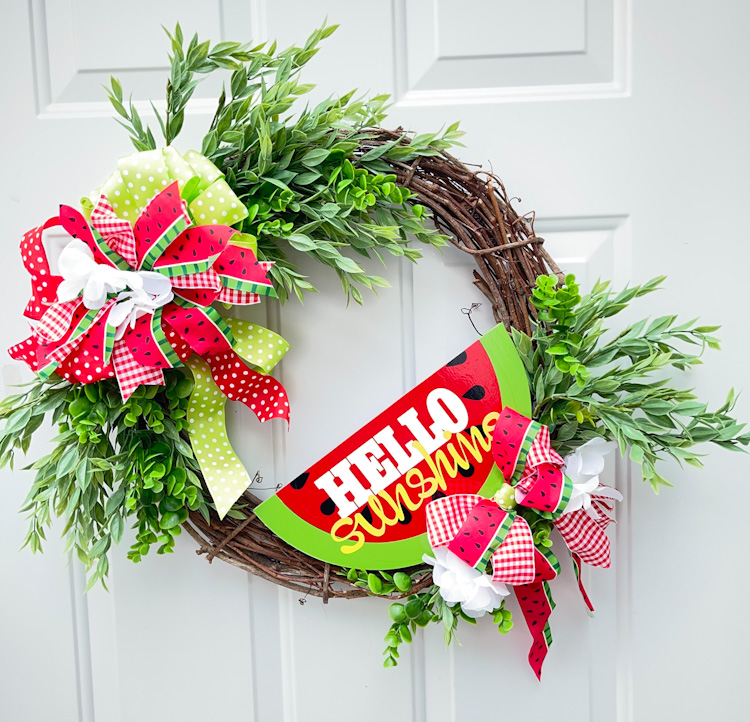
Which I tuned turned into this!

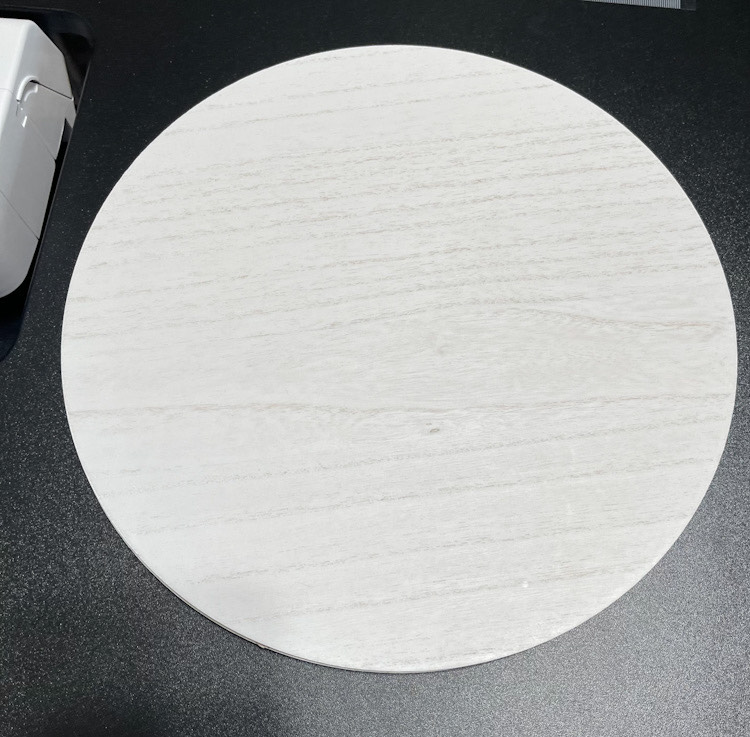
I started with an 11.75″ wood circle that I got at a craft store!

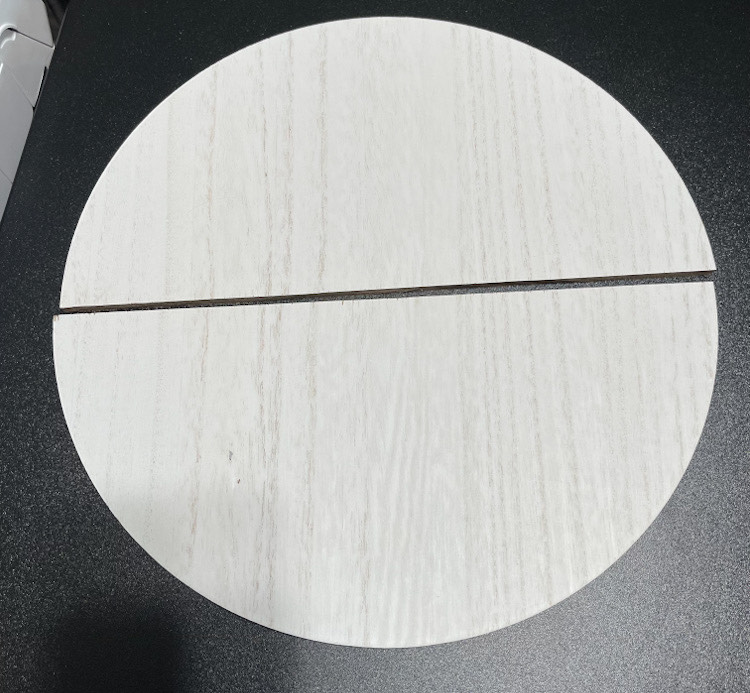
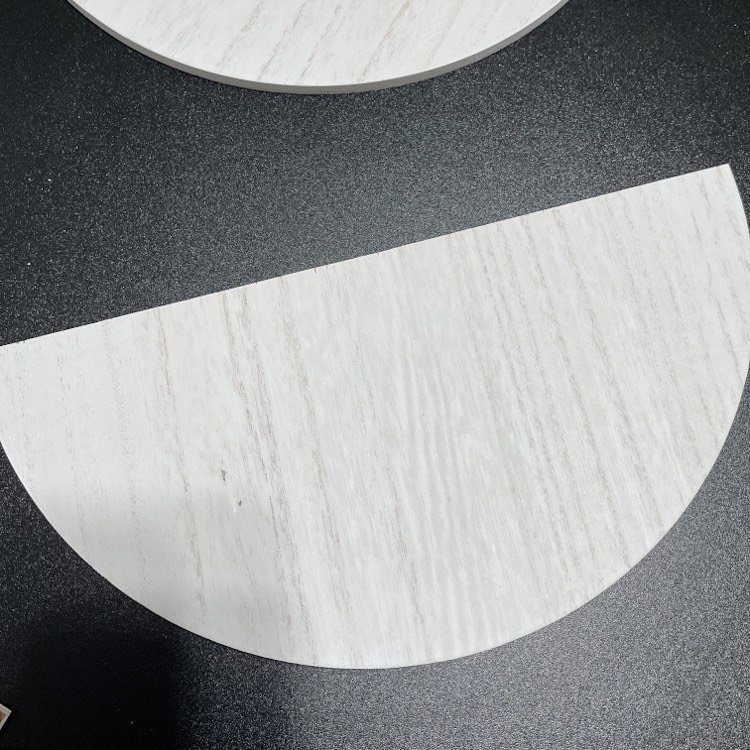
I cut the circle in half.  (Maybe I’ll make a lemon wreath with the other half!)

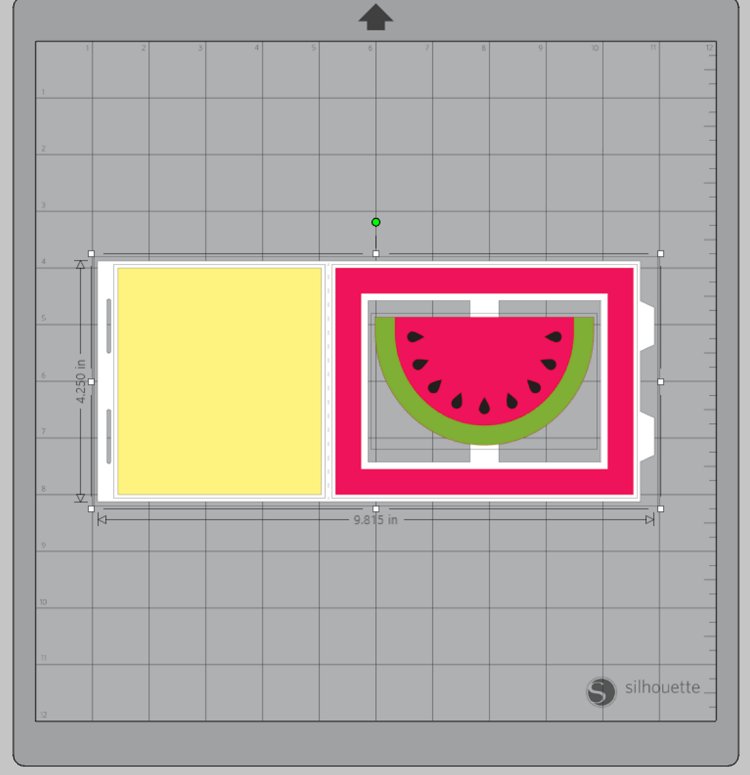
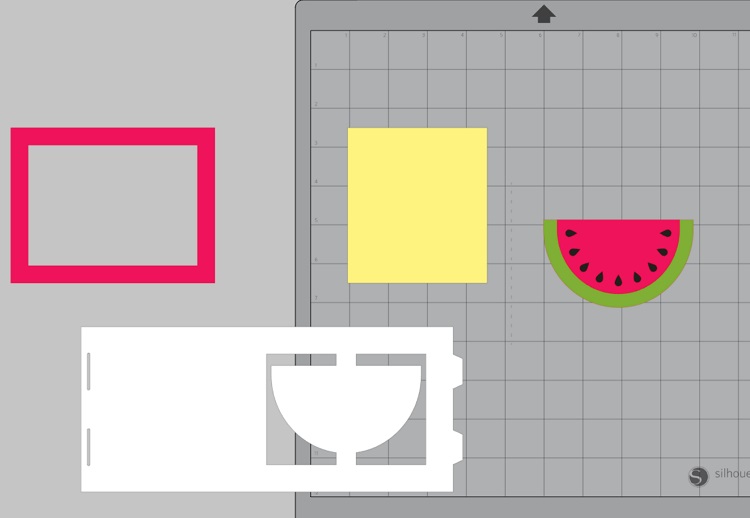
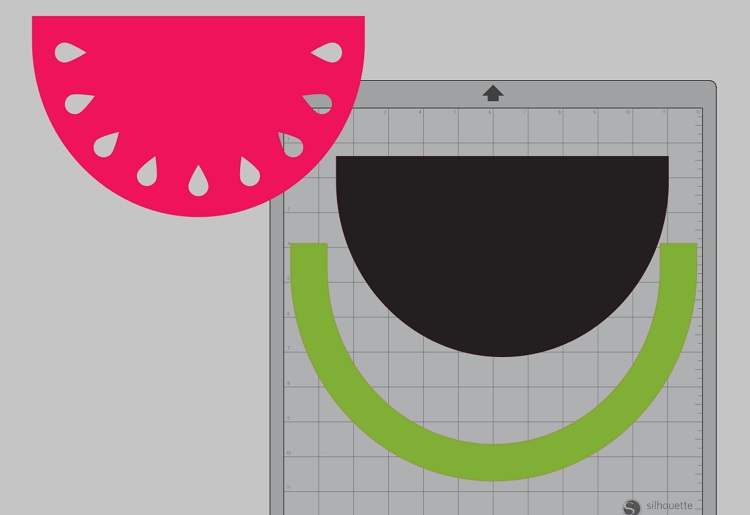
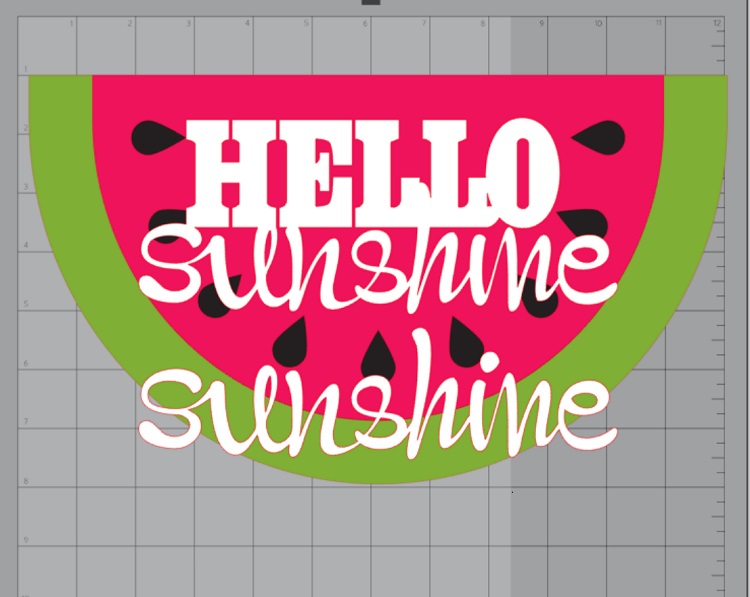
This is the card in my Silhouette.  I first ungrouped the pieces.

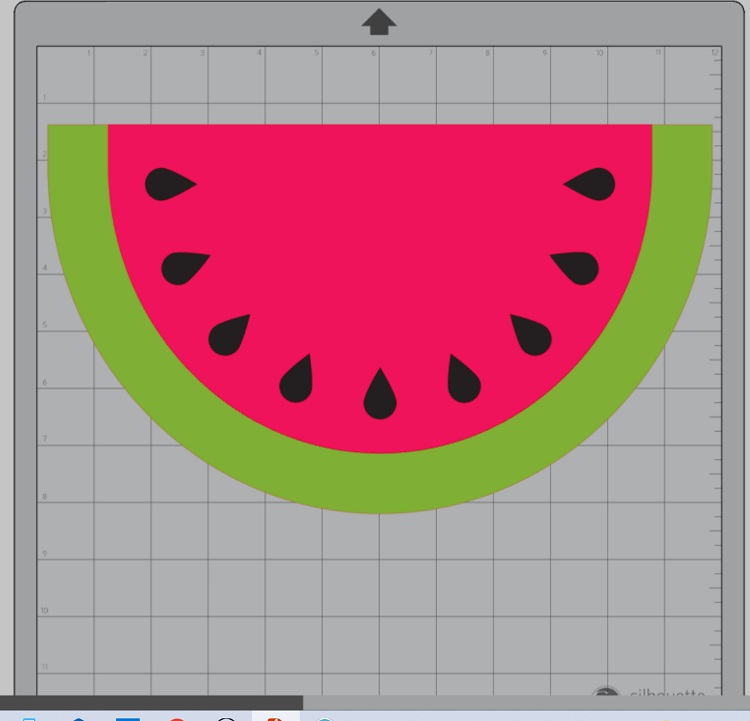
I deleted everything but the watermelon .. Then I resized it to fit the half circle.

Next, I ungrouped the watermelon pieces and chose my vinyl colors.  I did use an outdoor vinyl for this project as I wanted to protect if from the sun and rain.

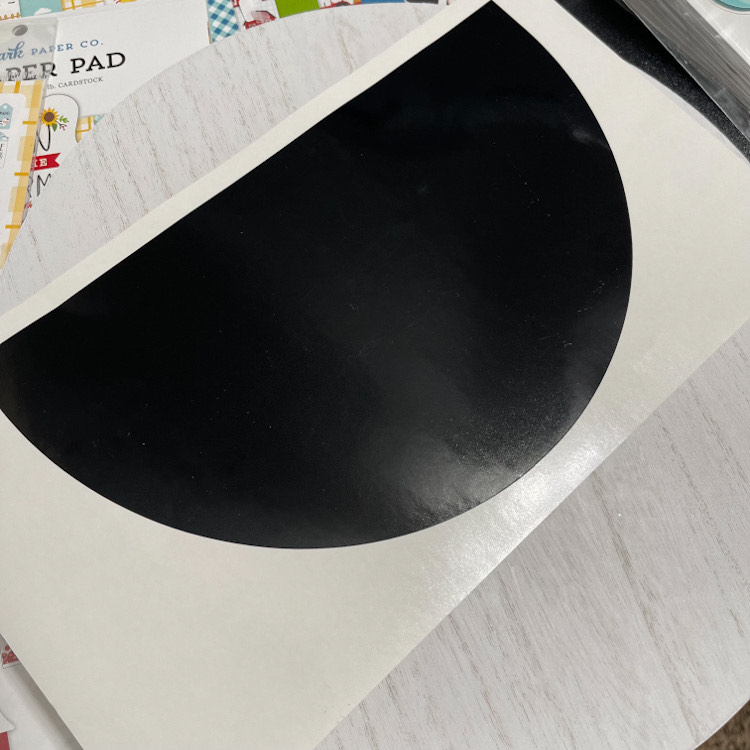
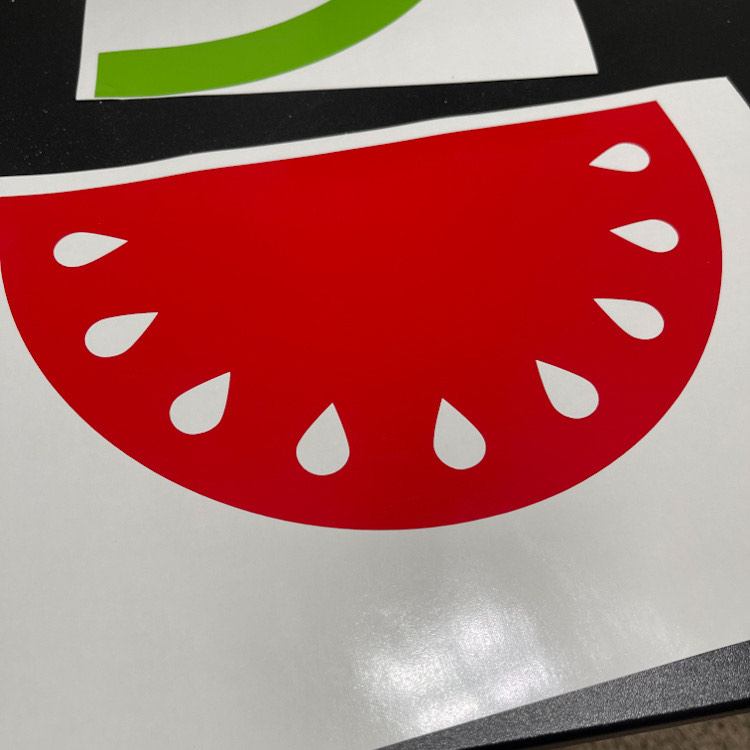
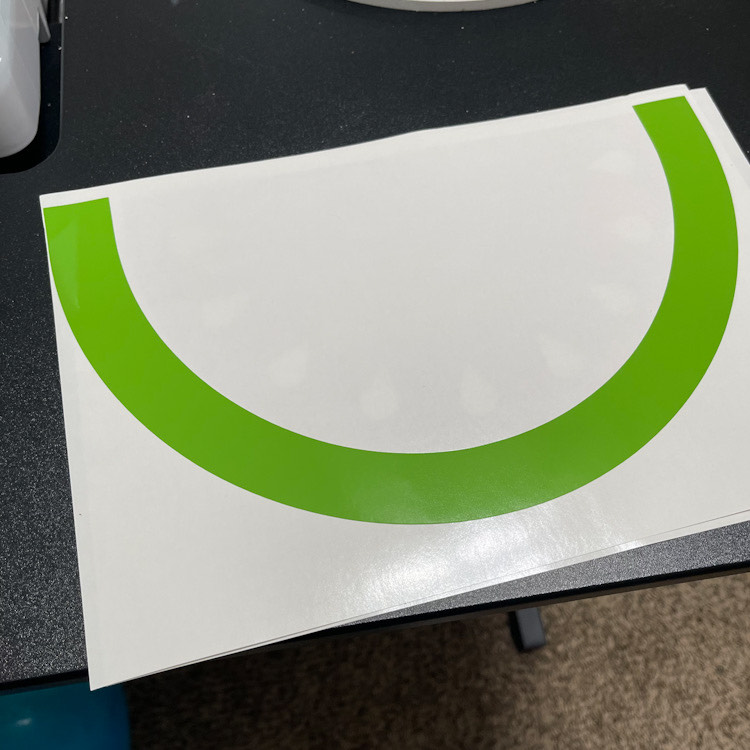
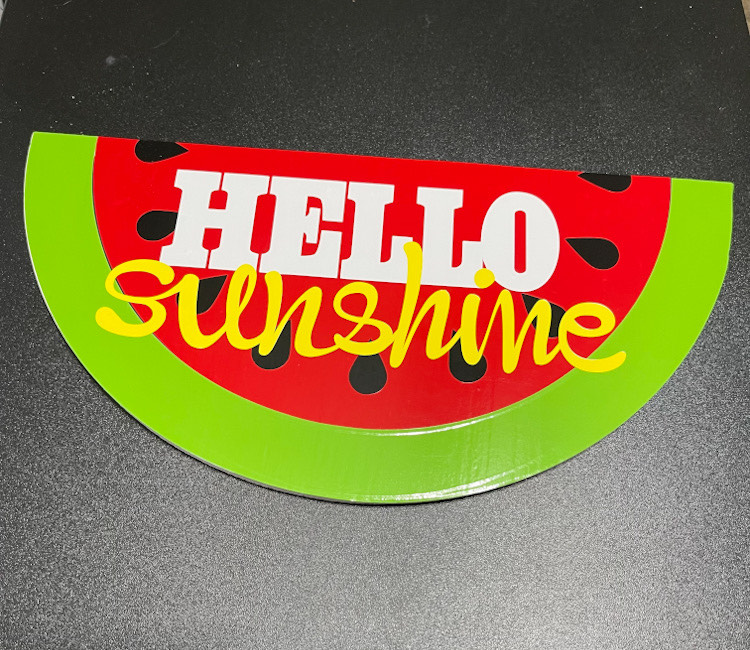
I cut the black, red and green vinyl.  These pieces are so large and basically just a giant sticker that I didn’t even need transfer paper to adhere to my half circle.  I put the black down first, then the red and next the green!

They went on with no problem, it think the outdoor vinyl is a bit sturdier and doesn’t fold over on itself or wrinkle!

Next my little slice of watermelon needed a cute saying!  I used Hello Sunshine here in the Silhouette Design Store.  I sized it to fit, cut the combined words in white and then just sunshine again in yellow!

I applied the phrase with transfer tape!

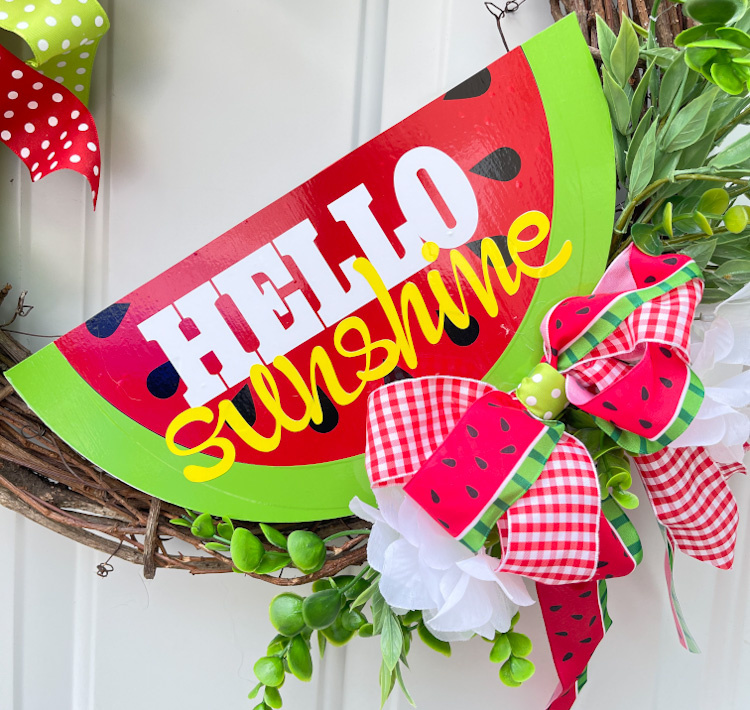
After finishing my watermelon slice, I adhered it to the grapevine wreath with hot glue and then just start adding greenery and ribbon!

I’m pretty smitten with how this turned out!  You can create almost anything with Lori’s SVG Files!

Have a great day!

Cathy