Hello friends! Traci here and today, I’m sharing a winter mini album that I made with one of Lori’s amazing cutting files called Snowflake Lace (SVG, Silhouette). I used it to create the front and back covers and a few pretty pages inside. I love its intricate design and it made such a beautiful little scrapbook!
(62).png)
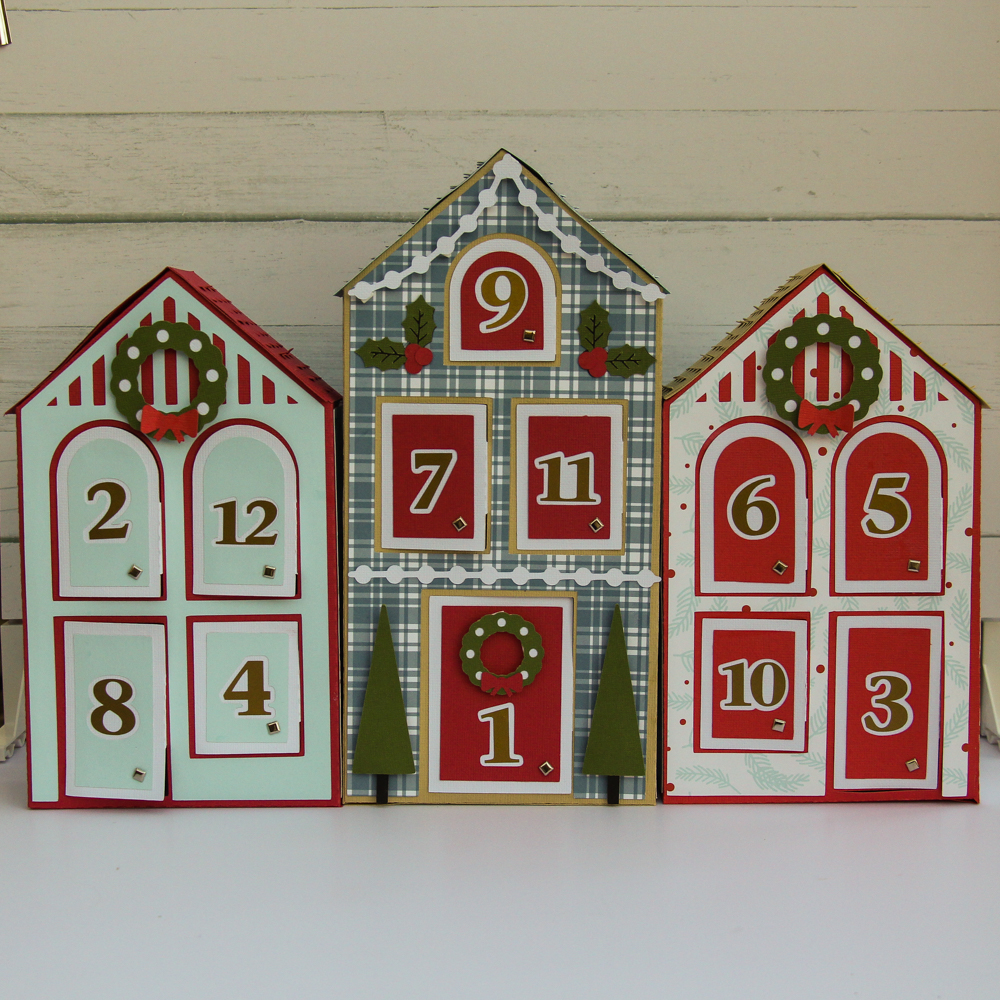
First, I’ll explain how I created the covers, then we can take a look inside.
.jpg)
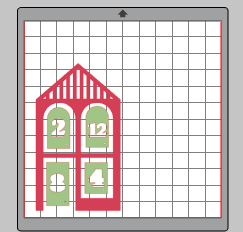
To start, I resized the Snowflake Lace cutting file to 6×6
inches and duplicated it for a front and back cover.
.jpg)
Since I wanted my back cover to be solid, I removed the
lace from the second shape. To do this, I highlighted the shape, right
clicked, and hit release compound path.
.jpg)
To start, I resized the Snowflake Lace cutting file to 6×6 and duplicated the file for a front and back cover.
.jpg)
I wanted my back cover to be solid, so I needed to remove the
lace in the second shape. To do this I highlighted the shape, right
clicked, and hit release compound path.
.jpg)
Now the outside square is removed from the lace snowflakes. I
deleted the design and kept the newly created solid back cover. Then I cut
both pieces out of white acrylic, but … you could easily use white card stock or chipboard instead.
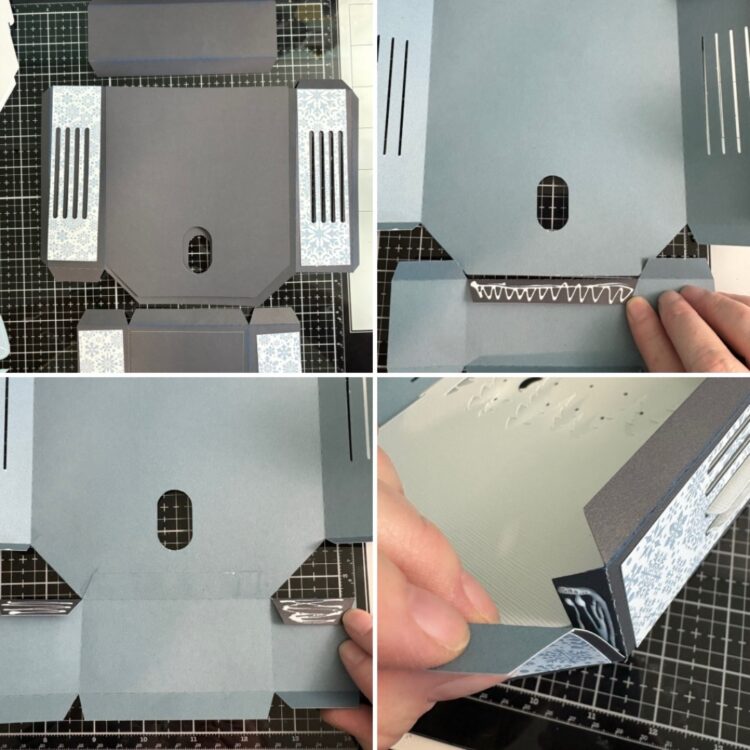
.jpg)
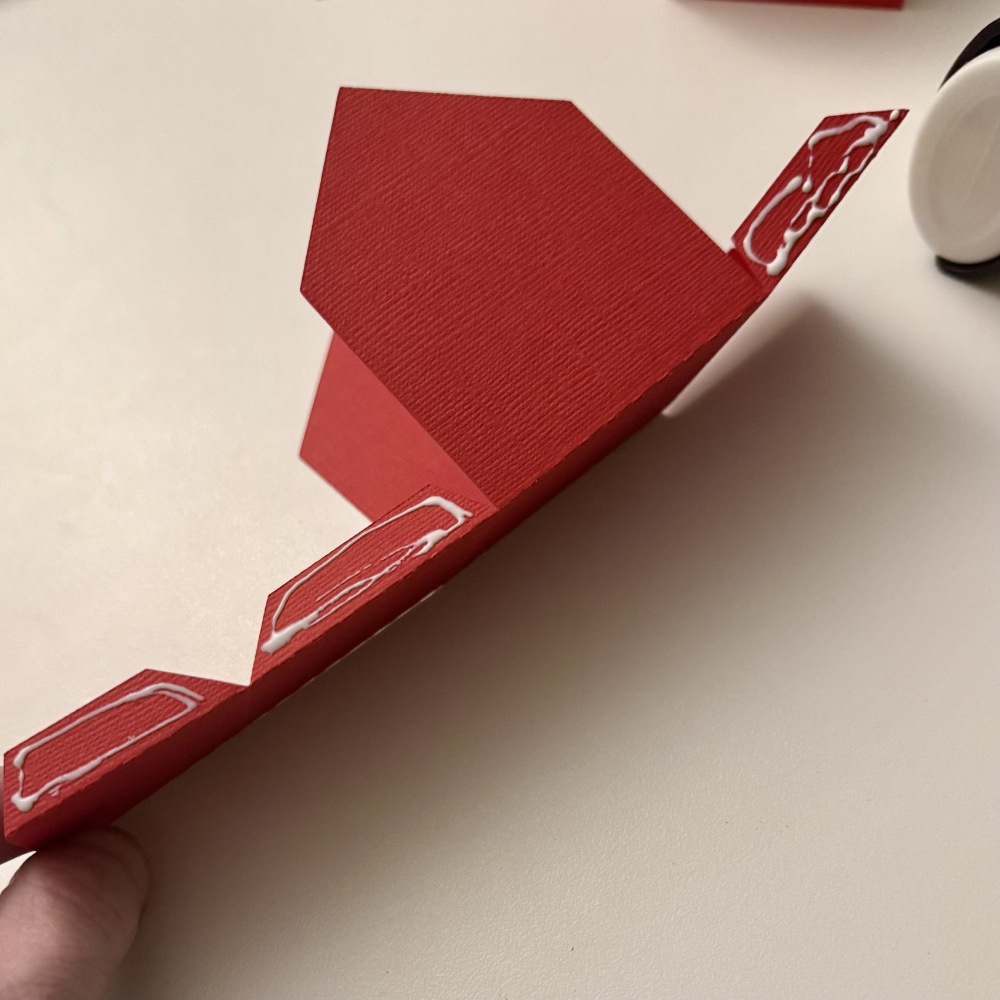
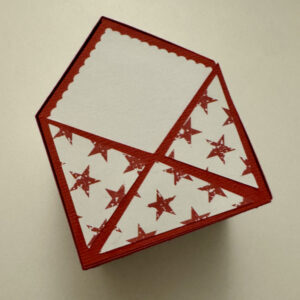
In the file, there is a perfect spot in the lace for the binding ring to go through. You’ll need to punch a hole in the solid back cover if you’re using card stock or chipboard.
Once the covers were done, I cut the inside pages out of white card stock. I cut 6 solid pages and 2 lace pages. Since the design is a bit intricate, I set the machine to cut
“heavy textured card stock” with 2 passes. Now … time to decorate!
(56).png)
Isn’t this lace cover so pretty?!! I added some die cuts, a few sparkling jewels, and a title from the Doodlebug Design, Winter Wonderland Collection.
(54).png)
(53).png)
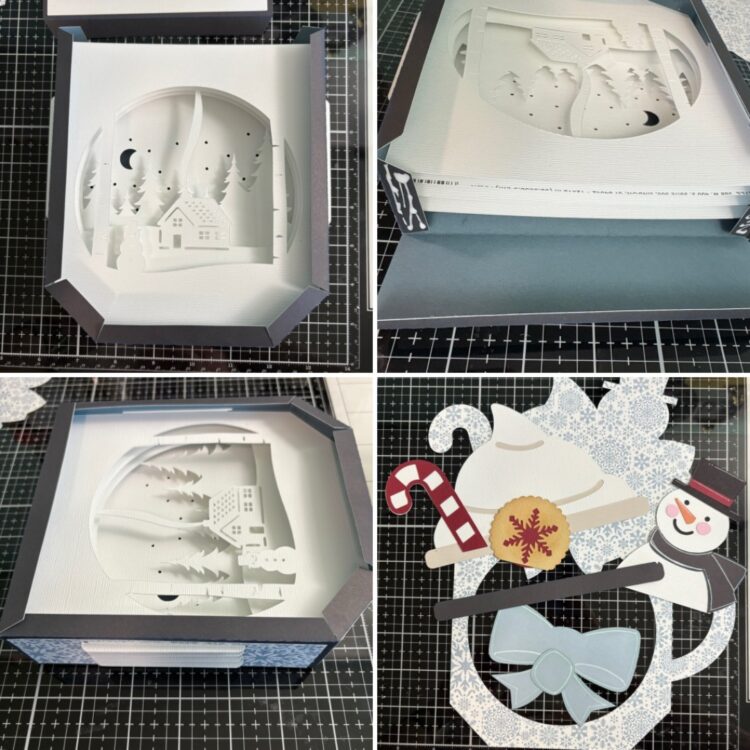
Here, I created a fold-out page and added a photo mat on the front flap with a ski lift die cut piece.
(52).png)
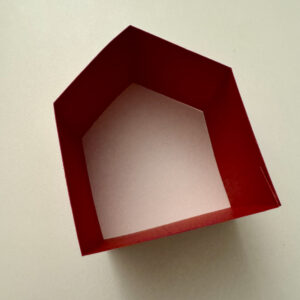
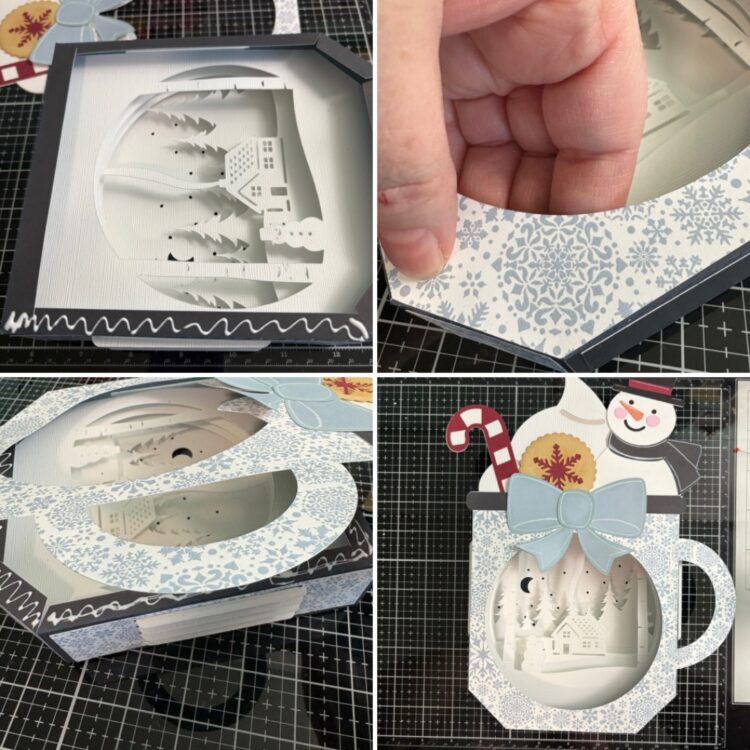
Open that fold-out and there’s a cute pocket inside with a fun snowman flip-up card on the front. I added a die cut in the pocket for journaling but extra photos can also be saved here.
(50).png)
This is one of the pretty lace pages that I cut from cardstock. I love it. I added a photo mat to the front and back side. It’s such a beautiful way to highlight your winter photos.
(48).png)
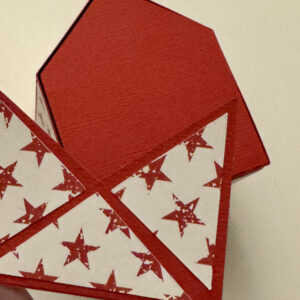
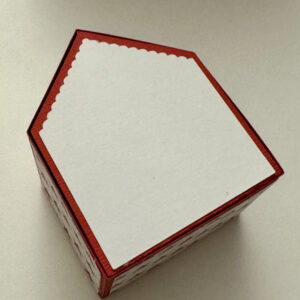
On this pocket page, I used another one of Lori’s cutting files to create the cute scalloped circle mat.
(47).png)
The cutting file is called 4 Scalloped Circles (SVG, Silhouette) and includes the scalloped circle and the plain circle in the center.
(46).png)
(45).png)
I had so much fun creating this winter mini album with Lori’s Snowflake Lace cutting file. The delicate pattern is so lovely and it made such unique album covers and pages.
(61).png)
I hope you’ll try this project. It could be made with any paper collection and would also make a wonderful Christmas scrapbook. Until next time, happy scrappin’!