Box Card Flower Trunk Tutorial

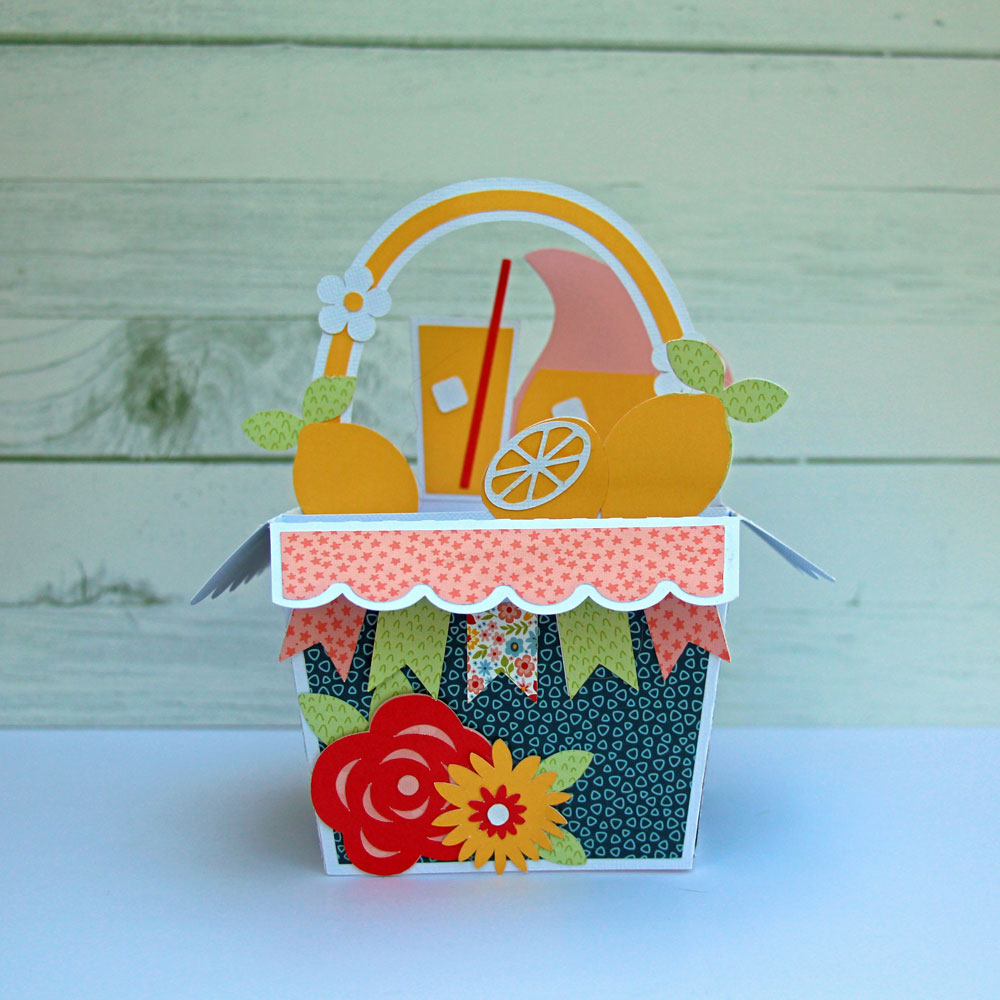
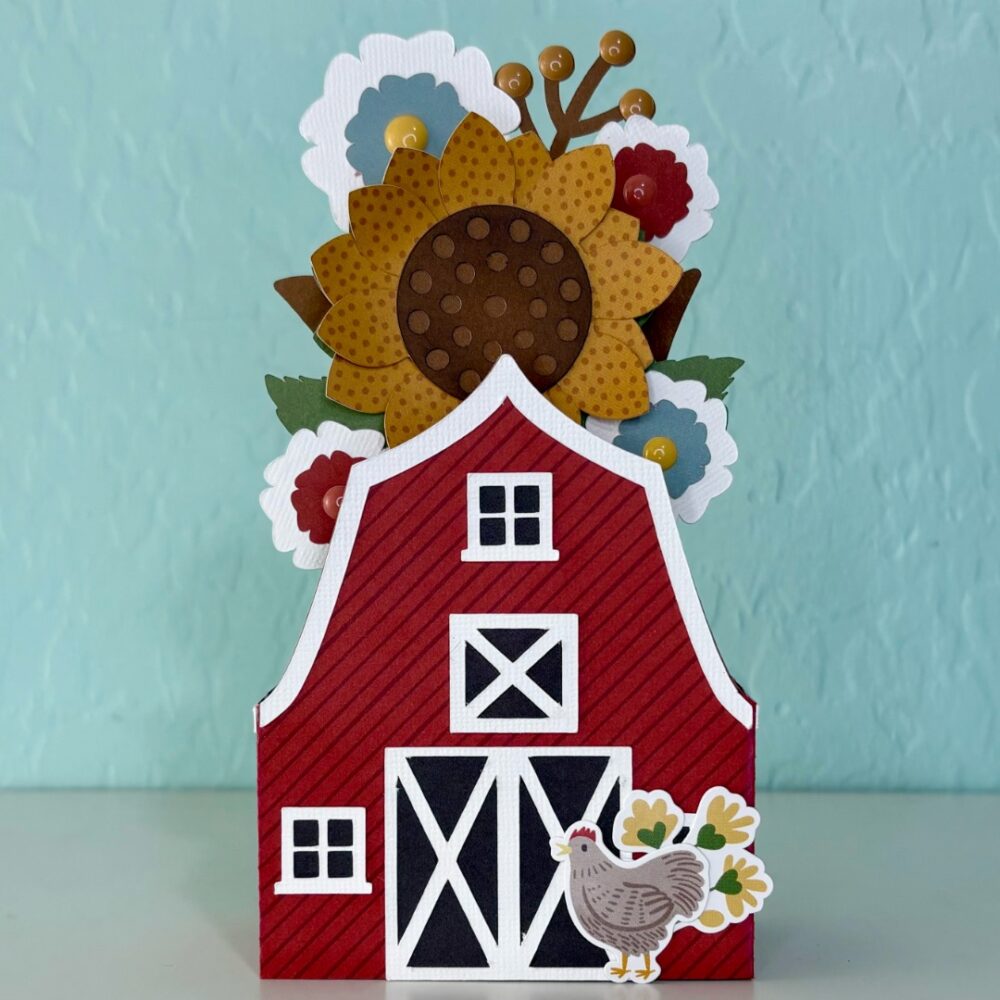
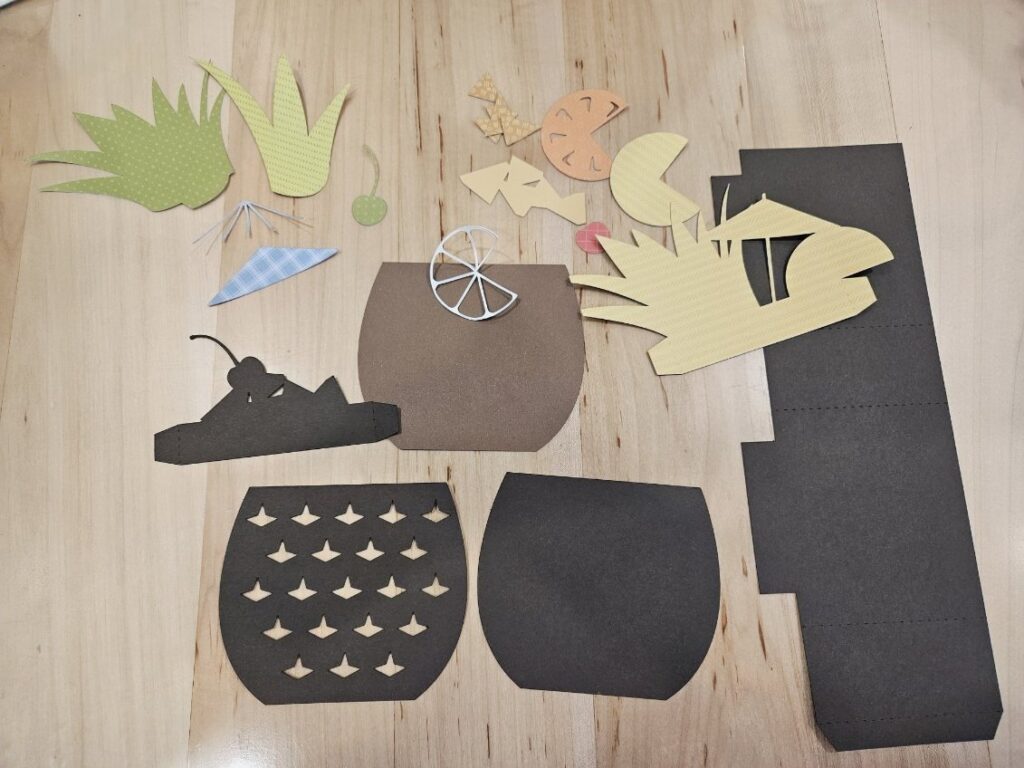
Hello crafty friends! Today I am sharing an assembly tutorial for the Box Card Flower Trunk (SVG, Silhouette).  I used papers from the Day and Life collection by Echo Park Paper Co. I also cut a few extra flowers to add to my card to give it a fuller look.

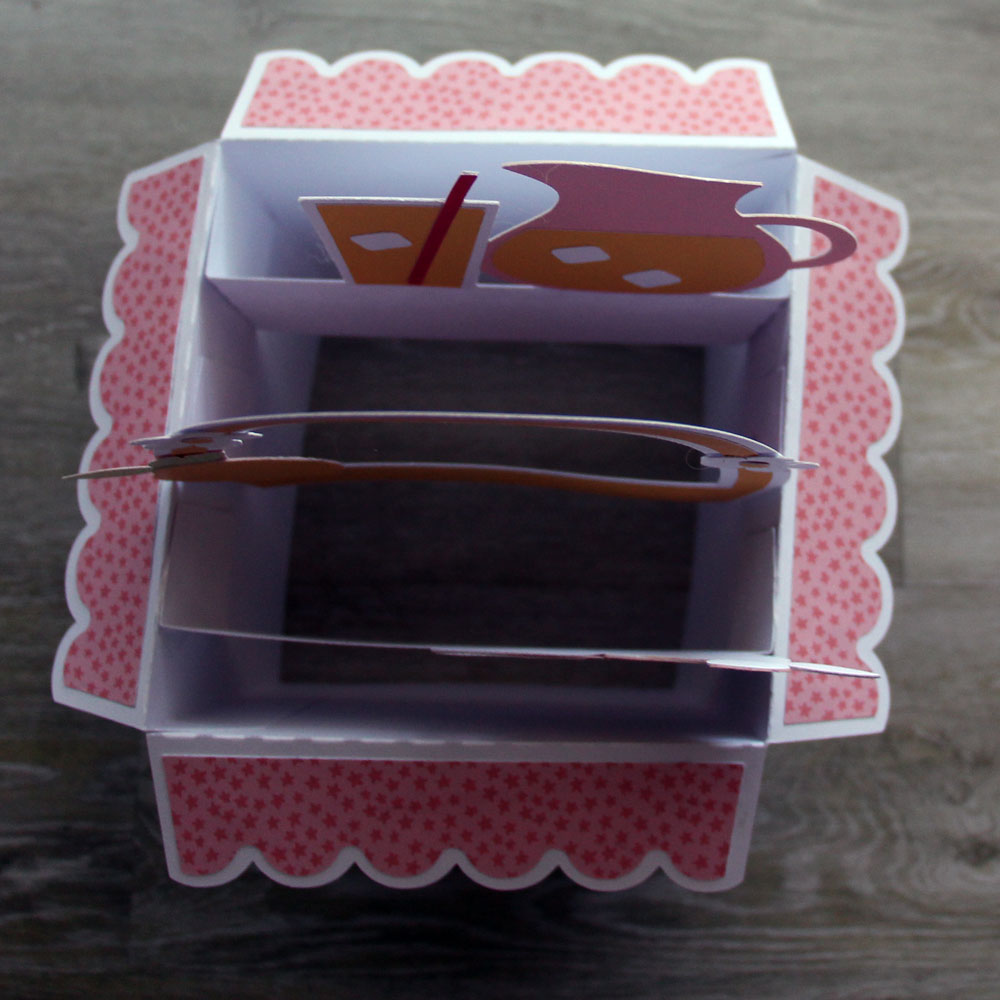
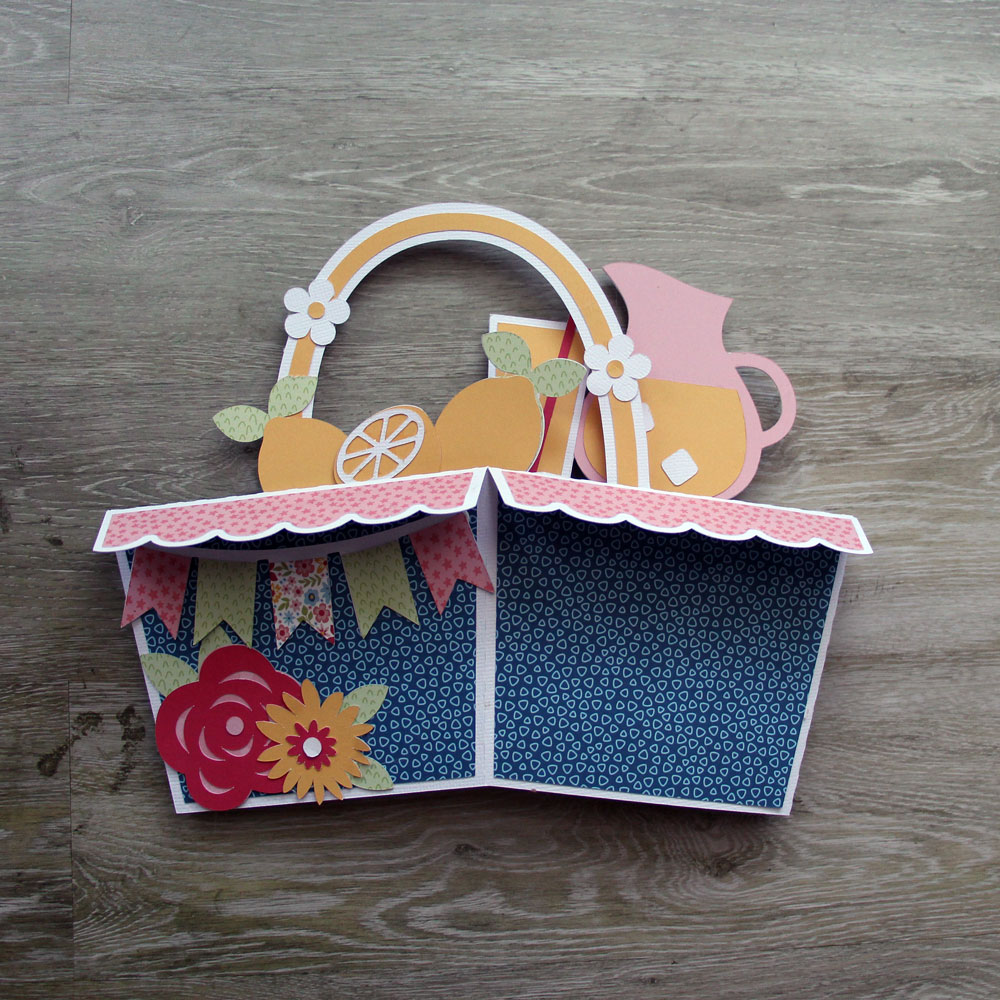
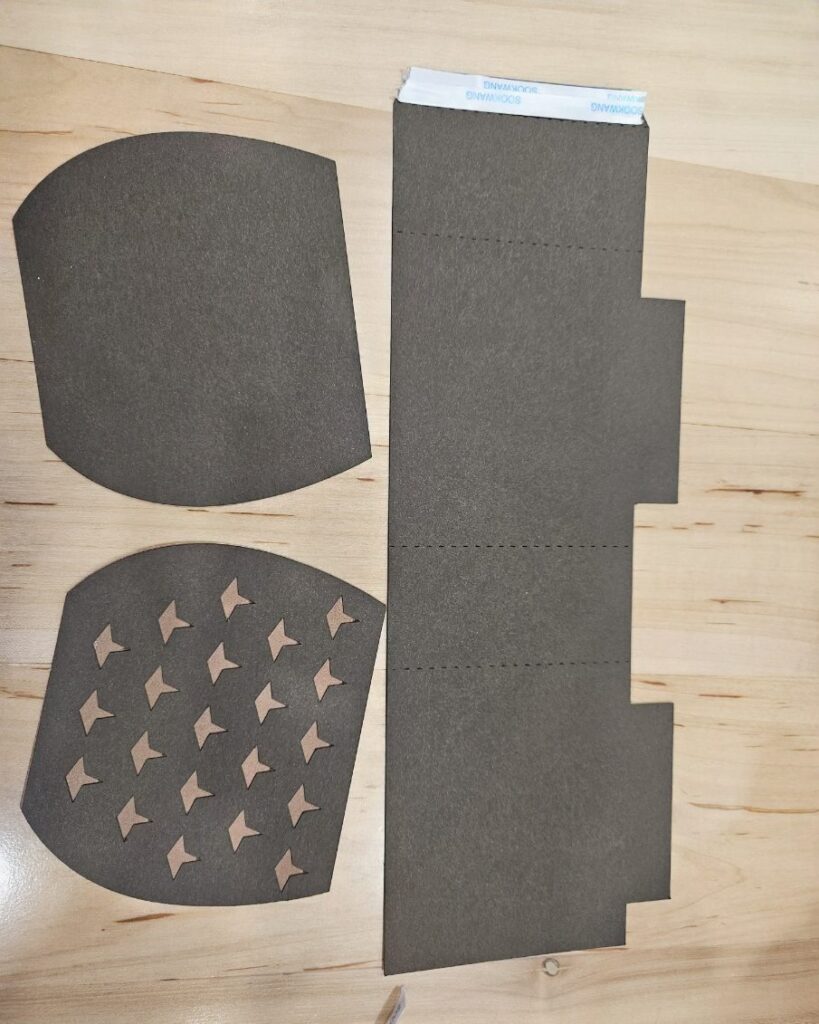
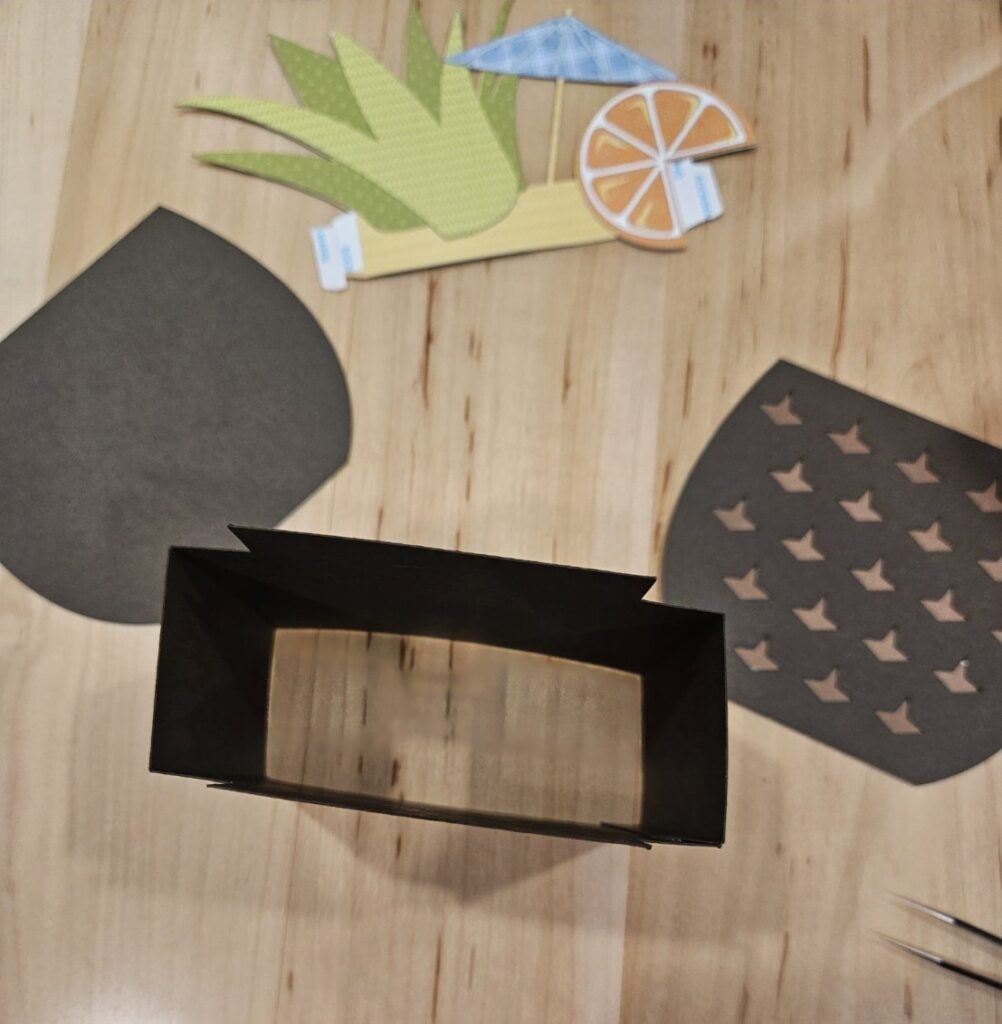
The body of the box card is in two parts that will be glued together. The tabs are all folded in a valley fold. First, I inked the edges of all of my pieces then glued the decorative panels to the outside of my trunk. I then assembled the flowers. All of the flowers have two layers. I then glued the flowers to the two inserts. Three of the flowers are on the front insert and two flowers on the back insert.

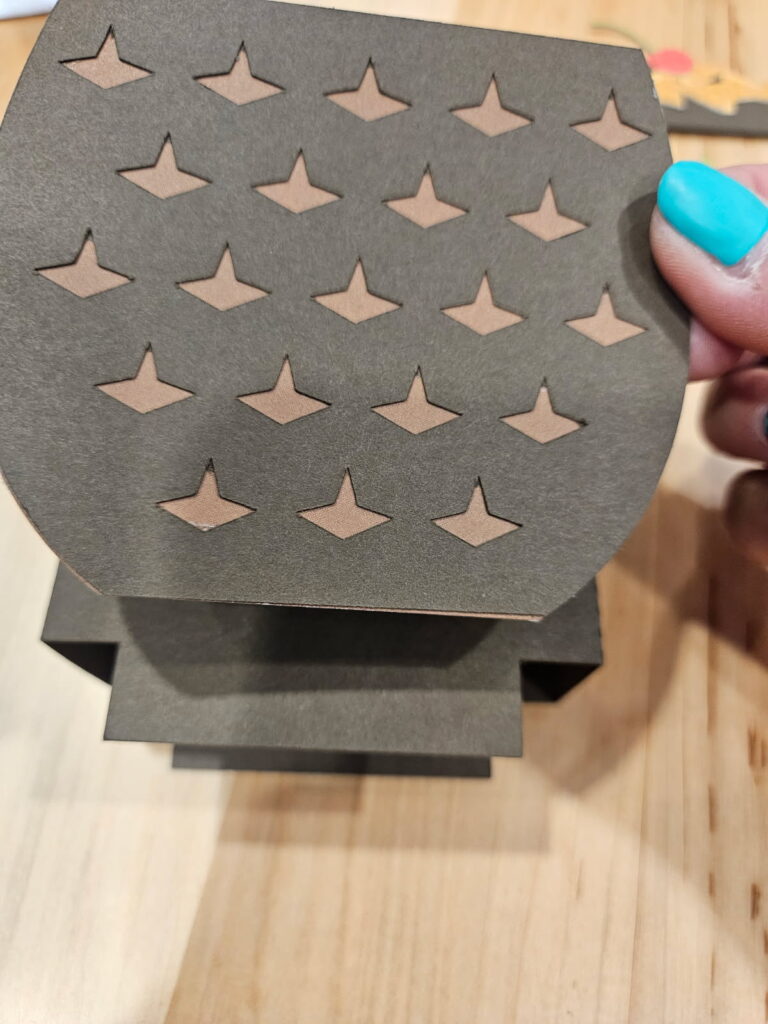
For the trunk I added glue to both tabs and made sure to line up the holes on both pieces so that the brads would be fit. I then glued the decorative corner pieces to the trunk and added the brads to all of the holes. Enamel dots would also be cute on the holes if you can’t find brads. After I had all the brads in place I glued the back decorative panel into the trunk.

Next, I folded the tabs on the inserts in a valley fold and added glue to the back of the tabs. Securing one tab at a time I lined up the edge of the tab with the top of the trunk and held it in place while the glue set. I was also careful to not glue the tab over the back of the brad. I repeat the process for the other side of the insert. With both tabs glued I fold the card flat to check that it will fold flat then repeat the process for the second insert.

With both inserts secure I glued the last flower and stem to the front of the trunk.  I then embellished my trunk with the additional flowers and two butterflies I fussy cut from the collection.

This card is so pretty and has several sentiments for the back of the card that are included in the file.

Thanks for stopping by today!
Brandie

Baby Boy Banner

Hello! Last week, I got to celebrate my daughter who is having a baby boy this June.  Family and friends gathered to wish the soon-to-be mama and new baby well.  I made a cute baby banner for the decor.

Here is the banner displayed.

I made 4 custom pieces on double sided cardstock, and I used 3 cards from Lori’s Special Delivery: Baby Boy Collection.

For the custom pieces I used these files:

Baby Banner (SVG, Silhouette)

Bodysuit and bear from the Baby Card Dresser (SVG, Silhouette)

Pacifier from Baby Sheep Card (SVG, Silhouette)

Bottle from Twist Pop Card Baby (SVG, Silhouette)


You can choose a few of your favorite baby projects and create your own custom baby banner. Thanks for checking out this project.

Ashley

Onesie Mini Album

Hi everyone! Back in February 2024, I got a call about a very special little girl coming home from Thailand. She was born at just 26 weeks, and now—over a year later—she’s finally home in South Dakota for the first time. She needed some help to make the trip, and with lots of effort and phone calls, we made it happen.

Now, that little miracle is home, doing well, and she just turned one at the end of March! I had the joy of meeting her, and she completely stole my heart. I made this mini album just for her.

You can find the file here in Lori’s Shop or here in the Silhouette Online Design Store. I used Lori’s Echo Park Birthday Girl Collection. I had so much fun creating this for this little princess. She truly is a miracle, and I hope her parents know how much she has touched my heart and how much I loved being a part of her journey home.

Happy Birthday!
~Cathy

Summer Layout Tutorial

Hello! We got the dreamiest paper in the mail last week and I couldn’t wait to create with it.  Echo Park’s Have A Great Summer designed by Lori Whitlock has all the best colors and papers. It made me think of how fun this layout would be with these papers.

First I decided on papers and made my cuts. (*If you are making this on cricut, check your sizes, my scallop page cut 7×7 so I had to adjust.)

I went ahead and inked all my little pieces

And then I added letters to the banner pieces.

One thing I’ve learned over the years is it’s never a bad things to flip the paper over. I had originally thought I wanted to use the pink side of the solid paper, but it just wasn’t as summery so I flipped it and used the yellow. I love that I did. So bright and fun.

I added my photo and took a few liberties with positioning the other elements. I made sure my sun was over my clouds so it wouldn’t blend into the background and popped the photo corner up on the outside of the photo.

My banner I wanted on a string so I added my bakers twine and then popped the banners up over top of the bakers twine.

Finished off the layout with some chipboard and stickers from the Have A Great Summer line and a few enamel dots.

Thanks for stopping by and Happy Crafting!

Chelsea