Shaped Bug Cards

Hi everyone! Another 60 degree false spring day here in South Dakota so it inspired me to make some bug cards. I used Echo Park Little Things paper designed by Lori Whitlock.

The files for these cute little bugs come in sets. I used the bee from the Bugs 2 set and the ladybug and snail from Bugs set.

I embellished the cards with twine, buttons and the ephemera and frames and tags from the paper line.

Thanks for stopping by and Happy Crafting!

Chelsea

Box Card Spring Flower Pot Tutorial

Hello crafty friends! Today I have a quick assembly tutorial for one of the new Flowerpot box cards. I used the Box Card Spring Flower Pot file (SVG, Silhouette). This file is so bright and cheerful. It has several print and cut sentiments so that it can be used for any occasion. I used the Happy Birthday sentiment, and the papers are from the Our Happy Place paper collection by Echo Park Paper Co.

The box part of this card comes in two separate sections with two decretive panels on each. These two sections are glued together side by side. It also has two rim pieces that will be glued on the front and back of the card. The rim pieces hang over the edge of the pot a little so be sure not to add glue all the way to the edge of the paper. I glued the pot all together forming the square before adding the inserts this time as well.

Before the inserts are added to the box card the flowers need to be assembled. All of the flowers have multiple layers for added dimension. The file does come with centers for the flowers, but I used enamel dots for mine. After all of the flowers are assembled I added them to the inserts. Inserts one and two are the only ones with flowers. The third insert is plain green.

The tabs on all of the inserts are folded into valley folds and glue added to the backs of the tabs. I held the tabs folded down and slid the insert into the box, made sure the top of the tabs was flush with the top of box and front of the tabs was flush with the front of the box. After I had the tabs lined up, I folded the box card flat in both directions to make sure everything would lay flat. I then added the remaining inserts the same way but using the insert in front as the guide.

With the inserts all in place I then glued the flower and sentiment to the front of the box.

I love how versatile this box card can be. I hope you give it a try. Thanks for stopping by today!
Brandie

Fun with Patterned Paper

Hi everyone!  I have some cards to share with you today.  They all were created using Lori’s Echo Park Our Happy Place.  I used the 6×6 paper pad to create these, enamel dots and stickers from the sticker book. I just want to show what a different look you get to these cards when you use patterned papers instead of plain colored card stock.  It makes even the cutesiest of cards have a whole different look.  Some what of softer and bit more sophisticated  look.  I love how these all turned out, this collection has the softest colors and darling little patterns. I am all set for my Easter cards with these being finished now.  

I will have a list at the bottom, in order, of the files I used for these.  


The two bunny shaped cards can be found in this bundle:
And the last one here:
 
Thanks for joining us today!
~Cathy


Succulents Box Card

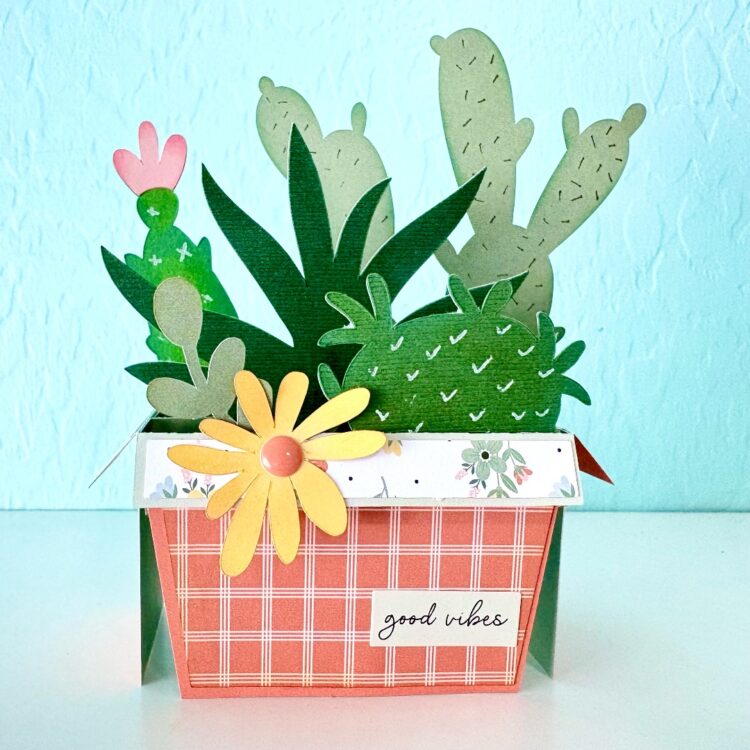
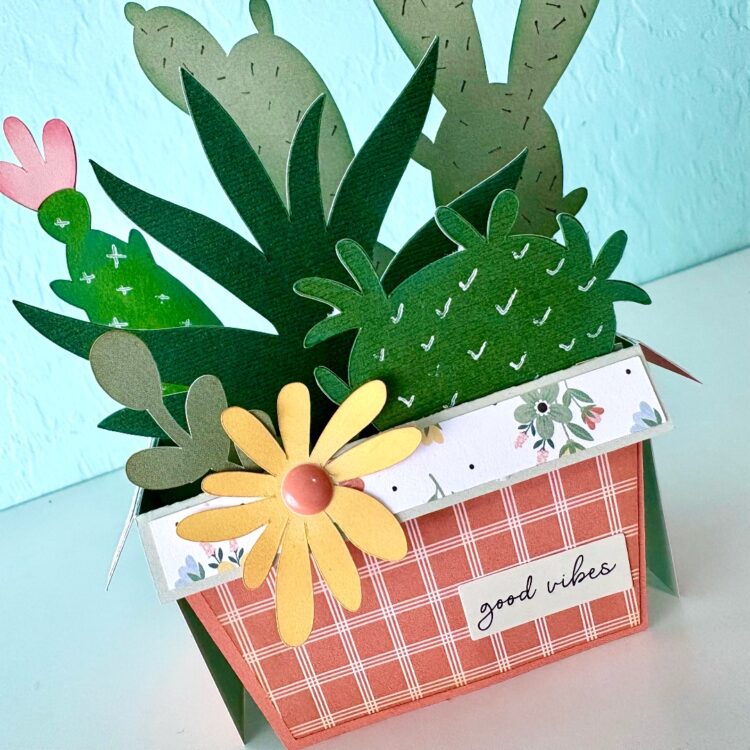
Hi there crafty friends! Today I am sharing the Box Card Succulents card (SVG). I was inspired by the Our Happy Place (Amazon) paper collection by Echo Park Paper. This collection has lots of potted plant imagery and a lovely color palette. I thought this box card would make a cute card for a plant lover. I added a few pen details to the cactus and a good vibes sticker from the paper collection

I love the how this one turned out. Thanks for stopping by today.
Brandie

Happy Birthday Cards! Tutorial

Hello!  Sue here to wish you a Happy Valentine’s Day!
 
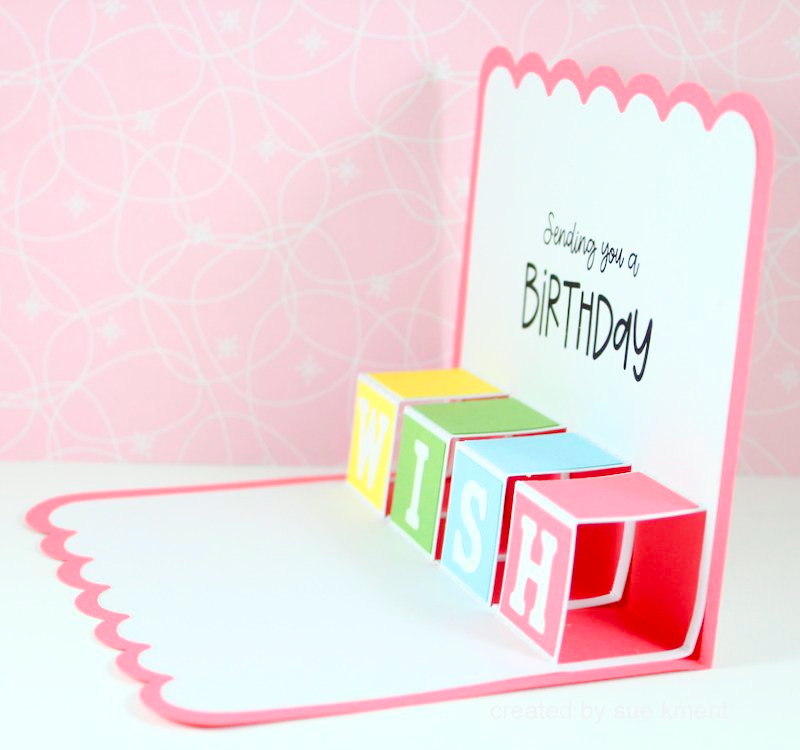
For my tutorial today I am making several easy print and cut birthday cards from Lori’s fun birthday card bundles. I want to make them all! 


This really is a fun card!!!
Here you can see the front pieced element. I chose to cut an additional bottom layer to the packages in pink to make the  presents pop more and give it a bit more reinforcement so I could add it to the front with an action wobbler .  I used  the Lori Whitlock’s  Life is Beautiful 6×6 paper pad.
The inside piece is a print and cut. Fold it in half with the sentiment inside
This part is a bit tricky. Its a mountain/valley  sort of thing LOL! What I did to make it real easy is to fold the center back the other way and then from the back pinch each section to crease them. 
Here you can see how the insert looks when folded and ready to add to the card.
 
Glue one side of the insert inside, making sure you align those 5 small folds right at the cardbase fold line. Add glue to the second side and close the card onto the glued insert.
All glued and ready to go!
Both cards are part of the Fabulous Birthday Card Bundle.
 
You can see all the bundles on Lori’s site.
 
Here are a just few more to check out:
 
*********************************************************
This was a fun one!
I used Lori Whitlock A Slice of Summer papers for the balloons.
I have made several of these cuties. I cut on six/seven different 6×6 papers and cut ALL the balloons out of each color. Then I’m just playing mixy match for each cards.
Glue the balloons on the back of the print and cut and then flip and glue to the card base. It is very pretty to see in person, it has a nice dimension to it!