Today Christine is here sharing her creativity with us. Check out what she has done.
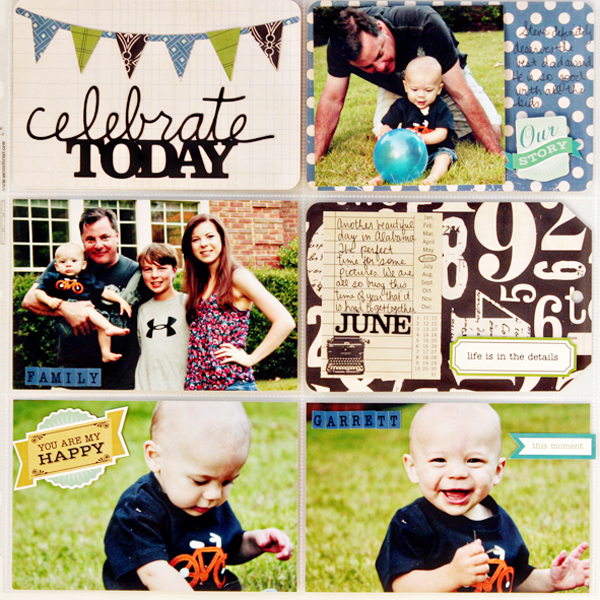
I have always been interested in the Project Life concept. I’m a very busy mom and a lot of times the day to day stories don’t quite make it into my scrapbook pages. So starting in January, I’ve decided to give Project Life a try, and I’m going to use Lori Whitlock’s Life die cuts for all of my components. I love the variety of cards, in both 3×4 and 4×6 that she has in her shop. Plus an array of other items, like pockets, folders, titles, and shapes. So to start practicing using the concept, I decided to put together a couple of pages for a 2011 year in review. In this post, I am sharing months March and June.

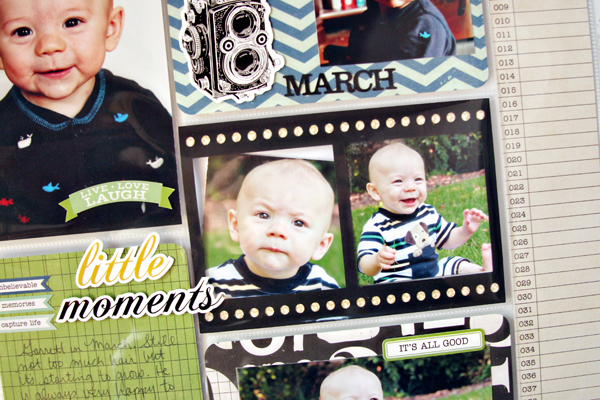
As I was going through my Lori Whitlock die cuts, I came across this fun negative frame, which I had to resize just a little to fit into the 4×6 pocket. It was a great way to include more pictures. I still feel like these pages are more like my regular scrapbook pages but maybe that is ok.
I’m still struggling with my journaling. I’m not fond of my handwriting and prefer to be able to edit my writing on the computer. I’m going to try really hard to journal in my own handwriting but if it doesn’t feel right, I will just jot down some things in a notebook and transfer it later to the computer.
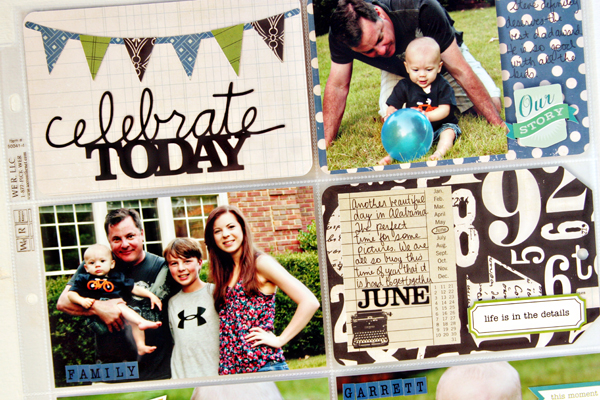
Here are some more shapes from Lori’s shop. The title Celebrate Today is a favorite of mine.
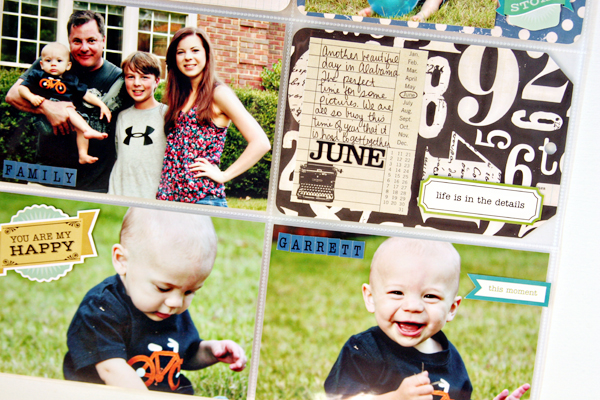
Another thing that I like to do is to use my cardstock stickers on the outside of the sleeves. That way I can still decorate my spaces but it doesn’t have to be directly on my photos. For these two pages, I used For the Record 2 by Lori Whitlock for Echo Park. The color scheme was perfect for my pictures.
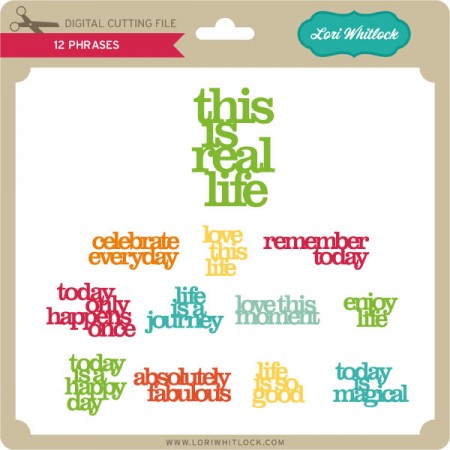
I’ve already started cutting more cards to get ready for the first week of January. I’ll have a stack of different shapes and colors to choose from. I’m also going to cut out a bunch of word titles and like these, 12 Phrases, and put them in an envelope, so the process will be quick and easy.
I’ll be back to show you my progress in the middle of January.
Christine
Lori Whitlock Supplies Used:
Celebrate Today Title (Silhouette store)
Thanks Christine for sharing with us, this is beautiful. I want to do the same thing… Lisa
![]()

![]()


