I hope you are all enjoying a wonderful 4th of July! It’s always been one of my favorite holidays! First off, let’s start this holiday right by having a 30% OFF SALE in the SVG shop. Now through July 7, you can take 30% OFF your entire order!! So, it’s time to stock up on all those cutting files you’ve been wanting to get! Simply use coupon code: JULY at checkout. SHOP HERE
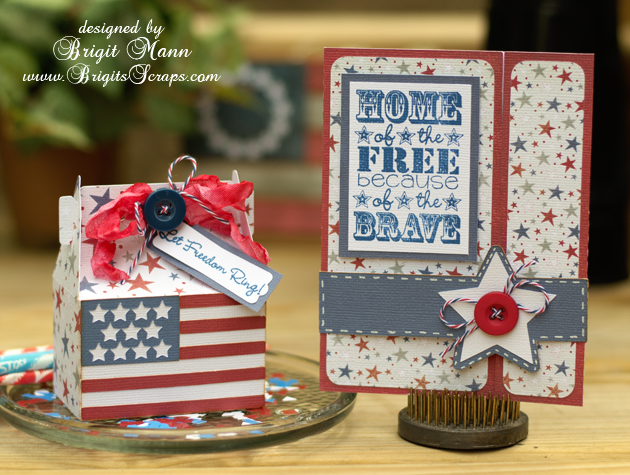
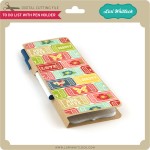
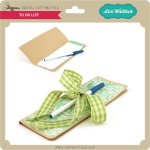
I feel privileged to be able to share a festive layout and video tutorial today using fun papers from Pebbles Let Freedom Ring collection and a number of cutting files designed by Lori.

As I state below in my video, I have a bit of a confession… I created this 8×8 layout for my Mother-in-law as part of her Christmas gift last year and saved it until now to share. The only trouble is I didn’t know then that it would be my turn to create a tutorial so I’ve tried my best to pull from my project a few of my favorite tips and tricks that I’m hoping will still manage to teach a few of you something new. 😉

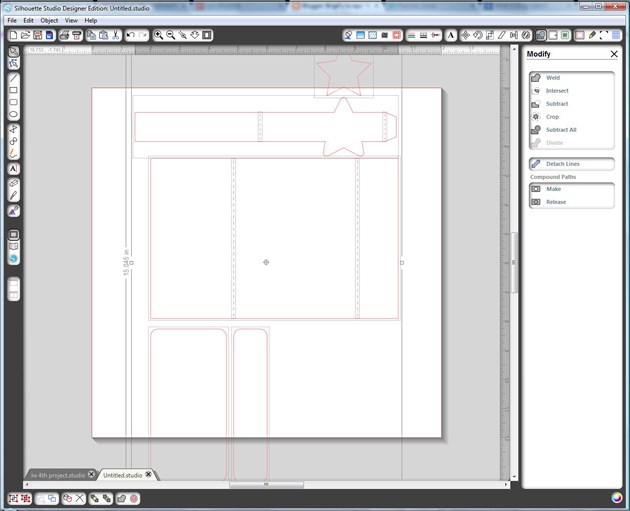
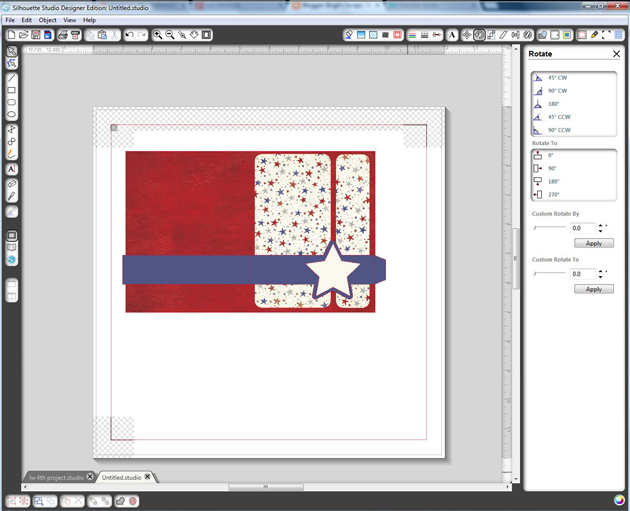
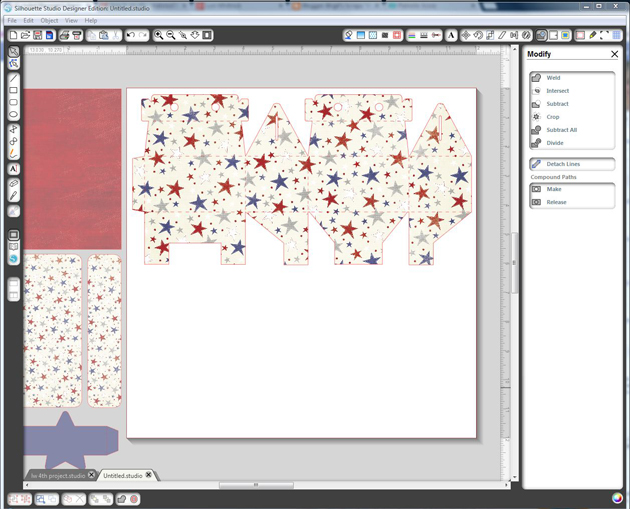
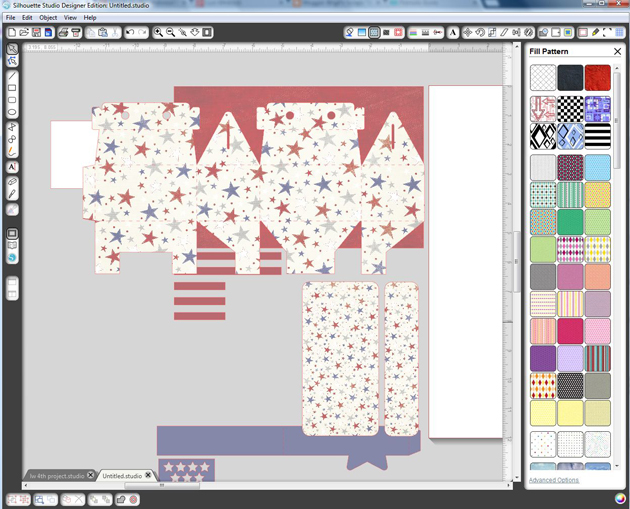
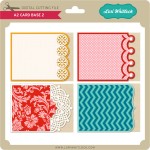
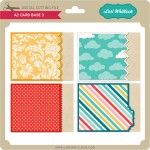
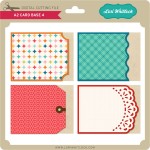
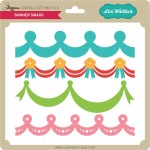
To create my layout I used the following cutting files designed by Lori Whitlock:
2 Borders (Silhouette Store only)
Dot Star (Silhouette Store only)

Also, remember the Silhouette Promotion this week:
If you do upgrade your software (or buy a machine+software) using code: LORI you can earn this free SVG file. Just send me a your order number to info@loriwhitlock.com.

And, we’re still taking entries for this fantastic GIVEAWAY!!


 Only a purchase in Lori’s