3D Flower Bouquet Assembly Tutorial

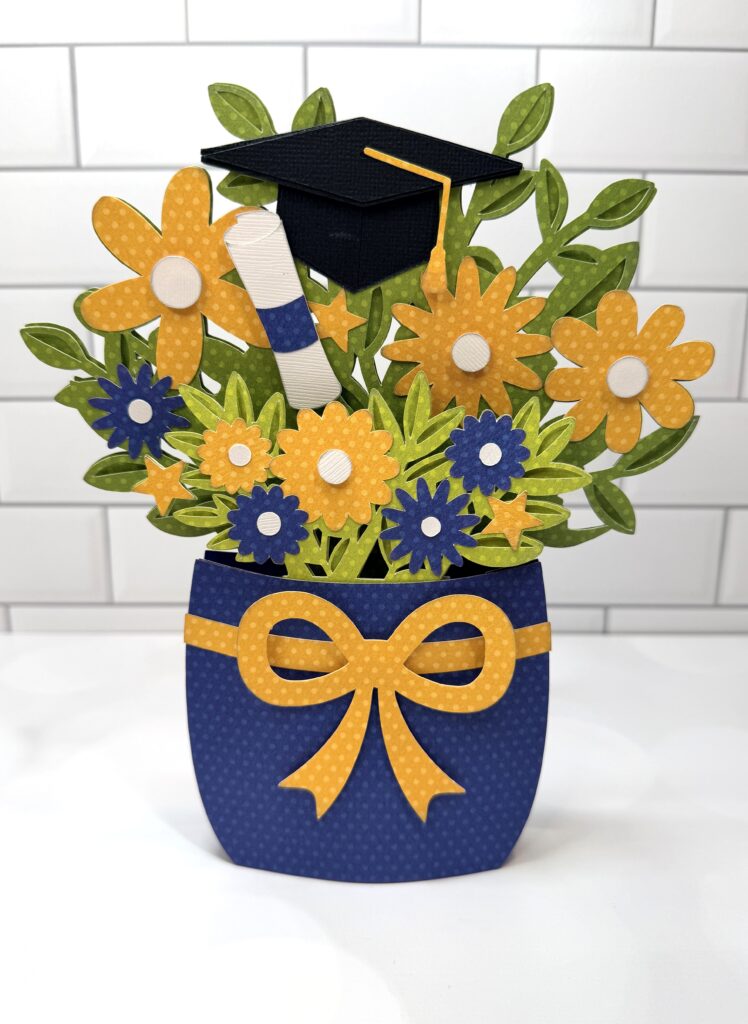
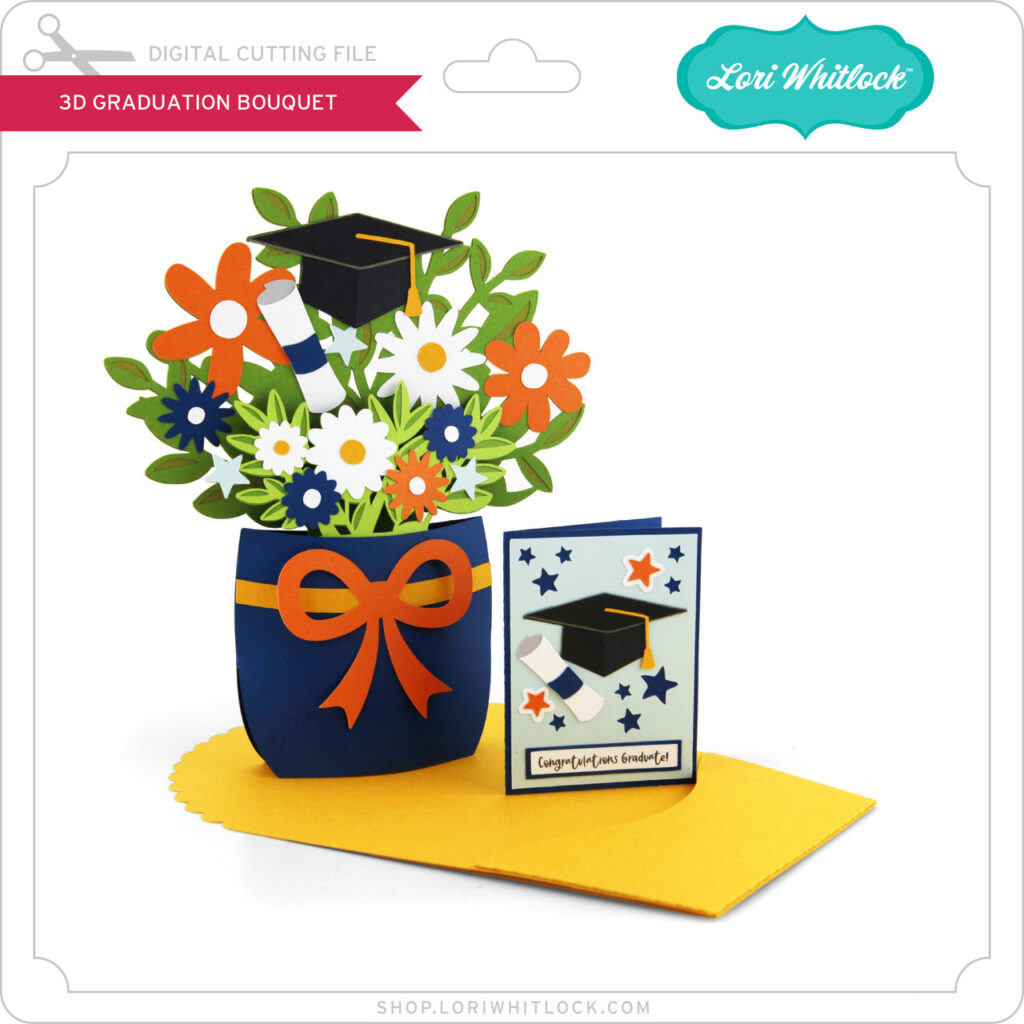
Hi there crafty friends! Today I am sharing an assembly tutorial for the new 3D Flower Bouquet (SVG, Silhouette). Lori has several options and all of them are so fun and versatile. I have made three already! For this project I used papers from the Our Happy Place paper collection by Echo Park Paper Co.
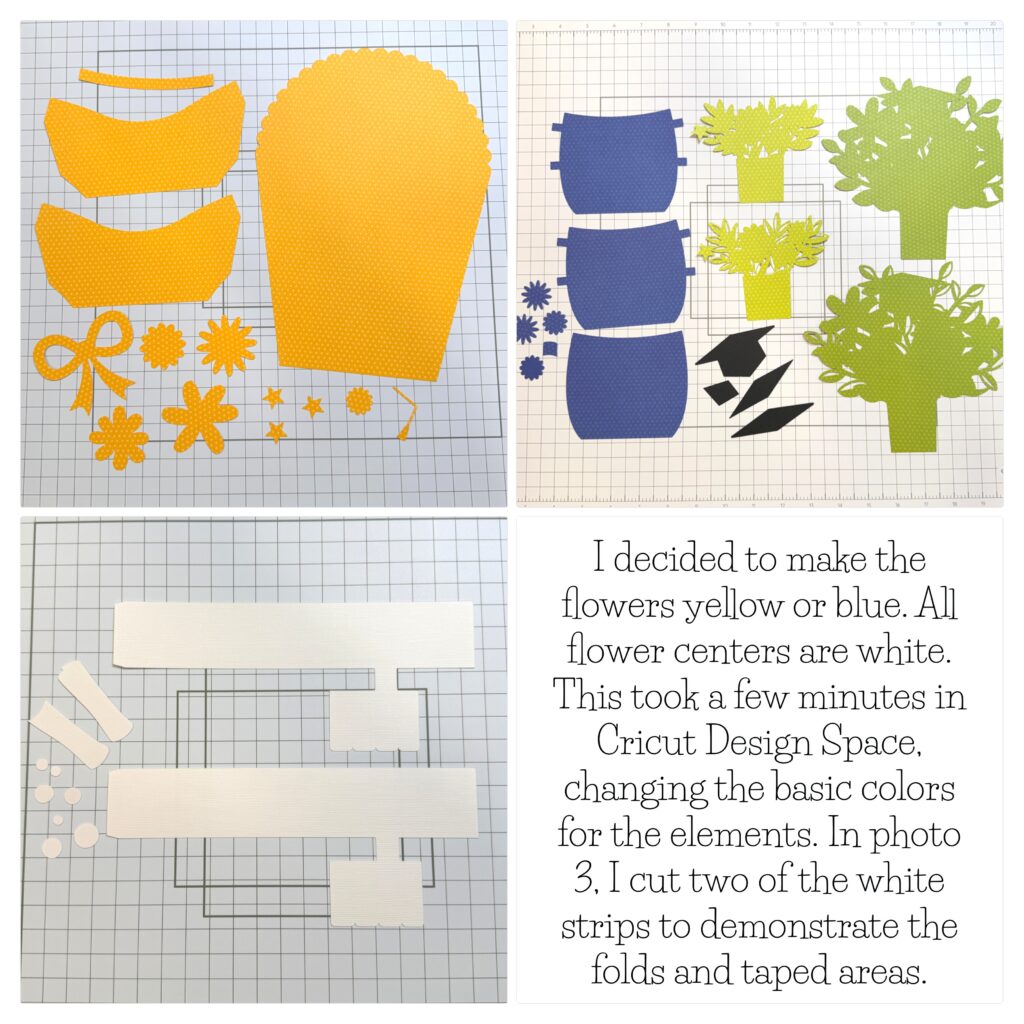
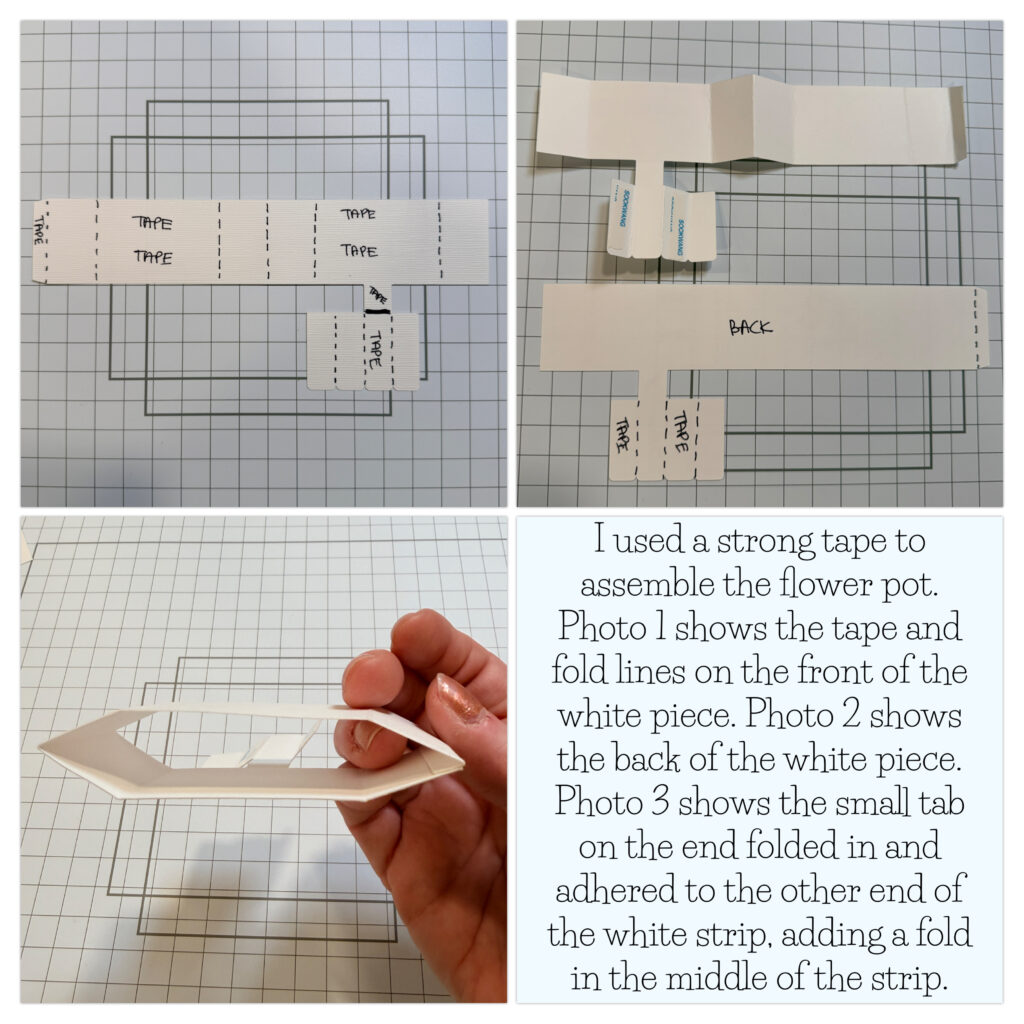
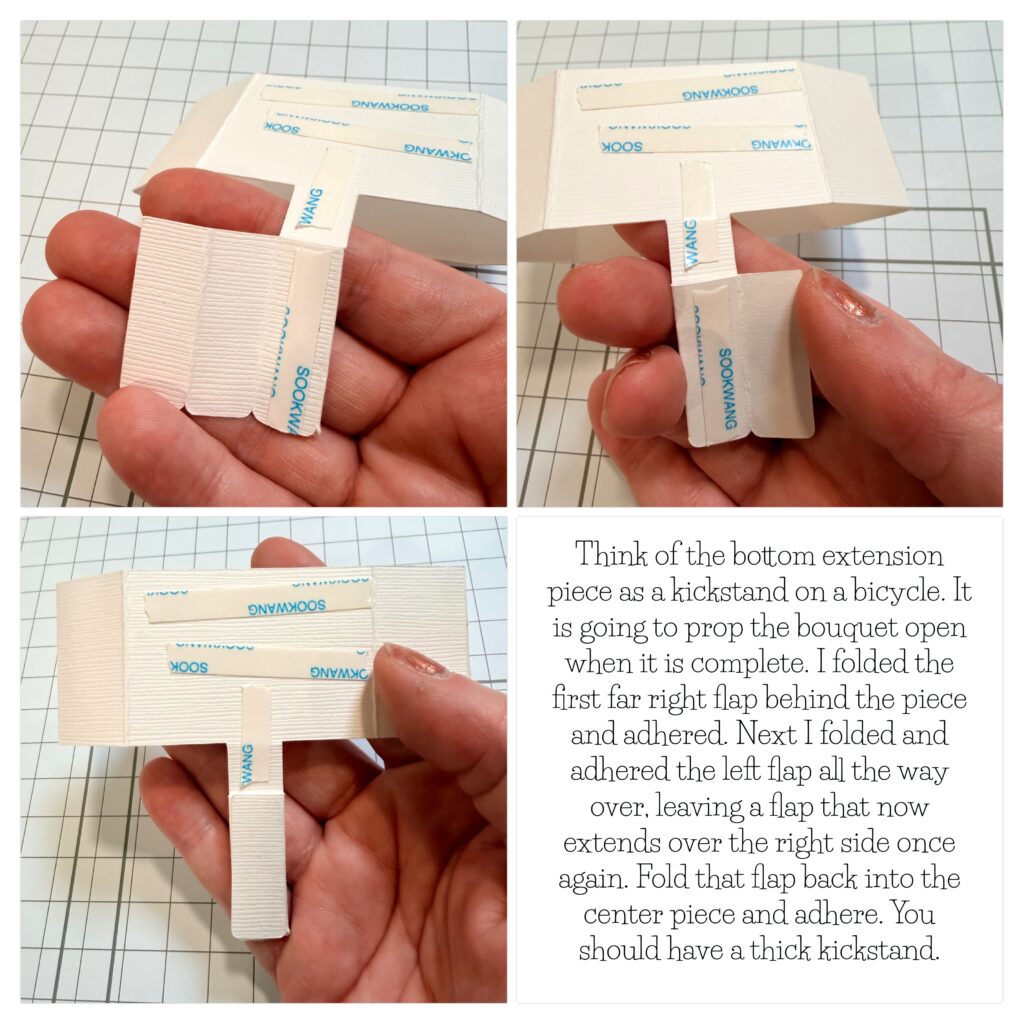
For this bouquet, I wanted to give the flowers a bit more dimension, so I cut an extra layer for each of the smaller blooms. After cutting everything out, I folded all the score lines into mountain folds. I inked the centers of the flowers as well as the edges of the vase and bow. The internal mechanism is glued end to end to form a circle, with the smaller section glued in on itself to create a sturdy easel leg.

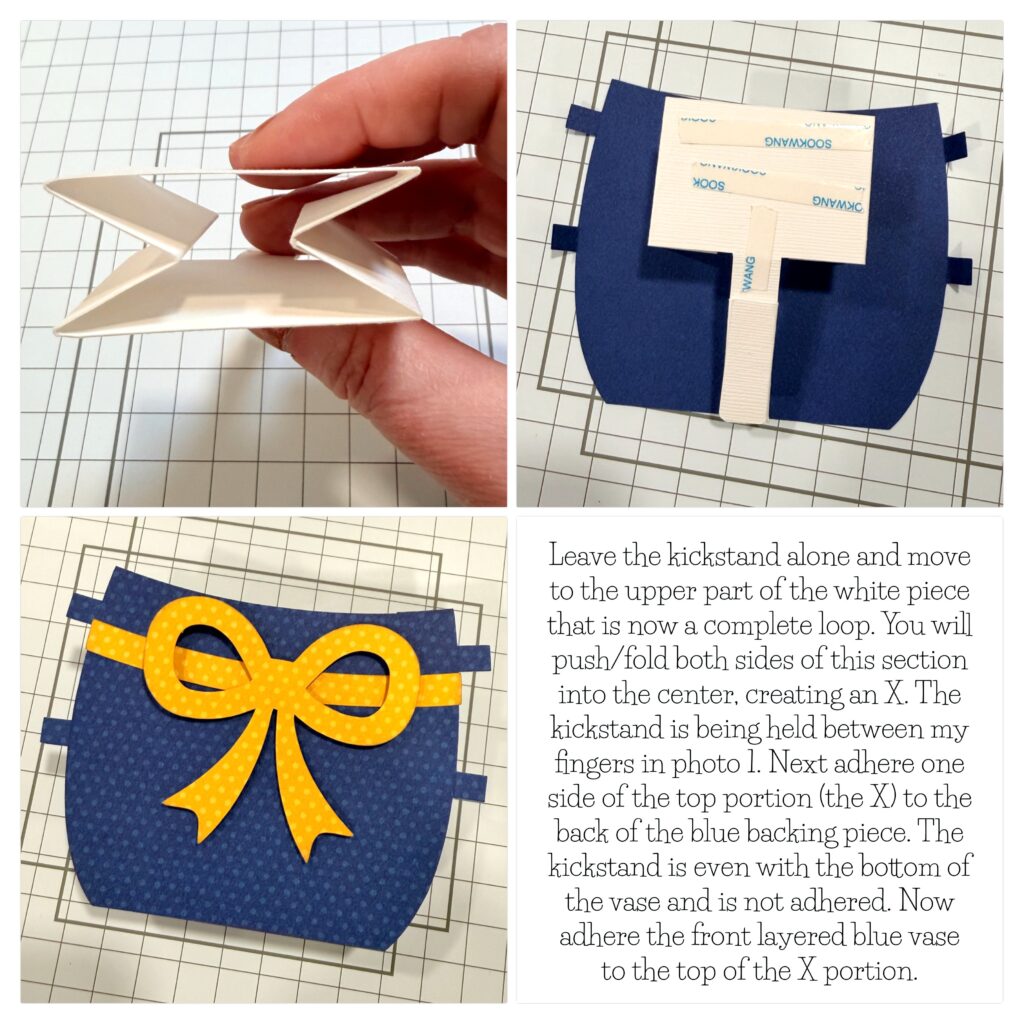
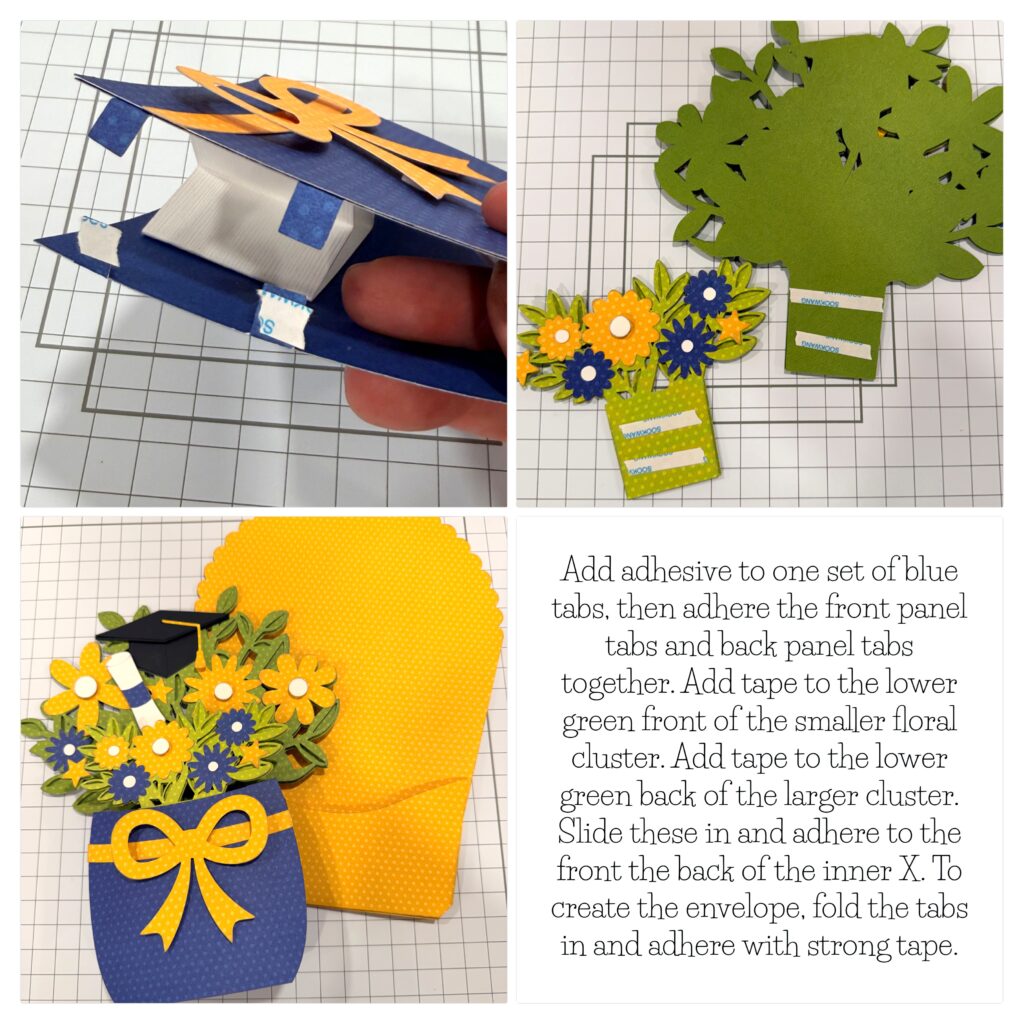
Before gluing the internal mechanism to the back of the vase, fold it into an X shape with the easel leg in the center. Apply glue only to the rectangular part of the mechanism and center it on the inside back of the vase. The vase is held together by four small tabs. Add glue to the tabs and the front rectangle of the mechanism, then align the front of the vase with the back, ensuring all edges match up and the tabs are tucked inside.

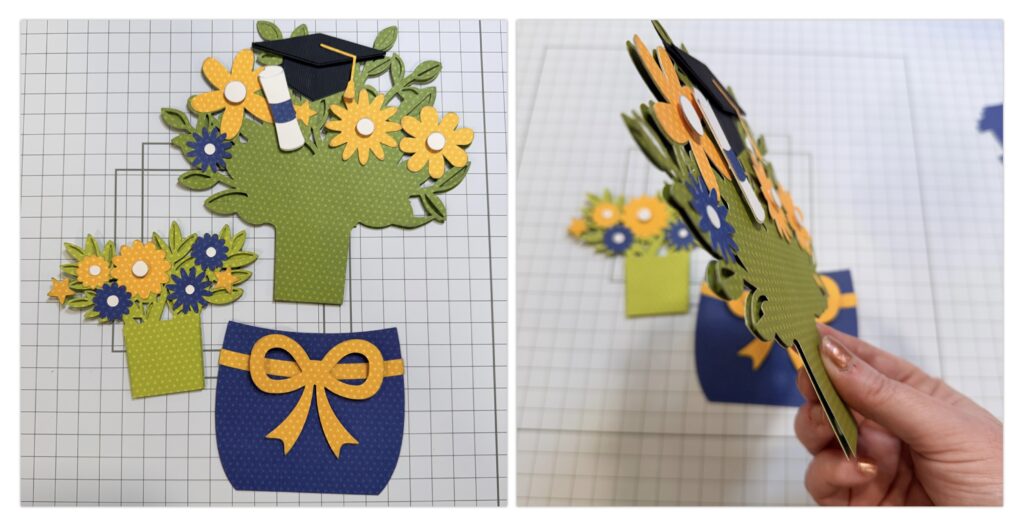
The file includes centers for all the blossoms, with each leaf composed of two layers. The front layer holds two blossoms, while the back layer contains three.

Apply glue to the square portion on the back side of the back layer, then slide it into the X mechanism. For the front layer, glue only the square section on the front, then slide it into the X mechanism. The bouquet envelope comes in two pieces. The front piece has three tabs folded into valley folds, with glue applied to the back of each tab. Align this piece with the bottom and sides of the back to create a pocket.

The small card has all the elements layered together on the front. For a little extra embellishment, I fussy cut some butterflies, tucked them into the bouquet, and added a flat-backed brad to the bow.


I’m so happy with how this bouquet turned out and can’t wait to give it away. Next on my list is creating a strawberry bouquet.
Thanks for stopping by today.
Brandie

A Groovy Little Mini Camera Tutorial

Hi, fellow crafters!  

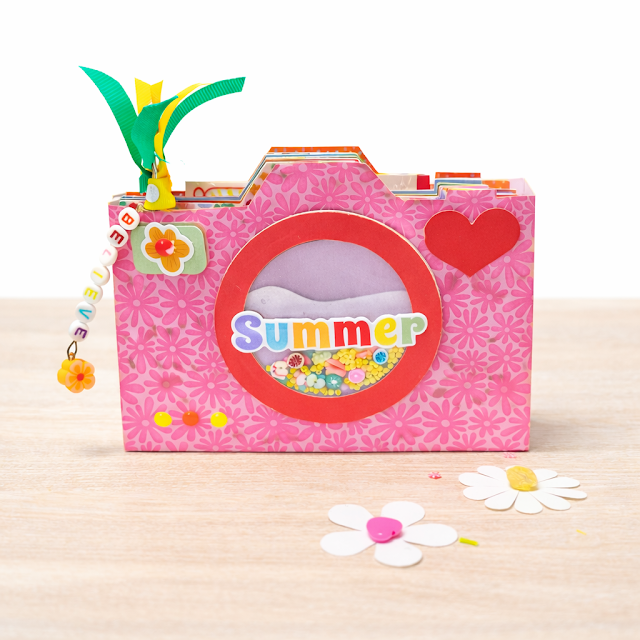
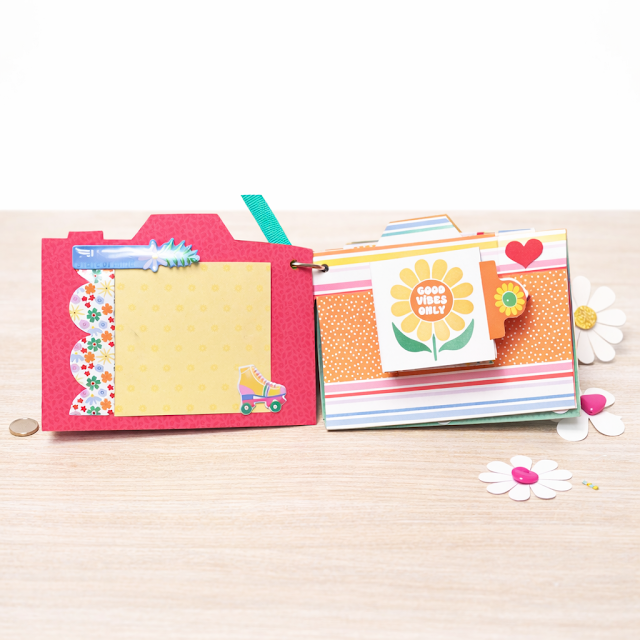
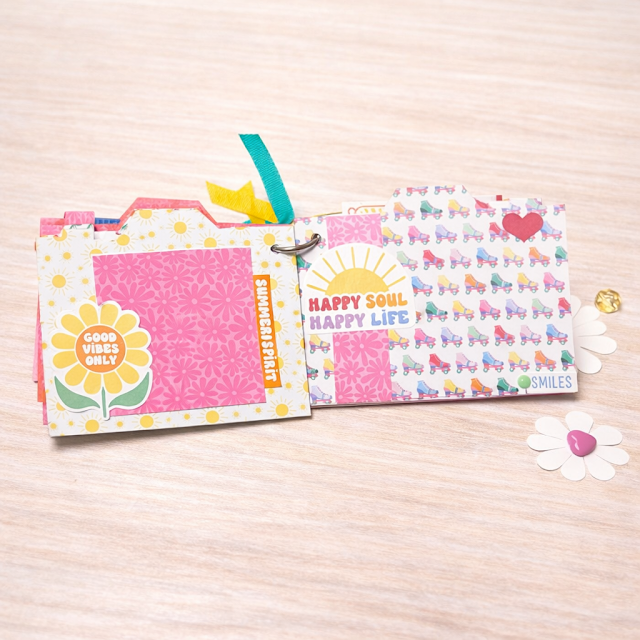
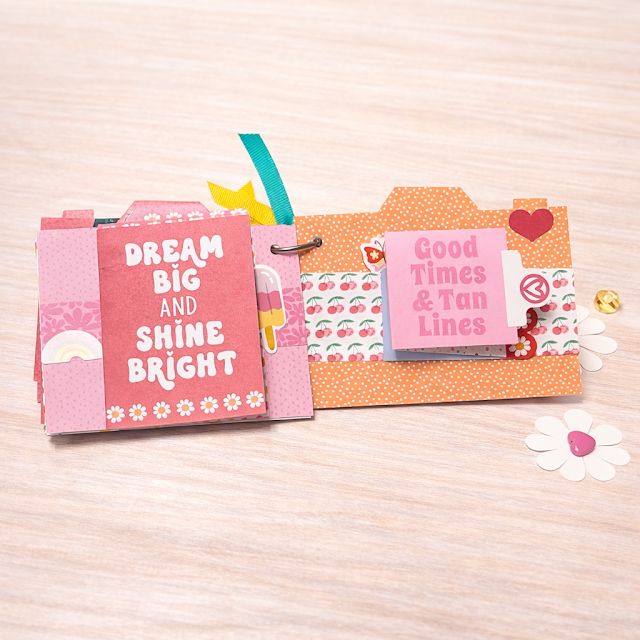
There is something magical about creating a mini album that feels like summer in your hands, and this one does exactly that with Lori’s new Echo Park collection, Our Groovy Summer collection. 

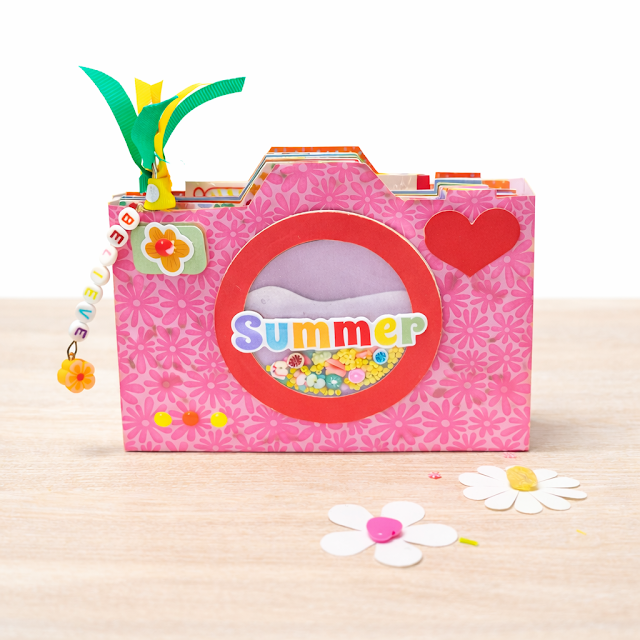
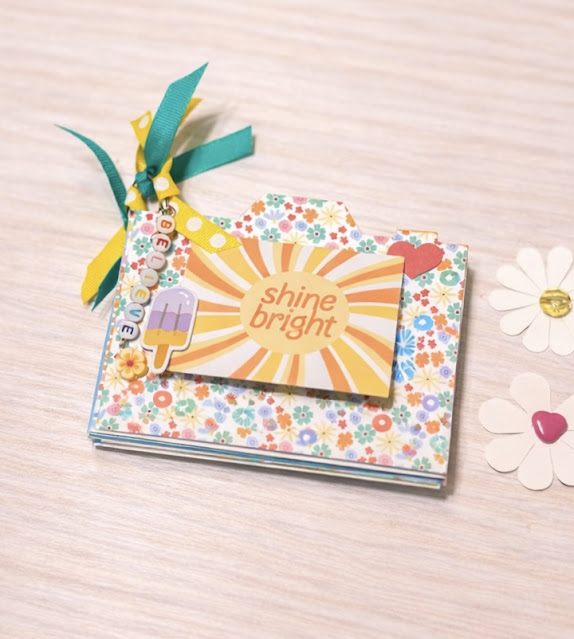
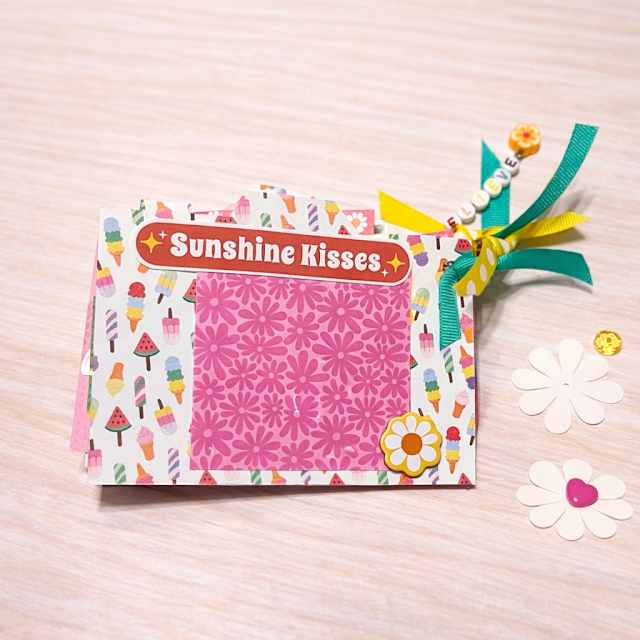
The bright pink floral camera box with the cheerful shaker lens filled with tiny colorful embellishments, this little album is bursting with happy vibes.  A little Summer title sets the tone and a playful beaded charm and ribbons add that handmade touch.  It’s a project that makes me instantly smile. 

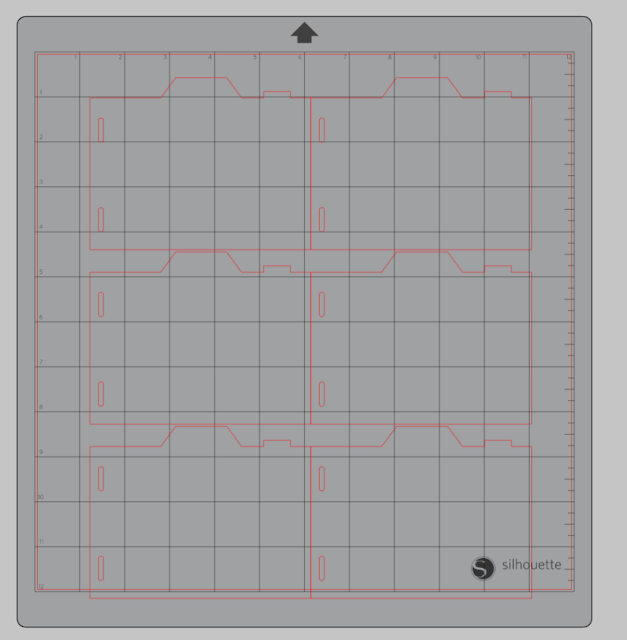
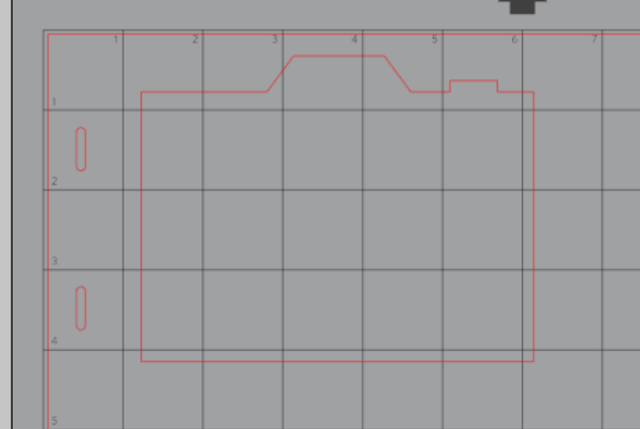
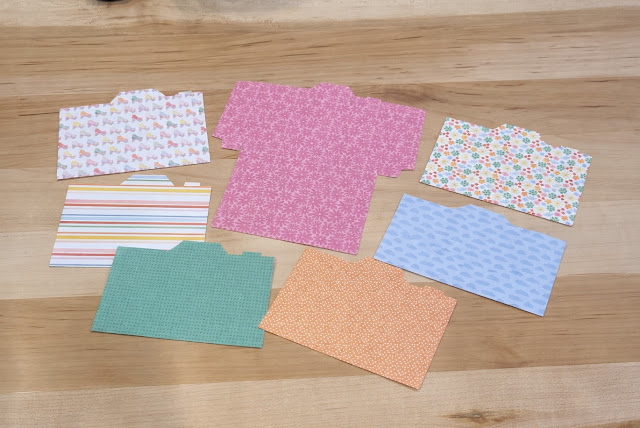
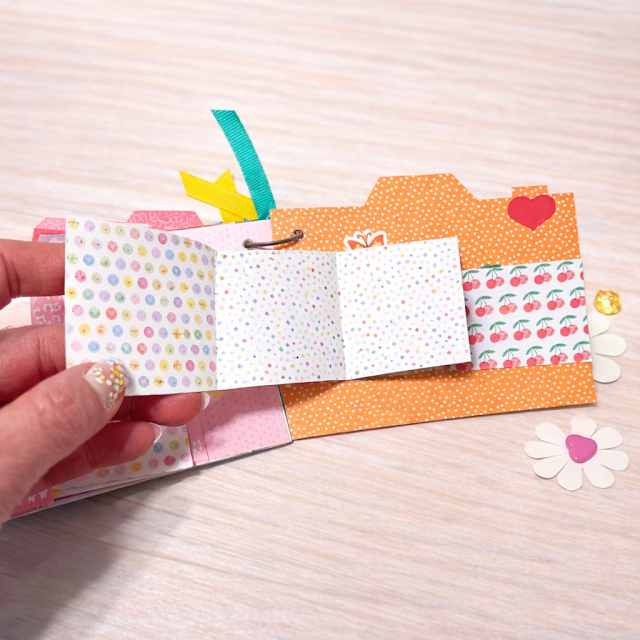
Start with your camera mini album (SVG, Silhouette).  Cut the box out and then cut your six pages for the inside.  Now for these, I took out the two holes on the side.  Just ungroup and pull those little holes out.  I knew I wanted the album to just be bound with a book ring…so that is why I took them out.  I just took them out of one, then duplicated it so I had six pages.  You can see this is the photos below.

Here is your box and pages.
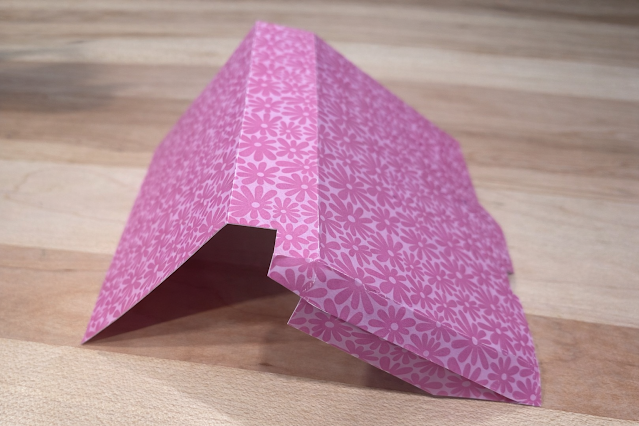
Fold your box on the score lines.


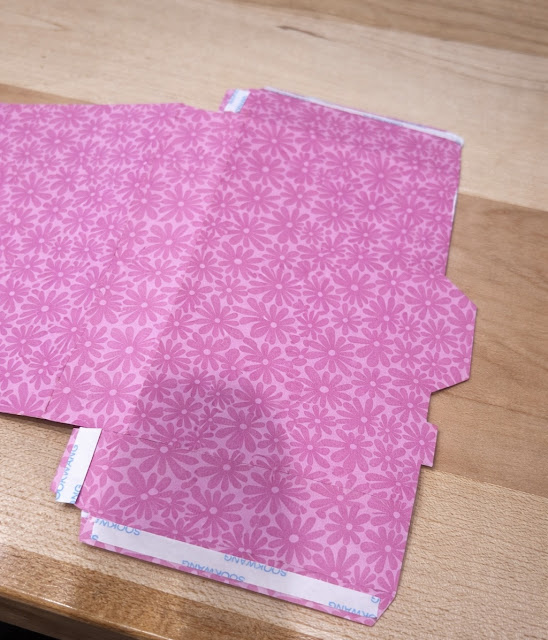
Next, add adhesive and put your box together.
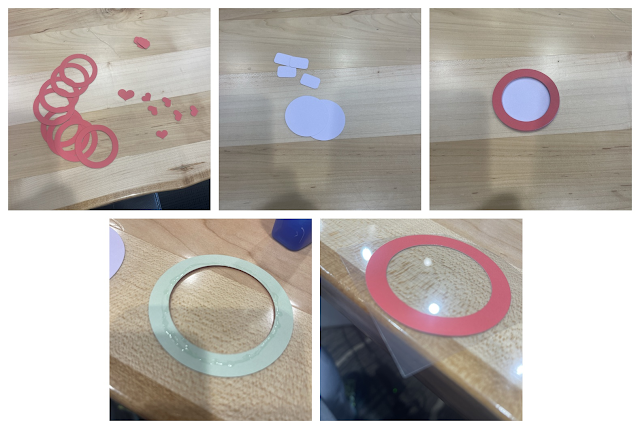
Next, cut the lens out.  I turned this into a shaker lens.  I cut 8 of the rings and one circle for the back.  You want to stack and glue 7 of the rings together, so that you have some depth for your shaker bits and glue to the solid circle.  And on the last ring add a piece of transparency behind it, then fill your shaker (which I forgot to take a photo of) and glue the transparency-topped ring over your shaker. 
 
The adhere your lens to the front on the box and finish embellishing it with some of the fun pieces from the collection.  
Then punch a hole in the upper left corner of your six pages with a hole punch so that you can bind them with a book ring after all your pages are embellished.  Tie a few ribbon pieces and maybe add a cute little charm.
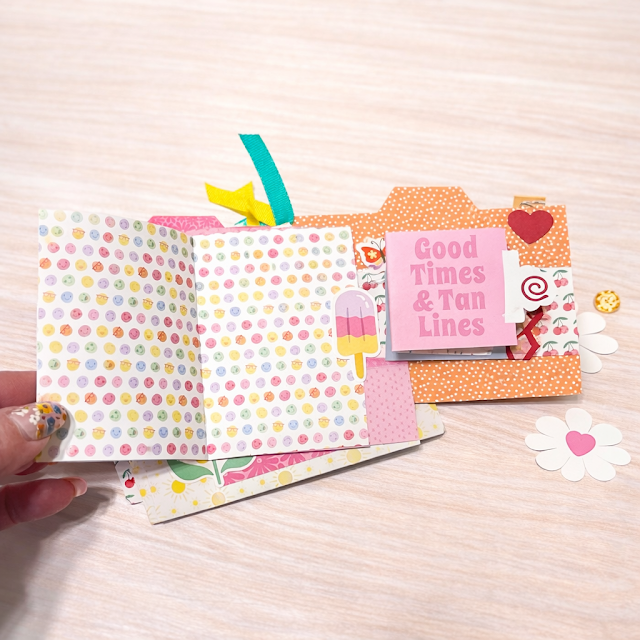
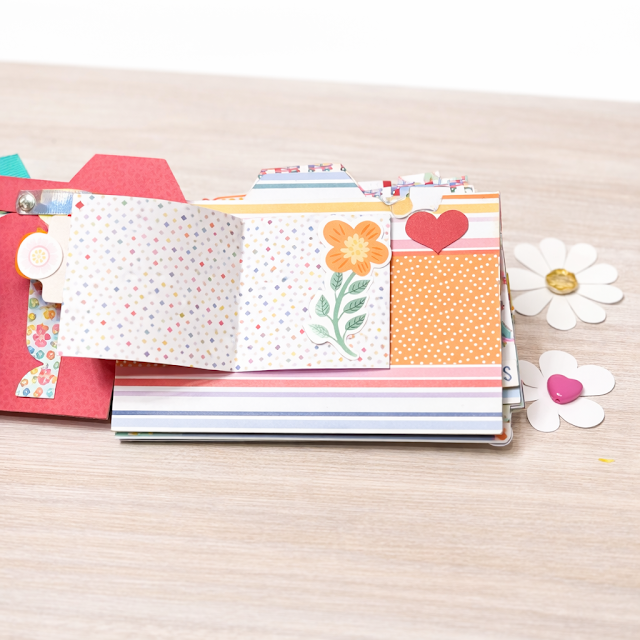
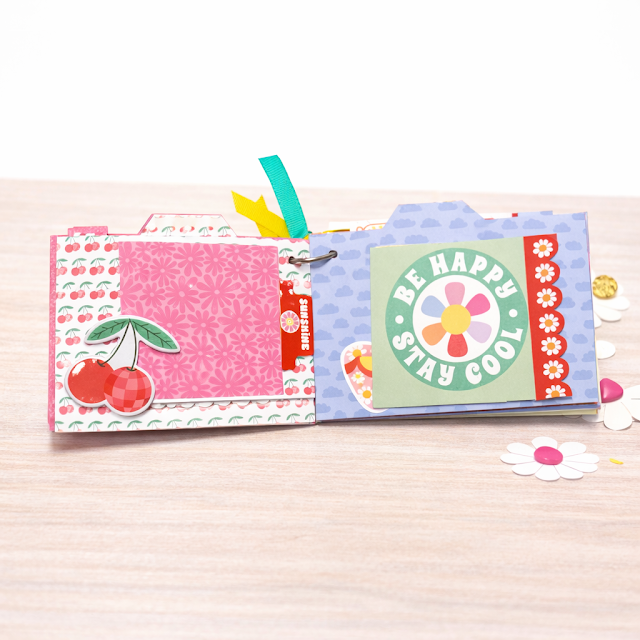
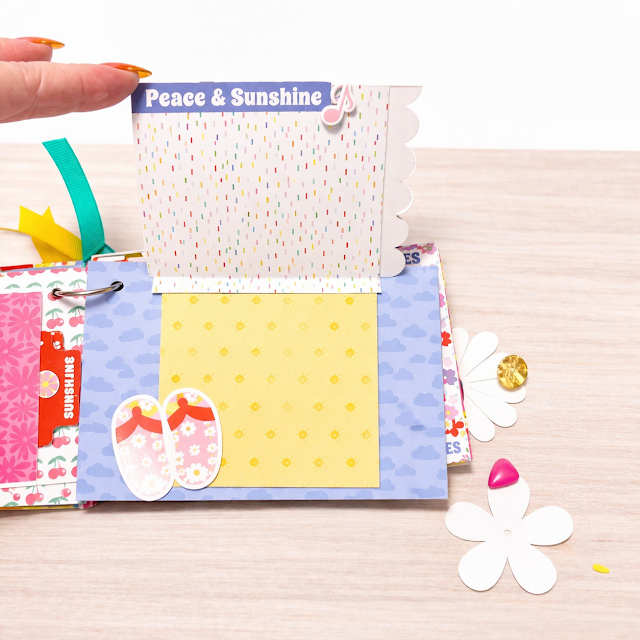
Then just start creating and making this mini your own.  You can see my pages below.
It’s a pretty quick little project and a super groovy collection to create a little mini that feels like bottled sunshine.  I had so much fun bringing it to life.


In Full Bloom Pop Out Card


A2 Pop Out Card-Rectangle (SVG,Silhouette)

Hello! Today I am showing off some of Lori’s new collection In Full Bloom. It worked out beautifully with this fun pop out card.

I made the card adding  a .05 matting to the side and top panel pieces so that the gorgeous flower paper would pop! I then stamped a row of the flowers to the front image piece. I colored the flowers with copics and added a stenciled sky and sentiment and a cute little bee! 

I cut the sun die cut twice and glued together for strength and added to the corner of the image. I stamped Oh Happy Day in the center of the sun.

This is such a pretty card-perfect to send to your BFF!

Here is the card fully extended.

I used the following products from the 

 In Full Bloom Release:

In Full Bloom Collection Kit

In Full Bloom Solids Kit

Sunshine Word and Embossed Sun Small Die Set

Flowers and Daisies Stamp Set

Sending Spring Hugs Stamp Set

You can see the complete release HERE.

Hope you enjoyed this project!

🪻🌷🌺 Sue
 

Easter Bunny Gable Gift Box Tutorial

Hi everybody, it’s Holly! Today, I’m excited to share with you some darling Easter bunny gable gift boxes. With Easter just around the corner, these would be fun to fill with some yummy Easter candies or little treasures. I’m sure anyone would be just delighted to receive one of these. This box is super easy to put together, you will be amazed! Try it today.
Happy crafting!
Holly

Happy Birthday! 5×7 Happy Birthday Card

Welcome to our Thursday tutorial post!

5×7 Happy Birthday Card (SVG, Silhouette)
 
This card is also included in Lori’s Birthday Bash Bundle.


This wonderful card caught my attention the very first time I saw it! I loved the colors and thought the design was outstanding!  

I cut out this design, leaving the tiny cut out pieces on my sticky mat. I couldn’t just throw away all the fun cut out pieces so I made a second card out of the “scraps”. All I had to do was cut double  balloons and added a few extra leaves and flowers and cut two white card bases. I always cut multiples of little pieces anyway-I somehow manage to drop a few! It was tedious with all those little pieces, but I was sitting watching my latest Netflix obsession so I was doing double duty!

This is the back side of the card top . Most of the colors are glued onto the backside.
You have to set the top piece on top of the center piece to see the placement of the center of the letters.
All three layers are ready to glue together and the card is complete!
Here is the 2nd card I made with the left over bits and pieces.
 
Here is the sentiment that I saved with the accent paper pieces glued on. I set them aside for card #2. You have to make the white card first because you need the top piece for placing each letter.
I saved all the little do-dahs and glued them on to the white card base, using the dark piece as the guide for placement.  I added all the dots and balloons, flowers etc with my pick-me-up tool as well as my paper piercer and little mat scraper. I love getting double duty from one cut file! 

I hope you enjoyed these cute cards.

💕Sue Kment