3D Rainbow Bouquet

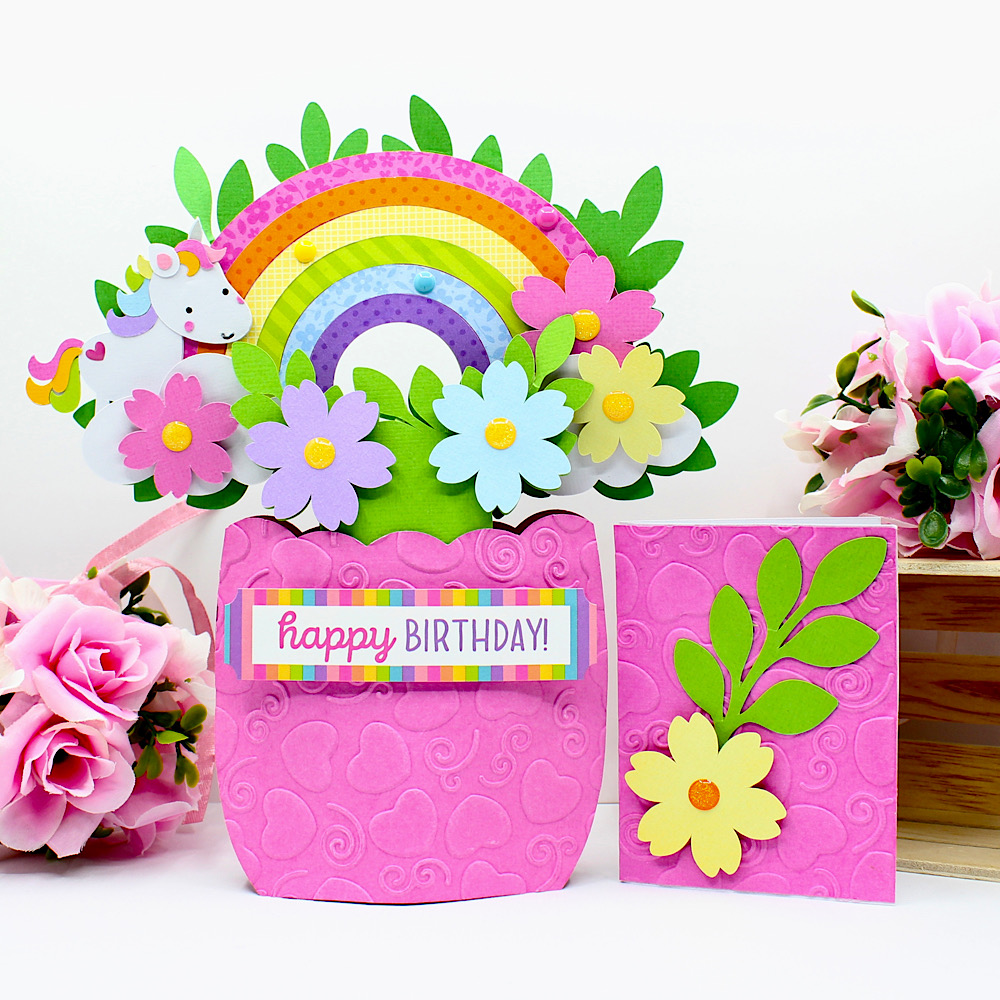
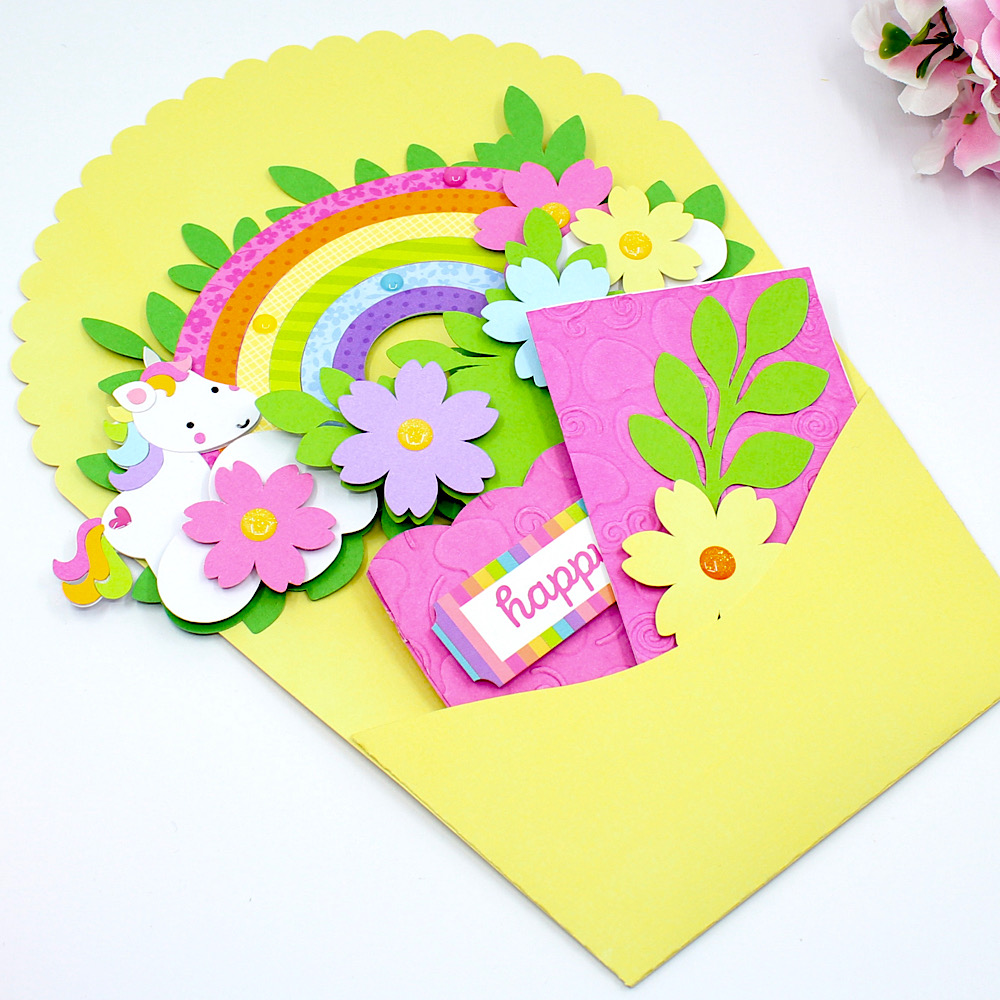
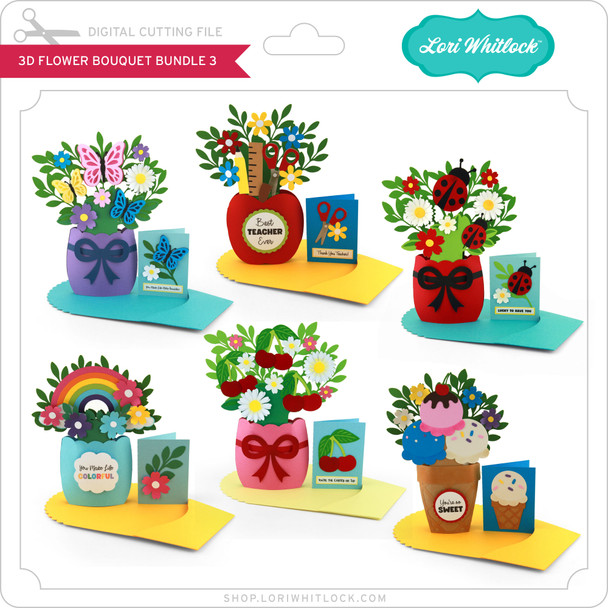
Hello crafty friends, Noelene here today to share another card from the gorgeous 3D Flowers Bouquet 3 release from Lori Whitlock called 3D Rainbow Bouquet (SVG), (Silhouette).
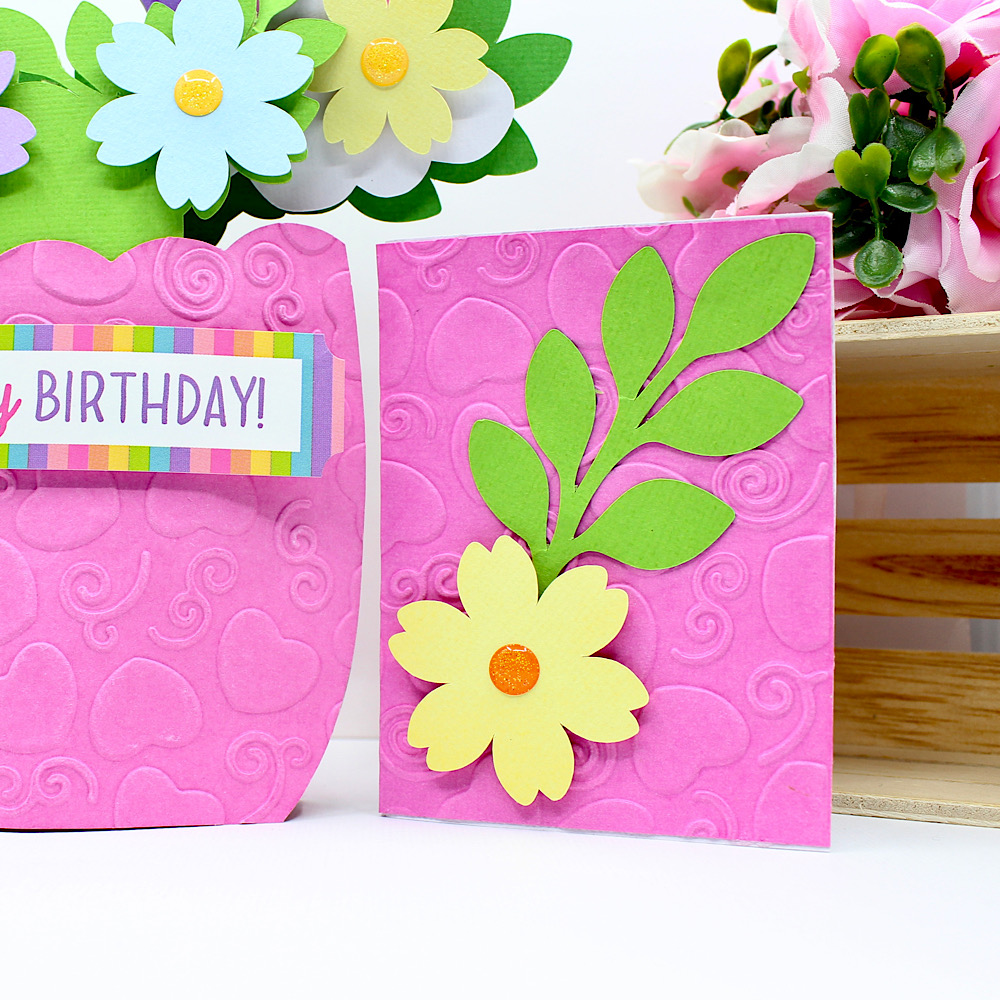
I used foam squares to raise my flowers. I embossed 1 of the vase panels with a pretty swirl & heart embossing folder. I decided to add a cute little unicorn to my card so I used one of the unicorns from Doodlebug Design’s Fairy Tales Collection (SVG), (Silhouette). Lastly I embellished with some sprinkles & added my sticker from the coordinating Doodlebug Design Fary Tales Sticker Sheet.
The bouquet also comes with a coordinating bouquet envelope wrapper & a cute little matching mini card.
For more value make sure you check out the rest of the elegant 3D Flower Bouquet Bundle 3 here.
For more inspiration, check out my Instagram!
Thanks for stopping by!
Hugs
Noelene 🙂

3D Graduation Bouquet Tutorial

Hello, crafty friends! This is Lindsay, sharing a fun graduation project with you today. My oldest daughter graduated this past weekend, and we have been on the grad party circuit as we celebrate with her friends. It’s so fun to see how each party is uniquely decorated. We’ve also handed out a lot of cards and gifts at each stop. This project makes a beautiful centerpiece or card for that special graduate. The file is called “3D Graduation Bouquet,” and it includes the flowers, envelope, and a mini greeting card (svg, silhouette).

After I uploaded the file into Design Space, I decided to change the flowers to blue and yellow. All of the flower centers are white. This fits with the color scheme for the college that my daughter will be attending in the fall.

I began by assembling each layer. I used foam adhesive for extra dimension on the bow, flower centers and grad hat. I also popped up the top green layer for each floral bundle.

Next I shifted my focus to the white folding mechanism. This piece helps the bouquet flatten into an envelope, and it also uses a kickstand to keep the bouquet open and standing–perfect for a centerpiece! I used strong tape to hold the pieces together.   

Moving right along, I folded the piece that extends down from the long white strip. I refer to this piece as the kickstand. You will basically accordion fold the tabs until you have one sturdy piece.

Now it’s time to fold the larger part of the white mechanism and attach it to the blue vase/flower pot base pieces. The kickstand will be even with the bottom of the blue base, but it is not adhered.

Finally, it all comes together! I added adhesive to one set of the blue tabs, connecting the front and back tabs. I also added adhesive to the front of the smaller floral cluster and the back of the larger floral cluster. These get adhered to the front and back of the white X piece, which is now sandwiched between the blue vase.

I hope this inspires you to create a bouquet card or centerpiece today! This file truly has a wow factor when it is assembled! Click on the picture below, and it will take you right to the file on Lori’s site. Thanks for stopping by the blog today! — Lindsay


3D Strawberry Bouquet Tutorial

Hello crafty friends! Noelene here today to share a tutorial of my take of the new 3D Strawberry Bouquet (SVG), (Silhouette). Lori has a few different designs to choose from. They are fun & easy to make!
To start cut out all your pieces. Next I created the small card. Then I valley folded the small piece of the envelope & applied glue to the tabs. I aligned it to the bottom & sides of the larger piece. This creates the pocket.

Next if you want to ink any of your pieces do this before you glue any pieces together. I inked the green stems of the strawberries.

 I wanted some dimension on mine, so I embossed the basket with an embossing folder. Remember to spray a light spray of water on your cardstock before you run it through, so that it makes your cardstock more pliable & not tear. Now glue all your panel pieces. I put some small foam squares on my flowers for dimension. I also put foam squares on the strawberries of the smaller green panel, as this will be on the front.
Now to create the mechanism.
Fold the little tab then fold the mechanism in half & glue the tab down.
For the easel leg glue the single tab to the back, then wrap the rest around going to the back & bringing it to the front glueing each tab. This is to make the easel leg sturdy.
Next valley fold both ends in so that it forms an x.
Now apply glue to the mechanism making sure you do not go past the fold on the easel leg.
Now place the glued mechanism on the inside of one of the pot panels making sure to align the leg to the bottom. It should sit a few millimeters beneath the top. Now, glue the top part of the mechanism only & place the other pot panel on top. Hold down for a minute or so till it dries. Now glue the tabs to the inside. I used paper clips to hold down the tabs until they dried.

Next take the larger foliage panel & turn it over. You want to apply glue on the back of the bottom square part. Now turn it over so you can see your front panels & gently slide it in between the back of your x. The glued square should be stuck onto the back pot panel. Now with the smaller foliage panel you will apply the glue onto the front side of bottom square. This time you will slide it into your x on the front folded part of the mechanism so that the glue adhers to the front pot panel.

Lastly I glued down the bow elements & glued a little flower button to embellish. Lastly I finished off by adding some white gel pen. I didn’t do this before I adhered my pieces, but if you do, it makes it a little easier.
To make your bouquet stand on its own, gently squeeze the sides of the pot & fold in the leg of your mechanism. To fold flat, place it back down again.

I hope you enjoyed my tutorial today! I will be definitely making more of these in the near future.
For more inspiration, check out my Instagram!
Thanks for stopping by!
Hugs
Noelene 🙂

3D Flower Bouquet Assembly Tutorial

Hi there crafty friends! Today I am sharing an assembly tutorial for the new 3D Flower Bouquet (SVG, Silhouette). Lori has several options and all of them are so fun and versatile. I have made three already! For this project I used papers from the Our Happy Place paper collection by Echo Park Paper Co.

For this bouquet, I wanted to give the flowers a bit more dimension, so I cut an extra layer for each of the smaller blooms. After cutting everything out, I folded all the score lines into mountain folds. I inked the centers of the flowers as well as the edges of the vase and bow. The internal mechanism is glued end to end to form a circle, with the smaller section glued in on itself to create a sturdy easel leg.

Before gluing the internal mechanism to the back of the vase, fold it into an X shape with the easel leg in the center. Apply glue only to the rectangular part of the mechanism and center it on the inside back of the vase. The vase is held together by four small tabs. Add glue to the tabs and the front rectangle of the mechanism, then align the front of the vase with the back, ensuring all edges match up and the tabs are tucked inside.

The file includes centers for all the blossoms, with each leaf composed of two layers. The front layer holds two blossoms, while the back layer contains three.

Apply glue to the square portion on the back side of the back layer, then slide it into the X mechanism. For the front layer, glue only the square section on the front, then slide it into the X mechanism. The bouquet envelope comes in two pieces. The front piece has three tabs folded into valley folds, with glue applied to the back of each tab. Align this piece with the bottom and sides of the back to create a pocket.

The small card has all the elements layered together on the front. For a little extra embellishment, I fussy cut some butterflies, tucked them into the bouquet, and added a flat-backed brad to the bow.


I’m so happy with how this bouquet turned out and can’t wait to give it away. Next on my list is creating a strawberry bouquet.
Thanks for stopping by today.
Brandie