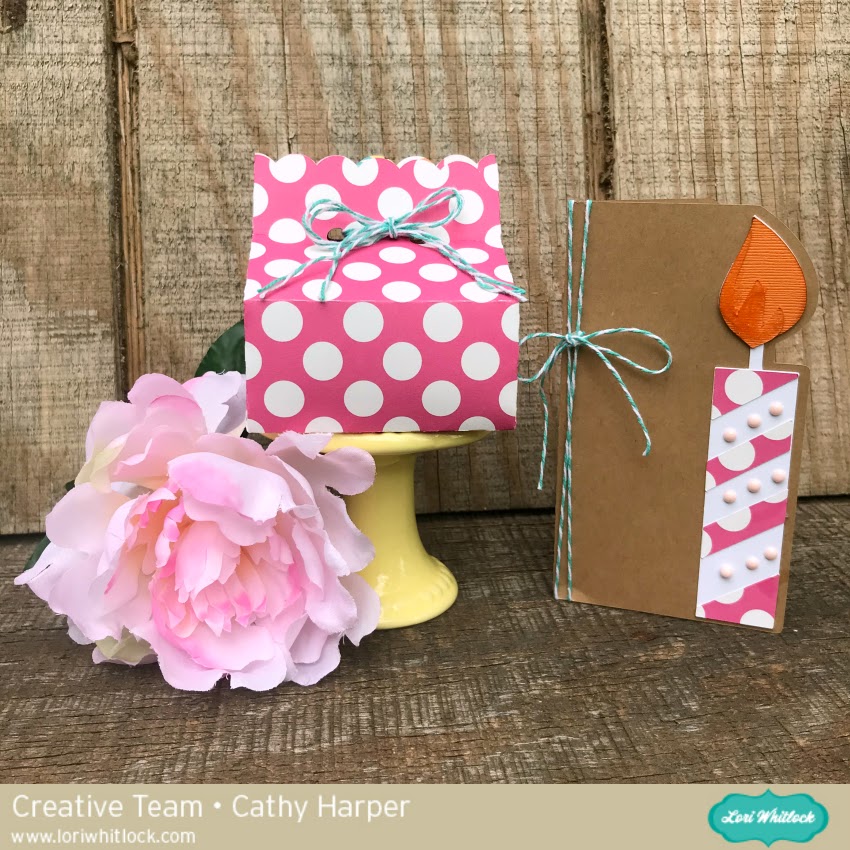
Have you seen all of the fun shaped box cards in the Lori Whitlock SVG & Silhouette Shops? They look so pretty, and really are easy to assemble. I fell in love with the new Teacup Box Card (SVG, Silhouette) and made a fall version using papers from Lori’s new My Favorite Fall Collection from Echo Park. Shaped box cards are assembled in the same basic manner a Lori’s original box cards. The difference is what makes up the “box”.

I started by cutting all of the pieces for this card…

Next, I glued the flower pieces to the inserts and the 3 solid decorative panels to the tea cup “box” base. Do not glue the piece with slots onto the base at this point, the handle needs to be added before it is glued.

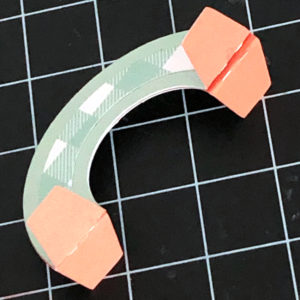
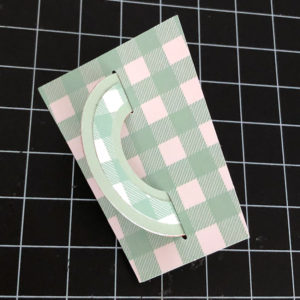
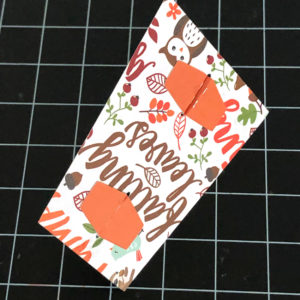
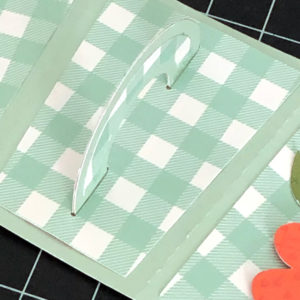
Next, assemble the handle. Start by folding back the tabs at the ends of each handle and glue the two handle pieces together making sure not to glue the tabs. Insert the tabs through the slots of the covering panel. Flip the panel over, fold the tabs back and glue in place. Then glue the panel to the card base.
Complete the card base by folding it into a “box” shape and gluing, tab inside.
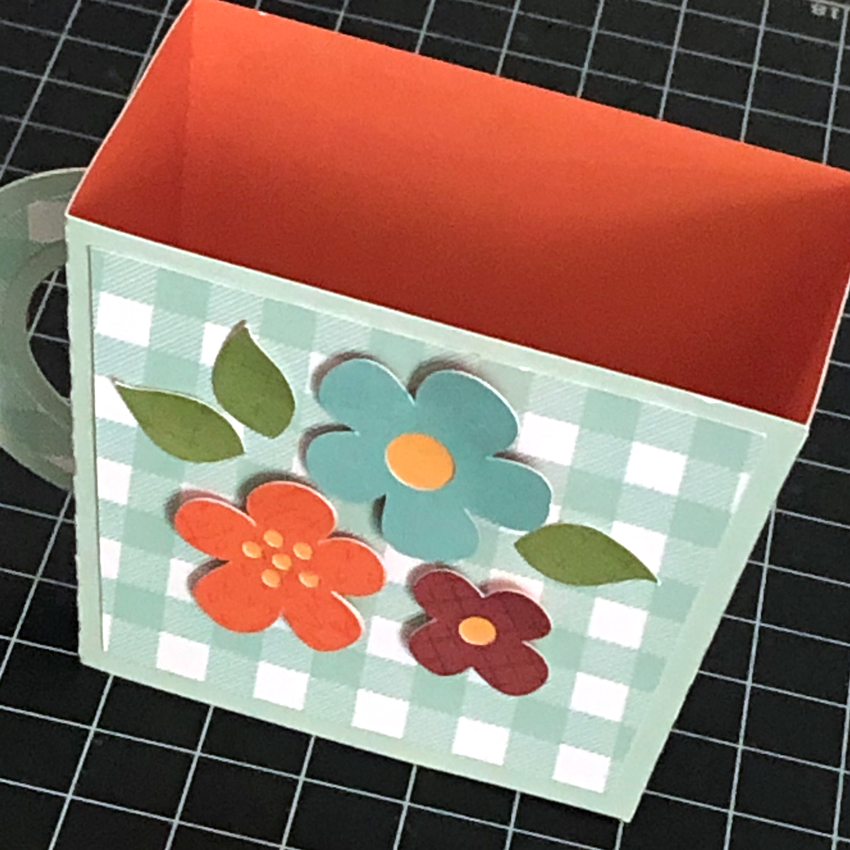
The last part of the assembly is to add the inserts to the teacup “box.” They are done in the same manner as the box cards in this video. Fold the tabs back, and glue the number 2 insert into the cup. The tabs should be flush with the top of the “cup” and touching the back wall of the cup.
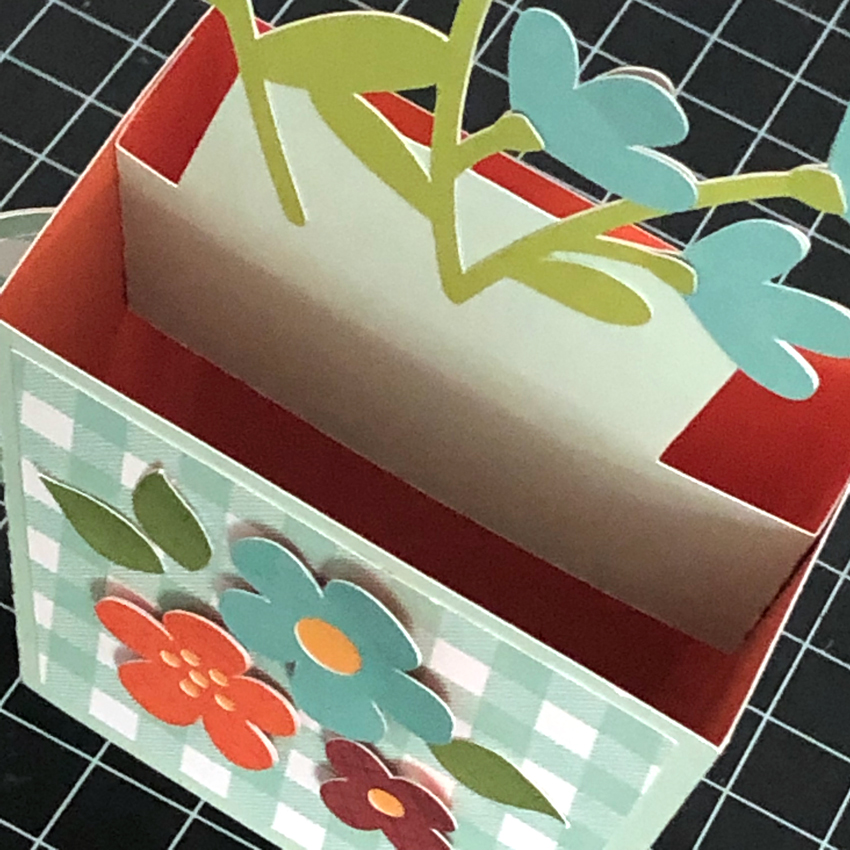
Next add the number 1 insert in front of the number 2 insert.. The folded tabs should also be flush with the top of the cup.

It really makes such a pretty card! It could be used for a birthday, friends or just because!

That’s it for me today, thanks for stopping by to peek!
 BLOG * INSTAGRAM