3D Christmas Barn

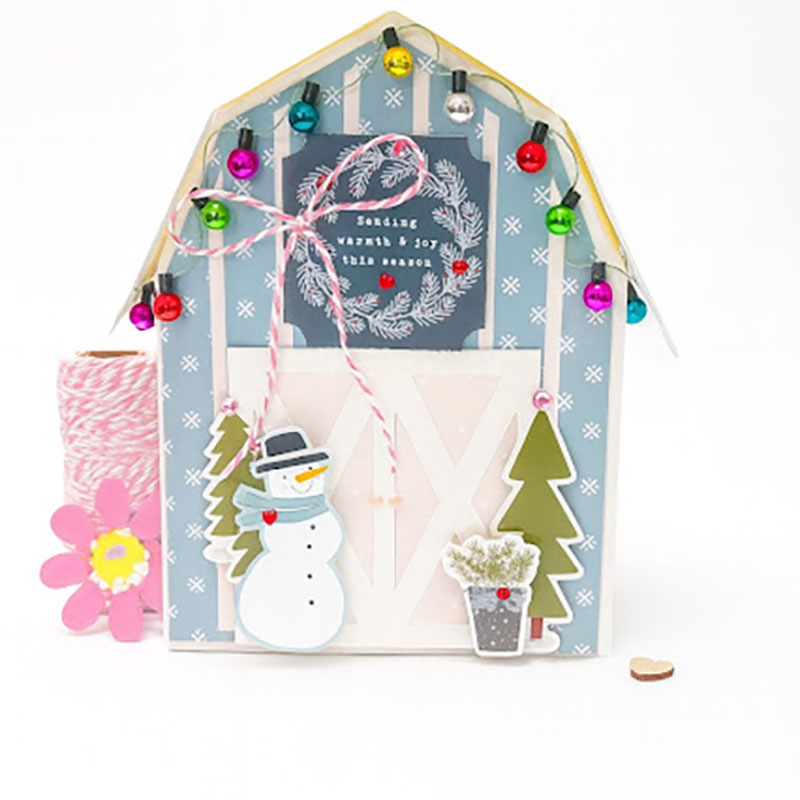
 Hi everyone!  Welcome to the Christmas crafting season and Wow does Lori have tons and tons of new files to create with.  I fell in love with this little barn the moment she posted it.  You can find it here in Lori’s Shop or here in the Silhouette Design Store

I used Lori’s new Echo Park Winter Fun Bundle.  I adore this collection with the blues and pinks and all the adorable little details…the snowmen, the little bear, fox and so many fun elements.  It is just so perfect.

And as it is one of my favorite things to do with Lori’s collections, I used elements from the bundle!  Snowman,  tree stickers and a ephemera piece above the barn doors.  I added a string of miniature lights that I had in my stash.  I just used glue dots to attach those.  So this little box is about 5×7, and on one side of the roof, I did not attach it completely…I can open that little flap and add a gift to give for a special someone.
Thank you for joining us today!
Cathy


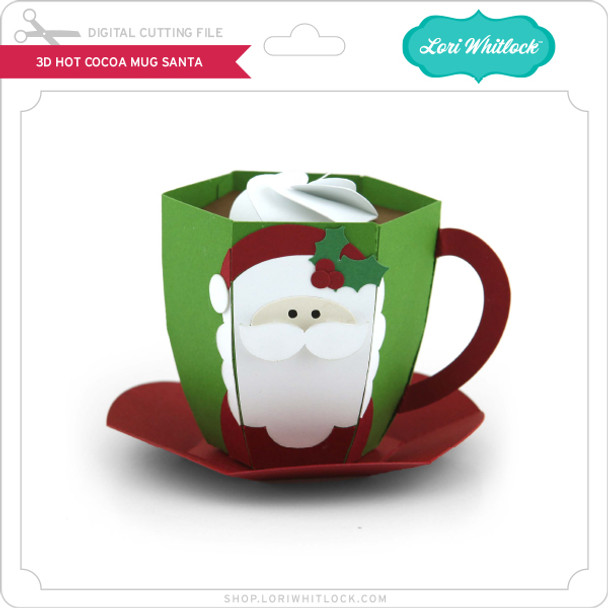
3D Hot Cocoa Mug Santa

Hello crafty friends!

Today I’m excited to share a festive 3D project that is perfect for holiday decorating, gifting, or displaying on a cozy winter tray. I’ll be walking you through how I assembled the adorable 3D Hot Cocoa Mug – Santa file from Lori Whitlock’s shop. It’s a fun and simple project that comes together beautifully with just a few supplies.

Let’s get started!

Supplies Needed

  • 3D Hot Cocoa Mug – Santa SVG file  SVG  / SVG BUNDLE or SILHOUETTE
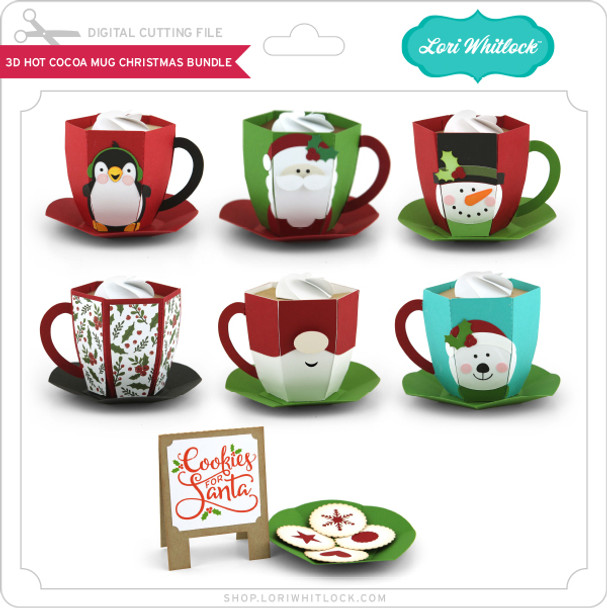
  • Electronic cutting machine (Cricut, Silhouette, Siser etc.)

  • Cardstock in red, white, black, skin tone, and accent colors or design paper.

  • Adhesive (liquid glue or tape runner)

  • Foam tape (optional for dimension)

  • Ink or markers for light shading (optional)

Step 1: Upload & Organize the File

After downloading the SVG from the shop, I uploaded it into my cutting software.
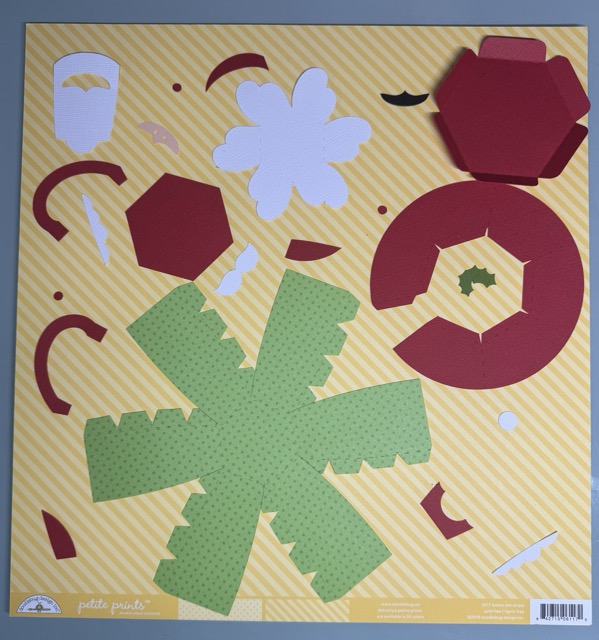
The file comes in clearly labeled pieces, so I grouped by color to make cutting easier:

Step 2: Cut All Cardstock Pieces

I selected cardstock colors that matched the traditional Santa palette:

  • Bright red for the hat, berries and saucer

  • Black for the eyes

  • design paper voor de mug

  • Skin tone for Santa’s face

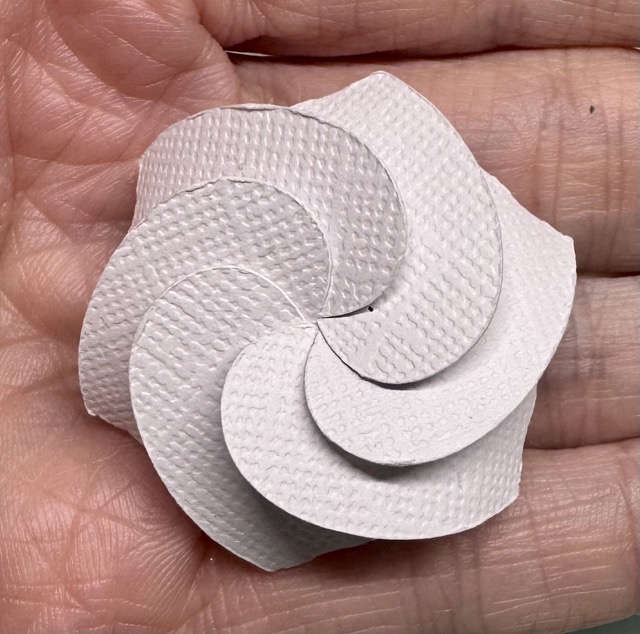
  • White for beard, moustache, and whipped cream

  • green for the leaves on the hat

After cutting, I grouped all the small Santa pieces so nothing got lost.

Step 3: Build the Mug Base

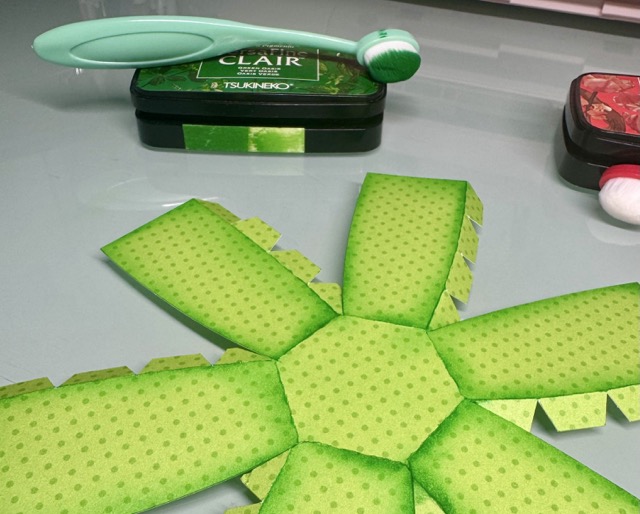
The mug structure is made from designpaper.

  1. Fold all score lines to give the cardstock flexibility.

  2. Add ink for shades.

  3. Form the mug into a cylinder shape and the glue tabs together.

  4. Glue together the circular base piece (saucer).
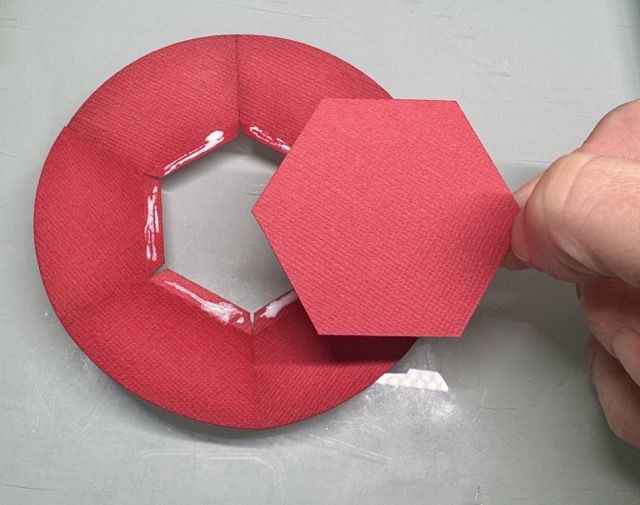
The structure comes together surprisingly easily—just take your time with the curved edges.

Step 4: Assemble Santa’s Face
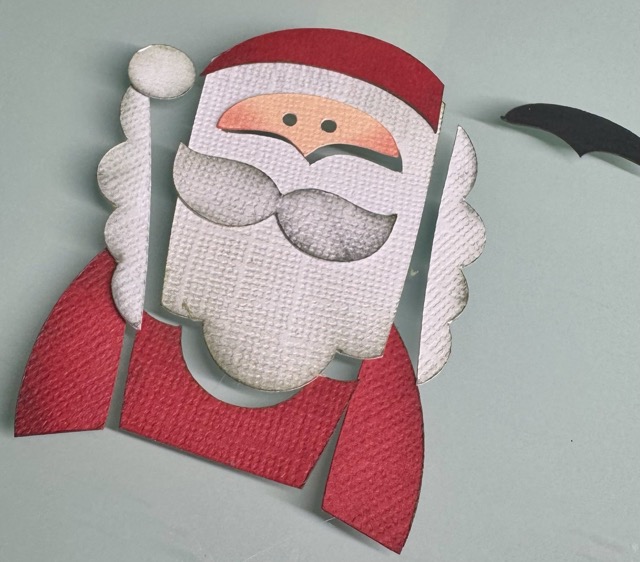
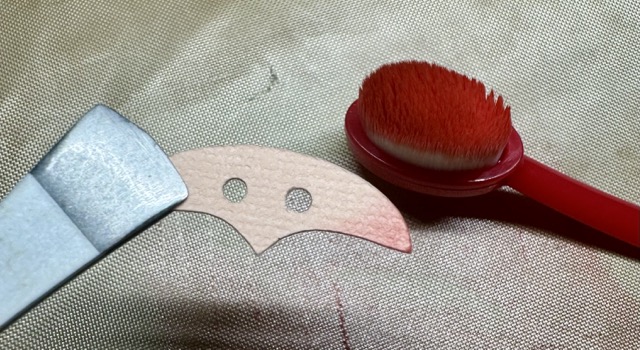
I always start with inking the edges for shade
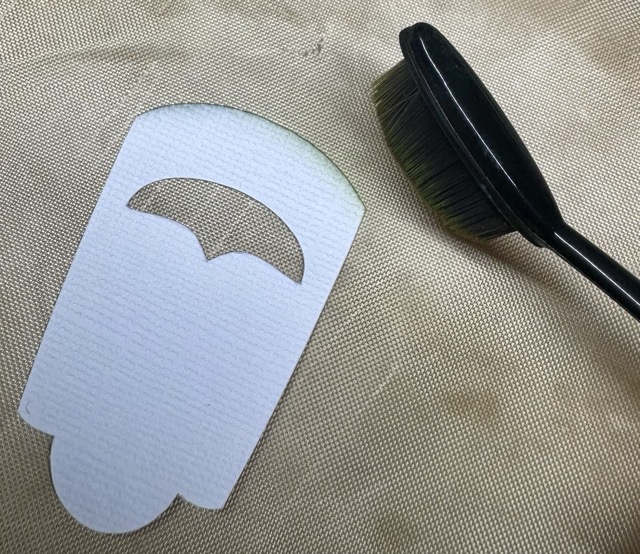
  1. Glue the face layer with the black piece behind it in the hole in Santa’s beard.

  2. Attach the moustache with foam tape on top.
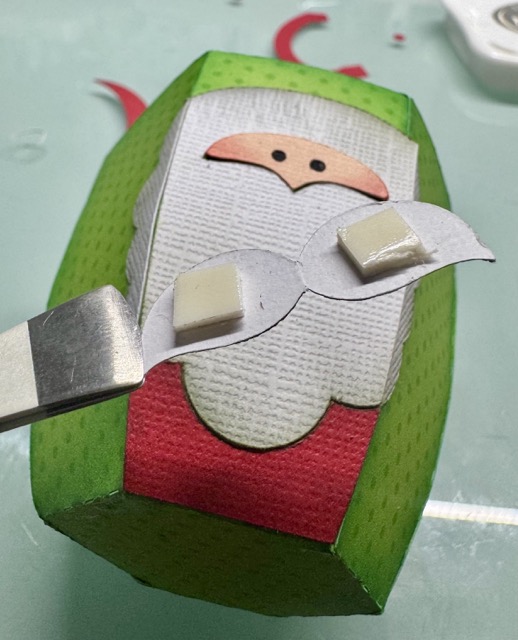
  3. Add the hat and pom-pom.

This layered section gives the mug its adorable Santa look and is best assembled while the pieces are flat.

Step 5: Attach the Handle

The mug handle is made from two layered pieces for stability.

  1. Glue the handle layers together.

  2. Curve it gently with your fingers.

  3. Attach it to the mug.

A good tip is to hold each glued area for a few seconds to help it set firmly.

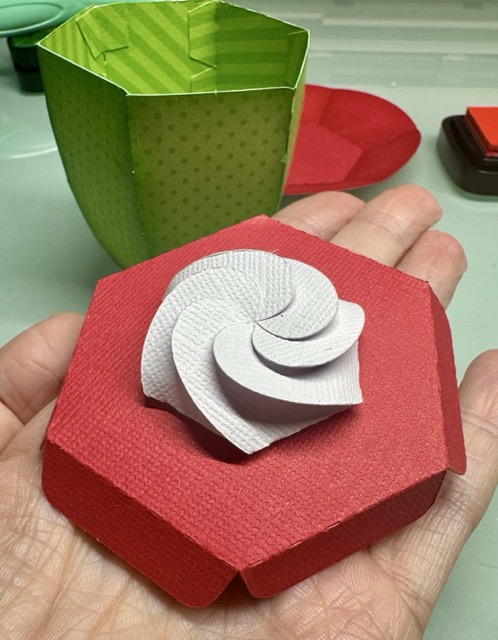
Step 6: Add the Cocoa & Whipped Cream Top

To create the “hot cocoa” look:

  1. Glue the cocoa layer into the rim of the mug.

  2. Add the whipped cream layer on top.

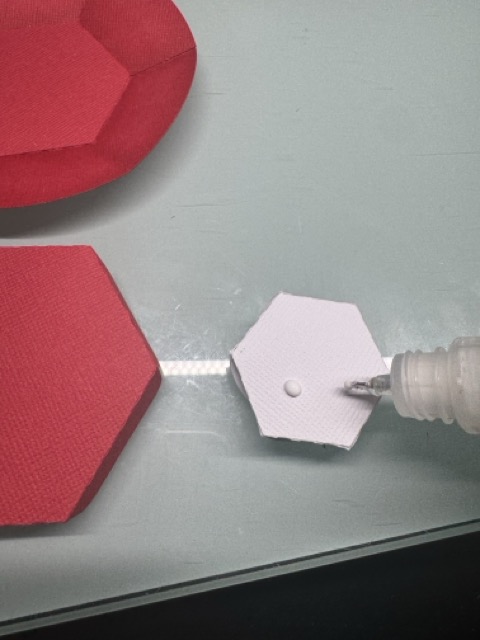
I used glue under the whipped cream to attach it.

Finished Project
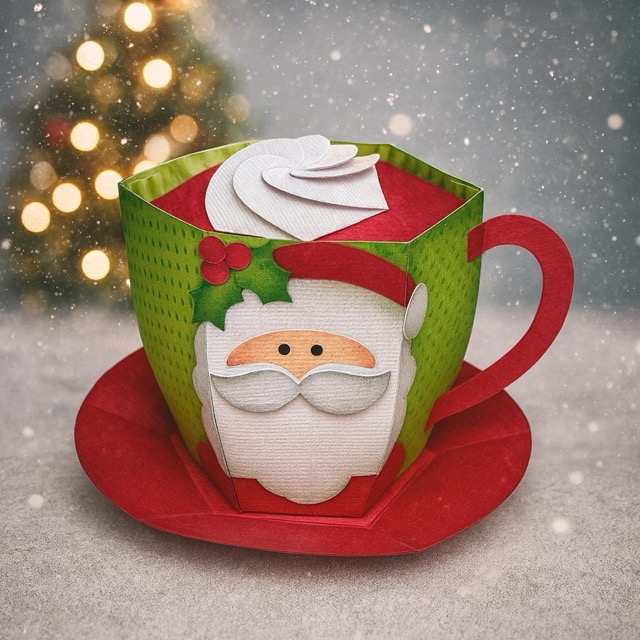
And that’s it! Your whimsical 3D Santa Hot Cocoa Mug is complete. It looks adorable on a Christmas shelf, or you can fill it with wrapped candies or a small LED tealight for a cozy glow.

I am going to add some chocolate inside the mug and gift it to my youngest sons teachers.

I hope this tutorial helps you feel confident assembling your own festive mug. Happy crafting, and be sure to check out Lori’s shop for more holiday 3D projects!

XO Tamara

Mrs Santa Slip Lid Box

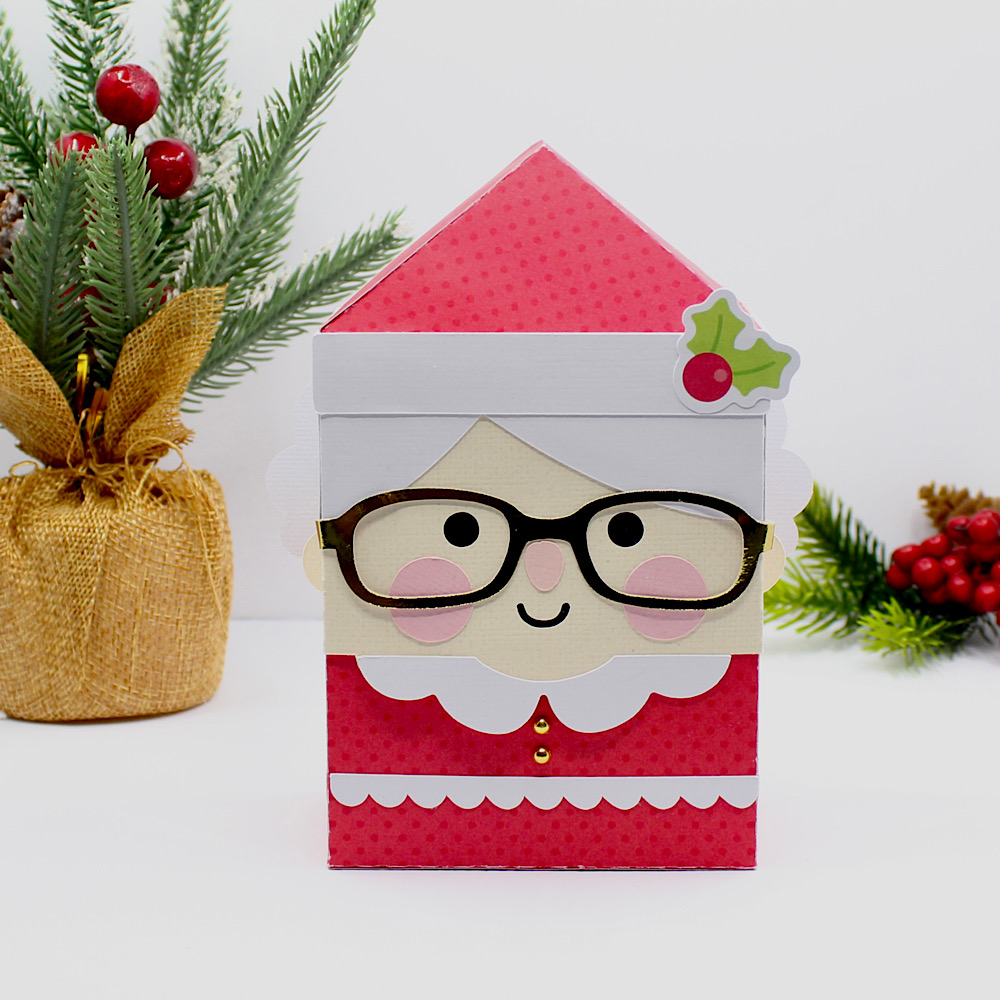
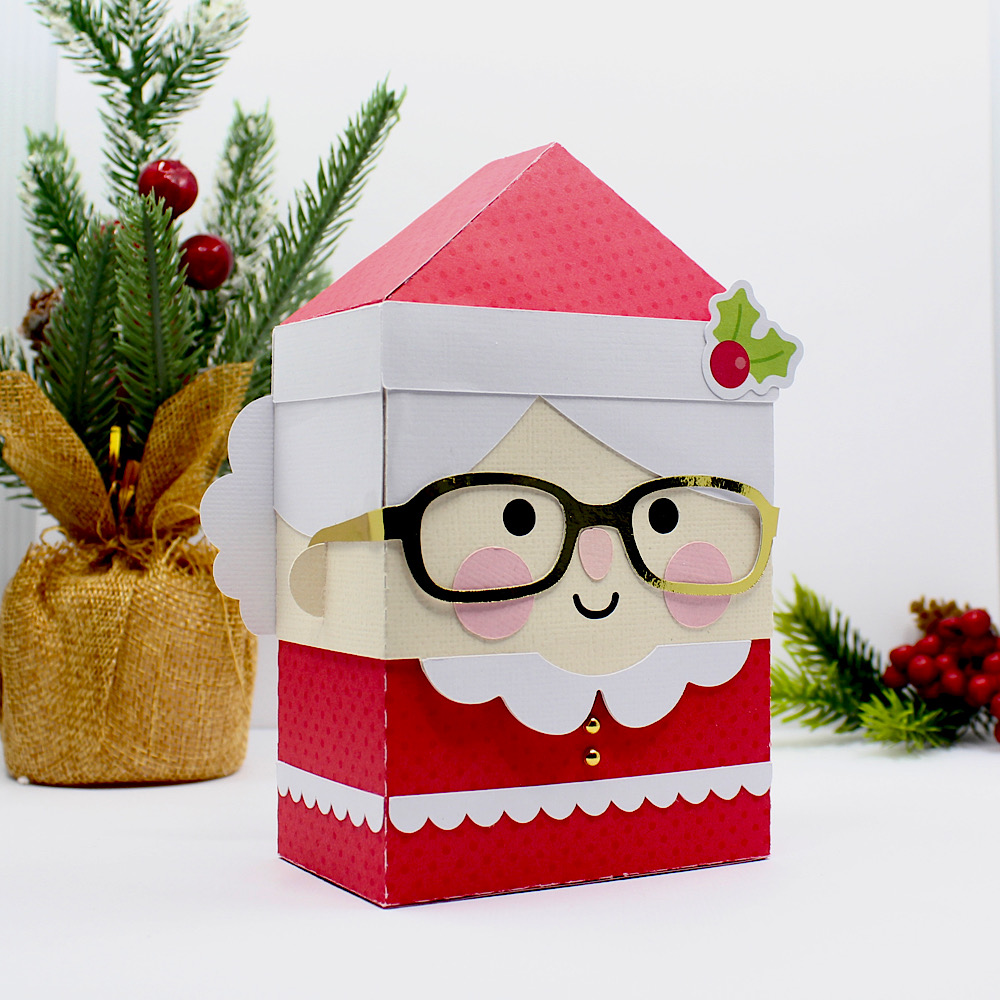
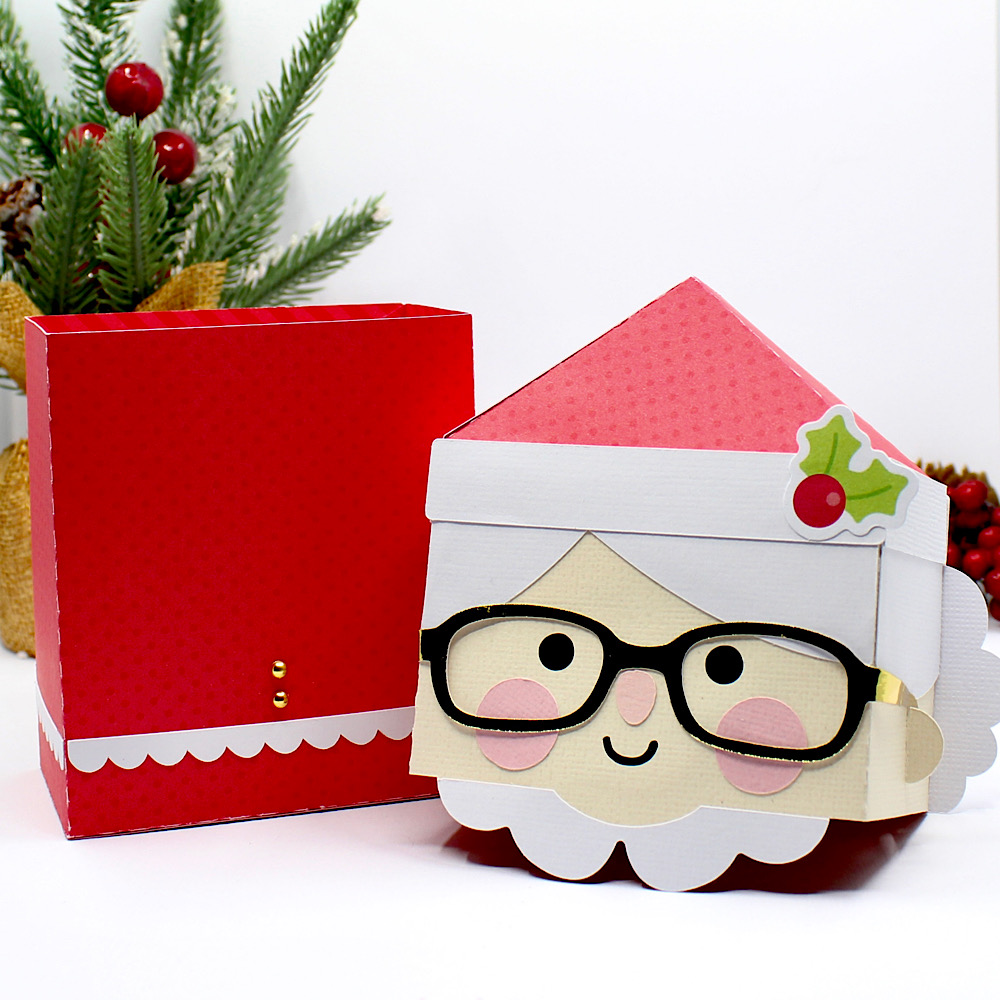
Hello Crafty Friends, Noelene here today. I know most of you are preparing for Halloween but in my house it’s never too early to start preparing for Christmas. Today I want to share with you one of the newest files I am using from Lori Whitlock called Mrs Santa Slip Lid Box (SVG).
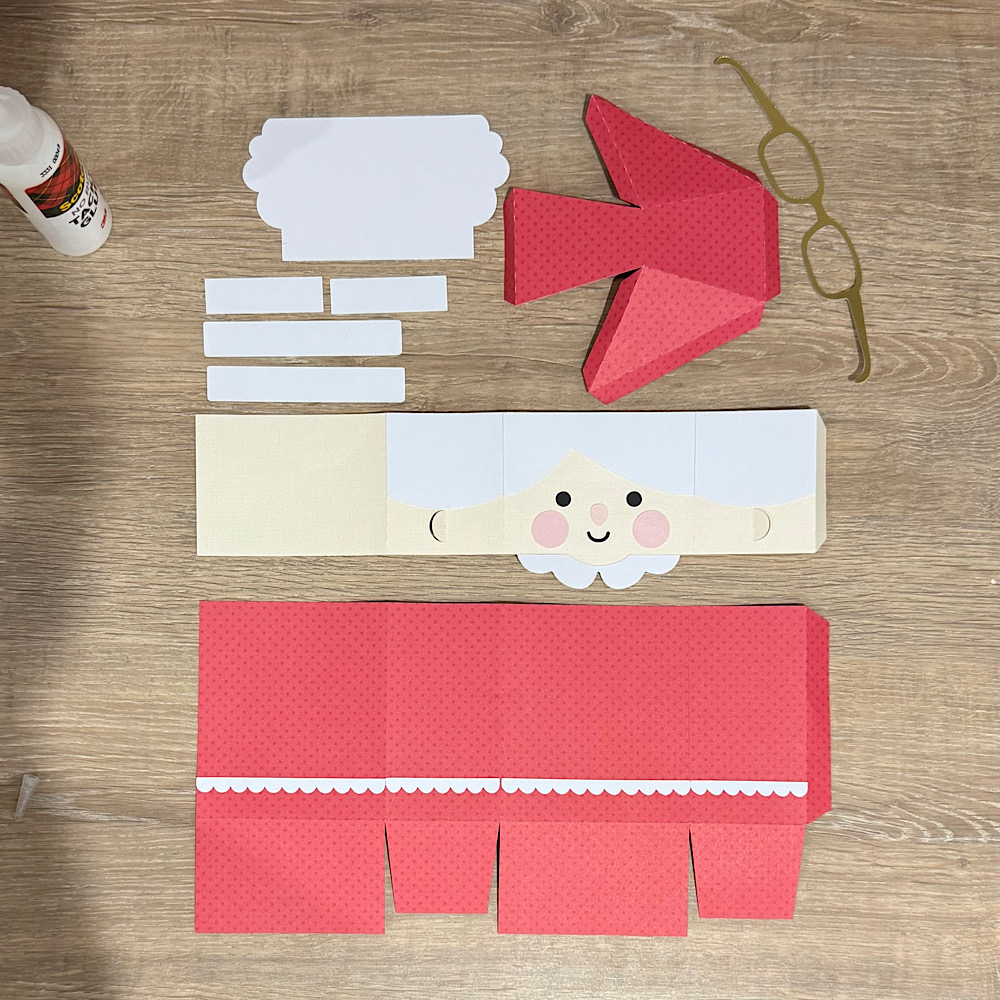
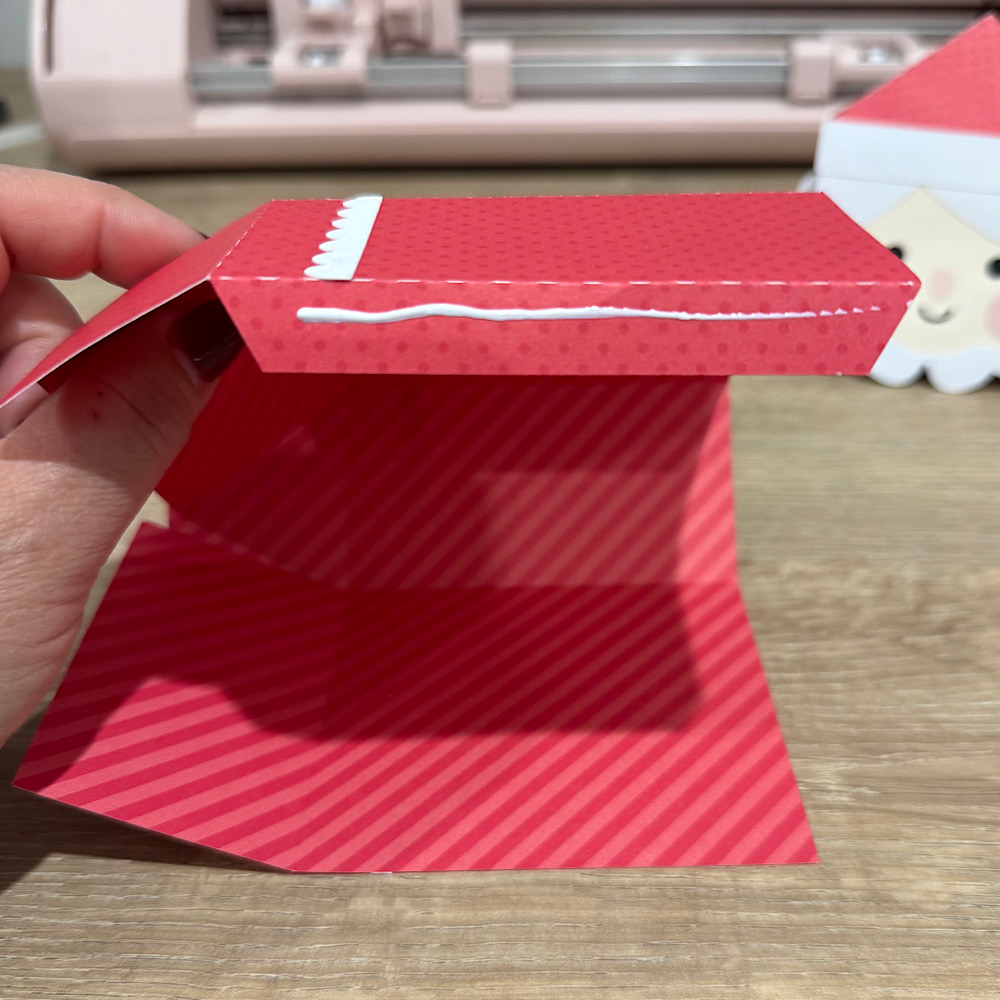
I started out by cutting all my pieces then glued on the corresponding panels to the top & bottom box sections like pictured. I folded the score lines first as this helped me to correctly align when I glued down. I left the glasses till last as I found this was easier to glue in place once box was made.
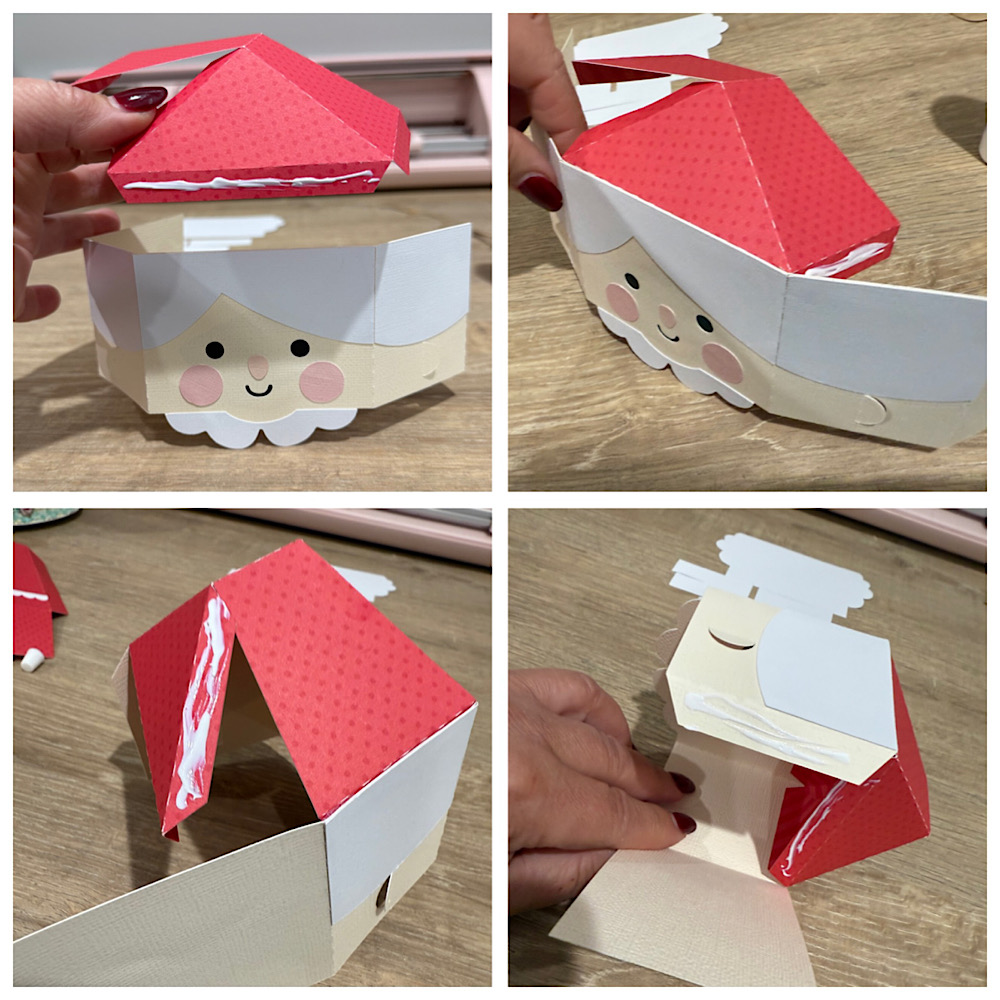
Next I started to put together the lid of the box glueing the flaps of the hat to the head, starting with the front then working from sides & finishing off at the back.
Now glue the hair panel on the back of the lid.
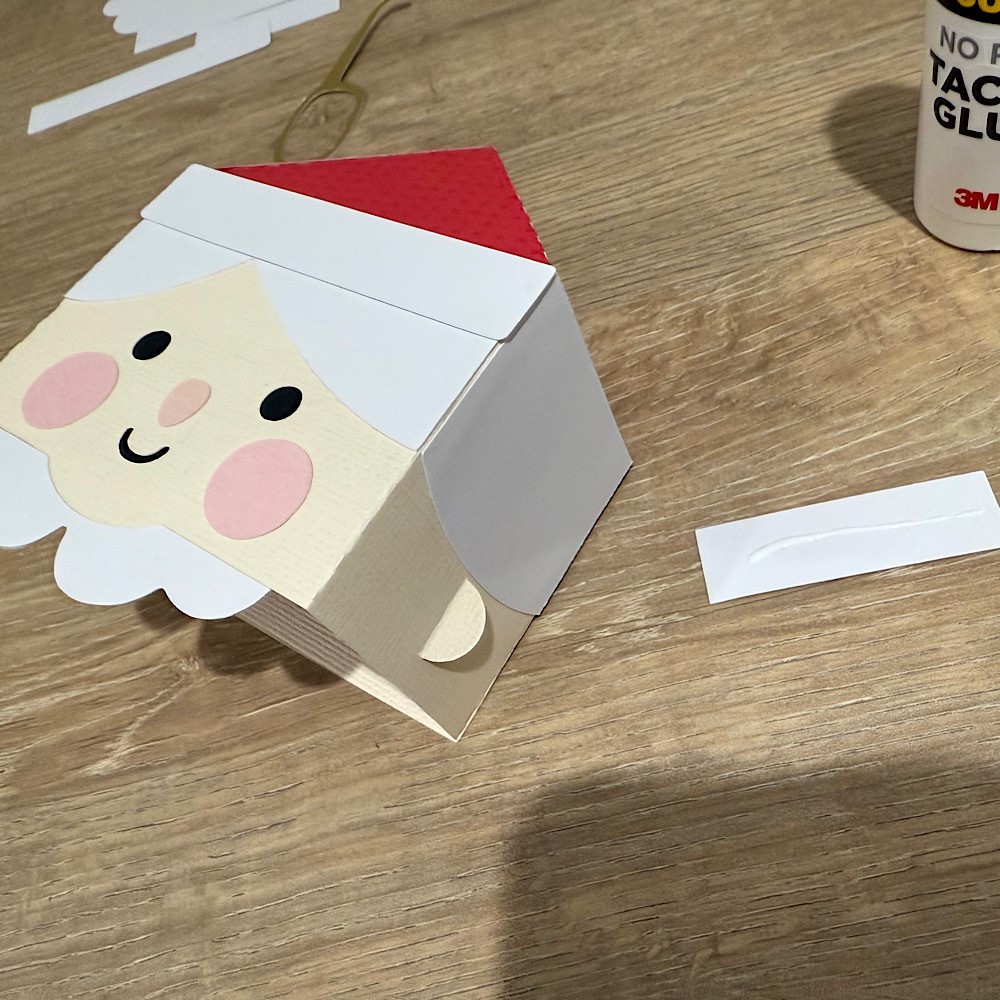
Then glue down the white strips of hat trim along the top.
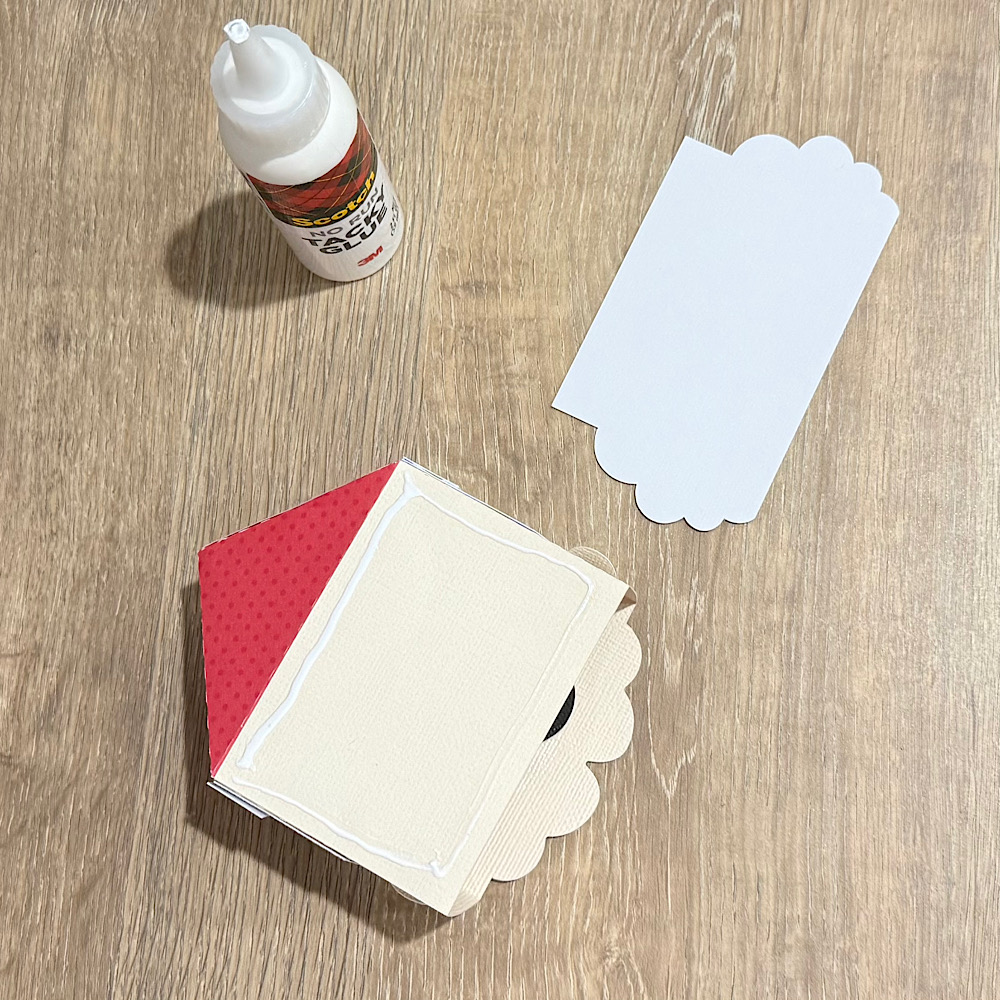
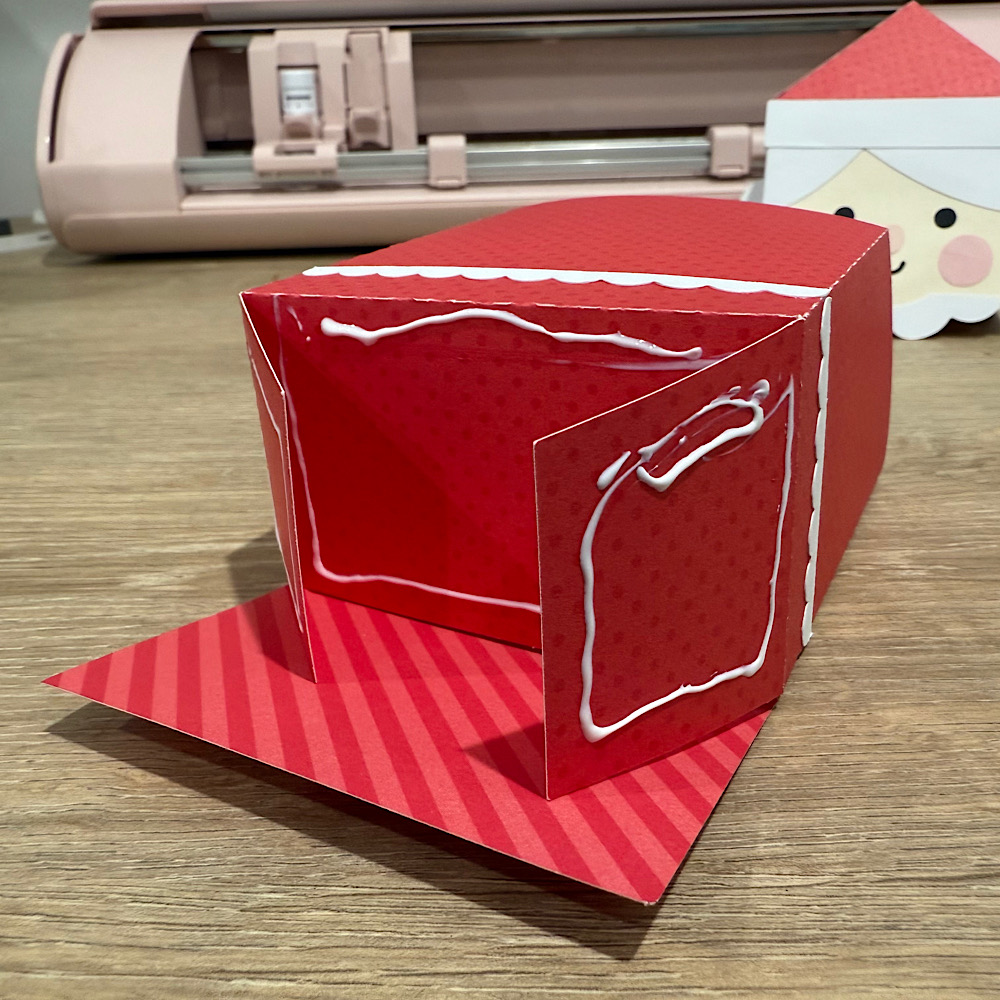
The next step is to assemble the base of the box. Start by glueing down the side flap.
Then finish off by folding down the inside large rectangle base followed by glueing the 2 small side bases on it & then glue the outer rectangle flap over the top of the small side 2.
Lastly I glued on my glasses which I cut with gold metallic cardstock & embellished with a holly cutout onto the hat & 2 gold sprinkles for buttons.
For more inspiration, check out my Instagram!
Thanks for stopping by!
Hugs
Noelene 🙂

Christmas K-Cup Carrier

Hello all!
Just a quick little project to share with you in case you need a little last minute gift for the coffee lover in your life.  Lori has quite a few choices for K-cup carriers and boxes in her shop, but this one is my fave.  It holds four K-cups and you can decorate it to any theme you desire.  It’s a fun way for the coffee lover to try different flavors as well.
I used a couple different Echo Park collections of Lori’s for this one.  It’s simple to assemble and is just the perfect little gift!
Wishing you all a very Merry Christmas!

3D Lantern Belly Christmas Characters

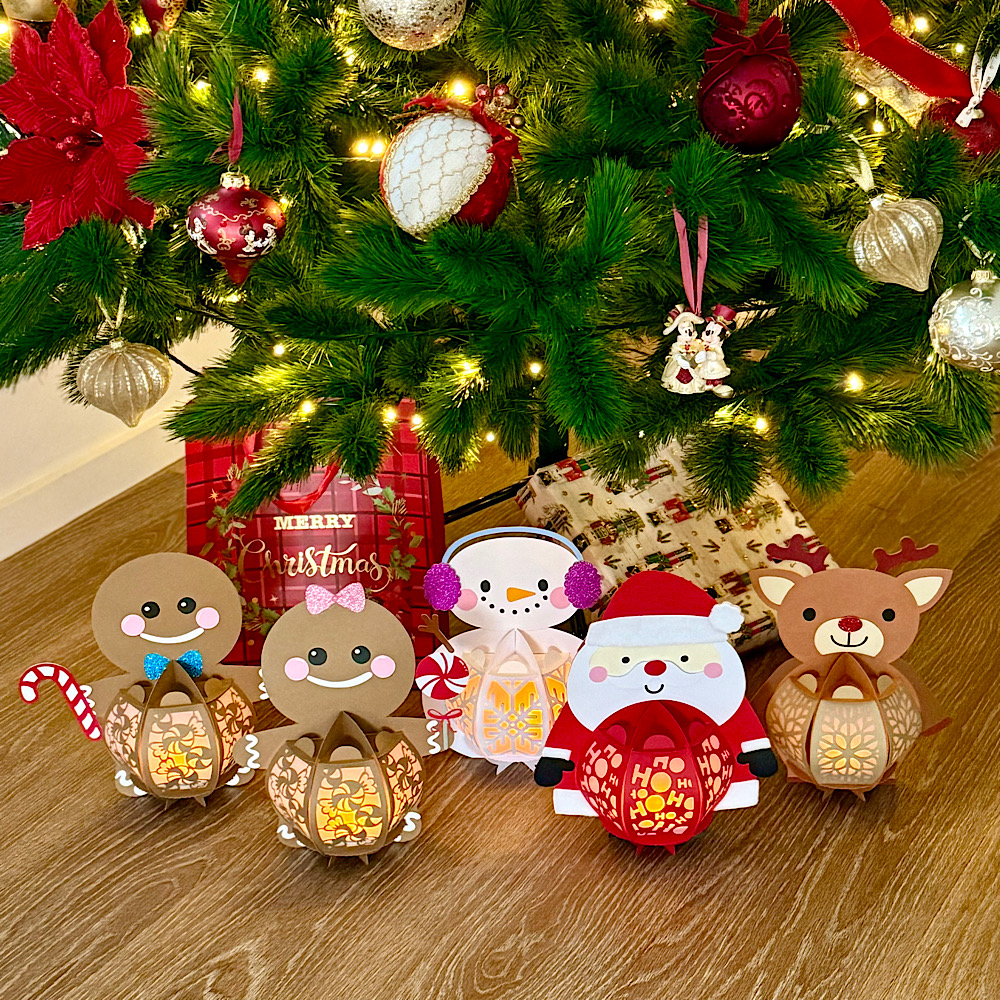
Hello Crafty Friends, Noelene here today. I wanted to share with you some of the new release Lori Whitlock 3d Belly Lantern Christmas Characters.
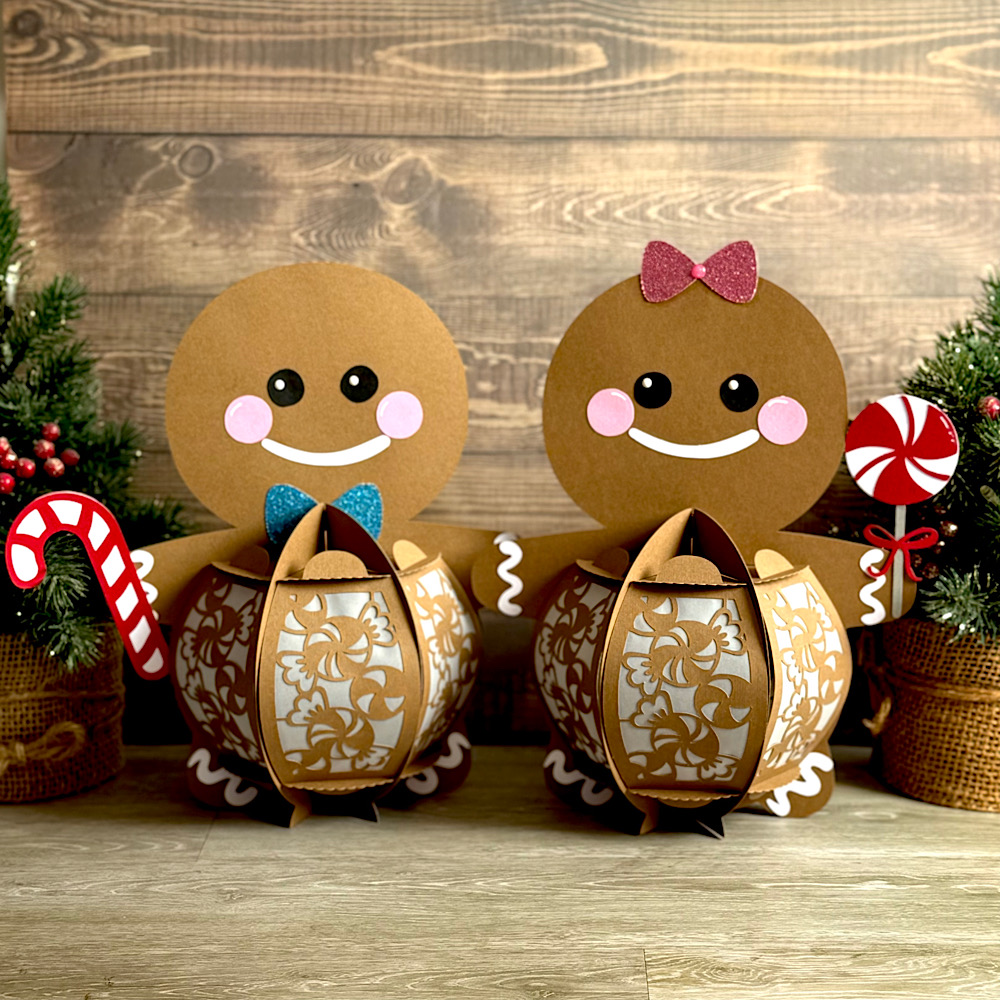
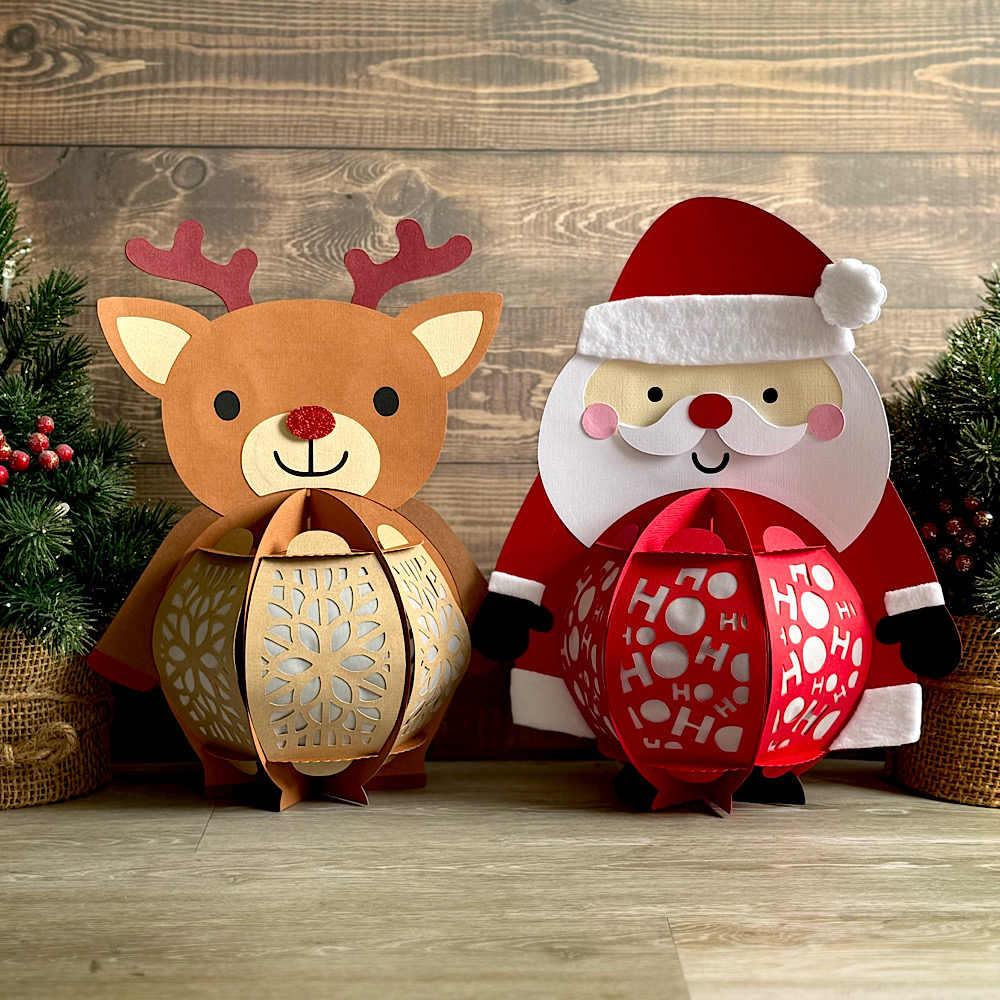
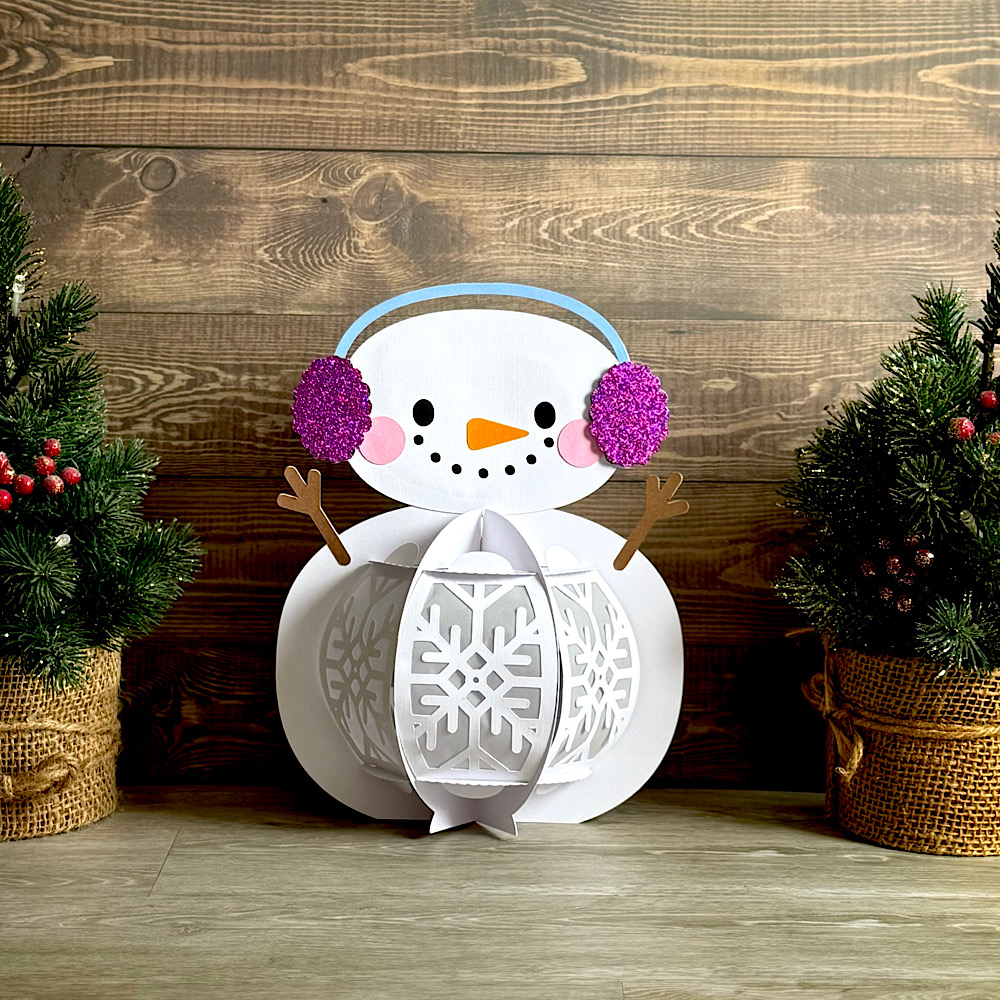
The bundle (SVG) comes with 6 characters which include, Gingerbread Man (SVG, Silhouette), Santa (SVG, Silhouette), Snowman (SVG, Silhouette) & Reindeer (SVG, Silhouette), Gnome (SVG, Silhouette) & Penguin (SVG, Silhouette) . Today I have featured 4 of those with a little twist in the Gingerbread Man.
I loved the Gingerbread Man so much I wanted to make a little Gingerbread Girl as well. This was very easy to do. I turned his bow tie into a bow. To do this I just made a copy of the bow tie then using the copy I moved the 2 bow tie pieces together until they touched. I then simply fused them together by using the weld tool in my Silhouette studio. I also wanted to give them some candy so I used some of the candy from the 3 Story Gingerbread Dollhouse (SVGSilhouette).

I also made the Reindeer & Santa. For my Santa I have used white polar fleece on parts of his clothes. I have never had luck cutting fabric on my Silhouette. So I chose a more simple approach. I cut the white cardboard pieces then glued onto them the polar fleece. I placed something heavy on them as they dried to keep them flat. Once they were dry I just trimmed off the excess polar fleece around the shape. Then proceeded putting my Santa together as normal.

Lastly my Snowman

Supplies:
Paper: AC Cardstock & Glitter Cardstock
SVG File: Lori Whitlock – 3d Lantern Belly Bundle Christmas (SVG) Gingerbread Man (SVG, Silhouette), Santa (SVG, Silhouette), Snowman (SVG, Silhouette) & Reindeer (SVG, Silhouette), Gnome ( SVGSilhouette) & Penguin ( SVGSilhouette)
Lori Whiltock – 3 Story Gingerbread Dollhouse (SVGSilhouette)
Accessories: Doodlebug Design Sprinkles
For more inspiration, check out my Instagram!
Thanks for stopping by!
Hugs
Noelene 🙂