A Lori Whitlock Layout with Print & Cut Feature!

Hi everyone!  Cathy here with you today and I have fast and fun layout using the Sihouette’s print and cut feature.  This layout really went together in just a matter of minutes with this awesome feature!

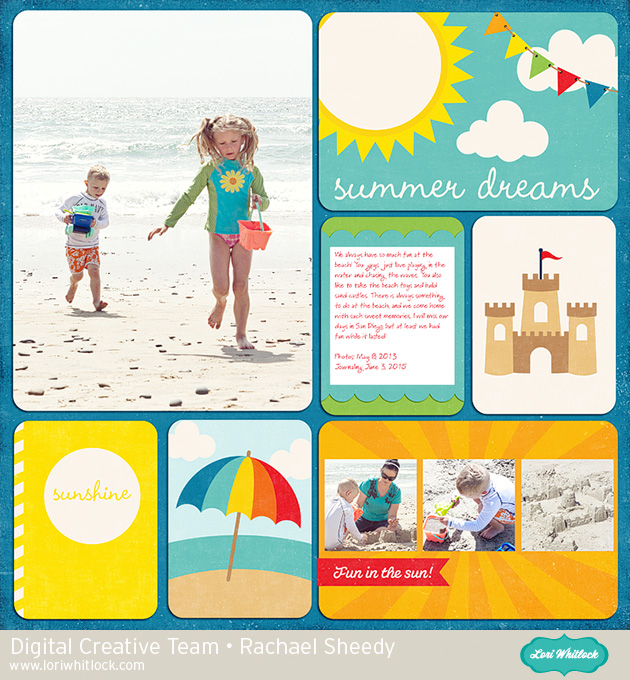
I used Lori’s Echo Park Summer Bliss collection to create this layout!  First you need to open Lori’s Summer Layout file.  If you click on the images of the files, they will take you directly to Lori’s shop to purchase!

Next, choose your papers and size the files to fit a 12×12 page.  Once you have the scalloped piece sized right, the other layers will be a perfect fit.

I swapped out the original sun and used Lori’s sun shaker box.  I kept it the same size as the one in the kit.

Now onto the print and cut  feature!  First, I cut my paper down to 81/2 by 11 so that I could run in through my printer.  So make sure to change your paper size and add registration marks.  Then add the pieces that you want to print and cut!

Then change your line and fill colors on all of your letters!

Make sure you select “no cut” on all of the outline images, like the note paper and banners before your send in through your printer.  They should be a thin red line instead of a thick red line.  Now send it through your printer.  Here I add the “You Always Radiate Sunshine” quote.

Next, reload it into your Silhouette and this time turn off the cut lines on you quotes and letters!

And tun on the cut lines around the note paper and the banners again, thick red lines.  Send it through your Silhouette and you now have the prefect print and cut embellishments.  Easy Peasy and it takes no time at all!

Thanks for joining us today…I hope you try out the print and cut feature with some of Lori’s files!

Tuesday Freebie + New in Shop

TODAY & TOMORROW, this SVG file is FREE with a $2 Purchase!

We have a FREE file with purchase today! Simply add this file: Flower Card 2 file to your shopping cart along with any $2 purchase from www.loriwhitlock.com/shop and this file is yours FREE. Your cart must reach at least $3.98 before the coupon will be applied and then $1.99 will be subtracted from your total at checkout. The files will be available for immediate download after you pay for your order by visiting the “downloads” section inside of your account.  Be sure to use Coupon Code: FLOWER (case sensitive) at checkout. Hurry! This offer is good until Wednesday (tomorrow) at midnight!

If you’re interested in a promotional DEAL on a Silhouette machine, be sure to continue reading to the bottom of this post.

Just a quick reminder about the Link Up that is going on right now. If you’ll look at the right hand column on the blog you’ll see a place to link your Lori Whitlock Shaped Cards OR Jack & Jill Girl paper projects up for a chance to win a $15 gift card to the shop. Two more weeks left for this link up and then we’ll have another one. There are some adorable projects already posted, be sure to check them out!

Kolette and I have some great new files releasing this week just in time for Mother’s day and Graduation in the  SVG Shop. The NEW files are ALL marked down 25% OFF through the weekend!!! These downloads include SVG files. 3D files include a PDF for hand cutting (if it seems doable as a hand cutting project). Read description before making your purchase.

Have you heard of the Silhouette PixScan™ technology? PixScan™ mats allow you to cut precisely around a printed design or position cut lines on your image. So if you want to cut out your kiddos’ drawings, a stamped image, or a pre-printed design just take a picture of it on the mat and cut it out!

If you’d like to learn more about PixScan™ check out this video:

 If you’re looking to purchase a Silhouette machine there are some great promo bundles including the PixScan™ Mat + Tote available right now through April 28. Go check out the deals and/or shop right HERE and be sure to use promo code: LORI at checkout for the discounted prices.

The CAMEO bundle $269.99. (with promo code LORI)

The Portrait bundle $149.99. (with promo code LORI)

Have a great day! Thanks for dropping by!

Monogramed Home Decor with Traci

Hi everyone, it’s Traci from Artsy Albums, and I’m back to share an easy home decor project with you.  This monogramed piece would make a wonderful gift for a wedding, shower, new baby, or new home!

I framed mine on paper from Carta Bella’s Yesterday collection, designed by Lori.  I added some Prima flowers and stickers from the collection to add some extra pops of color.

I’ve seen monograms like this cut from vinyl and placed in clear “floating” frames, cut from fabric and embroidered onto pillows, or incorporated into invitations and party decor.  You could include a wedding couple’s names in the center as I did, or use a last name, an address, or a new baby’s name. Lori gives you four designs for each letter so you have lots of possibilities for this wonderful set of monograms!

The Mega Monogram Set is located in the SVG Shop HERE. Each letter is available individually in the Silhouette Design Store HERE.

Thanks for stopping by!

Traci

www.artsyalbums.com


Using Your 6×6 Paper Pad Scraps – Tutorial with Tya

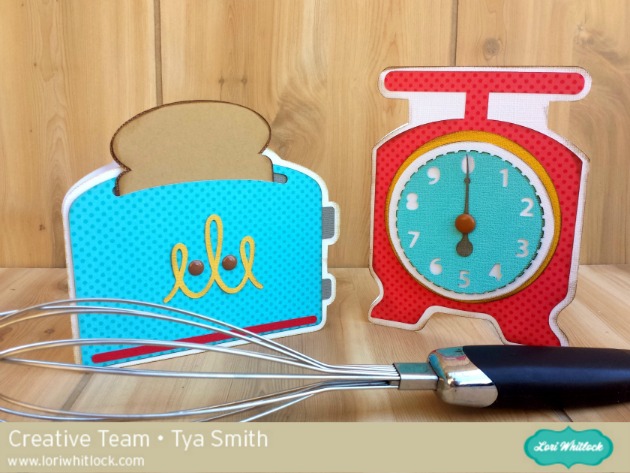
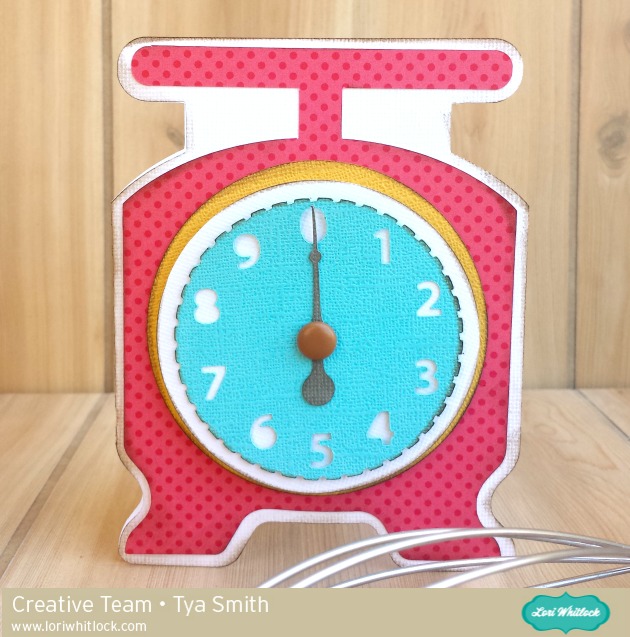
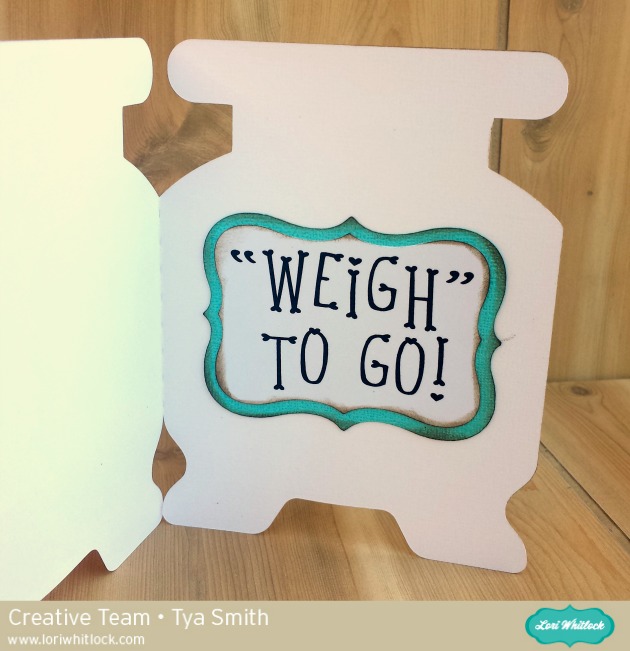
Hi everyone! It’s Tya here to share with you a fun tutorial today. I adore, like really adore 6×6 paper pads. They are the perfect size for card making, but inevitably I am always stuck with oodles of little scraps after I am done with my projects, so today, I wanted to share with you a quick and easy tutorial on how to use up those scraps.


First-  I gathered up my supplies to make my card. I am using the 6×6 paper pad from the Jill collection that Lori designed for Echo Park. I am also using the decorative brads, chipboard stickers and element stickers.

I also used a sheet of kraft cardstock.

Next I opened up the Silhouette. I like to used the grid function when I am dealing with scraps. The Grid is on the far right side of the toolbar. To make it true to size, I do 1 inch spacing and 1 divisions – this basically makes (12)  1 inch squares along the top and sides so it is just like the Silhouette mat.

Now, I find my card shapes and lay them out on the workspace. I try and utilize the mat and lay my shapes out evenly so they will be easy to cut out.  I used the Card 1 shape (Lori Whitlock Shop) or a2 Flower Card (Silhouette Store).


Now this next step, it’s just what I do when I cut scraps, I am sure there is an easier way, but this is what I like to do because it is pretty fool proof. So I take a scrap piece of paper and cut out all my shapes. I like to do either white or kraft because I save these and can use them on another card. So I lay out all my shapes and cut them out.


Here is where those pesky cut marks, like the one below, that we get on our mats come in handy. I take my real papers and basically lay them over the cut marks that were previously made.

Now the shapes are all cut out and we were able to use up some of those little scraps- AND we only had to make ONE cut! This is such a time saver! No having to guess or measure exactly where the papers are, just lay them over the cut marks and you are set!

 Here is the finished card –

Thank you so much for stopping by! I hope I have inspired you to pull out all those scraps and have fun creating beautiful cards! Have a great day!