
Spooky Halloween Easel Card
Halloween is one of my favorite times of the year to get creative, and this time I decided to make a Halloween Easel Card using one of Lori’s wonderful designs.
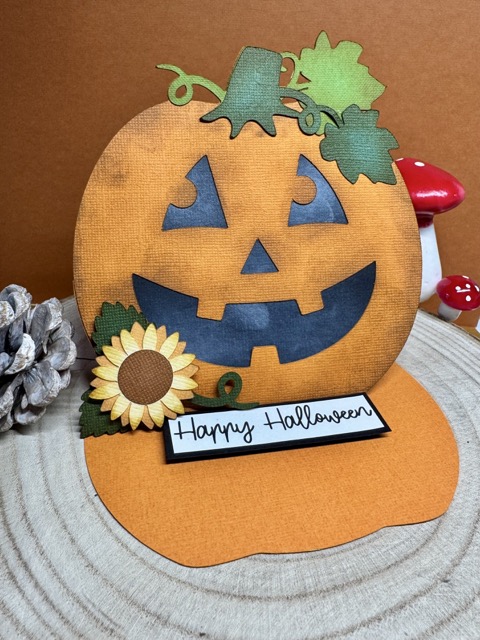
At first glance, this card looks quite simple to make—and it is! But with a few extra techniques, you can turn a simple paper project into a little spooky work of art.
I used ink to create shadows and dimension, and added foam tape in several places to give the card extra depth. These small details really make the Halloween elements pop!
Get the Design
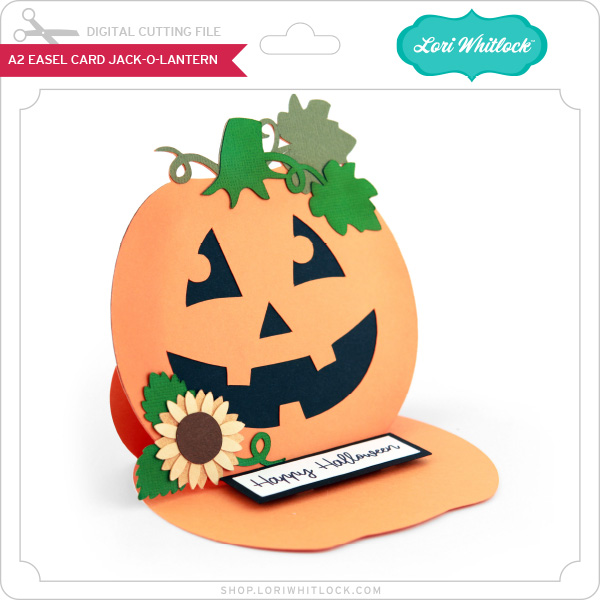
You can find the Halloween Easel Card design here:
- Lori Whitlock’s online shop: Bundle Lori’s Shop Single file Lori’s Shop
- Silhouette Design Store: Silhouette
What you need
- A cutting machine
- Cardstock in several colors
- Ink and an ink blending tool
- Foam tape
- Glue
Step 1
Start by cutting all the different pieces from your chosen cardstock using your cutting machine.
I used different shades of cardstock to create contrast between the pumpkin, leaves, branches and other elements.
Step 2 – Create the easel mechanism
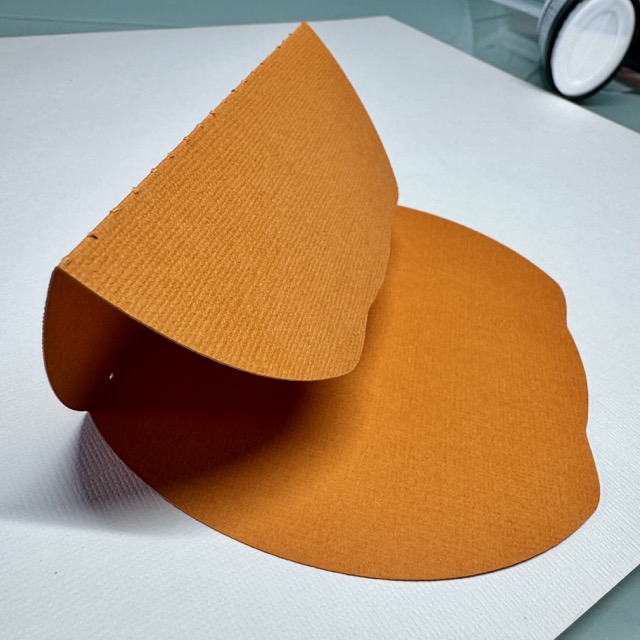
To make the card stand upright, the sentiment acts as the stopper for the easel.
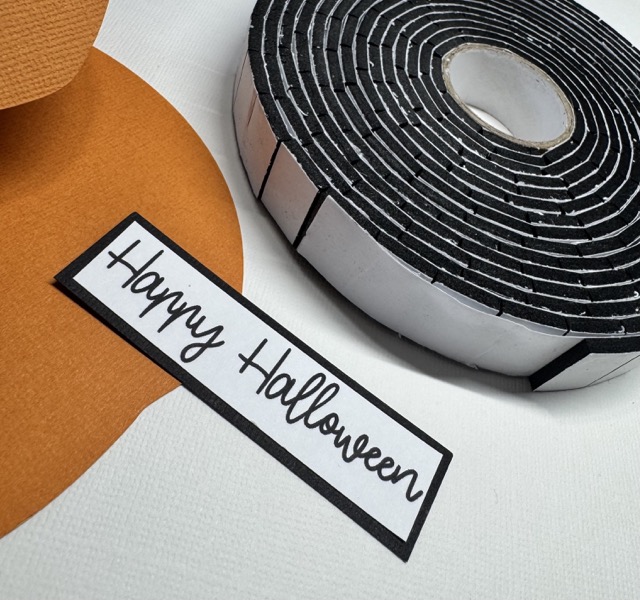
Add foam tape underneath the sentiment to give it some extra height. This allows the front of the card to rest against it and stay upright.
The foam tape also gives the sentiment a lovely dimensional effect.
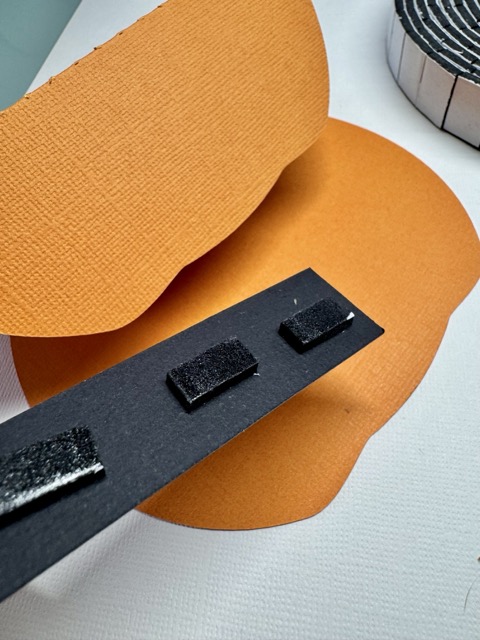
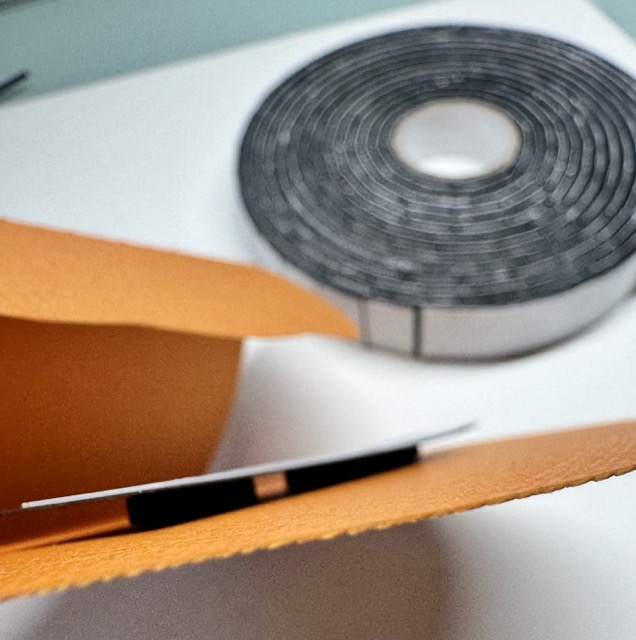
Step 3 – Now it’s time to add some spooky shading!
I used white ink on the black background layer of the face. This creates more variation in the black and makes the different layers stand out instead of looking completely flat. You don’t need a lot of ink, build it up gradually until you are happy with the effect.
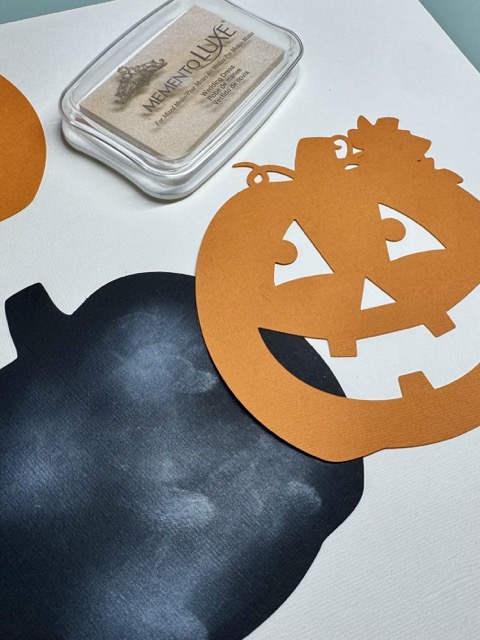
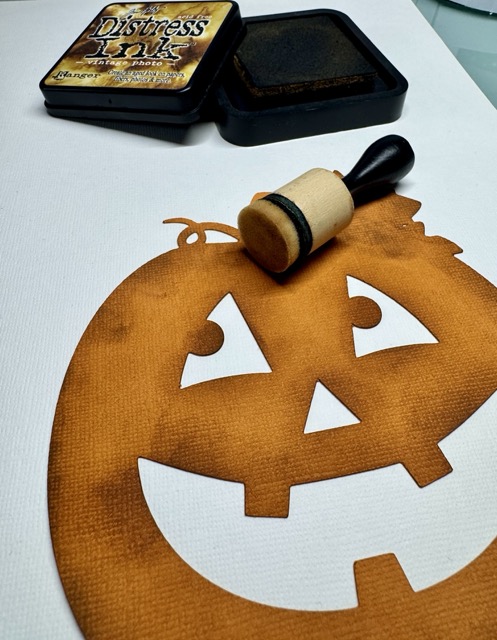
Step 4 – For even more dimension, use ink around the edges of the different cardstock pieces.
This is one of my favorite tricks when making paper projects. It gives the cardstock a slightly darker edge and instantly creates more depth.
For a Halloween card, darker shading works especially well because it gives the project that extra spooky and mysterious feeling, I used brown ink.
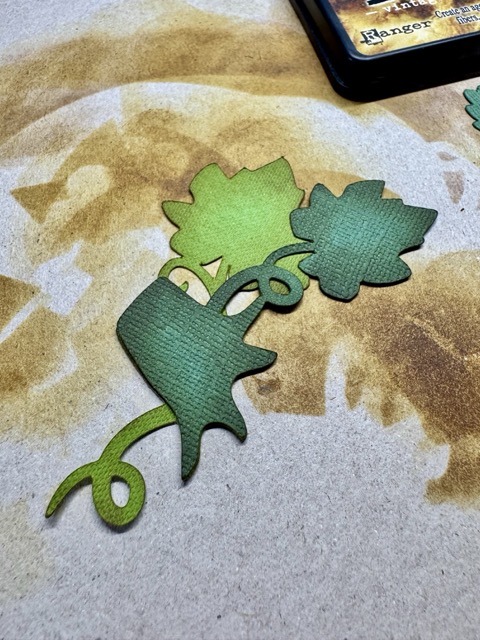
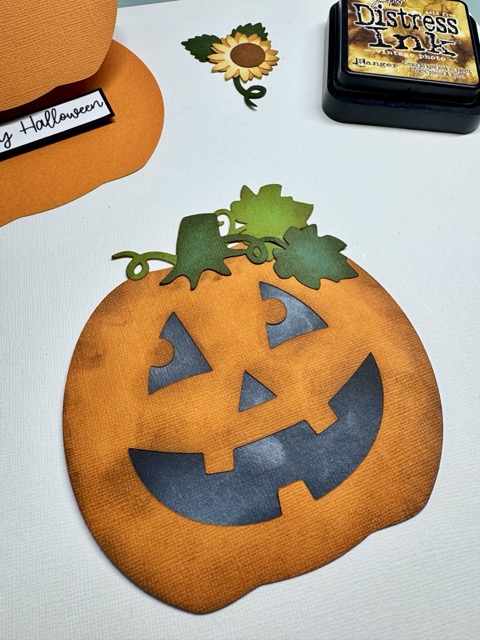
Step 5 – Next, glue the different branch pieces on top of each other.
Once the branches are assembled, attach them to the pumpkin.
Layering these pieces helps create a more detailed look and makes the pumpkin feel much more dimensional.
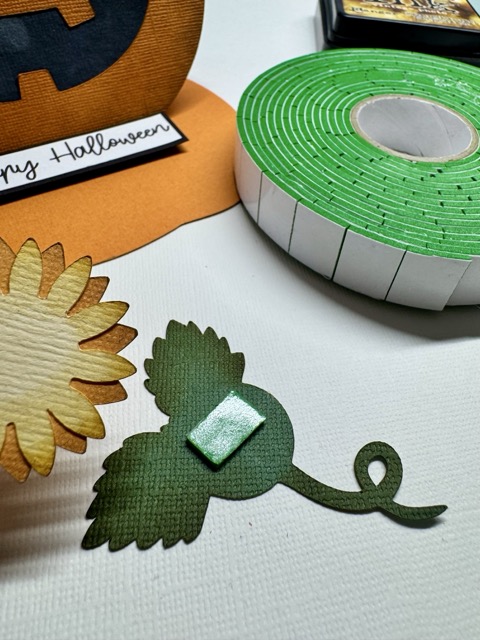
Step 6 – To add even more dimension, attach the flower using foam tape instead of gluing it directly onto the pumpkin.
This lifts the flower slightly from the surface and creates a beautiful layered effect.
I love using foam tape on paper projects because even the smallest details can make such a big difference!
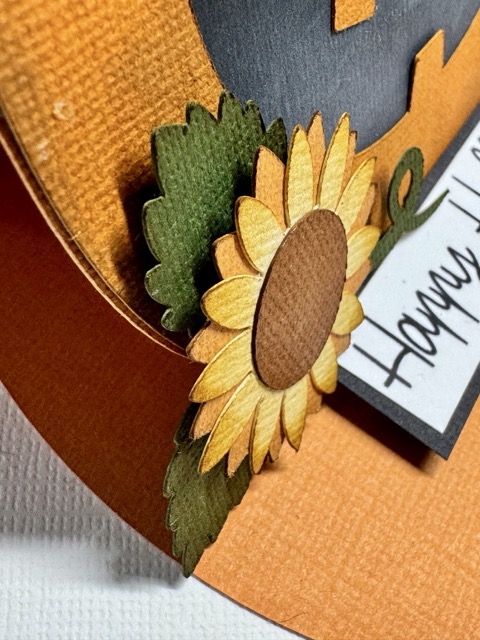
Step 7 – Finally, attach the finished pumpkin to the card base.
Take a moment to check that all your layers are firmly attached and that the easel mechanism works properly.
And that’s it—your spooky Halloween Easel Card is finished!
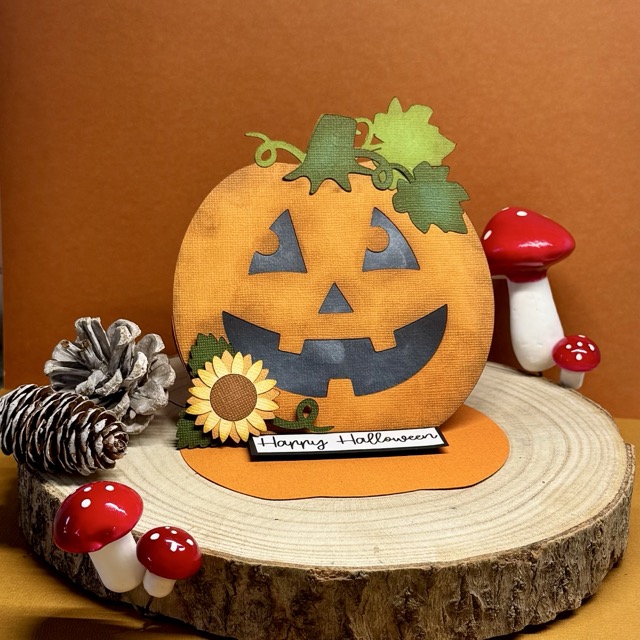
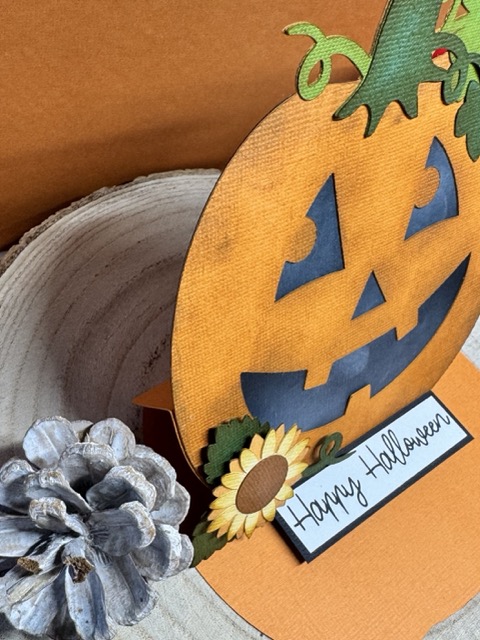
I really love how a relatively simple design can be transformed with just a few extra techniques.
The inked edges create shadows, while the foam tape adds dimension, making the pumpkin and embellishments really stand out. Together, these little details turn the card into a fun and spooky Halloween decoration.
This is definitely a project I would recommend if you want to create something that looks impressive without being overly complicated.
Happy Halloween crafting! 🎃🖤👻
Tamara
Love this wee card 🙂