
Hi Everyone:
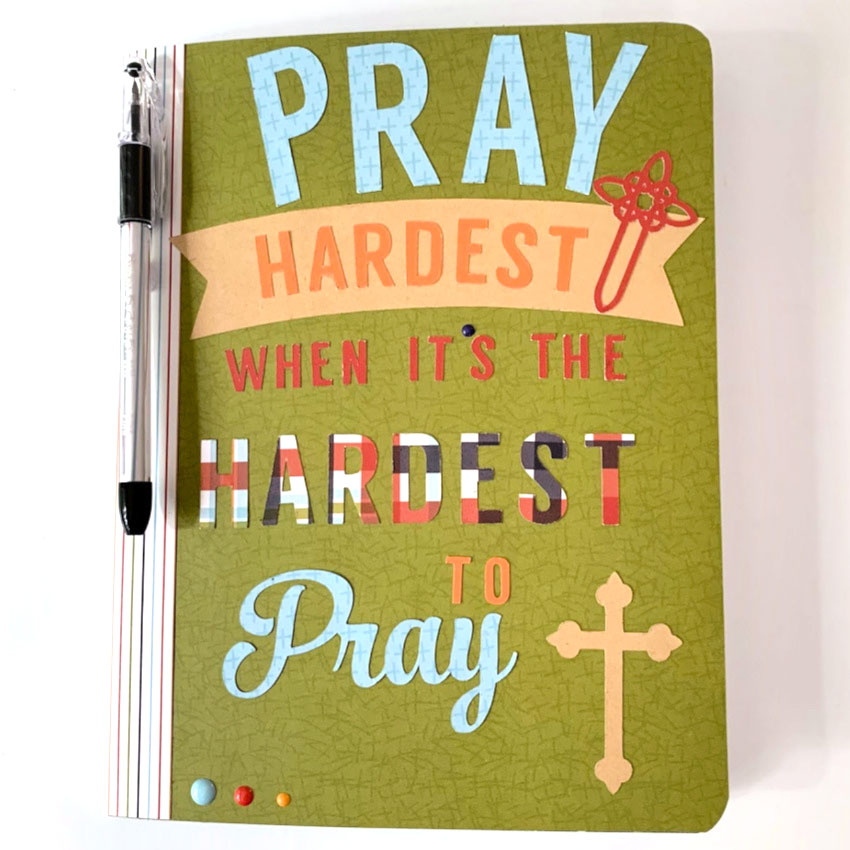
Anita here with a bible study journal that I made for my father. He has not been able to go to bible study for various reasons over the last several months and is eager to get back. I made him this journal so that he could take it with him to make notes. I used the SVG cut file from Lori’s shop that is called Pray Hardest and you can find that file here in Lori’s SVG Shop and here in the Silhouette Design store. I also used the file called 3 Christian crosses which you can also find here in Lori’s SVG Shop and here in the Silhouette Design store. For papers, I used Lori’s Echo Park Paper collection, All Boy.
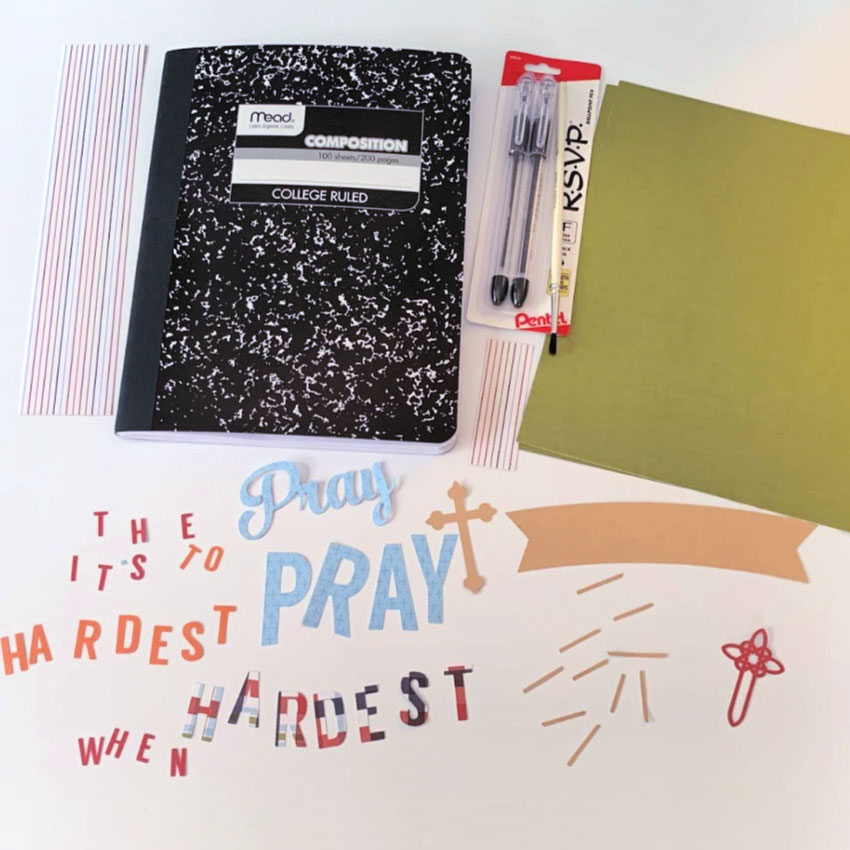
Here is a photo of the materials that I used for making this journal.
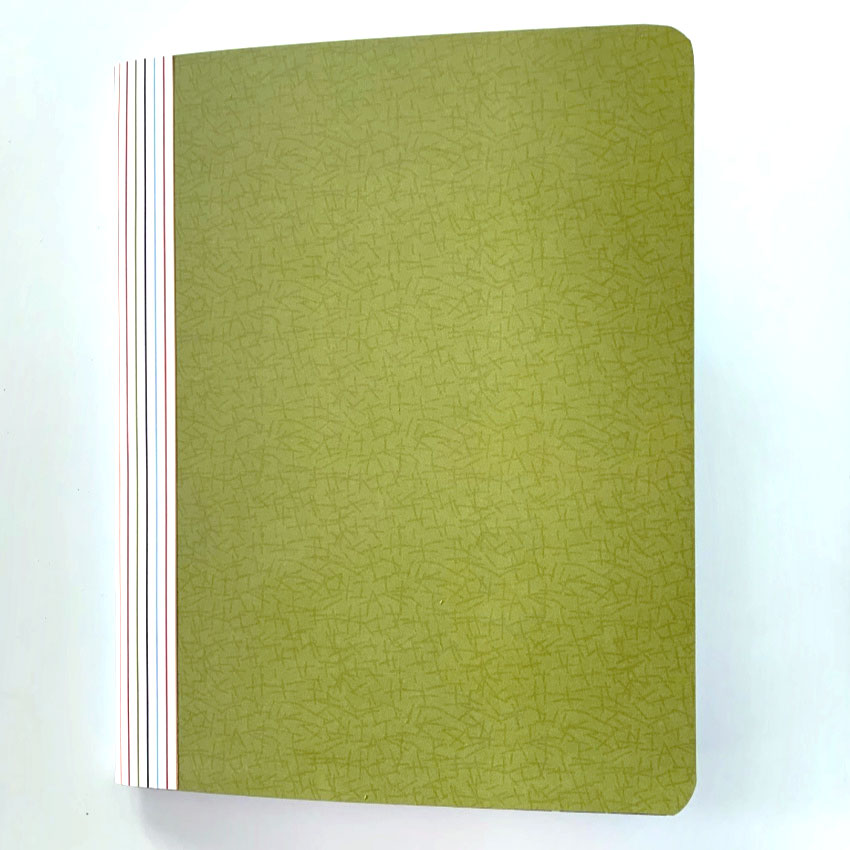
I measured the journal cover and it measured 7.5″ X 9.75″ so I cut my front and back cardstock to that size. I decided that I wanted the spine cover to be 2″ wide so I cut that by the 9.75″ length as well. I used my Silhouette Cameo to create this project and did resize it once I measured the size that I would have available to decorate on the front of the journal. I resized it to 8.250″ X 6.767″. I used a wet adhesive on the covers because then I would be able to move the paper around until it was perfect. I then opened the journal and trimmed with small scissors around the rounded edges of the covers.

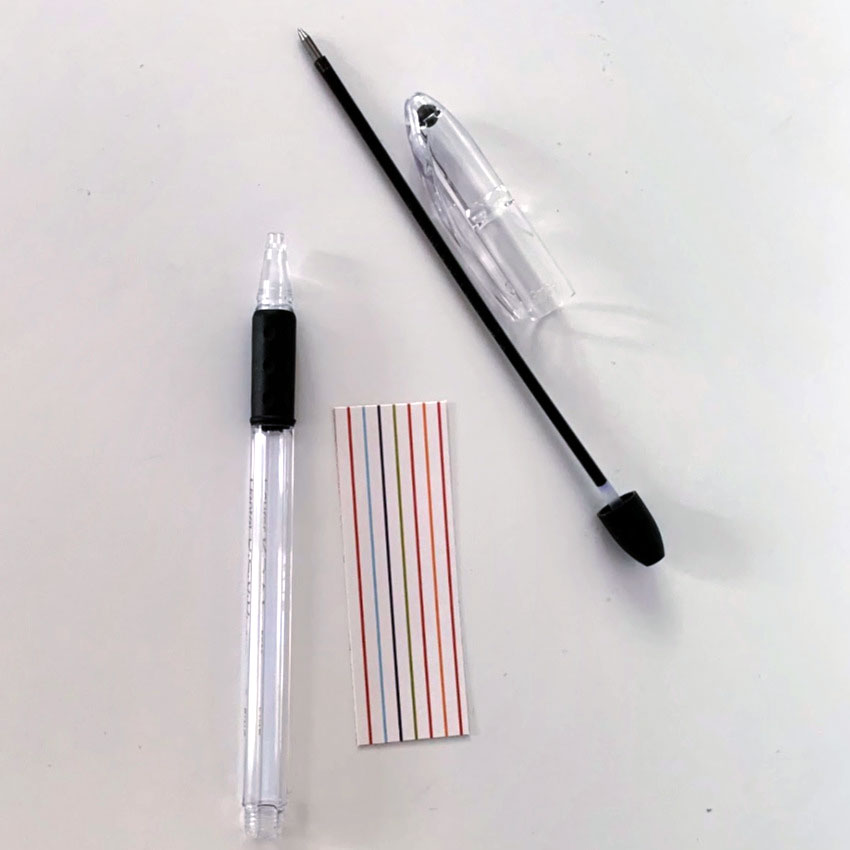
For the pen I took the end of the pen off and took out the ink shaft. I then measured the length that would be able to be seen when the pen was together. I cut my paper 1″ X 3″ and rolled it around a paint brush handle. You basically just need to get it started rolling in a circle. I then slid it into the pen shaft, put the ball point ink shaft back into the pen and screwed back on the end cap and my pen was done. I used 2/5″ diameter adhesive dots to adhere the pen to the spine of the journal.

I hope that it brings a smile to his face when he sees his new bible study journal.
Hugs,
Anita
Love it! thanks for sharing!
Thank you! ..I plan on making one for my husband