The Great Outdoors Layout

I have a layout to share with you today great with Lori’s Echo Park Let’s Go Anywhere Collection.  I had this beautiful picture of my little grand daughter fishing on the dock.  I knew this would be the perfect collection to use for this adorable photo of her.  Can you tell that this little person holds my heart?  I used lots of Lori’s files to create this.  I love to layer and she has so many files that are perfect for this.  I have them all listed under the photo.


Tabbed Borders SVG  or here in the Silhouette Design Store
11 Hearts SVG I cut lots of hearts in various sizes  or here in the Silhouette Design Store
3×4 life cards SVG or here in the Silhouette Design Store
The Great Outdoors Phrase (Silhouette)I added the shadow behind it and the stitching with a sketch pen
Star gift card SVG I just used the stare shape in various sizes or here in the Silhouette Design Store

I love how this turned out….I love to use just pieces and parts of Lori’s files to create.  You can always look at a file and a find the perfect project for you!  Layer, layer, layer!

Have a great day!

Winter Signs with Vinyl

Christmas is almost here, just a couple days away.  I’m not ready, but I’m not letting that ruin my mood.  Everything will perfect just the way it is.  I have a couple of quick vinyl signs to share with you today.  I am just starting to create with vinyl, paper is my comfort zone.  But I fell in love with a couple of wood pieces that came from big box stores and I knew Lori would have the perfect vinyl files to make these projects super cute.

The snowman was already white, he is about 11×17 inches.  All I had to do was paint his hat and add the ribbon, then off to my library of Lori’s files to find the perfect saying!  I chose the Baby it’s Cold Outside SVG that you can find in Lori’s shop or here in the Silhouette Design Store.  I used a sparkly charcoal vinyl, doesn’t show well in the picture, but super pretty.  I love how this guy turned out and he is now adorning my front door for the rest of the frigid winter here in South Dakota.

My next vinyl project was this adorable sled.  It is about 6×11 inches.  Now for this one I had to paint the red and the white, the add the red vinyl.  And of course, Lori had this fun new SVG file in the shop, Sleigh Rides and Hot Cocoa or you can find it here in the Silhouette Design Store.  I just adore how both of these turned out.  The sleigh will be a gift for my neighbor.  I know she will love it.  If you are always a paper crafter, like me, don’t be afraid of vinyl….it’s so easy and you can affordably make décor for your home.  These projects both cost me under $8.00 to make.

I’ll see all of you next year, have a blessed Christmas with you and yours!  And a very Happy New Year!

~Cathy

Sleigh Box Card Tutorial

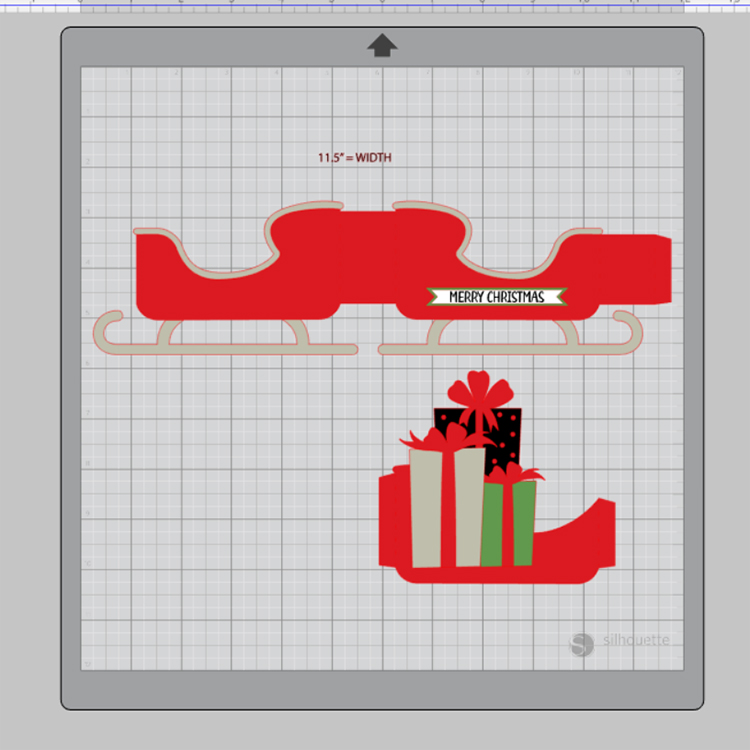
Merry Christmas!  I can’t believe that Christmas is just a few days away.  Time flies this time of year.  Lori has so many holiday cards and projects in the shop, and I simply do not have enough time to create.  But it’s no secret that I love to make her Box Cards, they are so easy and they just have the best Wow! factor when you are giving them or mailing them.  They are really a gift within themselves.  I will show you how easy they are to create.  I used the Sleigh with Presents Box Card in Lori’s SVG Shop or you can find in here in the Silhouette Design Store.

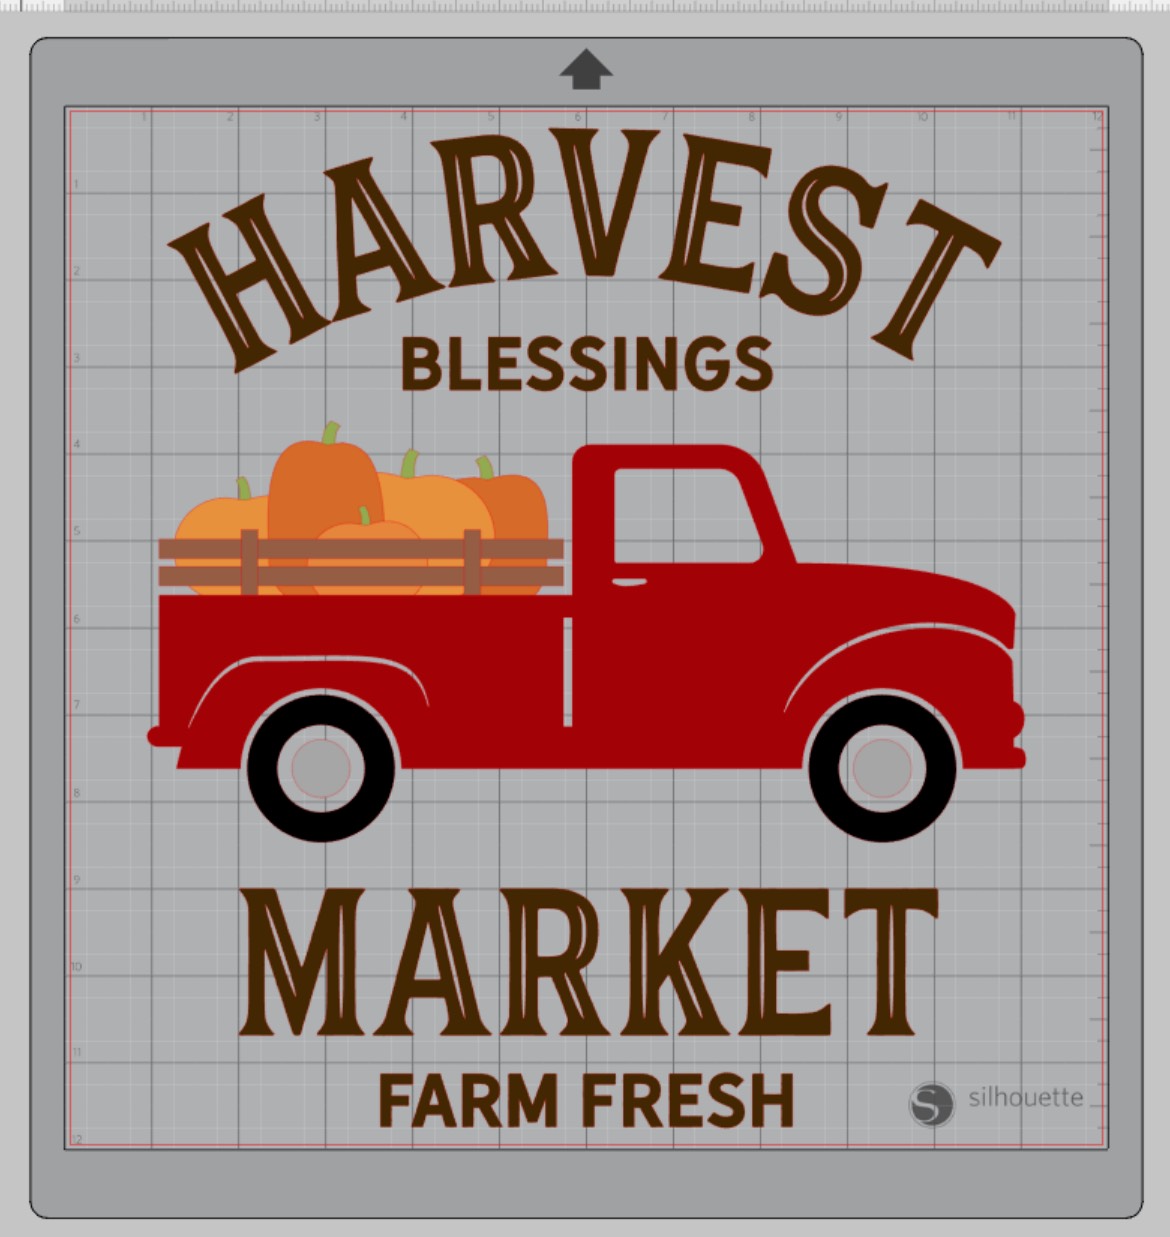
You can see the file here on my screen.  The first thing I do is ungroup the file and I always sort my pieces by color.  I love that Lori adds color to her files, it makes them so much easier to separate.

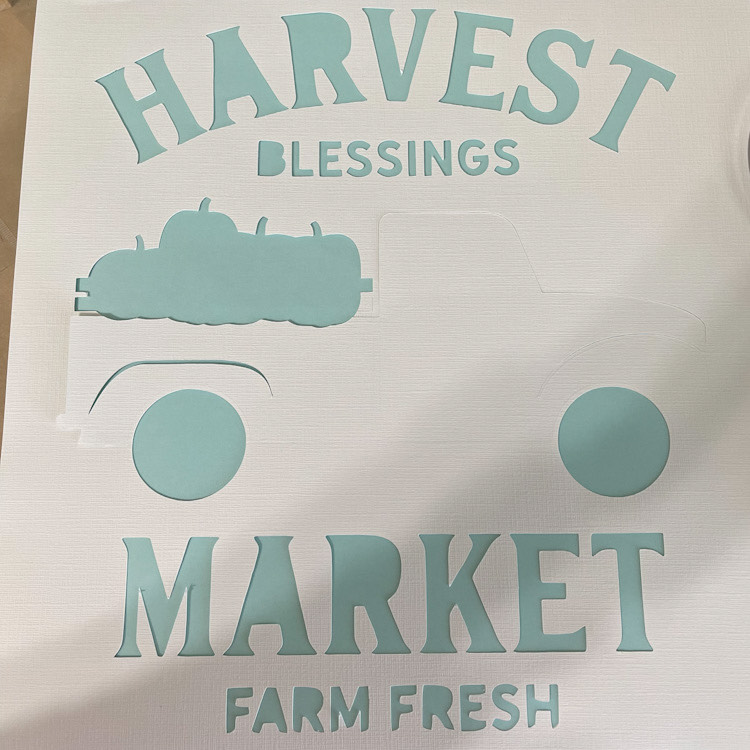
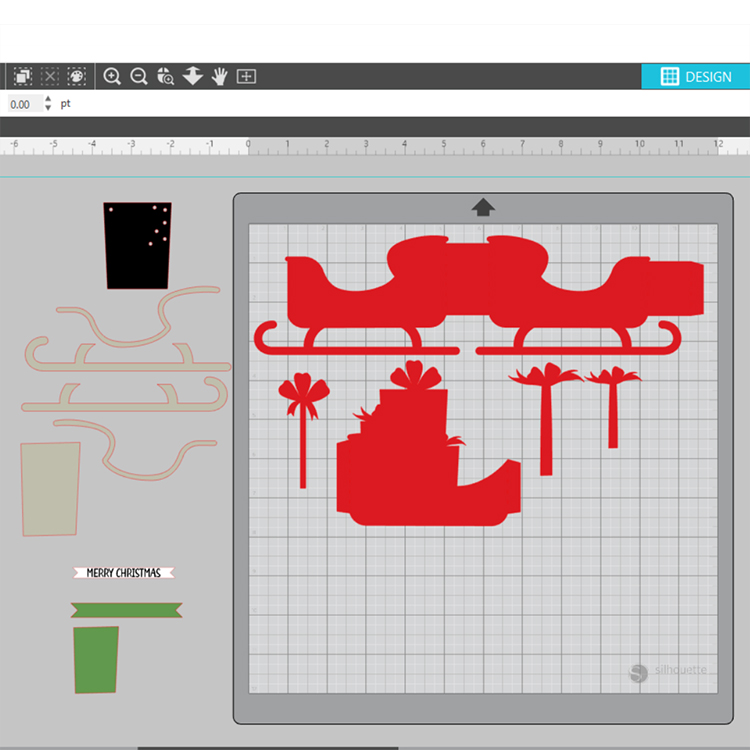
Here you can see how I separated the pieces, then you can start cutting color by color.

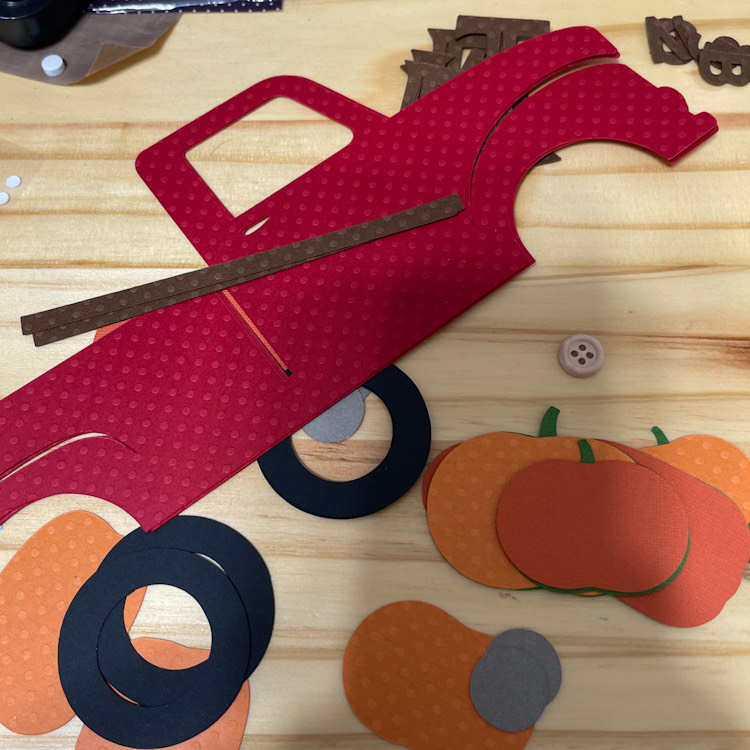
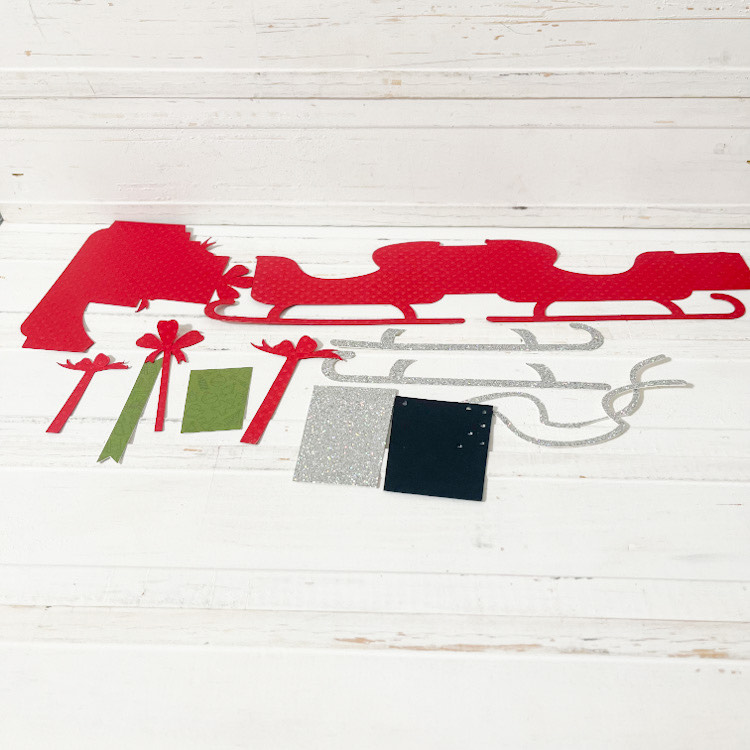
Below you can see that I have all my pieces cut out and ready for assembly!  For this card, I added my silver sleigh runners and silver trim while I had the pieces laying flat.

You see here that I added my silver trim and folded my score lines.  Yeppers, I have a boo boo on my silver trim, but didn’t have enough silver glitter paper to recut it, so I will just cover that little error up and customize it a bit….lol!  All you need to do here is add some adhesive to the little tab and create a box shape!

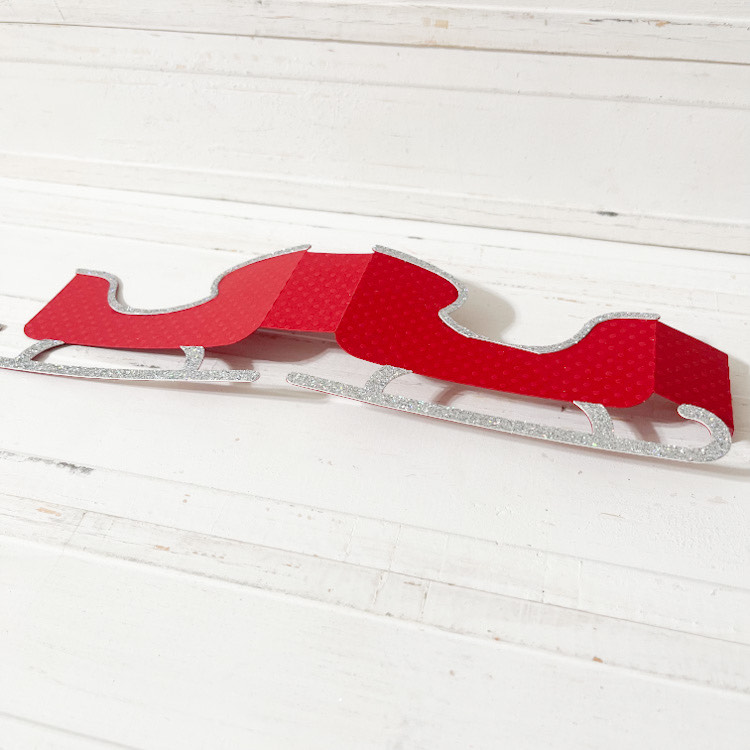
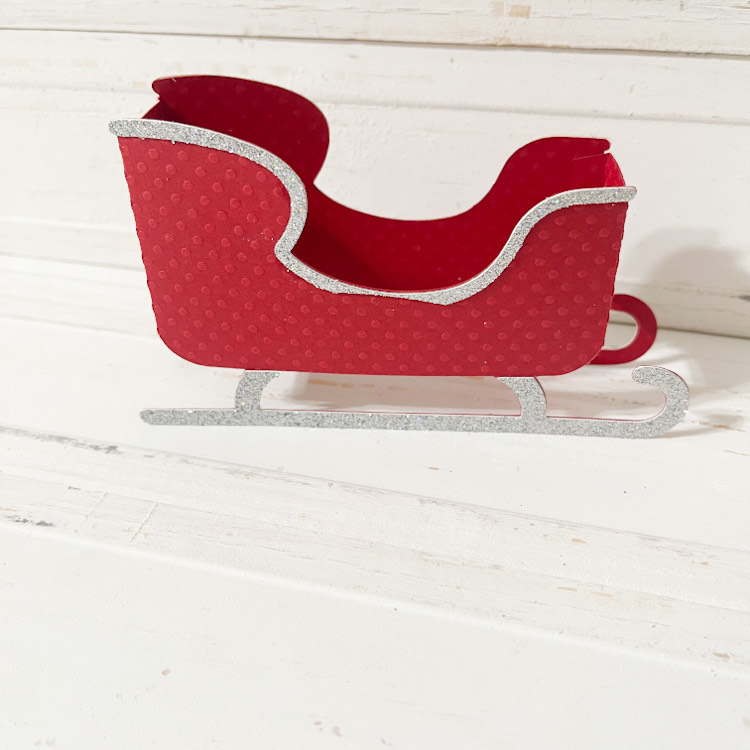
Now we have our little sleigh with that little boo boo!

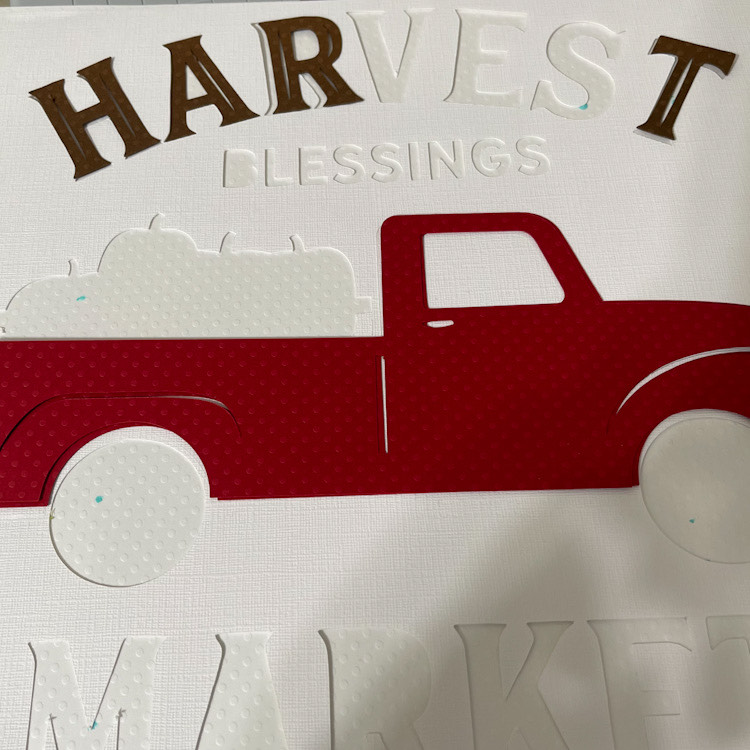
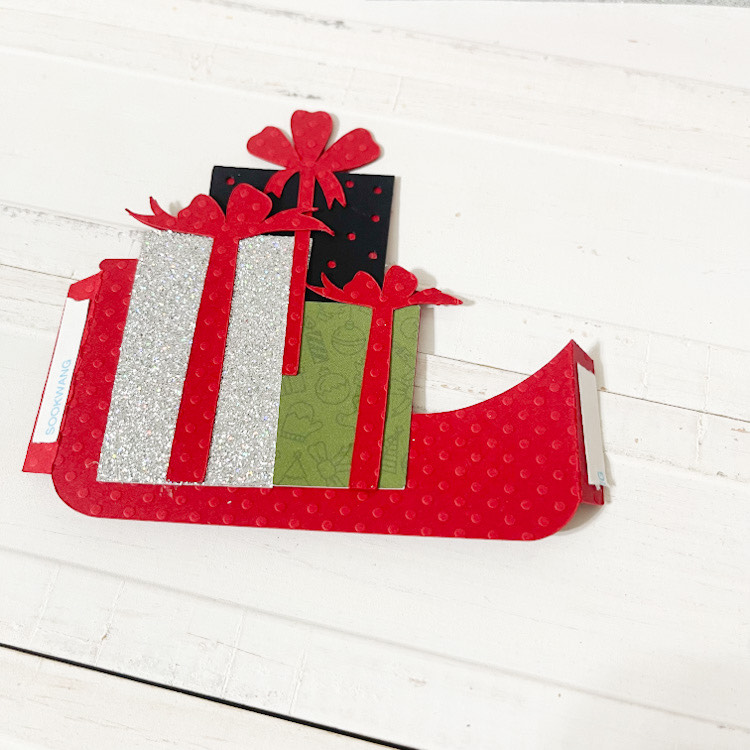
Next, you can adhere all your little pieces to the present insert piece and add you adhesive to the little tabs.  This insert is now ready to adhere to the inside sides your sleigh!

It just sits down, inside your sleigh.  Just adhere the tabs even to to sides.  And just like that you’ve created a box card.  This little sleigh only has one insert, but Lori has lots with more than one insert, and when that is the case, she numbers them in order for you.  So much fun!

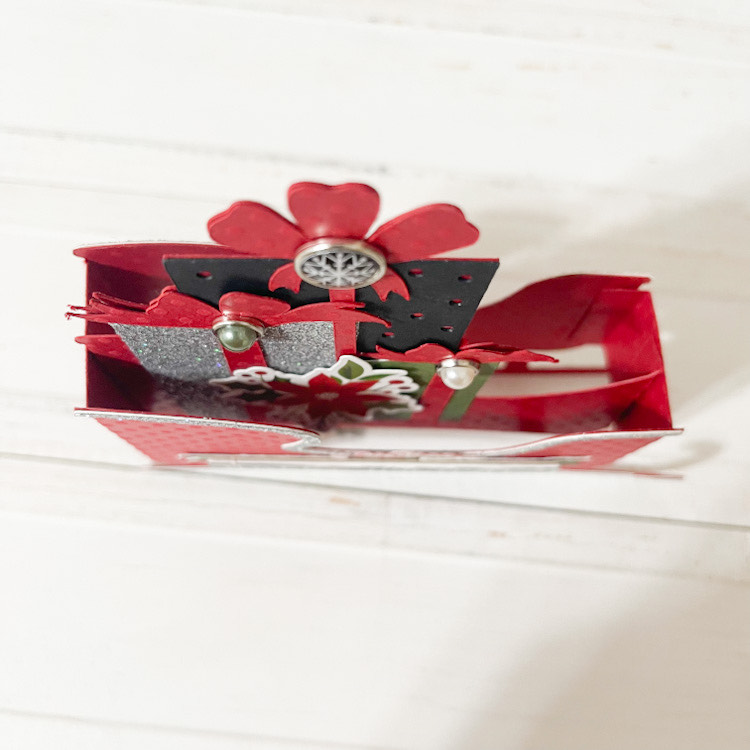
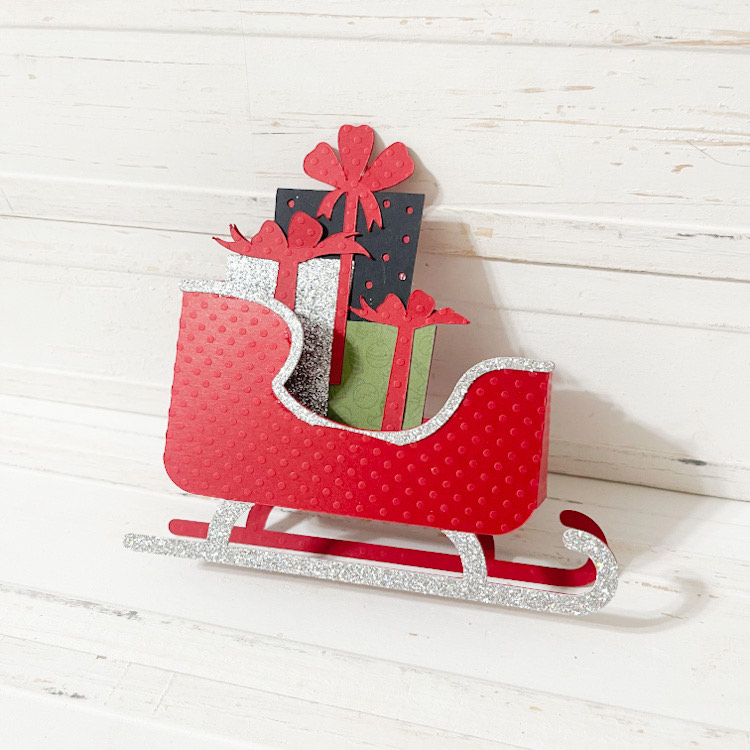
I used Lori’s Echo Park Christmas Magic collection to embellish my sleigh!  The picture below shows my sleigh before I started embellishing….my favorite part!

All done!  So cute!  You can’t even tell where my little error was with the silver glitter paper.  I love how this turned out!  So easy and quick to create.

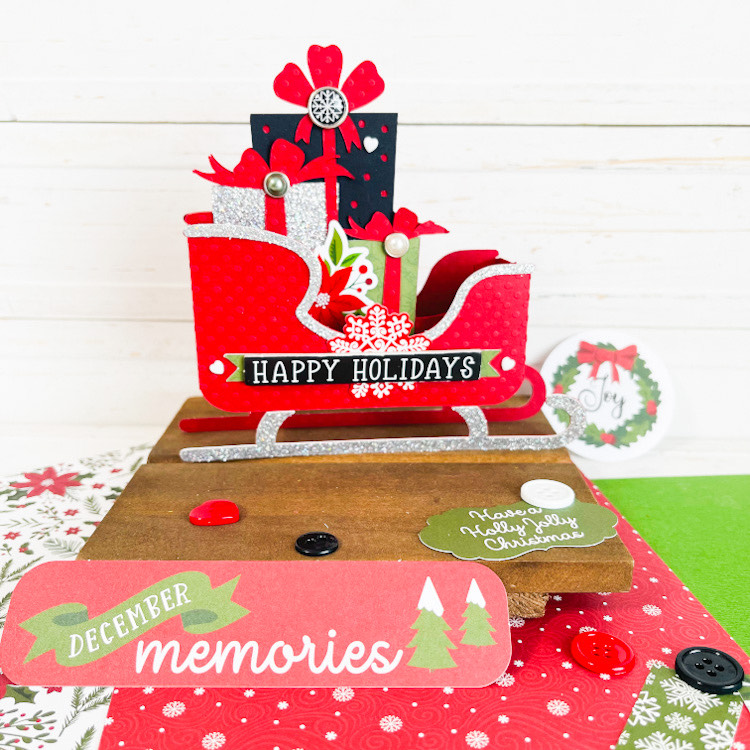
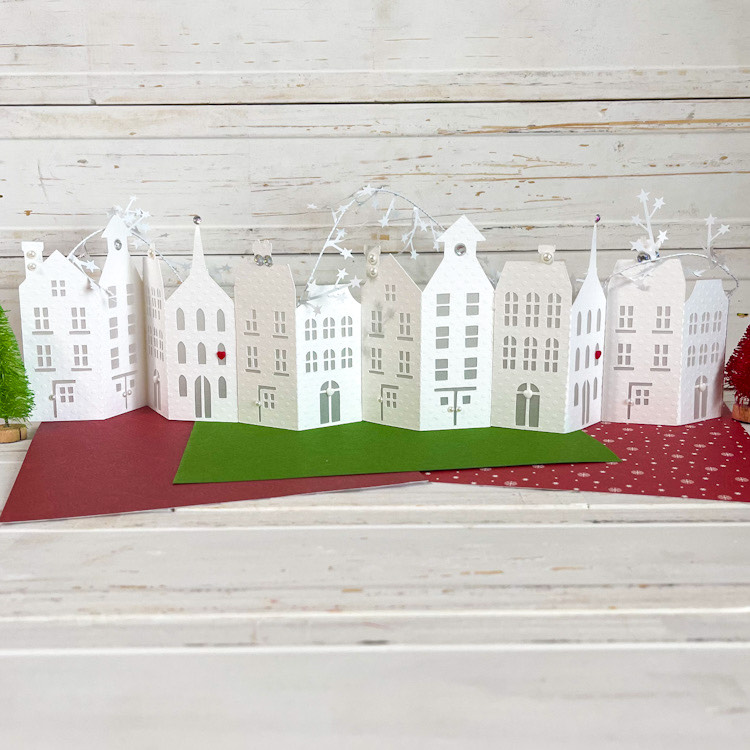
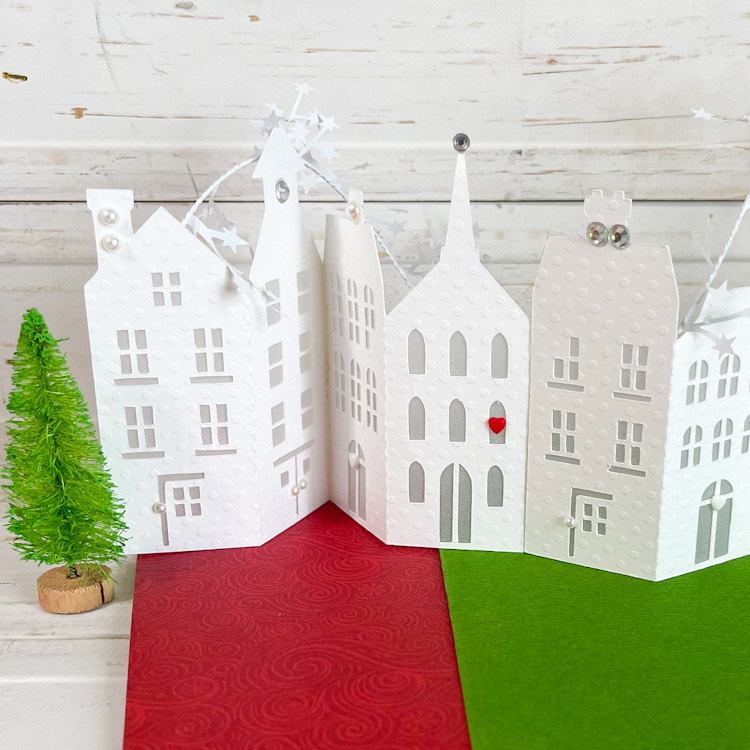
The box cards even fold flat for mailing!  Who wouldn’t want to receive one of these in the mail!?

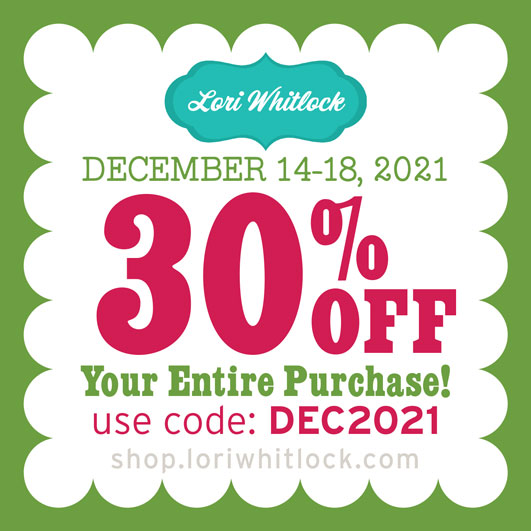
And don’t forget, there is a sale happening now in the Lori Whitlock SVG Shop!  All SVGs, Fonts, Commercial Licenses and Pattern Fills are 30% off when you used code DEC2021 at checkout! Don’t miss out, sale ends Saturday!

Thank you for joining us today, we can’t wait to see what you create!  Wishing you all a very Merry Christmas! ~ Cathy

Accordion Village Tin

Hi everyone!  I’ve been working on a few Christmas projects here and there.  Seems like I never have enough time to get everything done that I would like to create.  I have a fun quick little project to share with you today that makes for a cute gift for a coworker.  I created Lori’s  Accordion Christmas Village , but scaled it down a bit to fit inside a little Christmas tin that I had in my stash.  I cut two complete villages, I scaled them down to 4 inches tall,  added vellum to the backs and then adhered them all together. I kept the embellishments super simple as I didn’t want to distract from it’s simple charm….just some pearls, diamonds and a few hearts.  It’s the perfect little scene for my coworker’s desk to add a little bit of the holidays. You can find it here in Lori’s SVG Shop  or here in the Silhouette Design Store.

Here it is all stretched out.  So cute with the little snowflake garland and bottle brush trees.

A close up with all the little details.

The village and the trees with perfectly in the tin.

The sweetest little gift….

Thanks for joining us today. ~Cathy

Harvest Layout – Creating a Lettering Template Tutorial

Happy Fall to everyone, but it is now winter in South Dakota…we got quite a bit of heavy snow and rain last night.  Yuck.  Fall never lasts long enough for me and winter comes way too soon.  I have an easy layout showcasing Fall and trendy red trucks, to share with you today.  I love to take Lori’s sign-type files and turn them into layouts.  I just love the look of these SVG’s and most of the times they are created for a project with vinyl, I like to do a traditional layout with them.

I started with the Harvest Blessings SVG file in Lori’s shop or you can find it here in the Silhouette Design Store.  I just centered it to my Silhouette mat and kept the sizing.

I cut the design from plain white card stock.  I use this as my mask or stencil to line up my letters perfectly.  It’s almost impossible to line up the letters with out the template, so that’s why I started cutting these, it helps keep everything straight!

Next, I cut all the pieces that I wanted in different colors of cardstock.  I didn’t use them all, as I added a photo, other patterned papers and embellishments.

I  laid my template over the background paper of my layout and began gluing the letters and other pieces.  You can see how I started here.

Here’s my finished layout with my perfectly aligned letters. I used Echo Park Paper’s Farmer’s Market Collection . I love using these designs to create layouts.