Halloween Fun with Cathy

I love Halloween paper crafting, I can simply never get enough and it’s so easy to create little treat boxes for all your favorite ghouls with all the choices you have from Lori.  There are tons of boxes and bags at her shop or at the Silhouette online Design Store.  I used an older Halloween Collection for Echo Park today for my projects.

First up two little treat boxes, easy peasy and go together in a matter of seconds once you have them cut out on your machine.  I used the 2 favor boxes on 12×12 at Silhouette  and the ribbon tie bracket favor box silhouette version or ribbon tie bracket favor box at Lori’s Shop.

Then I created a cute card and little paper bag for another little ghoul!  I used the a2 pop dot bat card, silhouette version and here at Lori’s shop.  Then just an adorable little paper bag that just takes seconds…bag with rounded top, Silhouette version and here at Lori’s shop.

Thanks for stopping by today and check out all of Lori’s great treat and favor boxes…the possibilities are endless.

Pop up Box Cards with Cathy

Happy Fall everyone!  I love this time of year, it just never lasts long enough for me.  I love Fall and Halloween paper crafting too, they have always been my favorites to create.  Lori makes it easy with these cute files for box cards that pop up.  They fold totally flat for mailing and your recipient gets a fun little surprise in the mail.

My first pop up box card is the fox pop up card, you can find it here on Silhouette or here at Lori’s shop.  I created this card with Lori’s Celebrate Autumn Collection from Echo Park.  I simply trimmed the top layer down, trimming the fox silhouette off, so that I could use the darling fox sticker from the collection park.  I just used a little bit of baby powder to make him not sticky.  I embossed my tree tops with the Autumn flowers embossing folder from the Celebrate Autumn Collection too.  Then simply added a few more bits and pieces from the collection pack.  So much fun!

Next up is a Halloween Pop Up Box Card that you can find here on Silhouette or here at Lori’s shop.  I used an older Halloween line from Echo Park but I just kind of recreated the card using the stickers once again.  Love creating these cards and using all the fun bits from the collection packs.  Just remember to dust with some baby powder.

Lori has tons of these fun pop up box cards available, just search pop up box cards on either site, the Silhouette online store or Lori’s shop.  There are so, so many cute fun ones to try.

Bless This Home Sign Tutorial with Cathy

Hi everyone!  I have a super simple tutorial to share with you…adding vinyl to create your own wooden sign.  It’s been quite a while since I have created with vinyl and I thought maybe that is so for some of you or this is an easy way to give it a try.  This was super simple and quick to do, and it turned out perfectly.  It will make the perfect gift or I just might keep it for myself.  Lol.

First, gather your supplies.  I use Orcal vinyl 651 in mattle black, a 10 x 10 white washed wooden canvas from Jillibean Soup, cricut transfer tape and some fabric flowers.  I chose fabric flowers over paper crafted flowers just so might sign would last longer and I wouldn’t have to worry about the flowers being fragile.

Then I picked a beautiful design from Lori, wreath bless this home, silhouette store or wreath bless this home in Lori’s Store.  I just love all of these different wreathes she has designed…simple and gorgeous.  I sized it down on my silhouette to be approximately 8 x 8 so that I could center it on my wooden canvas.

I then cut it out with my setting set on 2 for the blade and 8 for speed, it cut perfectly.  Next weed your design, I just use a little paper piercer to weed mine.  The paper piercer is sharp and small enough to get into the delicate pieces to weed.

Your next step is to layer your weeded design with transfer tape.  I cut mine to exactly the size of my weeded design, 8×8.  Peel back transfer tape and carefully adhere to your design.  Rub over it firmly, making sure your design adheres to the transfer tape.

Carefully place onto your wooden canvas and then burnish.  I used a plastic hotel key, like a credit card to burnish the vinyl.  It took me a bit to do as the wood was a bit rough and took a little extra effort to get the vinyl to adhere.  Once your design is adhered, slowly pull back the transfer tape.  Have your credit card handy to burnish some places a tad more if you see any of the vinyl not sticking.

Once my design was adhered, then I added the flowers, Echo Park Celebrate Autumn enamel dots, a little twine, a few buttons….but it still need more.  I then added some paper leaves that I cut with Lori’s  Thankful Leaves Die Set using the Celebrate Autumn Solids Paper Pack.

Loving how this turned out, I will be trying another one soon and maybe even try stenciling a design with one of Lori’s amazing files very soon!

Welcome Back Cathy Harper!

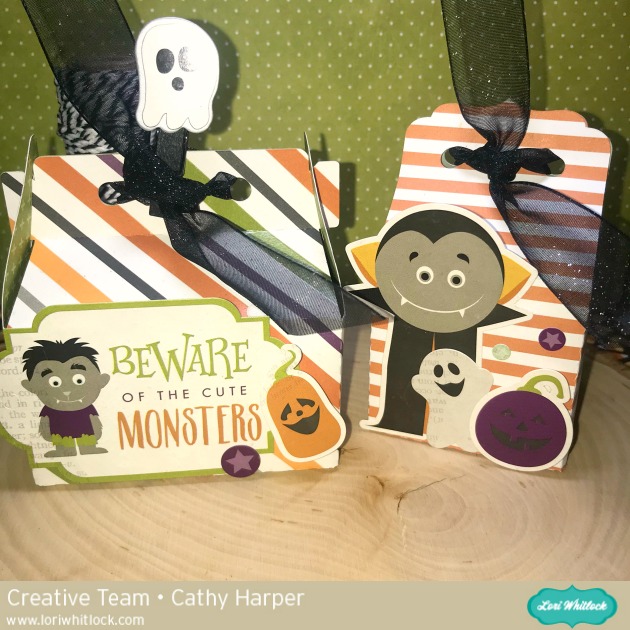
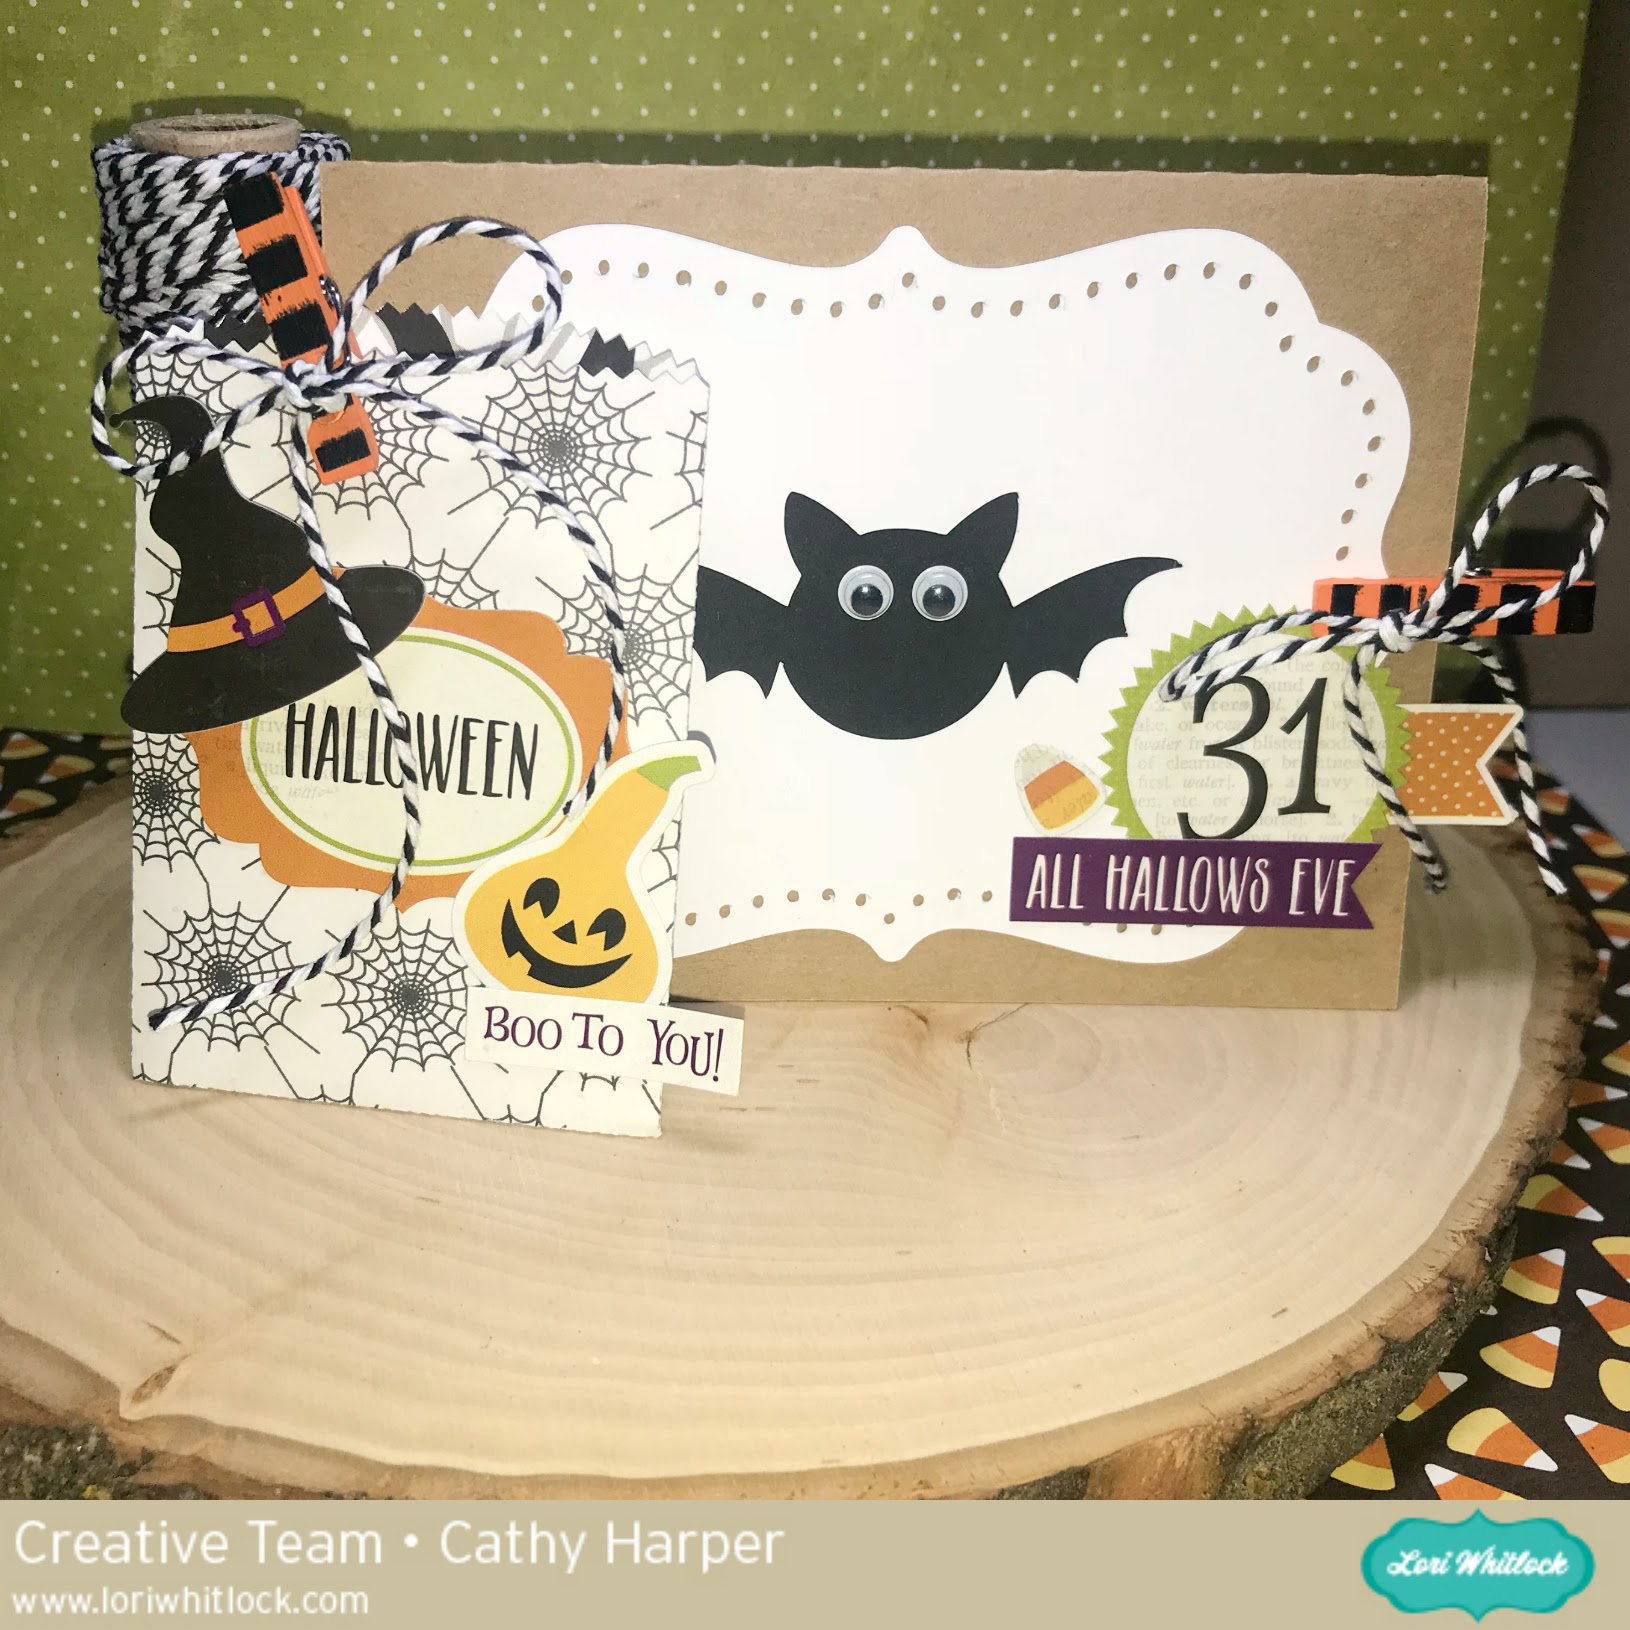
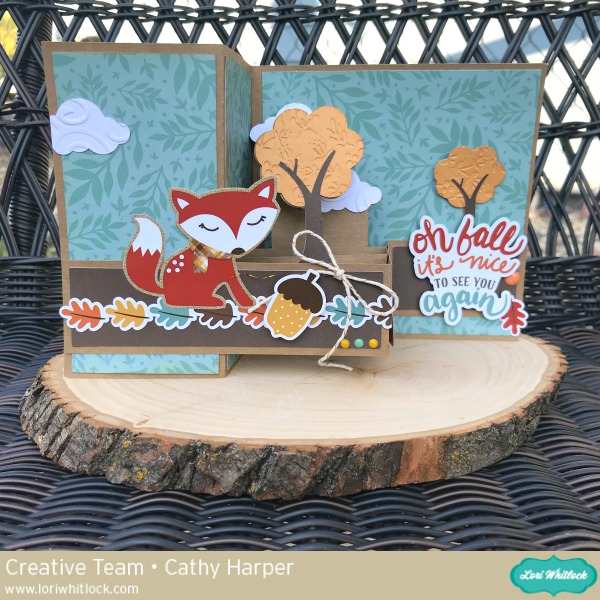
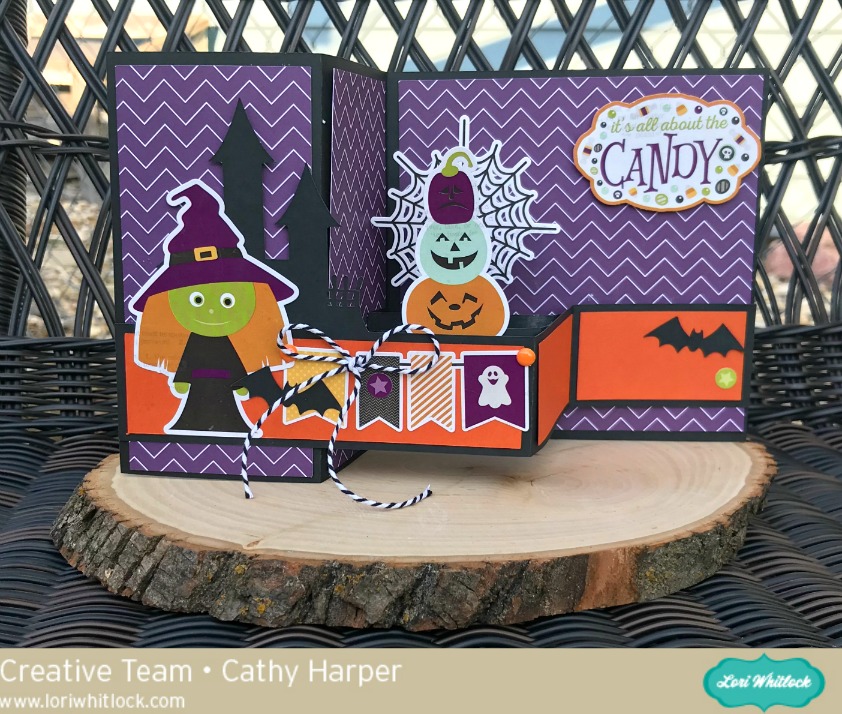
We are so happy to welcome back the talented Cathy Harper to our team!  Check out her fabulous cards!

Hi everyone!  So after a couple year hiatus from the scraping and designing world, I am beyond thrilled to be back designing for Lori Whitlock.  I have missed this team so much and the chance to design with the greatest cut files and paper collections.

I had a lot of fun this week working on some cute summer projects with Lori’s files and her paper collection Let’s Be Mermaids from Echo Park.

Bear with me on the photography, it’s been a while since I’ve edited projects and I have a whole new scrap room and still trying to figure out the best lighting and such.

First up, I have a Shell Flexi Card. (SVG, Silhouette)  This was so much fun to make, super easy and who wouldn’t want to receive this little card with just a bit more pizzazz with the flexi shape.  I just cut it out with my silhouette and used the paper, embellishments and stickers from the Let’s Be Mermaids to complete.  I can’t wait to try more of Lori’s Flexi cards.

A cute little ocean scene on the inside of the card that peeks through the flexi shell!

Next,  an Intricate Cut Thank You (SVG, Silhouette)!  This card is simple and gorgeous, all you have to do is add a background paper and cut the the scallop oval frame.  I cut two frames and popped one up with adhesive pop dots, just for a bit more dimension.  Then a just added twine, enamel dots and some small vellum flowers with Lori’s 3 mix and match flowers (SVG, Silhouette).

Lastly, I have just a fun little box card.  Loving all the fun patterns and colors in the Let’s Be Mermaids collection.  Soon summer will be gone, so I enjoyed creating with the bright colors and summer files.  This is the A2 pineapple box card (SVG, Silhouette).  Quick and easy, and perfect to send to someone special to brighten their day.  It goes together in just a matter of minutes.  I love little projects that are a breeze to make.

As I said before, I am thrilled to be back with Lori and her amazing team.  She has so many new files that I can’t wait to try and lots of gorgeous new collections coming from Echo Park.  I am one happy girl!