Spring Fling Embroidery Hoop with Cathy

Happy Spring everyone!  I think it may have finally arrived here in Michigan, but we are supposed to get a little bit of snow today.  Hoping it doesn’t last long, I’m so ready for sunshine and warmer weather.  I have a fun project to share with you today with an embroidery hoop and one of Lori’s mason jar box cards.  Lots of dimension,  pretty spring patterns and colors.

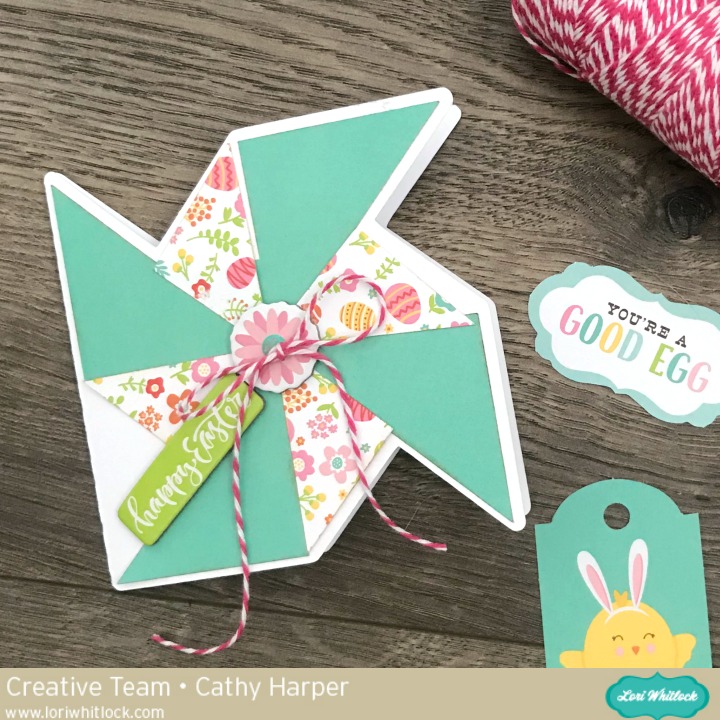
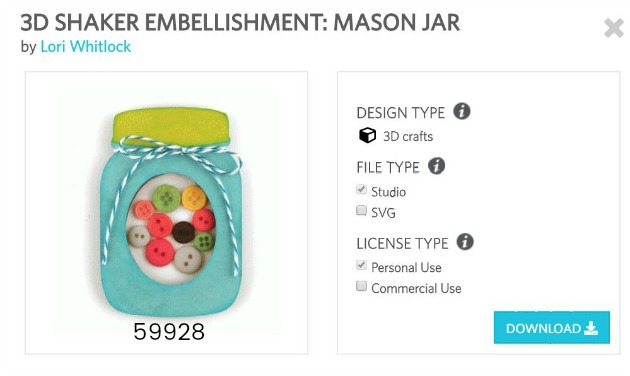
I used Echo Park’s Spring Fling collection designed by Lori to create my project.  I started with an 8 inch wooden embroidery hoop.  Adding the paper to the embroidery hoop can be a bit tricky and time consuming, but I love the results.  I found this tutorial and it was really easy to do.  After I had my hoop done, I cut all the fun little pieces for Mason Jar Pinwheel Box Card that you can find here in Silhouette or here at Lori’s shop

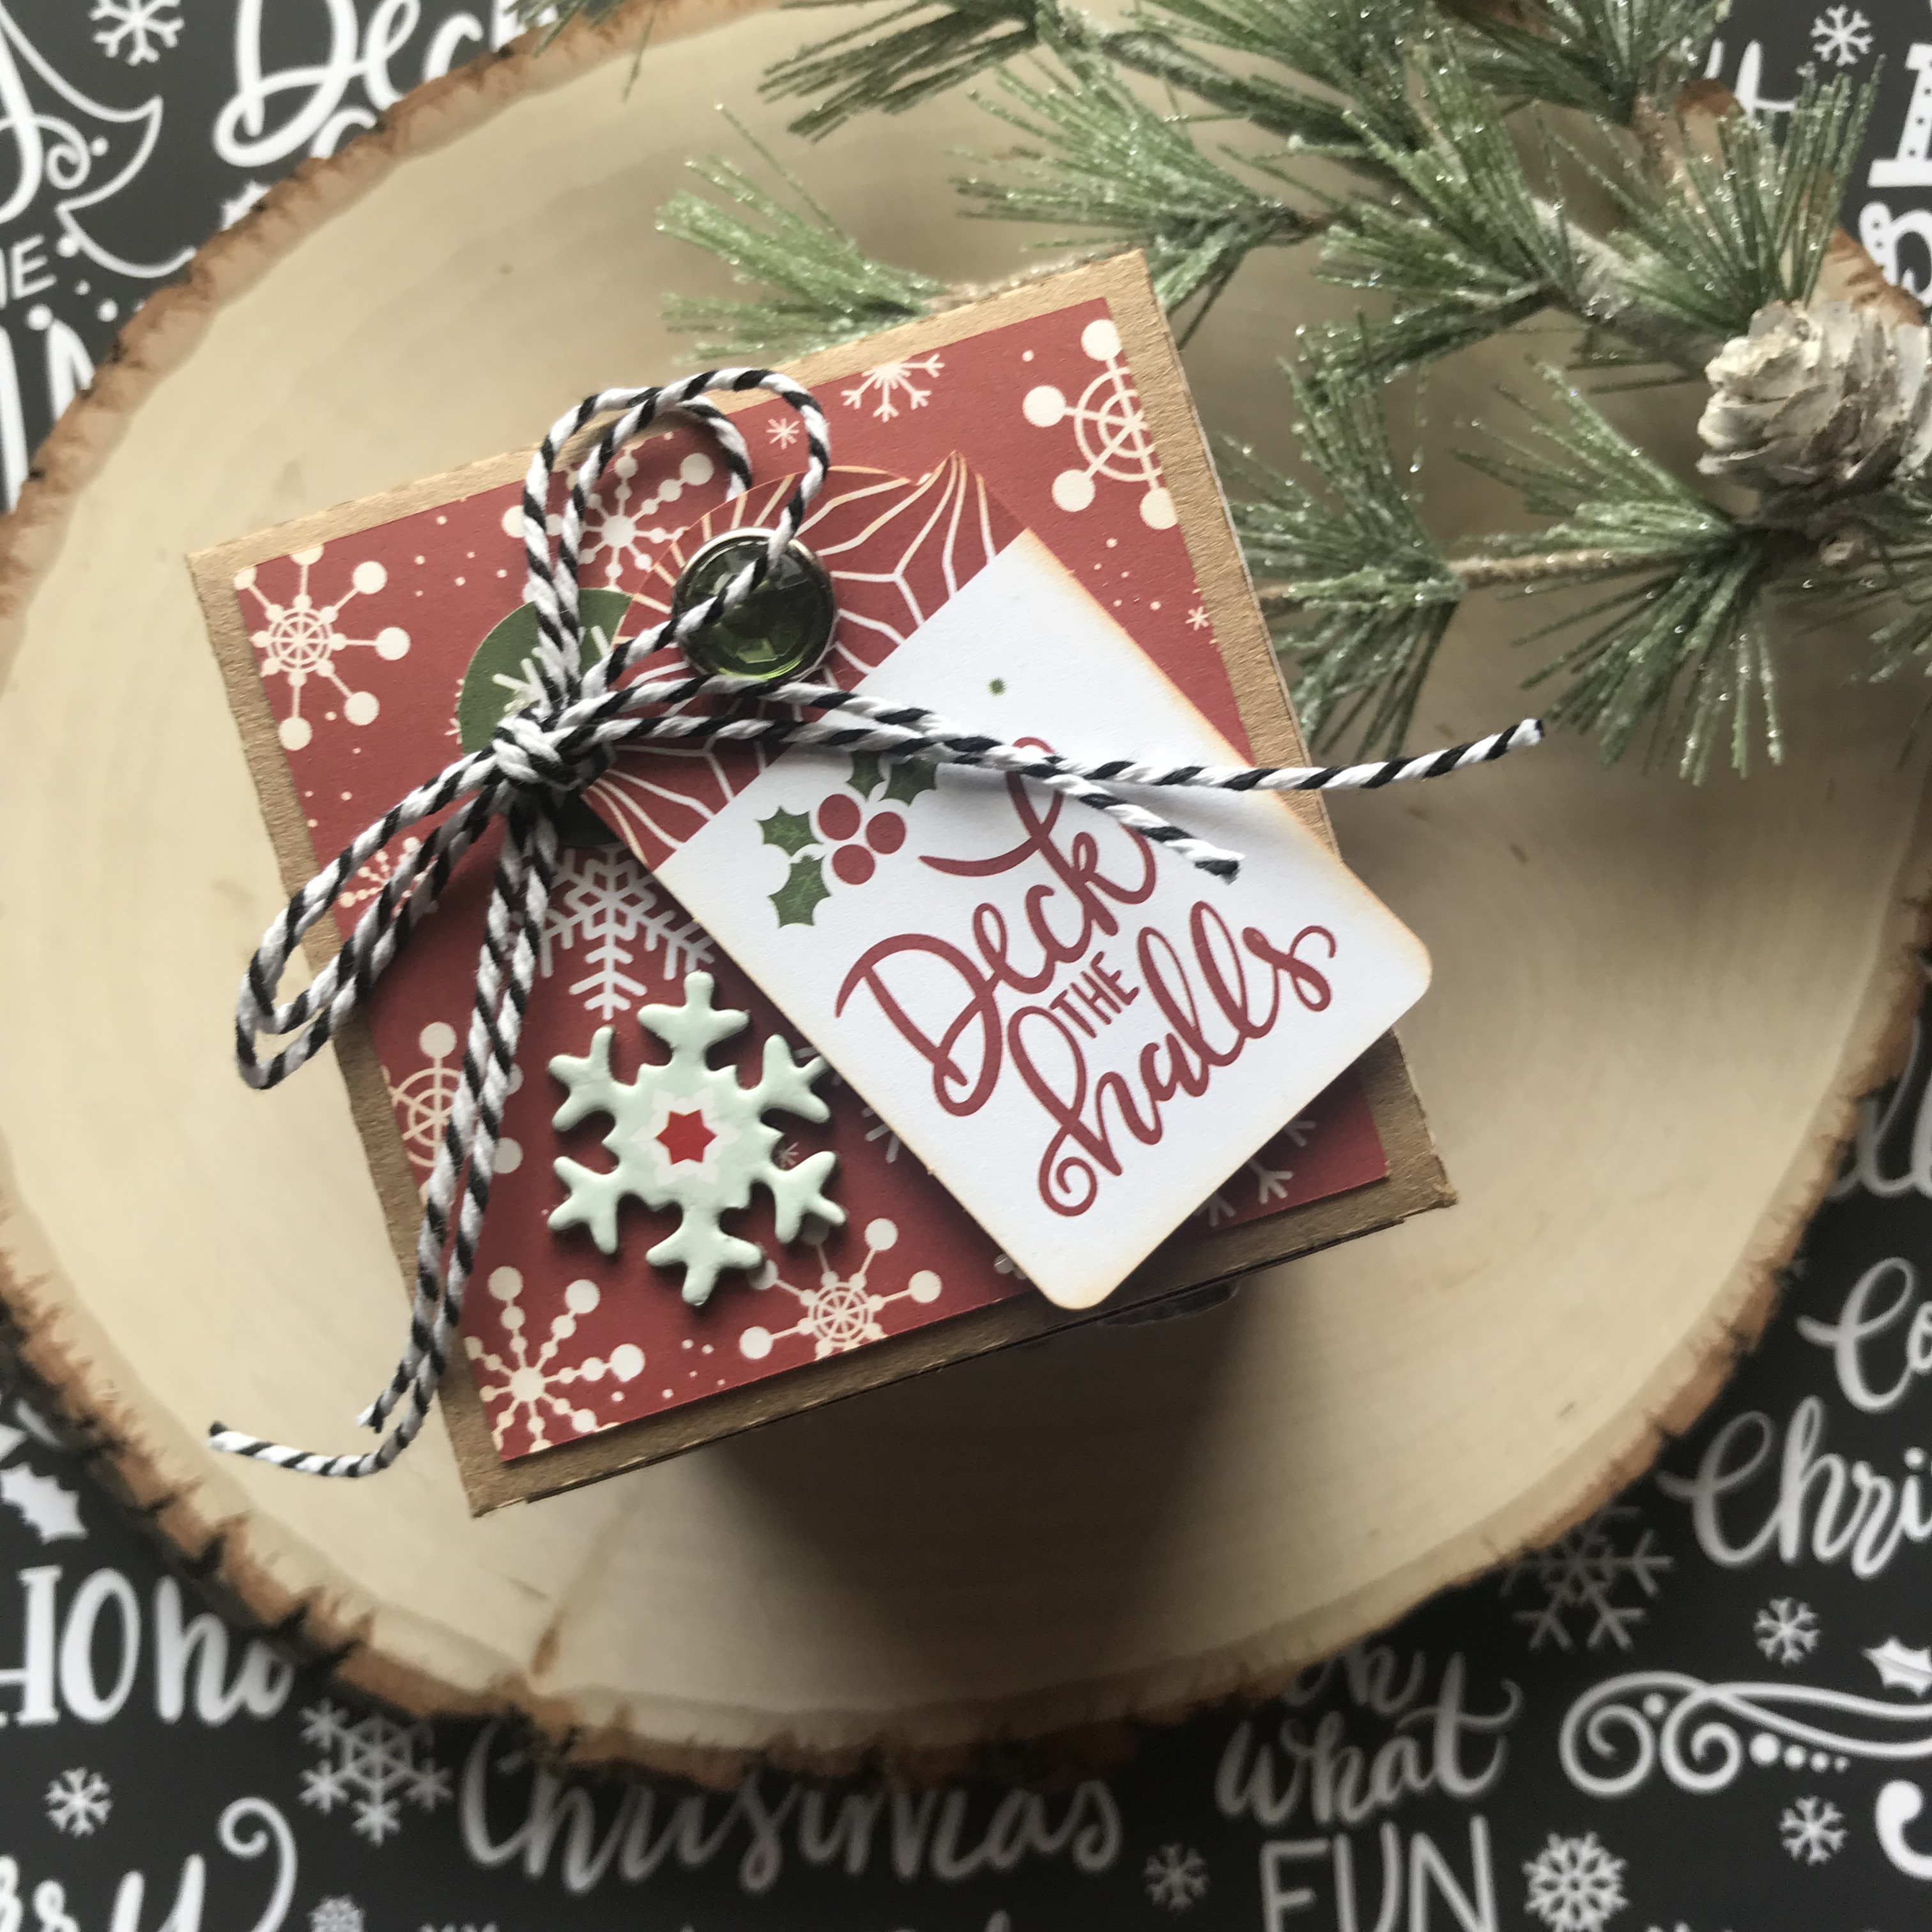
I inked the edges of everything with Broken China Distress Ink and assembled it, once it’s all cut it really only takes a few minutes to assemble.  I added the 4×4 sentiment from the collection kit to the embroidery hoop and then attached my box card with Scor-tape plus few pop dots.  I added a few stickers from Spring Fling, a  bit of twine and enamel dots.

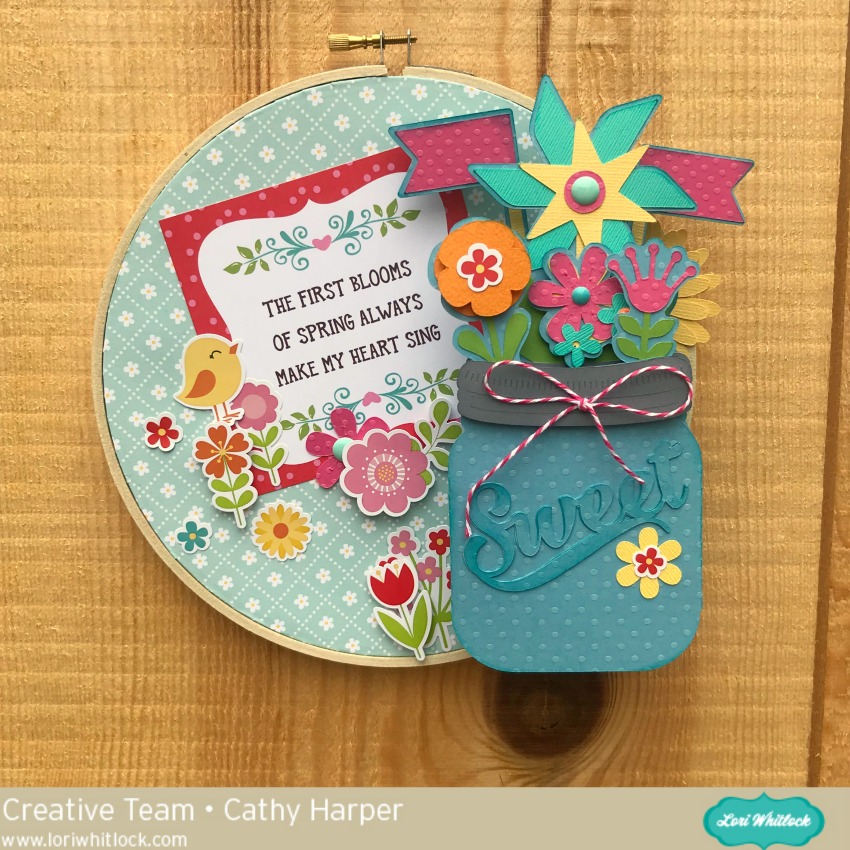
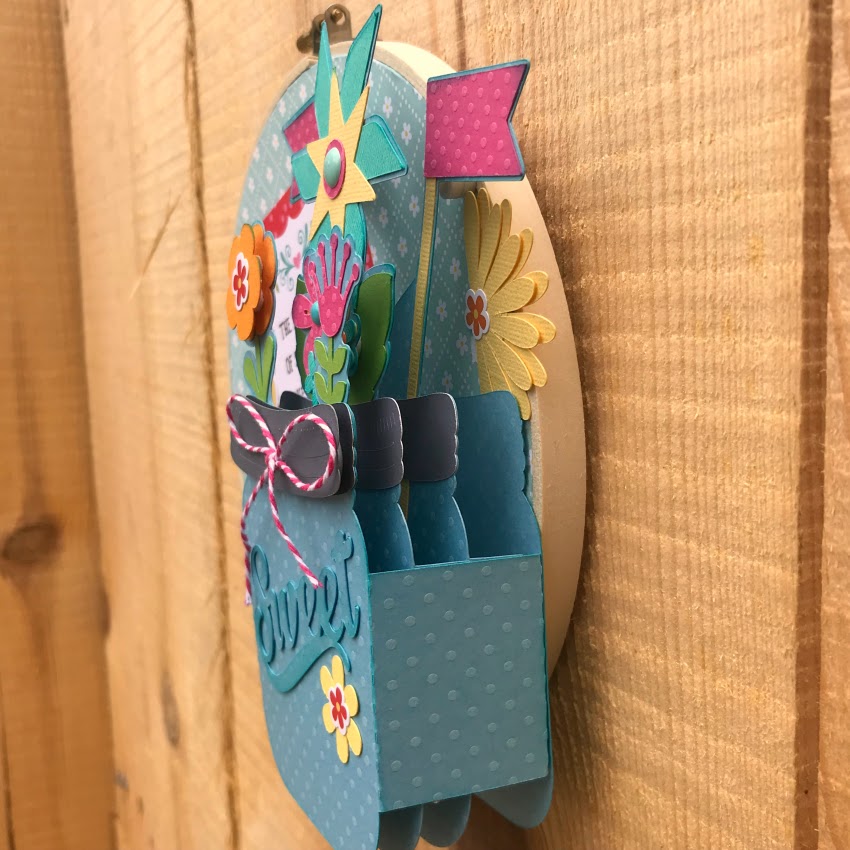
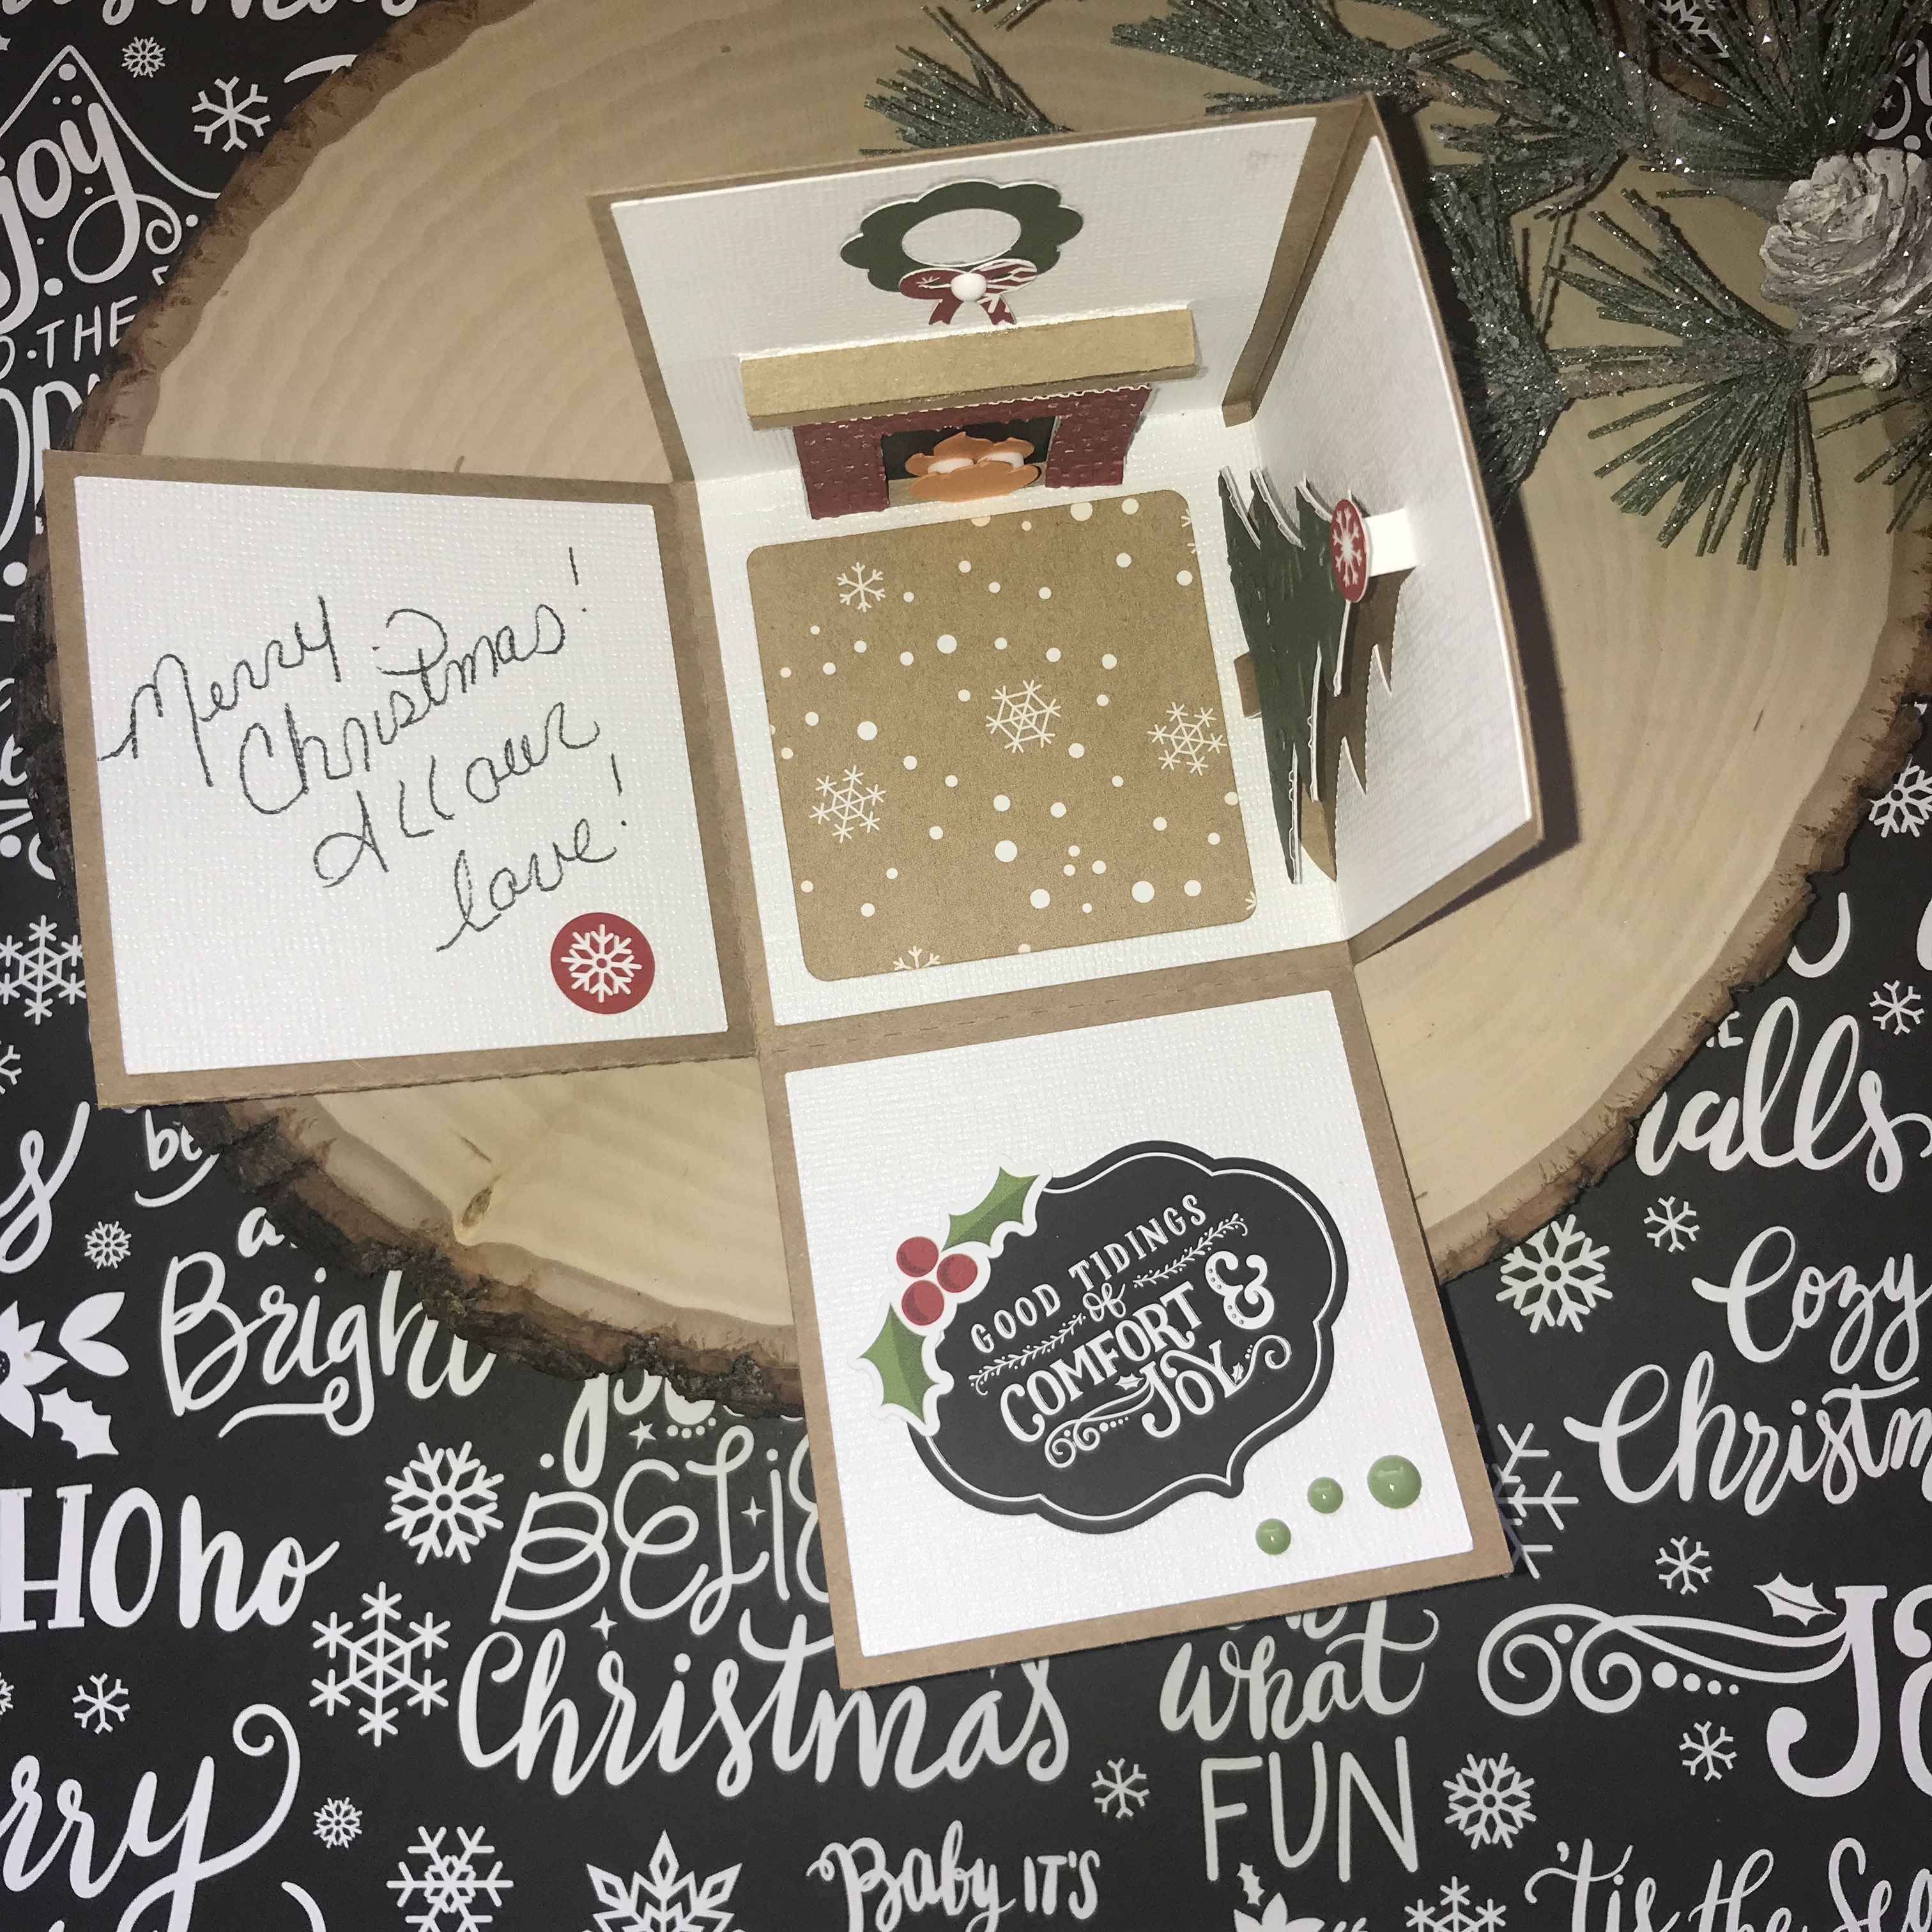
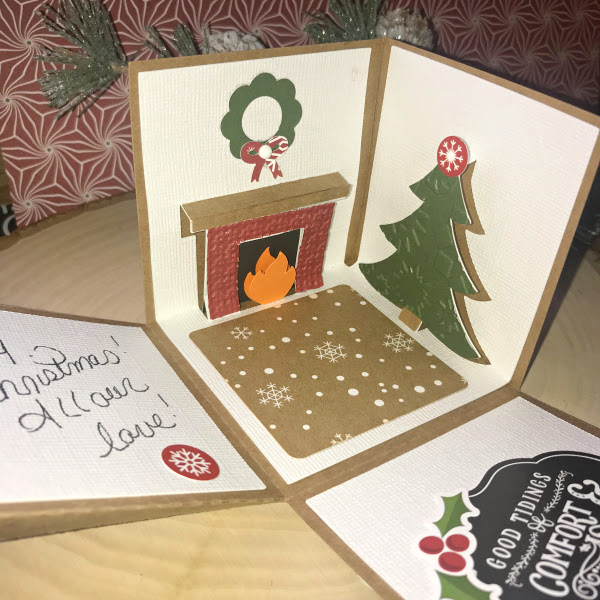
Here you can see all the dimension that these box cards have.  So fun!

Thank you for stopping by, I hope you have a Spring filled week with sunny skies and warm temperatures.

~Cathy

Spring and Easter Cards with Cathy!

Just when I think Spring is finally here, I wake up to snow.  I’m so ready for Spring days, but until that finally arrives these cute cards with Spring colors will have to do.  I have 3 cards to share with you today created with Lori’s files…first up the flower shaped mother’s day card, that I just turned into a cute spring card.  It can be found in here Silhouette and here Lori’s shop .  I used my Silhouette sketch pens for a little more definition and added the grass border file, find it here on Silhouette, and here in Lori’s shop.   So cute and springy!

Next, I made a fun shaker card for Easter with Lori’s Echo Park Easter Wishes collection.  I love making shakers and Lori’s files make it so easy to do.  Just layer up your shapes and fill with sequins.  You can find the 3d shaker card here at Silhouette  and here in Lori’s shop.

And one last super quick fun shaped card, again with the adorable Easter Wishes collection.  A little pinwheel card to wish you a Happy Easter.  You can find the file here at Silhouette or here at Lori’s shop!

Don’t forget that Lori is having an Easter Sale in her SVG Shop!  All Easter Themed SVGs are 25% off through Monday when you use code EASTER25 at checkout!

Hoping you have Spring weather wherever you might be….and hoping it arrives in Michigan soon!  Thanks for stopping by!

A Mason Jar Shaker Card with Cathy

Hi everyone, I just wanted to share how I took one of Lori’s shaker tags and made it into to a card.  I love the trend right now of shaker tags and cards, so much fun.  I adore Lori’s new Celebrate Winter collection from Echo Park and immediately a shaker card came to mind with all of the lovely blue shades in the collection.  I started with this shaker embellishment, you can find the here on Silhouette or here at Lori’s shop.

I turned this super cute file into this shaker card.  I adore how it turned out and it was super easy to do!

Open the file, and enlarge it to 16.75 x 18.75, by doing this it will make you mason jar just about the size of regular A2 card.  After you enlarge it, separate your mason jar, ovals, and windows. That way you can make your card base.

Follow the step below, you could add a score line where the jars meet but I just used my scor-it to do that.  Why add an extra step?  Lol.

I cut extra lid shapes so that my card would just have that extra dimension.

I backed my window with white card stock and then you layer all of your windows, use a good adhesive, you want a good seal so that none of your sequins fall out.  I always repurpose a piece of clear packaging for my clear window part.  So layer all of the window shapes, except one, fill with sequins and such, adhere your clear window, and then one more window goes over the top. Then just adhere all of your lid shapes.  All that’s left to do is embellish your card… I used some of the Celebrate Winter Collection from Echo Park to embellish.

I love how this turned out…this is simply one of the cutest collections for winter ever!

Buffalo Plaid and Vinyl with Cathy

I don’t know about the rest of you…but I’ve kind of become obsessed with Buffalo Plaid…from shirts, to purses, to home decor and when I found these Buffalo Plaid dishes at Hobby Lobby, I knew I had to have them and add some of Lori’s designs to them.  They were just screaming to have some vinyl added to them.

First a mug that I made for my special guy, every time I tell him that I love him, he replies with “I love you more!” and of course Lori had that design already in her shop so it was perfect.  Here’s the link for Silhouette and the link for SVG here.

I had to have more Buffalo Plaid, so I got a couple of plates that I thought would be fun to use for Christmas Cookie plates, but I’m not sure I can part with them, lol. The first little plate I used this Silhouette file or this SVG file.  I love how this turned out.

And just one more to share with you…for this one, I used Silhouette file or this SVG file.

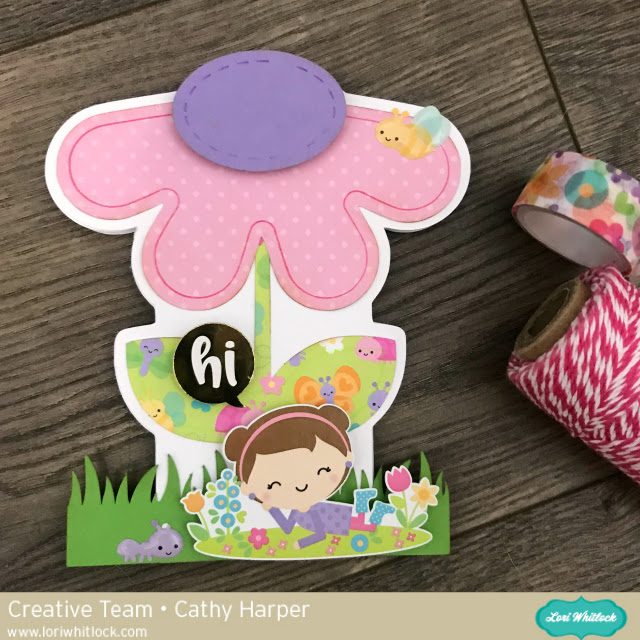
I had so much fun with these little projects and adding vinyl is so quick and easy…the possibilities are endless with all of the files that Lori has created.  It’s an easy way to really personalize or had that perfect touch to lots of projects.

3-D Christmas Scene Explosion Box with Cathy

Hi Everyone!  Today I’m sharing a simple little explosion box that goes together in no time at all. This is Lori’s Christmas Scene Explosion Box available in SVG here or you can find it here in the Silhouette store.  I used Lori’s new Echo Park Celebrate Christmas line to create this amazing little box!  When I give it away, I think I will fill it with Hershey Christmas Kisses!

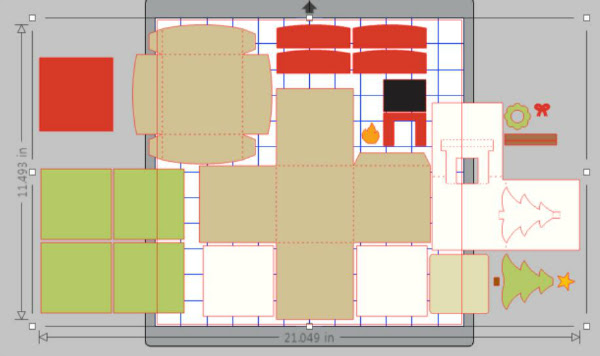
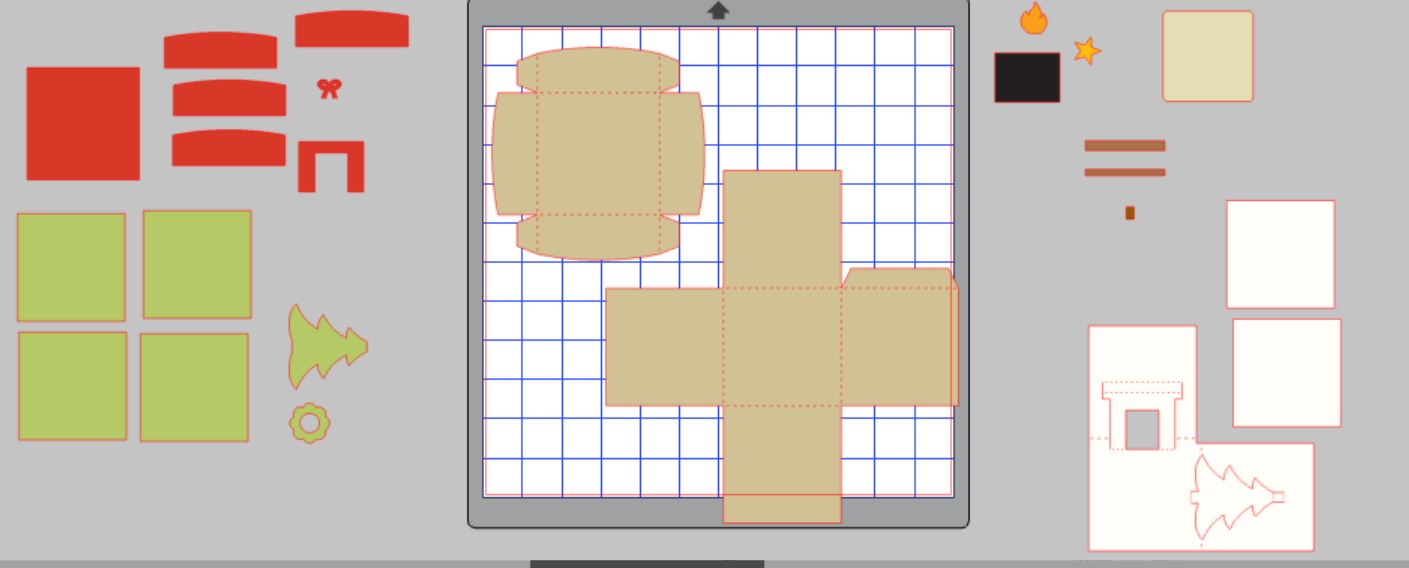
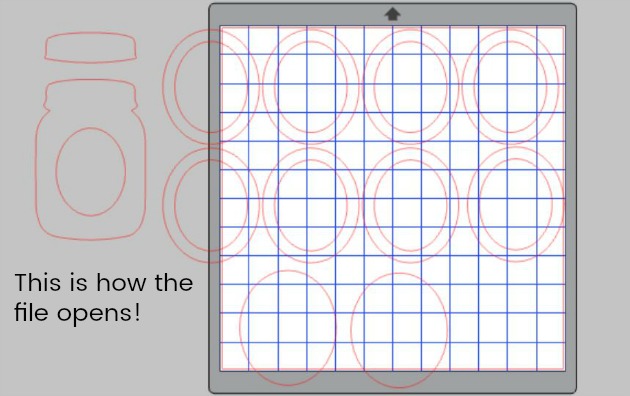
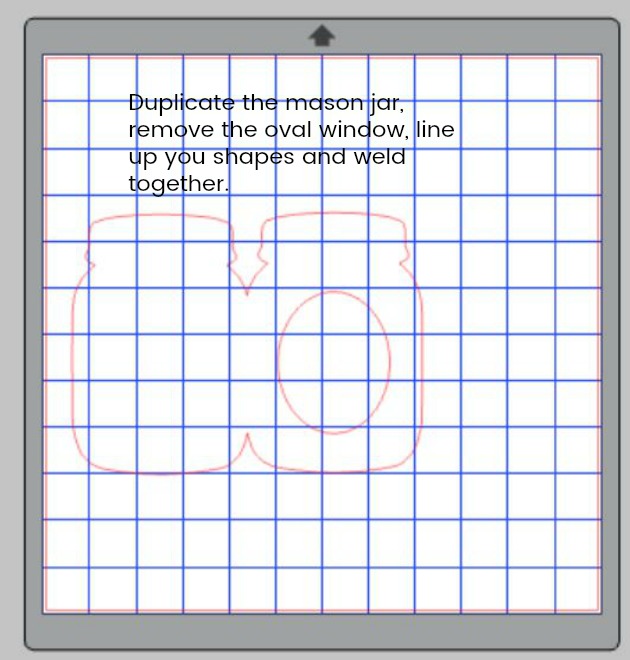
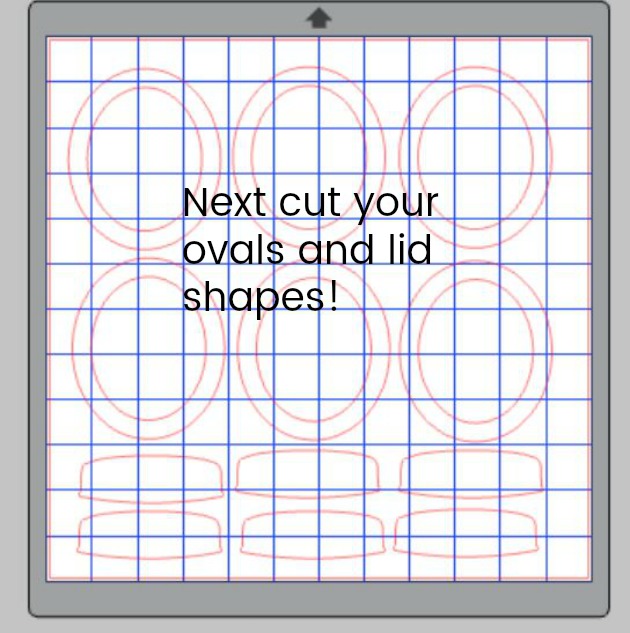
There are a lot of pieces to this file.  But I just separate by color and then cut!  Easy Peasy!

Here are some views of how the pieces fit together…

To finish, just fold up the remaining sides of the box and add the cover.  When you lift the cover off, the sides explode out for a nice surprise!  It really is a simple project…I had no problems putting it together.  Just fold on your score lines and assemble! It goes together in a matter of minutes once you have your pieces cut!