
Hello Crafty Friends! Michelle here, to share a quick and easy tutorial for changing your print and cut sentiments. Have you seen all of the recent Valentine’s Day cards that Lori Whitlock has designed? With so many fun interactive styles, you can make a card for everyone. I’ll be sending cards to the people that I love, but I also want to give cards to the people that I like. Sending coworkers cards that say, “I Love You” would make everyone feel a little awkward, so I’m going to change the print and cut sentiments with my Silhouette Cameo.
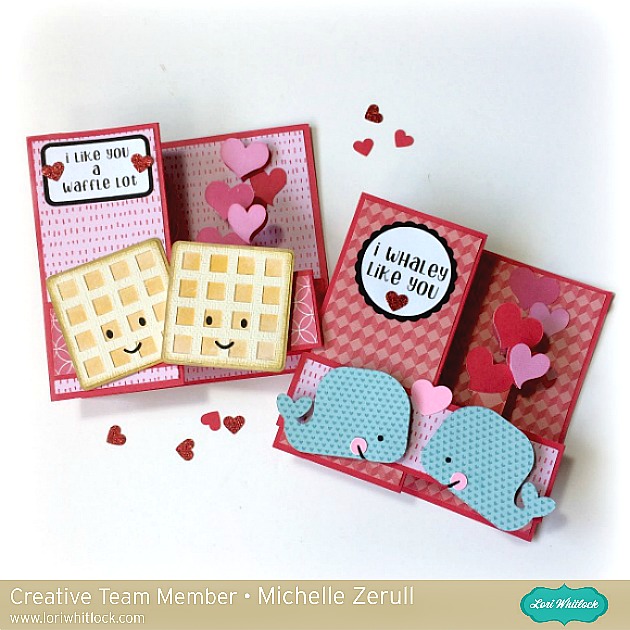
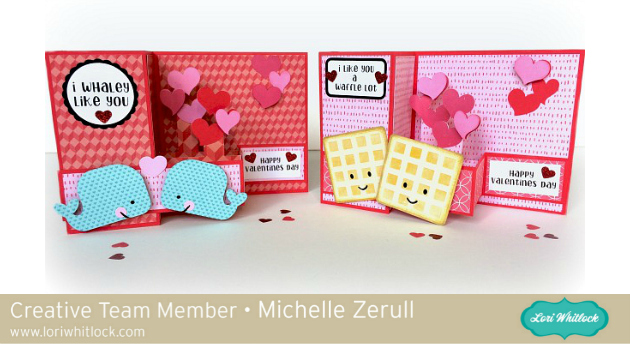
Today, I’m going to change the sentiments in two pop up box cards. I made the Pop Up Box Card Valentine Whale from the Lori Whitlock SVG Shop. You can also purchase it from the Silhouette Design Store. I also made the Pop Up Box Card Valentine Waffle card from the Lori Whitlock SVG Shop and at the Silhouette Design Store. Both of these adorable designs contain sentiments that say, “love.” We are going to change that in three easy steps with my Silhouette Cameo.
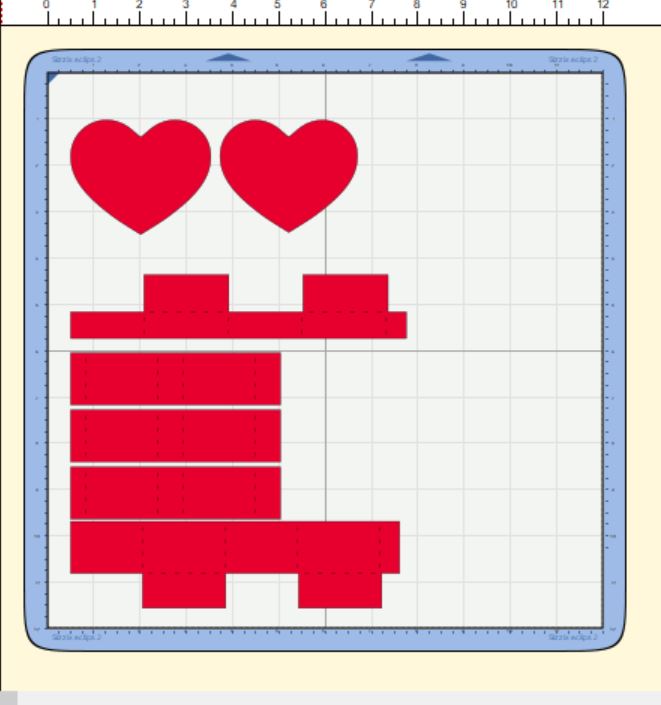
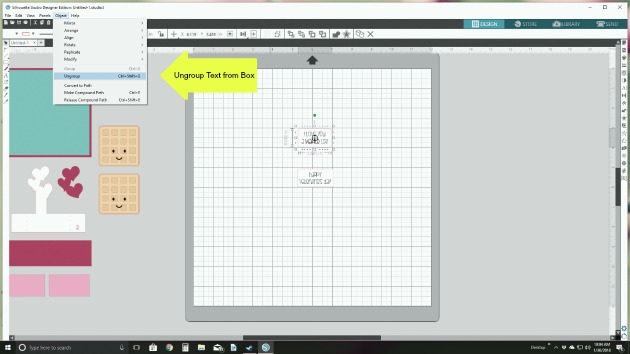 1. Prepare the sentiments to be changed. Ungroup and move all of the design elements off of the mat and on to the grey area. Leave the two print and cut designs on the mat. I’m going to change both print elements at the same time so the fonts match. Ungroup the text from the box and delete the sentiment. Leave the rectangular box piece on the mat. Our new sentiment will fit inside.
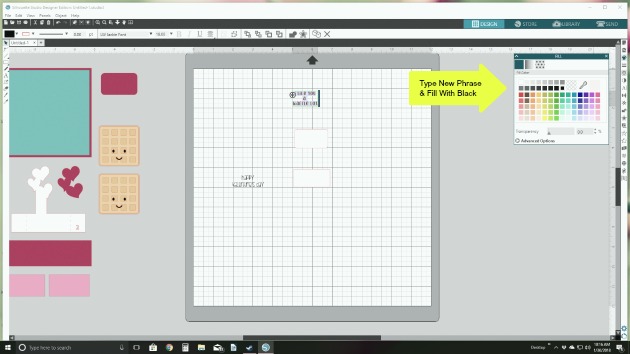
2. Design your NEW sentiment. Create a text box by clicking on the left hand side. Type your new sentiment. You will need to resize your sentiment to fit the text box by using the text icon on the far right side. You can also change your font at this time too. Lori has a lot of great fonts to choose from. I changed my font to Jackie Font that I downloaded from the Lori Whitlock SVG Shop. You an also find it here at the Silhouette Design Store. Important: You need to fill the sentiment with black in order for it to print. You can do this by clicking on the new text and then click on the art palette icon the the right side menu. Technically, you can choose any color, but we are sticking with black for this project. Make sure your new text fits in the old text box piece.
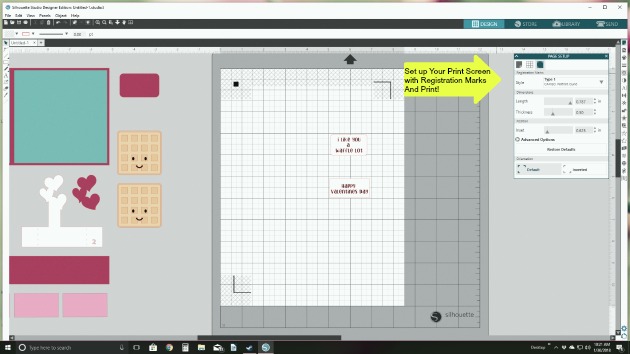
3. Prepare your new sentiment for printing. Now that you have your new text in the old text box piece, you will need to make sure that it will print instead of cut. To do this click on the blue “send” tab on the top right. This screen will show you what cuts by placing read lines around it. Leave the red lines around the box, but remove the red lines from the sentiment by clicking the “No Cut” on the send screen. Now flip back to the “Design” tab. Here, you can group your sentiment and box so that you can move them around together. Set up your page to print as usual.
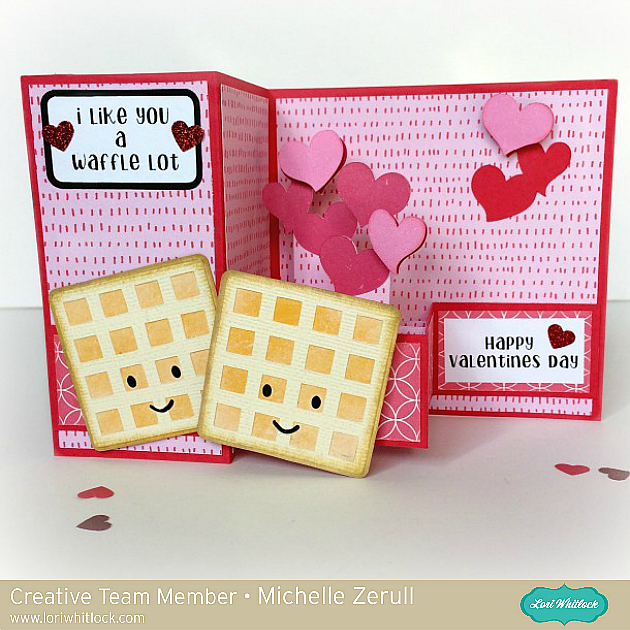
As you can see from the card, the original sentiment has now been replaced with, “I Like You a Waffle Lot,” instead of “I Love you a Waffle Lot.” It’s just as cute, and now I can give this card to anyone!
I love that all of Lori’s designs are so versatile. And so very, very cute! Thank you for visiting, and have a crafty day!
Michelle


 4mm permanent honeycomb-dot
