Father’s Day Tool Box Card Tutorial with Anita

Hi Everyone:

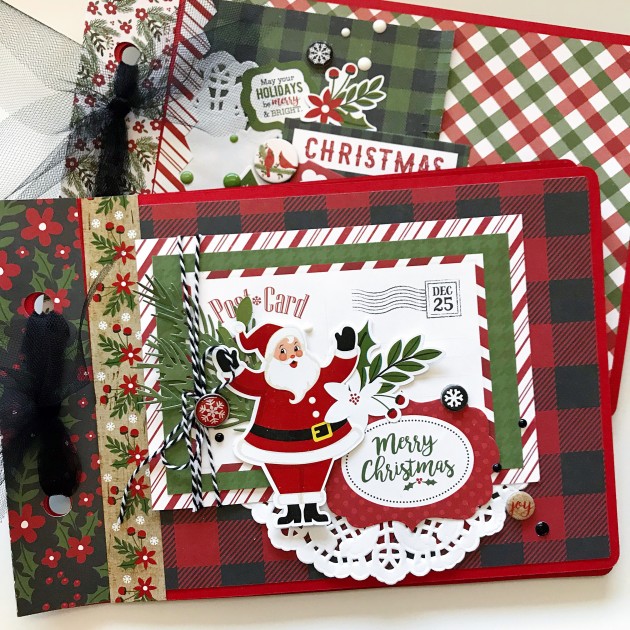
Now that we have celebrated Mom it is time to start thinking about the Dad!  I made this sweet card which was so easy to put together for my hubby.  I used the A2 Father’s Day Toolbox Card cut file which you can find here in Lori’s store and here in the Silhouette store.  I used two of Lori’s wonderful Echo Park lines, Wish Upon a Star and I’d Rather be Crafting.

Here are the cut out card pieces and the embellishments that I used from her Wish Upon a Star collection for the bolts on the front of the tool box.

You are going to want to fold your score lines.  Lori’s file includes holes for the brads.  I didn’t punch them out because I wanted to use the enamel dots instead.  You will have a nice pocket in the front to fit the tools when you are done.

I wanted a more plain design to show on the inside so I cut extra  inserts and glued them down.

Here are all the pieces ready to be glued into the pocket.  I popped three of them up to give the card some more dimension.

That’s it for me today.  Lori has lots of wonderful Father’s Day cards and gift boxes for all your celebrations.  This card came out really wonderful and I’m sure that one of the Dad’s in my life are going to love it.

Hugs,

Anita

Mini Wreath Place Setting Tutorial with Michelle

With family so far away, our Easter Dinner is a quiet gathering where we use our everyday plates. This year, I (Michelle) decided to make dinner fun with some Mini Paper Wreaths.

Lori Whitlock Easter Rabbit Place Setting Svg

Making the mini wreaths was fairly easy with my Silhouette Cameo, but I have a couple hints and tricks to make it really easy! I started with Lori’s Circle Monogram Frame (Silhouette Design Store or Lori Whitlock SVG Shop) to make the wreath. This is possibly my favorite SVG file. The wreath is actually 6 seperate pieces. Since I am making a small wreath, I’m going to release the compound path and make all of the leaves filled in, which is easier for me to cut.

Release Compound Path

I’m also going to cut a 5-inch circle to fit my plate. (Hint: When making a circle hold down the shift key and your circle will be perfect each time.) I recommend cutting three or four monogram wreaths to make your mini wreath nice and full.

Next, I cut some BRAND NEW Bunnies. This Easter Bunny Silhouette is absolutely darling! I love his little tail cut-out. He’s new in the shops and you can find him in the Lori Whitlock SVG Shop and the Silhouette Design Store. I cut two 4-inches bunnies and glued them back to back, but one would’ve been enough. I wanted to add a cute sentiment, and I found exactly what I was looking for in the Bunny Dingbats Font. You can find this in the Silhouette Design Store and the Lori Whitlock SVG Shop. You will find additional bunny silhouettes in the font. They would be cute too. With the bunnies so small, I had trouble getting the sentiment cut cleanly with paper, so I used vinyl instead. It came out perfect the first time!

Lori Whitlock custom vinyl SVG sticker on paper

Yes! Paper crafters can use vinyl too! I love how it came out.

I topped off my wreath with a cute paper bow found in the Silhouette Design Store or at the Lori Whitlock SVG Shop and my project was finished. This would be a great project to try new techniques such as releasing the compound path and using vinyl. if you would like even more information, I would encourage you to check out Lori’s class on Craftsy. With the class, Lori explains numerous techniques for getting the most out of your Silhouette Cameo.

I hope that you’ve enjoyed my Mini Wreath Tutorial. Happy Easter!

Michelle

Rolled Flower Arrow Sign Tutorial with Brandie

Hi there crafty friends! Brandie here with a another sign tutorial.

One of my goals for this year is to complete several of my in process projects. I am guilty of starting several projects at once then not finishing them to start something else. Ha! I hope I’m not the only one!

This sign is one of those projects. I attended Pinners conference two year ago and purchased the kit to make this sign. For the longest time I only had the arrow painted on the wood. Yesh!  The original design included felt flowers that I did not like so being the paper loving girl I am I found some rolled flowers that are perfect.

I used Rolled Flower 30, Rolled flower 31, and Rolled flower 32. You can find them in Loris shop and in the Silhouette store.

I uploaded the flowers into Cricut Design space duplicated and resized them to have three different sizes.

I cut the flowers out of 65lb cardstock. I prefer the lighter cardstock for making flowers. I find it easier to work with. I started with the outside end and wound the petals toward the center circle. While still holding the flower I loosened my grip on the flower to let it out a little. I applied some hot glue to the circle then pushed the petals down on the glue. I then flared the petals out to create a more natural look.

I dry fit the flowers on the arrow first. I then glued the leaves on the flowers and then glued the flowers onto the arrow.

I have this sign as part of a gallery wall in my front entire. That’s it for me today.

Thanks for stopping by!

Brandie

Christmas Card Mini Album with Brandie


Hi there! Brandie here with a tutorial on how I made this mini album for my Christmas cards. I have been wanting a cute way to display the Christmas cards I get every year and this little album will do the trick. I used the Mini Album Rounded Corners file you can find it here in Loris shop and here in the Silhouette Store.

After I uploaded the file to Cricut Design Space I resized everything so that my largest cards would fit. For this album it is 6.8 inches tall by 10 inches wide. To get the correct proportions for all the pieces select all then use the arrow corner to enlarge everything.

Once I had everything cut I added my decorative panels. I also decorated the fronts of my albums with the papers and embellishments from Echo Park’s A Perfect Christmas collection.

Then I glued my Christmas cards to the pages.

I placed the binding cover and tied them with tulle.

Now every Christmas I can pull them out and look back to see how family and friends have changed over the year as the new cards come in.

Thanks for stopping by!

Brandie

Christmas Border Edge Cards Adding Color Tutorial by Brigit

Hello there, it’s Brigit, I have a quick tutorial on how to add colors to these Christmas Border Edge Cards. When I have a large amount of cards to send I love simple cards and this is a quick and easy way to add a splash of color to them.

Here are three that I made from the bundle but I’ll show you the Christmas Holly Border Edge Card, (Silhouette Design Store – Christmas Holly Border Edge Card) in the tutorial.

First I ungrouped and then duplicated the card base, next I used the knife tool to slice the card in half.

On the holly border edge half I right clicked and did a release compound path and deleted just the leaves.

After deleting the holly leaves I selected the card and berries, right clicked and selected make compound path.

Here they are layered back up, super simple! You may have to shave a little off of the green so it fits nicely inside the card without hanging out further than the the back.

Here is a closeup of all the cards I made…


I really like the simplicity of the white with the colored glitter paper, I kind of wished I did the Santa one the same. For the sentiment I did a print and cut using the Merry Christmas Title 2 which you can get here in the Silhouette Design Store.


I did another print and cut using the Merry Christmas from the 3 Christmas Greetings, in the Silhouette Design Store you can get it here.

This Merry Christmas Flourish Phrase sentiment is a cut file.   Thanks for stopping by and have a wonderful day!!