Hi there! Brandie here with a tutorial on how I made this Christmas sign using the Sleigh Rides on Santa Claus Lane file. You can find it here in Loris shop and here in the Silhouette store.
After I got my image uploaded and sized accordingly I cut out the image on vinyl to create a stencil. While my machine was cutting the images I painted the white layer on my barn wood square.
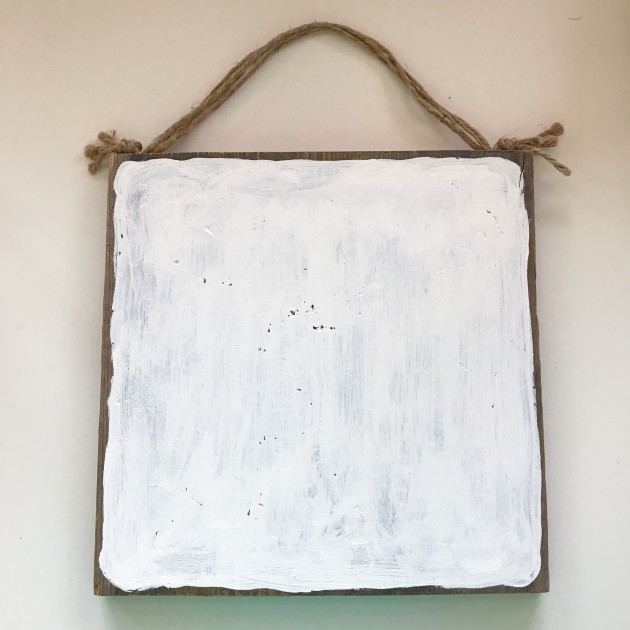
I painted one thin layer of white acrylic paint and did not go all the way to the edge of the wood to help give it an aged look. While the paint was drying I weeded the vinyl. To create the stencil I removed the inside parts and kept the negative image.

To apply the stencil I cut the image into thirds and applied to the dry painted wood. I am the queen of eye-balling things and did that here. But transfer tape would help with applying the stencil to the wood.

Once the vinyl was applied to the wood I rubbed everything down with the long flat side of a bone folder being careful not to gouge the wood. I used red acrylic paint and a stencil brush to apply the paint in thin layers.


After I had the color and coverage I wanted I gently pulled the vinyl off the wood.

I then used a hand-held sander and carefully went over the sign.

Here it is all ready to add to my Christmas décor. I love how it turned out and have plans to make another one with a nativity file next.
Thanks for stopping by!
Brandie