4 Drawer Organizer Tutorial with Anita

Hi Everyone:

Anita here with a tutorial to create this adorable four drawer organizer.  I am going to show you how to put this cutie together and was thinking that you could customize them for every season.  I am going to put chocolates into mine and give it to a friend.  You can find the 4 Drawer Organizer cut file here in Lori’s store and here in the Silhouette Design store.  I used one of my favorite Echo Park Lori Whitlock designed paper lines called Sweet Baby Girl.Here is a screen shot of the cut files on my mat.  You will need to cut four of the outer box and the inner box as noted in black bold type near the boxes cut files.

Here are the pieces that you will have once you have cut everything for your project.

I always start my projects by folding the score lines as you can see by the photo above.

For the inner box you are going to want to glue the tabs from the back of the box to the side of the box.

Next you will glue the back flap into the box.

Next you will glue down the front flap into the box.

Lastly, you will glue in to the box the two last flaps and your inner box is done.

Now onto the outer box.

There are flaps along the bottom of the box cut file and you will be gluing the tabbed pieces together and leaving the flaps alone for now.


Here you can see that I have started to glue together the tabs on the outside box and am ready to glue the last side onto the box with the flaps left alone for now.


Here you can see that I glued together the last part of the box and the flaps are open and at the top.  They are going to get glued into the box and will make a lovely clean box with smooth insides which allows the inner box to slide easily in and out.

And that is how you put together both of the boxes.  Next, you will stack the four outer boxes two by two and glue them all together.  Make sure that you put enough glue to hold them together.  Lastly, you are going to glue on your accent pieces to finish off your box.  You could also add any cute embellishments that you want.

Hugs,

Anita

Paper Flower Shadow Box Tutorial with Michelle

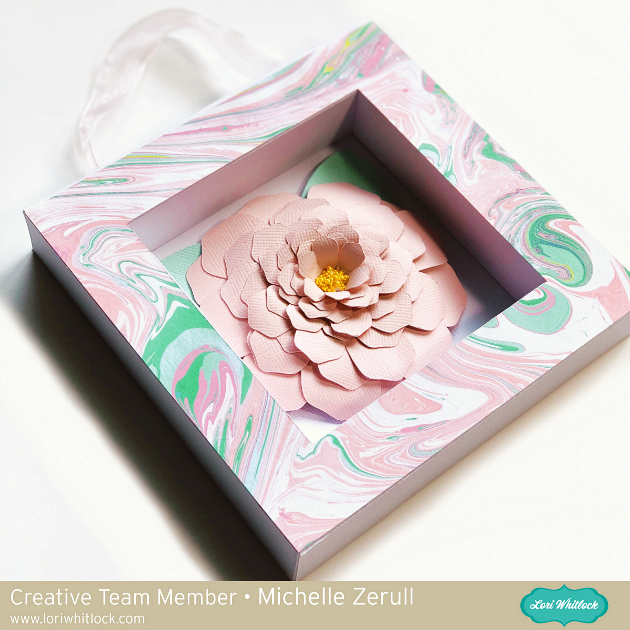
Hello Friends! Paper Flowers are so popular and they are so fun to decorate with. Today I would like to share an easy tutorial for this cute home decor project featuring one of Lori’s latest flower files.

Paper Flower Shadow Box Tutorial

This is such a quick project to make. The flower only takes about five minutes to put together. When cut at normal size, the flower fits perfectly in this 4×4 Shadowbox Frame. The Shadow Box Frames are one of Lori’s classic designs. There’s an excellent Youtube Video showing how to assemble the frame. It’s so easy to make, and looks so professional. I love it! You can find the file for the 4×4 Frame at the Lori Whitlock SVG Shop, or at the Silhouette Design Store. You’ll also need the 3D Flower File. You can find the file at the Lori Whitlock SVG Shop and also at the Silhouette Design Store.

Photo Tutorial for 3D Paper Flower

Materials Needed to make the Flower:

  • fast drying glue or hot glue
  • a kitchen bamboo skewer or other end of a thin paint brush
  • white craft glue
  • yellow Prills or small beads for the flower center
  • a piece of craft foam or mouse pad
  • a stylus with ball on the end or the end of a clean pencil eraser.
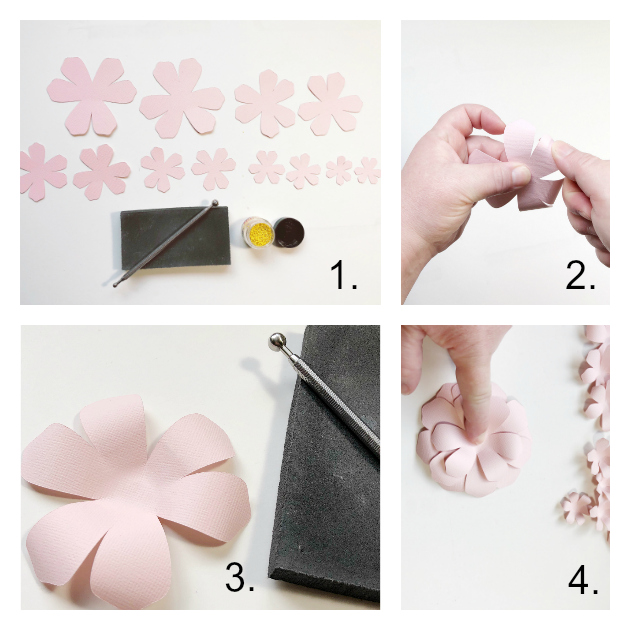
  1. Curl petals away from you using your wooden kitchen skewer. This is the same motion that you would use to curl birthday ribbon.
  2. with petals facing down, place the petal piece on the foam and using a circular motion, roll your stylus around in the center until the petal begin “lifting” and a depression is formed in the center. Repeat Steps 2 & 3 for all petal pieces.
  3. Begin building your flower from the outside (Larger petal) towards the center. Use a small amount of fast drying glue or hot glue and hold in place until the glue is dry before moving to the next piece, then continue building the flower up one layer at a time. Note: Allow each one to dry first so that your flower doesn’t shift. When you get to the last smallest piece, add a drop of white craft glue to the center and add small beads or Prills to mimic a flower center. Flocking or yellow powder such as tumeric makes a fun center too.

While your flower center is drying, complete the shadow box as described in Lori’s Video. Any pretty papers from a 6×6 pad will look lovely on the front of the frame. I used a paper from Echo Park Paper and a piece of 10-inch ribbon (optional) to complete the look.

The great thing about making paper flowers is that there isn’t a right or wrong way. Try different curling variations for different looks. If you like, you can add inks or chalks for additional color variations. Each flower is unique and will be beautiful when you are finished.

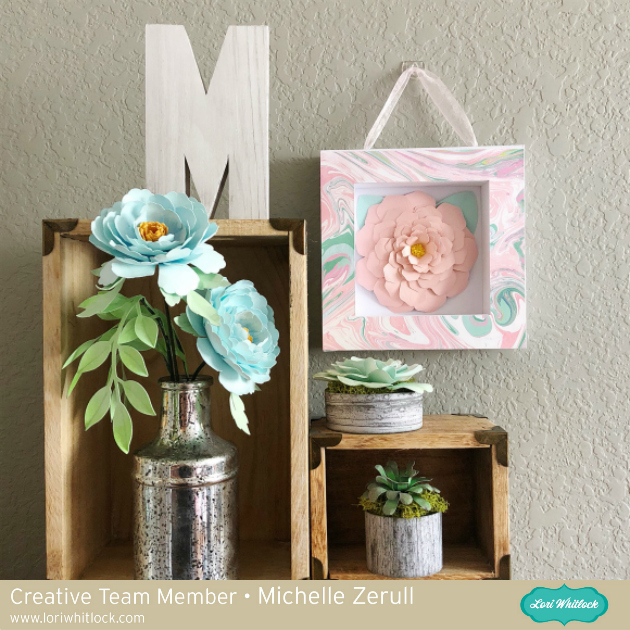
I’m so pleased with how this came out. It really brightens up a corner of my craft room, don’t you think?

Paper Flower Display

Have a creative day!

Michelle

<3

New Product Feature: Explosion Boxes

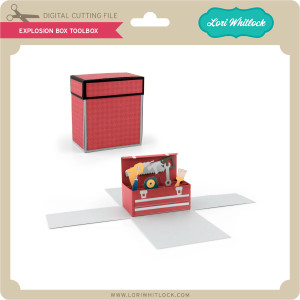
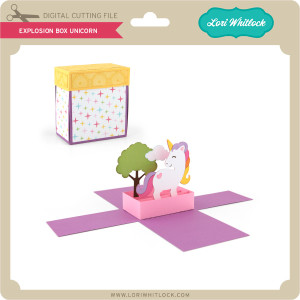
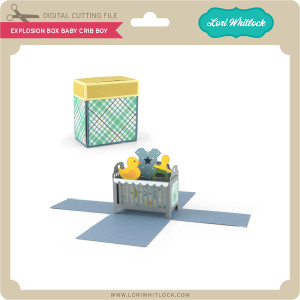
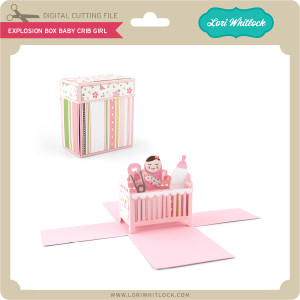
Hi Everyone!  Have you seen the new Explosion Box Bundle in the shop this week? These fun little boxes are for those occasions when just a card won’t do and they are on SALE 25% OFF this week!  There are 4 new boxes, take a peek…

Here are some more photos of the Explosion Box Baby Crib Girl… so cute!


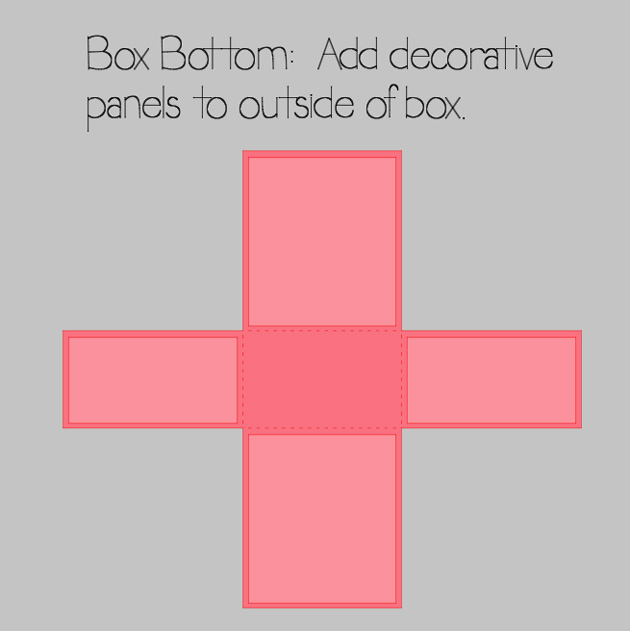
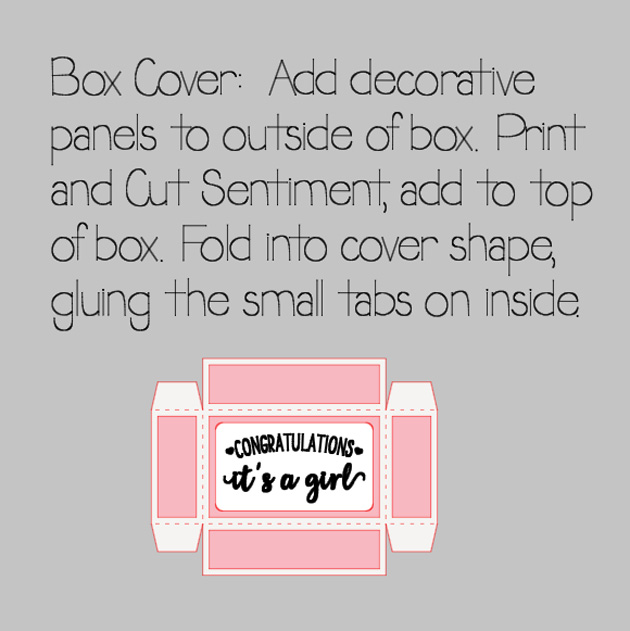
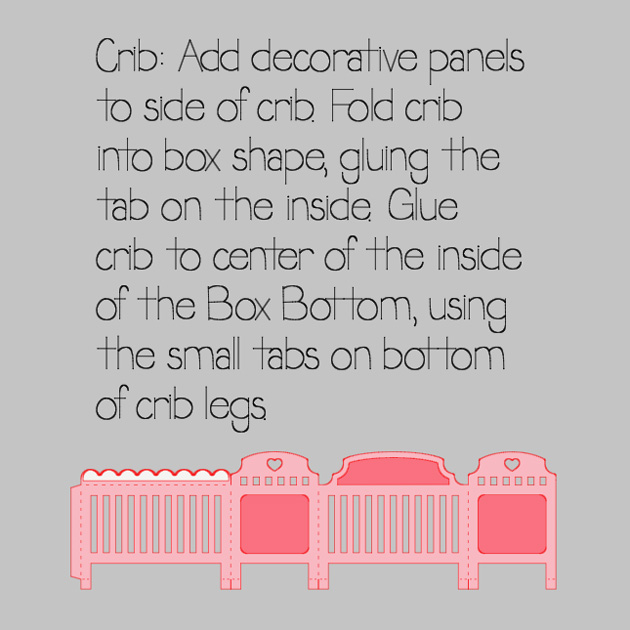
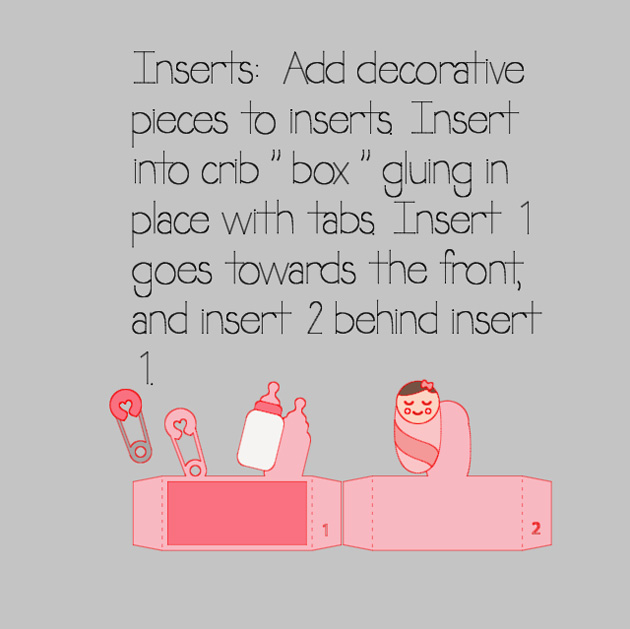
These boxes are easy to assemble, they are very similar to my standard box cards.    I’ve put together some graphics below showing how to put the pieces together.

If you need more help with adding the inserts, my Box Card Video will help, the inserts are done in the same manner.  Once all of the pieces are assembled,  fold the sides of the box up and add the cover.  When the recipient opens the box, the sides will “explode” out for a fun surprise! The baby explosion boxes are made with my Sweet Baby Girl and Sweet Baby Boy paper collections. The unicorn explosion box is made with my Perfect Princess paper collection. You can find the files for the Explosion Box Bundle in the shop. Watch for more Explosion boxes in the near future. If you have any theme requests, please feel free to leave a comment on this blog post : )

Have a great day!


Father’s Day Tool Box Card Tutorial with Anita

Hi Everyone:

Now that we have celebrated Mom it is time to start thinking about the Dad!  I made this sweet card which was so easy to put together for my hubby.  I used the A2 Father’s Day Toolbox Card cut file which you can find here in Lori’s store and here in the Silhouette store.  I used two of Lori’s wonderful Echo Park lines, Wish Upon a Star and I’d Rather be Crafting.

Here are the cut out card pieces and the embellishments that I used from her Wish Upon a Star collection for the bolts on the front of the tool box.

You are going to want to fold your score lines.  Lori’s file includes holes for the brads.  I didn’t punch them out because I wanted to use the enamel dots instead.  You will have a nice pocket in the front to fit the tools when you are done.

I wanted a more plain design to show on the inside so I cut extra  inserts and glued them down.

Here are all the pieces ready to be glued into the pocket.  I popped three of them up to give the card some more dimension.

That’s it for me today.  Lori has lots of wonderful Father’s Day cards and gift boxes for all your celebrations.  This card came out really wonderful and I’m sure that one of the Dad’s in my life are going to love it.

Hugs,

Anita

Mini Wreath Place Setting Tutorial with Michelle

With family so far away, our Easter Dinner is a quiet gathering where we use our everyday plates. This year, I (Michelle) decided to make dinner fun with some Mini Paper Wreaths.

Lori Whitlock Easter Rabbit Place Setting Svg

Making the mini wreaths was fairly easy with my Silhouette Cameo, but I have a couple hints and tricks to make it really easy! I started with Lori’s Circle Monogram Frame (Silhouette Design Store or Lori Whitlock SVG Shop) to make the wreath. This is possibly my favorite SVG file. The wreath is actually 6 seperate pieces. Since I am making a small wreath, I’m going to release the compound path and make all of the leaves filled in, which is easier for me to cut.

Release Compound Path

I’m also going to cut a 5-inch circle to fit my plate. (Hint: When making a circle hold down the shift key and your circle will be perfect each time.) I recommend cutting three or four monogram wreaths to make your mini wreath nice and full.

Next, I cut some BRAND NEW Bunnies. This Easter Bunny Silhouette is absolutely darling! I love his little tail cut-out. He’s new in the shops and you can find him in the Lori Whitlock SVG Shop and the Silhouette Design Store. I cut two 4-inches bunnies and glued them back to back, but one would’ve been enough. I wanted to add a cute sentiment, and I found exactly what I was looking for in the Bunny Dingbats Font. You can find this in the Silhouette Design Store and the Lori Whitlock SVG Shop. You will find additional bunny silhouettes in the font. They would be cute too. With the bunnies so small, I had trouble getting the sentiment cut cleanly with paper, so I used vinyl instead. It came out perfect the first time!

Lori Whitlock custom vinyl SVG sticker on paper

Yes! Paper crafters can use vinyl too! I love how it came out.

I topped off my wreath with a cute paper bow found in the Silhouette Design Store or at the Lori Whitlock SVG Shop and my project was finished. This would be a great project to try new techniques such as releasing the compound path and using vinyl. if you would like even more information, I would encourage you to check out Lori’s class on Craftsy. With the class, Lori explains numerous techniques for getting the most out of your Silhouette Cameo.

I hope that you’ve enjoyed my Mini Wreath Tutorial. Happy Easter!

Michelle