Welcome to Day 10 of our 12 Days of Christmas! Each day from December 1-12, there will be a free SVG file of the day, along with a special promotion! For Day 10 we have this Christmas Tag Reindeer File. This file will be free today only, so don’t miss out!
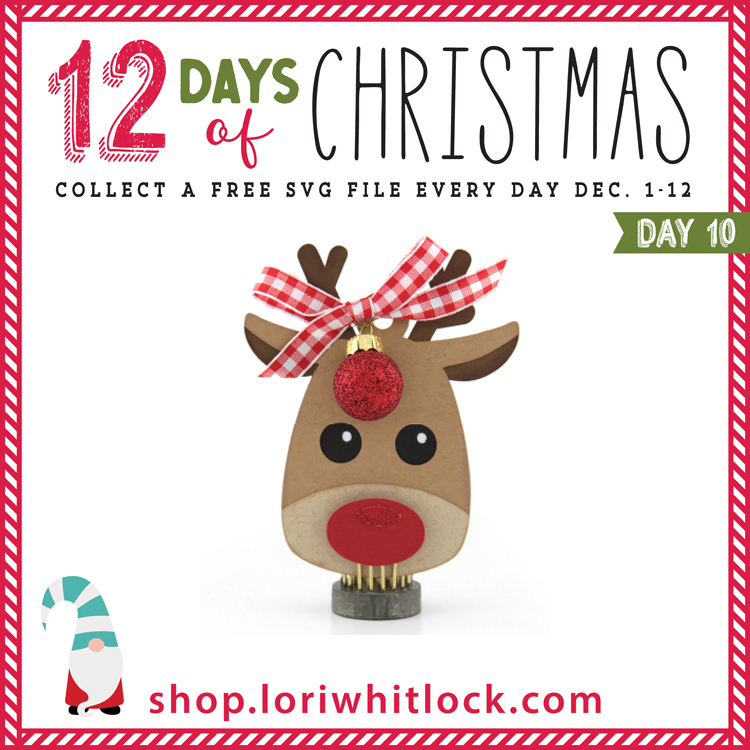
In addition, don’t forget, all SVG files in the Lori Whitlock SVG Shop are 30% Off when you use code DEC2020 at checkout!

And check out this great tutorial by Corri!
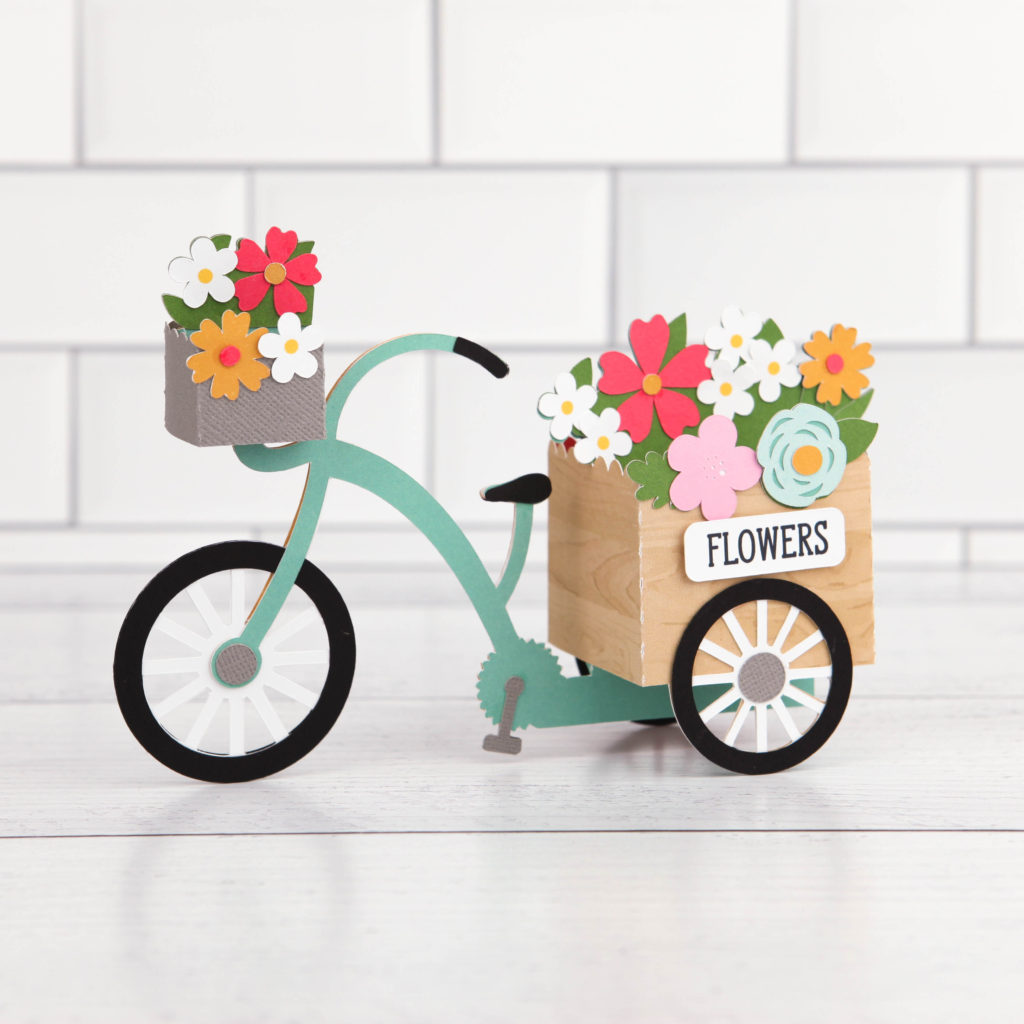
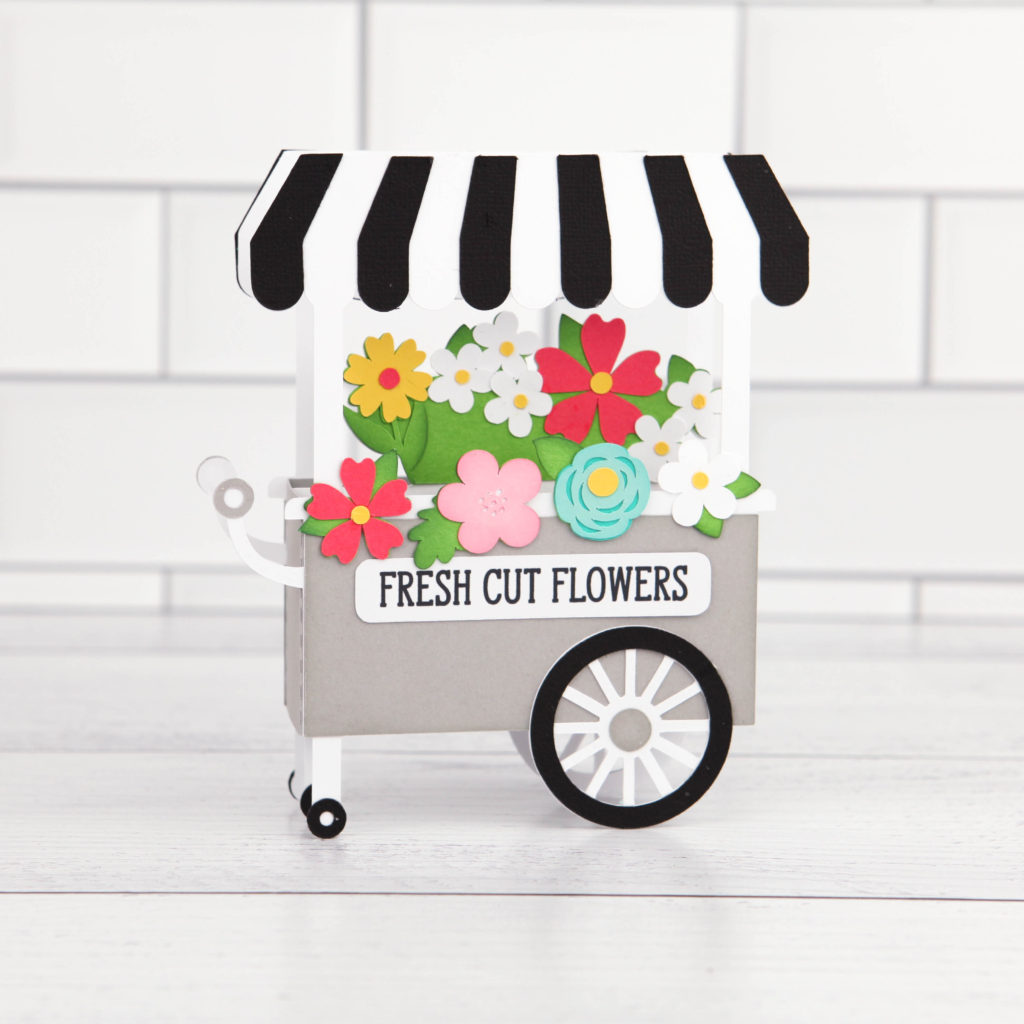
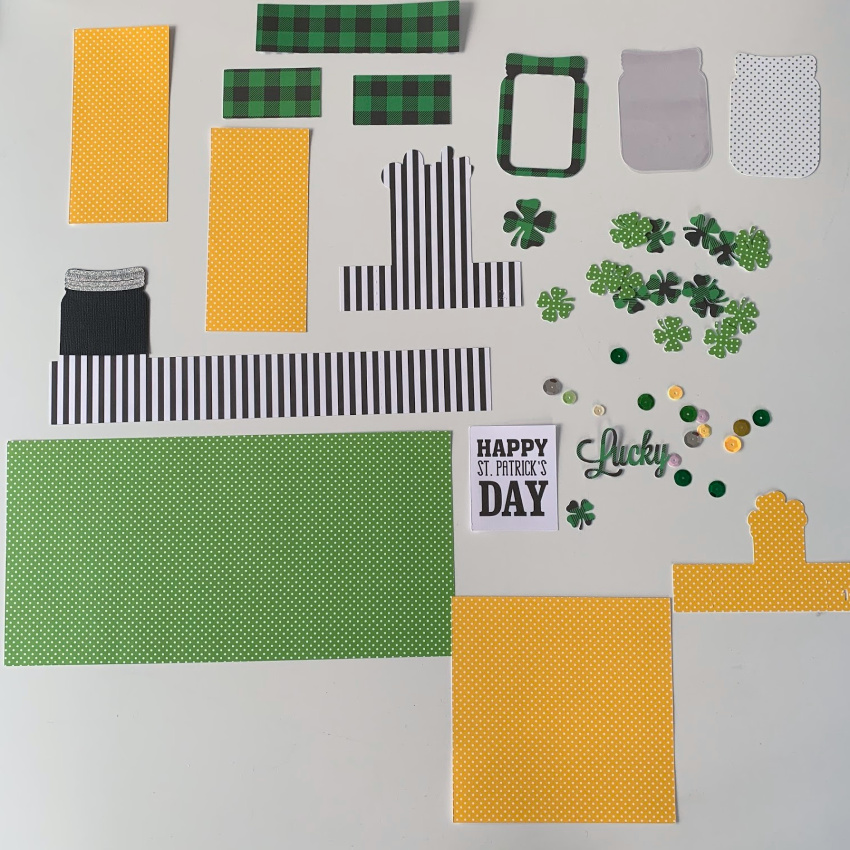
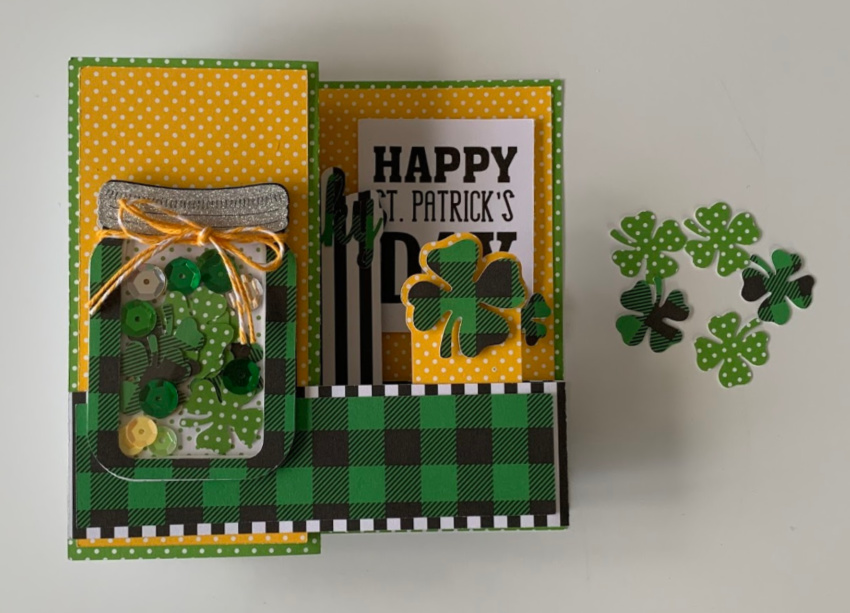
Hi everyone! Corri here today sharing a quick assembly tutorial for Lori’s Record Card (SVG, Silhouette). When you get everything cut out this is what you will have.

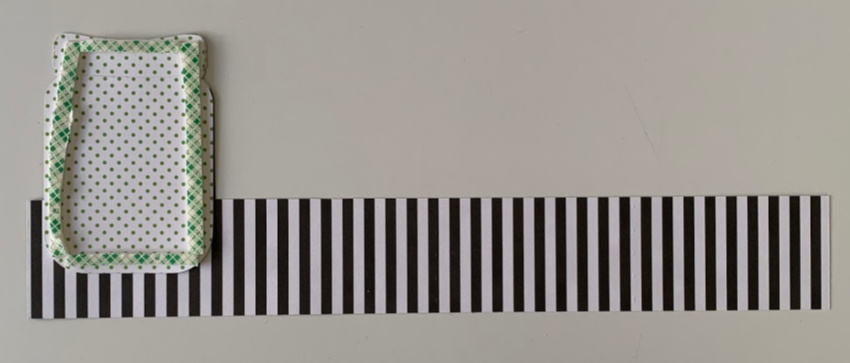
First, form the box shape and card base by folding along the score lines. Next glue the box shape to the card base as shown below.

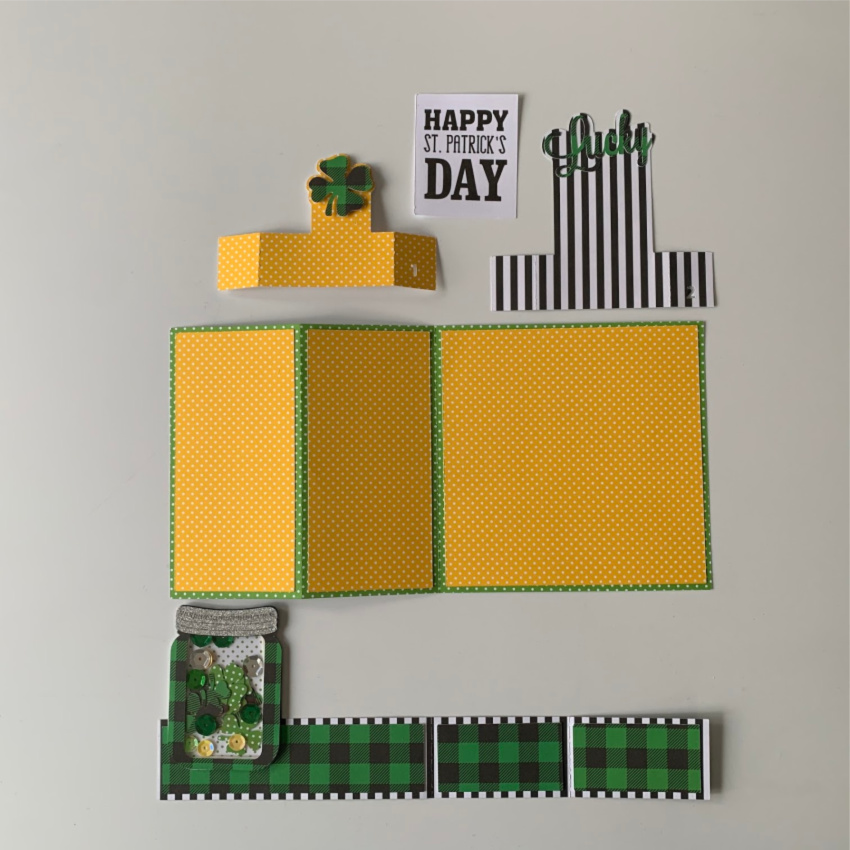
Next, apply glue on the glue tab and glue to the top portion of the card base.

This is what it looks like after you have formed the card base.

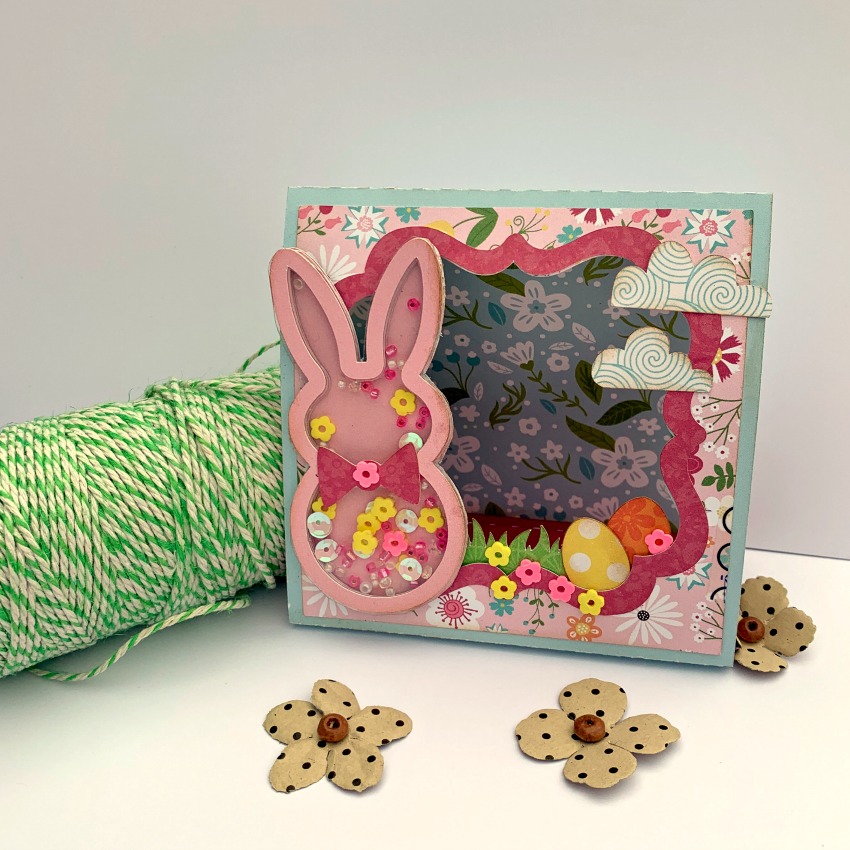
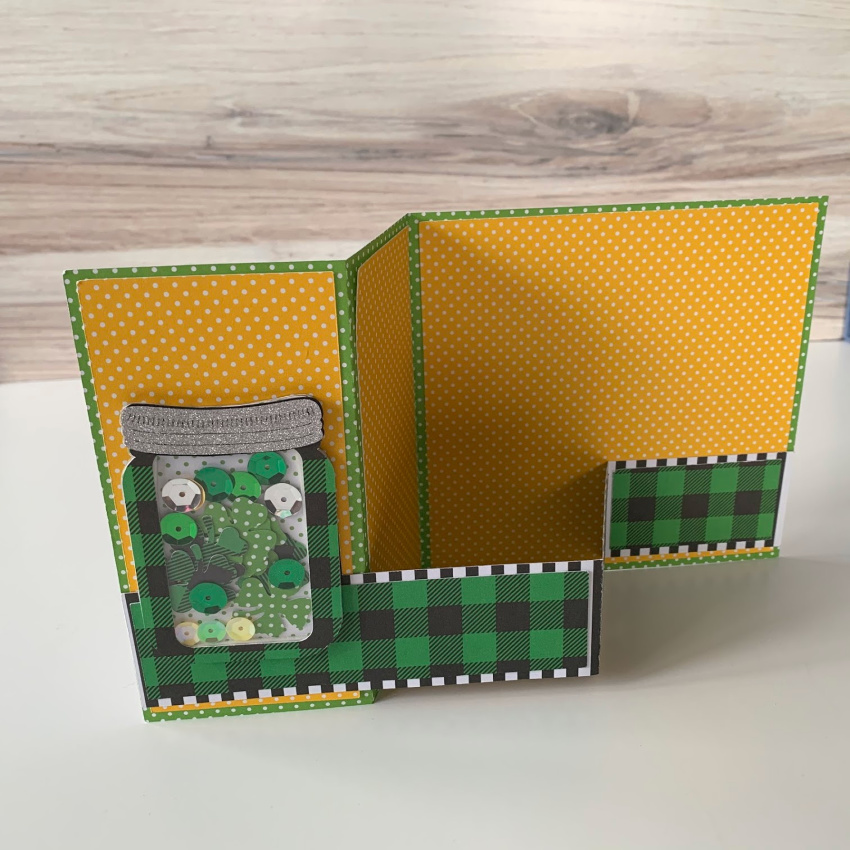
Finally, glue all the die cut in place. Here is what the completed outside of the card will look like.

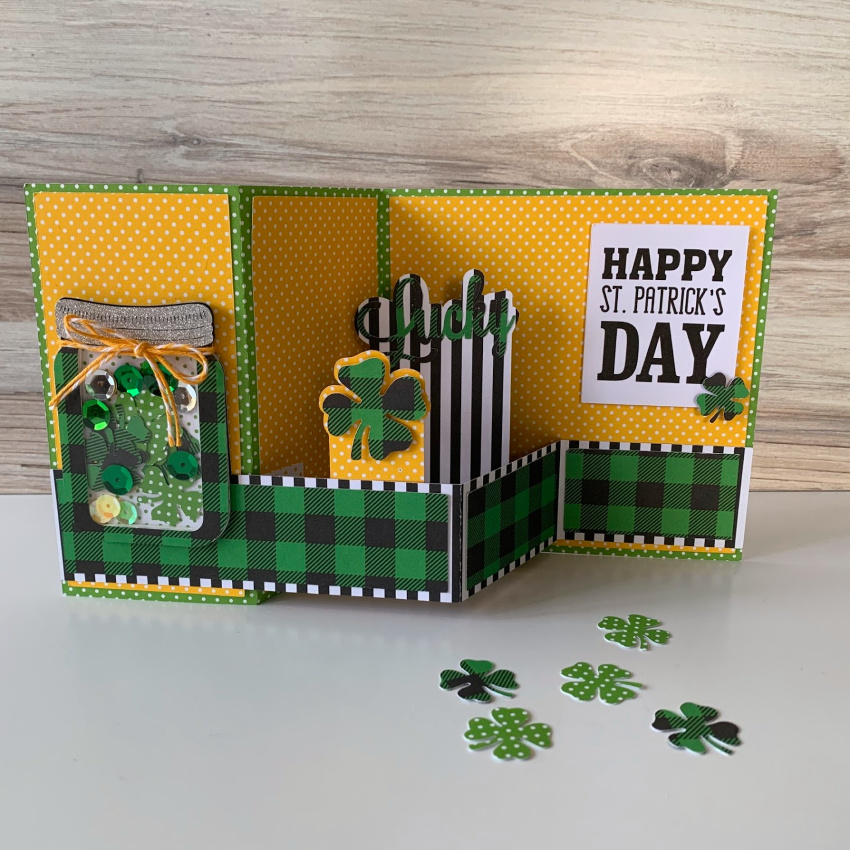
And here is the inside…

There you have it! This card is super cute and goes together very quickly. Thanks so much for stopping by!