Donut Worry Be Happy – Food Truck Tutorial

Hello friends! Marcia here today. Toward the end of summer when all the county fairs are in full swing and the state fair is looming, I start craving mini donuts. I can’t help myself. I thought it appropriate to indulge myself and at least make a donut card. Lucky for me Lori has the cutest little Donut Truck Box Card in her store (SVG, Silhouette).

This card has lots of pieces, but it is super easy to put together. Let me show you how.

  1. Cut out all the donut truck pieces from the desired color of cardstock or pattern paper. I used the Print and Cut feature in the Silhouette Design Studio to print Donut Worry Be Happy on my computer’s printer before cutting it out.
  2. Arrange all the front cut outs with the front base cardstock truck and start to glue the pieces in place as shown.  I found it easier to work from the bottom up. Layering the truck body on first, followed by the truck’s side panel and tires. Last I added the truck window and awning. I placed foam tape under my awning only on the bottom so that it would pop up away from the truck. The top of the awning was glued to the truck.
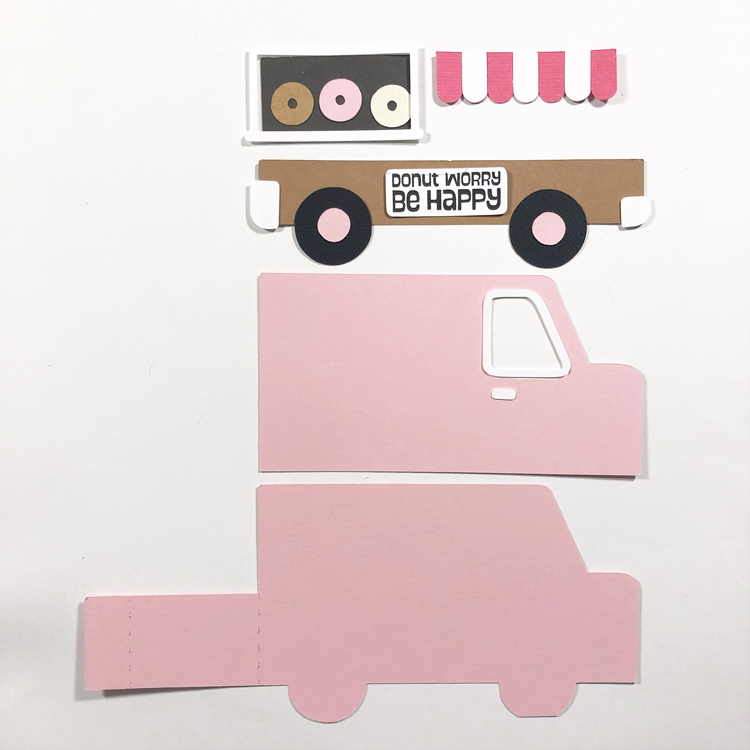
3. Arrange the middle card cut outs and glue in place lining up the sprinkles and cheeks. Pink on top of the light brown. Then that on top of the dark brown and finally adhering the donut to the center card base.
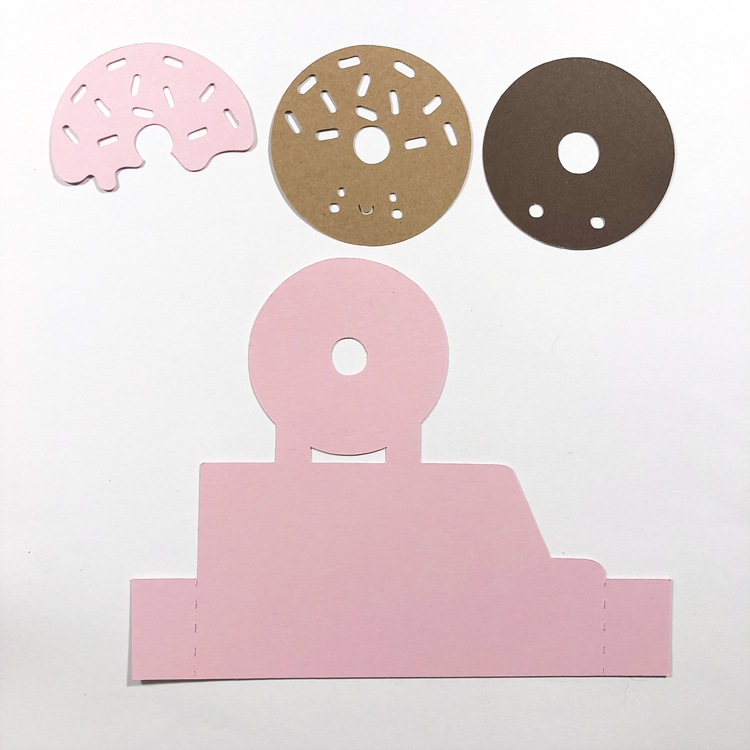
4. Then we assemble the back of the truck card, gluing down the side panel and wheels.
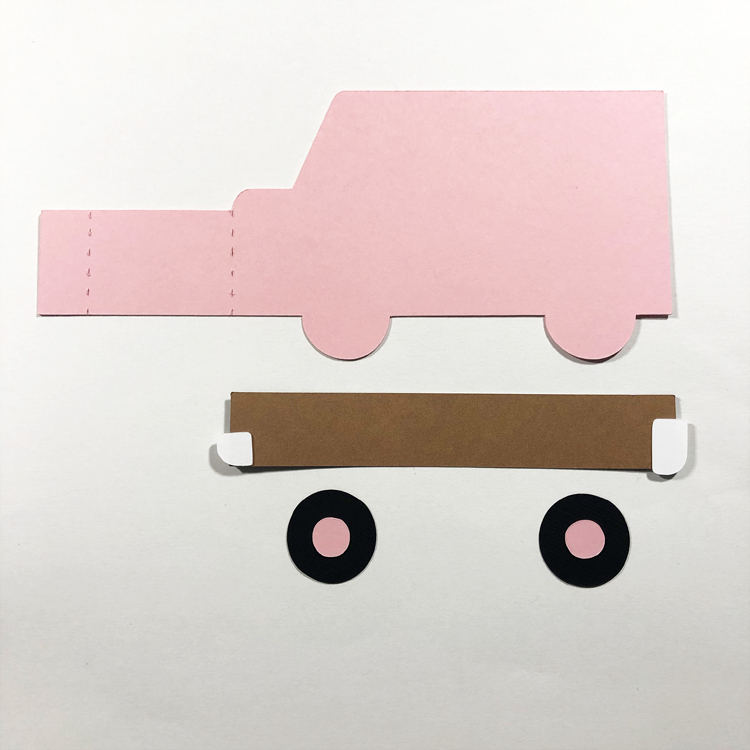
5. Now that all the pieces are assembled, it is super easy to glue the front to the back of the truck creating a box. Add some glue to the center card tabs and carefully adhere to the inside of the card, lining up the top.
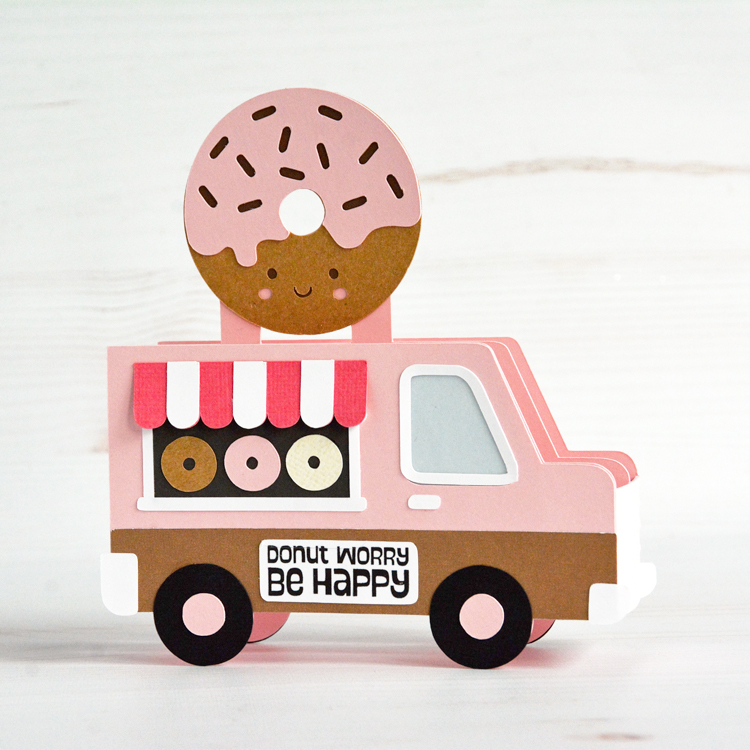
This is such an adorable card and is sure to lift the spirits of any recipient, especially if gifted along with donuts 🙂  Be sure to check out all the other food truck box cards in Lori’s shop as well. Note: This box card does fold flat for mailing in a 5×7 envelope.

Have a great week!
~Marcia

Perpetual Celebration Calendar Tutorial

Happy Thursday Everyone:

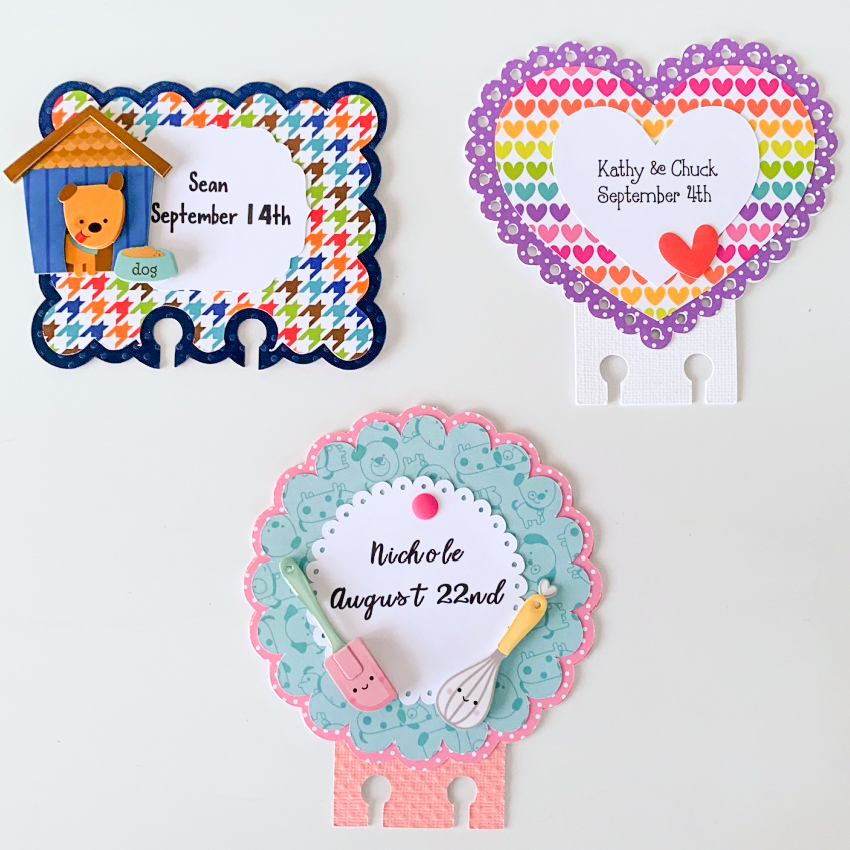
Anita here today with a tutorial for a Perpetual Celebration Calendar.  I have a perpetual calendar which I have been using for years and wanted to replace it with something more fun.  I decided to buy a rolodex and found some great files in Lori’s store that I used to create the pages for my calendar.  I used Memorydex Scalloped Cards (SVG, Silhouette) and used all three included shapes.  Male birthdays got the rectangle shape which can be found in the 4 Cute Tags file (SVG, Silhouette).  I  used 4 Scalloped Shapes (SVG, Silhouette) as the date reminder tags that went on the female birthday cards.  And I used the Nested Hearts file (SVG, Silhouette) for the anniversary cards. For the files without the punch holes in the bottom, I used a memorydex punch to add them.   Please note that each card also has an extra layer on the back of cardstock to give it a bit more stability and to help it to be more stable on the rolodex holder as it spins.

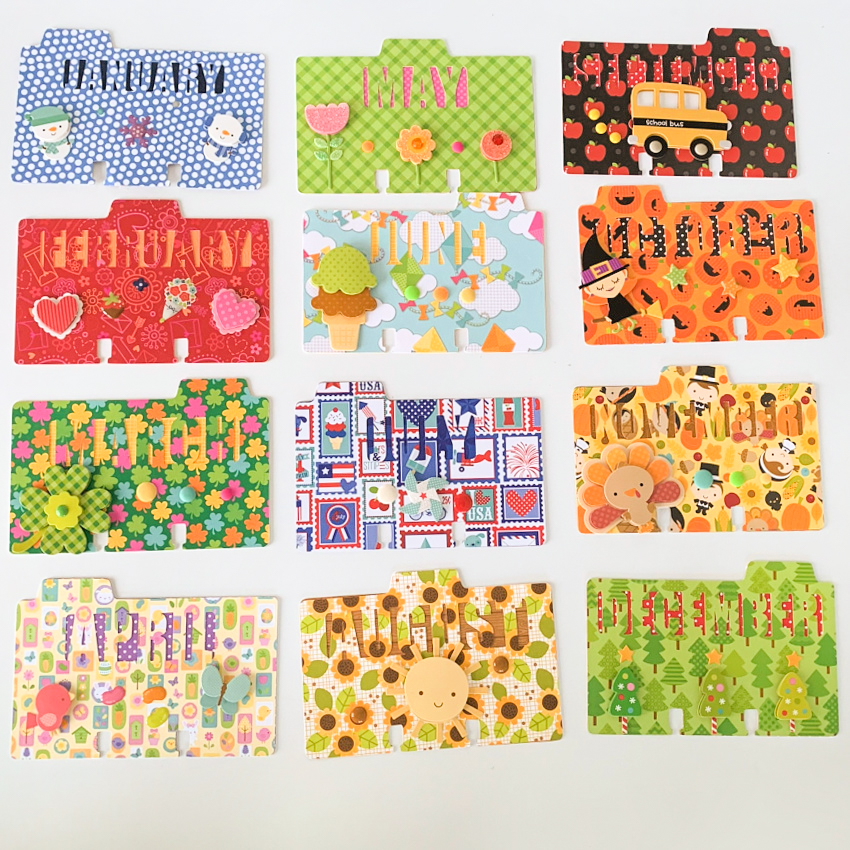
I used the Memorydex Box and Cards (SVG, Silhouette) for the month tab cards.  You can find a tutorial to make the Memorydex Box and Cards here on Lori’s blog.  I also used the Month 4X6 Journaling Cards (SVG, Silhouette)  I resized them to fit on the card and then cut them out.  I did my editing of this file on my Silhouette.   I decorated the cards with ephemera from my stash.

That’s it for me today.  I love how this came out and now each  month I get to flip the pages to see who I will be celebrating that month.

Hugs,

Anita

Valentine Heart Envelope Box Card Tutorial

Hello everybody, Marcia here today. Valentine’s Day is only a few weeks away. Are you ready yet? Lori has the cutest new Valentine cards in the shop, like this Valentine Heart Envelope Box Card (SVG, Silhouette). I created this with pattern papers from Lori’s Our Wedding collection and added some older ephemera from my stash.

Let me show you how you can create this card. In Silhouette Studio, I turned on registration marks, then printed and cut the “I Love You” sentiment. No need for a stamp and ink pad. The registration marks help the Silhouette Cameo cut where it should, in this case the banner with the printed I Love You perfectly centered. You set registration marks in the Page Setup Window. Click on the third icon and select Registration Marks ON. You will know they are on when you see the grid appear at the top with the black square and corner marks. Go back to the first Page Setup menu and adjust the width and height so they match the size of the cardstock you are using in your printer. Check the Show Print Border and Show Cut Border. You want the text you are printing to be inside of the print border. Then remove the banner so only the text remains and send to the printer (see printer icon at very top on the left). Once printed, place your cardstock on your cutting mat and load into your Silhouette Cameo. Move the banner back into place around the I Love You and select Send to cut. Go back to the Page Setup to remove the registration marks and print border and resize the width and height back to 12×12.

Select your cardstock and pattern papers and cut shapes without resizing. This design has a lot of hearts that can make assembling confusing. I like to lay out my pieces as I cut them so I know exactly where they will go. This is easiest if you cut the card base and panels first.

Next, I ink the edges of my pattern papers. This subtle shading gives your cut pieces depth. Select an ink shade that matches your pattern papers as close as possible. It’s better to go with a little darker shade rather than a lighter shade.

Adhere your panels down on the card base and create your box by gluing the tab on side to the back panel. Adhere the hearts to the center insert. You can use foam dots to pop a few of them up for dimension. Then glue the tabs of the insert to the inside of your box card lining everything up along the sides of the card.

Add remaining hearts to the back panel so they can be viewed above the center insert. Embellish as desired. I added these adorable fox and the large Kiss Me ephemera pieces.

On the back of the card I added a white circle for writing on and another ephemera piece.

I love these 3D cards! They fold flat for mailing, but can be popped up and displayed on a table or countertop. Send one to someone you know who could use a little extra love right now. Thanks so much for stopping by.

~Marcia

12 Days of Christmas Day 10 & Record Card Tutorial

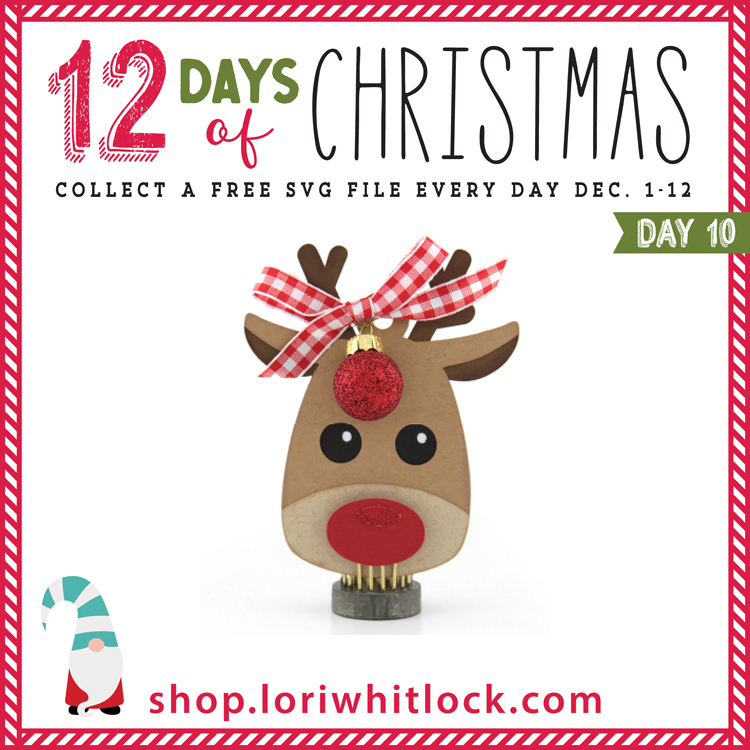
Welcome to Day 10 of our 12 Days of Christmas! Each day from December 1-12, there will be a free SVG file of the day, along with a special promotion!  For Day 10 we have this Christmas Tag Reindeer File.  This file will be free today only, so don’t miss out!


In addition, don’t forget, all SVG files in the Lori Whitlock SVG Shop are 30% Off when you use code DEC2020 at checkout!


And check out this great tutorial by Corri!

Hi everyone!  Corri here today sharing a quick assembly tutorial for Lori’s Record Card (SVG, Silhouette).   When you get everything cut out this is what you will have.

First, form the box shape and card base by folding along the score lines.  Next glue the box shape to the card base as shown below.

Next, apply glue on the glue tab and glue to the top portion of the card base.

This is what it looks like after you have formed the card base.

Finally, glue all the die cut in place.   Here is what the completed outside of the card will look like.

And here is the inside…

There you have it! This card is super cute and goes together very quickly.  Thanks so much for stopping by!

Witch Hat Handle Box Tutorial

Hello everyone! Marcia here today. Are you one of those people that go all out for Halloween? I love decorating for Halloween! Since it’s almost October, I thought I would share a Halloween treat box with you today. This Witch Hat Handle Box can be found here (SVG / Silhouette ). I used the Echo Park I Love Halloween paper collection also designed by Lori for my box.

Let me show you how I put it all together. First select your papers and cut everything out. Before assembling, I like to ink the white edges of my pattern papers with ink. I do this with cardstock too if it has a white core.

When making a box, I prefer to adhere the panels to the box before folding on score lines and gluing the sides shut.

To add glitter to the witch hat star and buckle cut file pieces, run them through a sticker maker face down. You want the glue on the front side. I like to use a bone folder to rub across the back side of the pieces making sure all the glue transfers to the paper.

Sprinkle the glue side with glitter, or press the glue side down into the glitter in a container.

Assemble the witch hat and adhere to the front of the box along with the Eat If You Dare print and cut label. Fill with your favorite candy before gluing the handle together, a glue dot works well.   I love adding bling to projects to make them extra special!

There are four new Halloween themed handle treat boxes in Lori’s Shop and the Silhouette Store giving you lots of options. Go check them all out! Thanks so much for stopping by.
~Marcia