Elephant Belly Box Tutorial with Ashley

I am bringing you a fun tutorial for the Elephant Belly Box.  Lori has an assortment of different belly boxes in her shop.  Find the Elephant here and at Silhouette.   And take a look at the other belly boxes.  All of them come together in a similar manner.

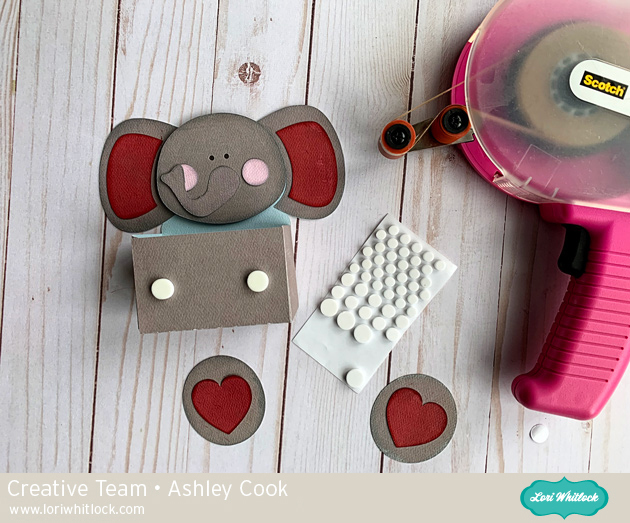
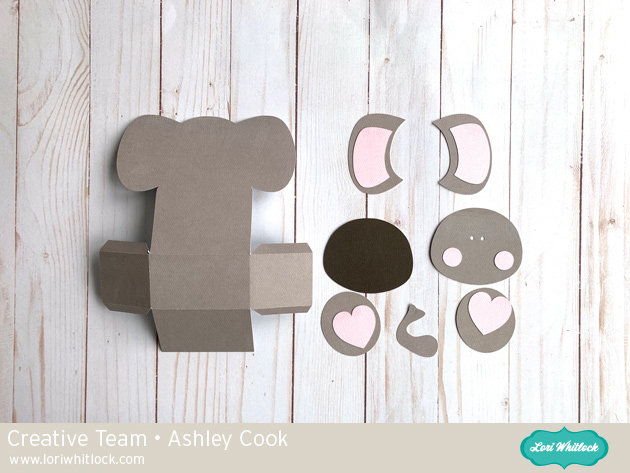
First, cut all the pieces.  For this Elephant I used 1 full piece of 12 X 12 gray paper, part of a pink/red paper and just one part of a brown paper.  The pink paper here is red on the other side, so while I was putting it together I decided to use the red side for the ears and feet and kept the pink for the cheeks.

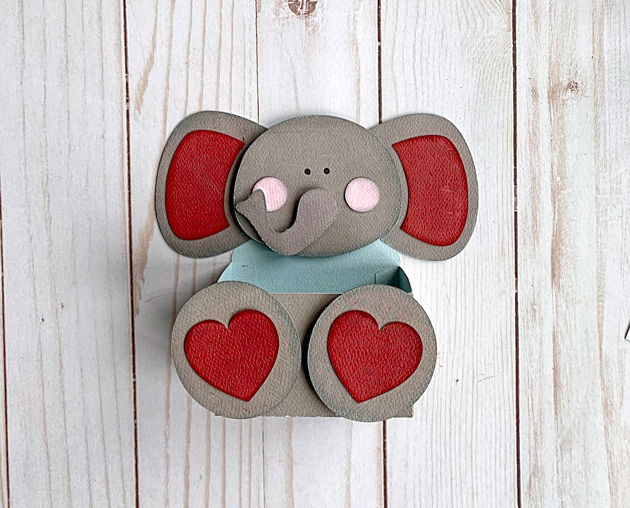
I inked the edges of the pieces.  I used a tape runner to attach the accent pieces and tape the box tabs together, then I used pop up adhesive to attach the feet, face, and trunk to the box.


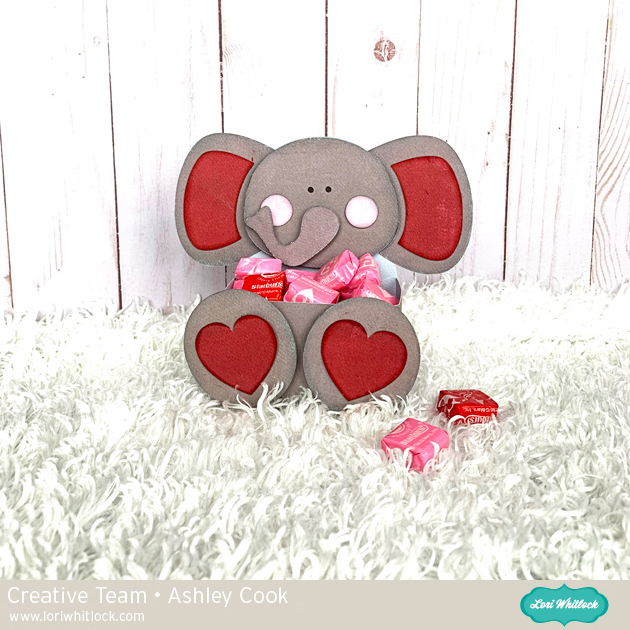
Now the box is ready to fill with a treat.

This was so fun and quick to put together.

Reindeer Petal Box Tutorial with Brigit

Hello everyone, I have a Silhouette Studio tutorial to share with you today on how I created this reindeer box. To make this I combined the Bunny Petal Box and Christmas Tag Reindeer svg files from Lori’s shop. You can also get both of these files here and here from the Silhouette Design Store.

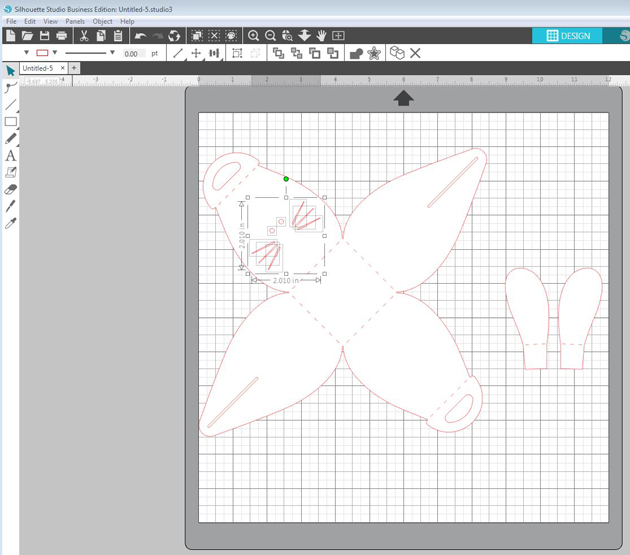
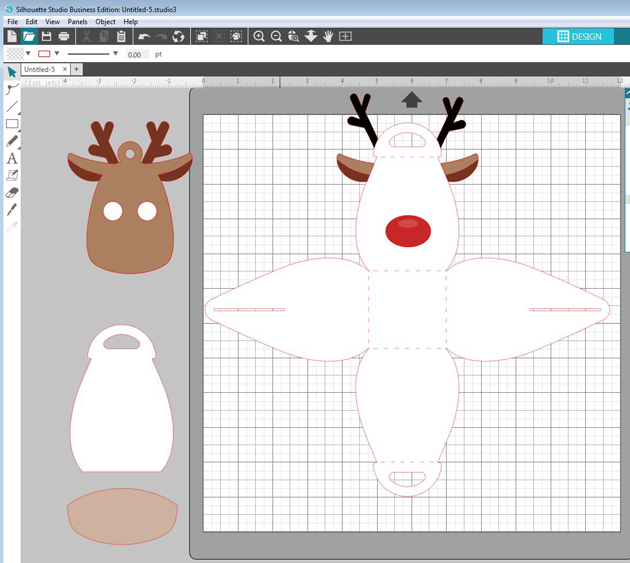
I started with the box, ungrouped and did a release compound path to get rid of the bunny face.

I grouped the box together again and rotated 45 degrees, added the tag and resized it to fit one of the box flaps.

I ungrouped the tag and separated the black layer and with the knife tool I cut off the antlers. I also cut off the ears from the brown and dark brown layer. (I always duplicate my piece first before I do any slicing just in case I mess up).

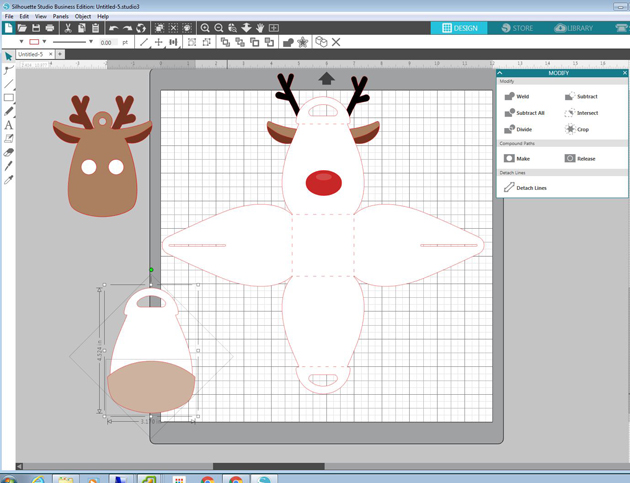
I duplicated the box and cut off one of the flaps with the handle and enlarged the deer’s muzzle from the tag placing it over the box flap and selected both and cropped.

For the ear, I selected both pieces and subtracted under modify menu, I wanted the bottom part as a layer instead of the top so I could weld the top piece to the box, you will see that below.

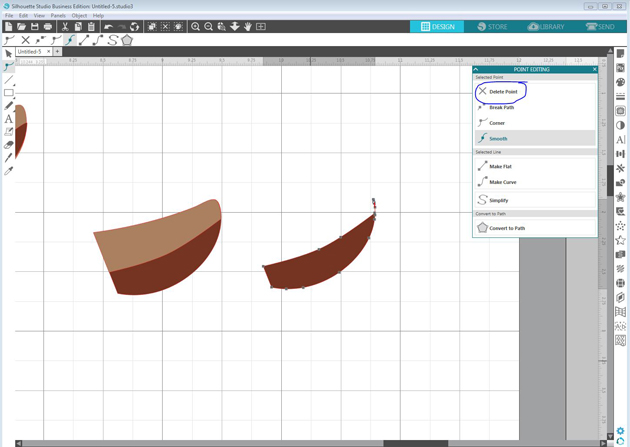
If you have little points left you can double-click on the piece and delete points.

Last I rotated the ears and welded them to the box as shown below. Now when I put the box together I just have to fold the ears out. I did make new solid score lines, I have the Silhouette Studio Business Edition and save my files as an svg so I can import them into Cricut Design Space and cut them out on my Cricut Maker.

It seems like a lot of steps but it really went together very quickly, makes a nice Christmas treat box!

Thanks for stopping by and have a wonderful day!

Blog – Pinterest – Instagram

Ice Cream Cone Treat Box: Michelle’s Favorite Three Ways to Embellish Die Cuts

I have found the perfect Summer Treat Box. It’s Lori’s Ice Cream Cone Box! The box, which can be found in the Lori Whitlock SVG Shop, or in the Silhouette Design Store, is easy enough for a beginning paper crafter, and fast enough to mass produce for a group. It’s so much fun to embellish! I’d like to show you how I put this together and share my tips and tricks for my favorite three ways to embellish my die cuts.
Ice Cream Gift Box

Lori’s SVG files are so easy to use. She groups them together to make them easy to move around. If using a Silhouette Cameo or Curio, simply click “Ungroup” to put your desired colors on the map.

I really liked the colors that Lori Used, so that made grouping my pieces easy. Plus, I had a really pretty raspberry colored glitter, which unfortunately did not photograph well. Even with bad photos, using glitter is still one of my favorite ways to embellish my die cut pieces.  It’s more economical to glitter my cuts after cutting and it saves the wear and tear and on my blade that glitter paper causes.

Tips for using Glitter on your cuts:

  • All glitter is not the same. Glitter comes in many different types as well as many different colors. Most craft glitter is made from a polyester blend. Glass glitter is also commonly found. It’s not a good idea to use glass glitter on any projects that will be handled by children, or that may come into contact with food. Glass glitter can do serious harm if ingested. Fine Glitter works well for small cut pieces. Chunky Glitter works best for larger projects. All glitter is wonderful for holiday decor!
  • When applying glitter, it’s best to choose a glitter that will closely match your paper. This way, if any glitter flakes off, it will be less noticeable. Use a sheer glue and apply a thin, even coat. Pour or sprinkle the glitter directly onto the paper and tap off the excess. Once completely dried, it is okay to apply a clear coat of glue or varnish to keep the glue in place. This works especially well with polyester or craft glitters. Applying a top coat is not recommended for glass glitter as it dulls the shine.
  • When adding two or more colors of glitter to your project, always apply the dark color first. This will keep your light colors looking fresh. If you get light colored glitter on your dark colored glitter, it will not be noticeable. However, getting dark colored glitter on top of your light colors will be quite apparent.
  • Many people do not like using glitter because they believe that it is messy. When applying your glitter, work over a clean piece of paper or paper plate. Pour any excess back into the glitter container. To make clean-up a breeze, use a lint roller. Lint rollers will pick up any stray glitter from your work area.
  • Keep in mind that glitter is difficult to photograph.

Tips for Embellishing Die Cuts

Another favorite way to embellish my cuts is to use ink. Inks can add depth and can completely change the way a cut piece looks.

Tips for using Ink on your cuts:

  •  Most inks are either Pigment Inks or Dye Inks. Pigment Inks are generally thicker, like paint, and have more saturated color. A good way to remember this is, “P” is for “Pigment” as well as “Paint.” Pigment Inks take longer to dry than Dye Inks, but their color makes it worth the wait! Most Pigment Inks are permanent and are less apt to fade. Pigment Inks do not work well on slick or shiny surfaces. They will not dry on slick surfaces without being heat set. There are pros and cons to all inks and they are really a matter of preference.
  • By adding ink to the edge of a cut, you can create different effects. By adding ink to just one edge, you can create the illusion of a shadow. By adding ink to all of the edges, you can create a worn or aged look. You can also use inks to highlight embossed or raised areas.
  • You will also find hybrid inks on the craft aisle. Some hybrid inks are a combination of both pigment and dye inks. Distress and Oxide Inks are water based inks, which is why they react with water. Both Distress Inks and Oxide Inks are popular, but they are not permanent and will fade over time.
  • Inks can be used for stenciling on your cuts.
  • Don’t forget the pens! Markers and gel pens are another great way to add additional ink color to your cuts.

Tips to Embellish your Die Cuts

My favorite way to embellish a cut is to use embossing folders. Embossing Folders are a fast and affordable way to add texture to the paper.

Tips for Using Embossing Folders with your cuts:

  • Embossing Folders are used with a manual die cutting machine such as Sizzix, Cuttlebug, or Spellbinders. Generally speaking, the machines themselves are expensive. The folders, however, are relatively cheap and will last forever. Each machine operates a bit differently, so read the instructions before using them. I have heard of some people who have had success using a rolling pin and heavy pressure to achieve texture to their paper, although I myself have not been successful with this method.
  • When embossing, you will have an “embossed” side as well as a “debossed” side of the paper. Often this yields a new and different look, so try both sides!
  • It is much easier to easier to cut the paper into the desired shape and then emboss it.

Now that your pieces are embellished, it’s time to glue them together and finish the box. When constructing my box, I found it easier to glue my pieces down while the box is flat. Keep in mind however, that part of the ice cream swirl sticks out beyond the box.

Ice Cream Treat Box
There are many other fun ways to embellish your projects; Ribbons, Twine, Buttons, Enamel Dots…the possibilities are endless! I added a “Sweet” sentiment from the Shaped Pineapple Card in the Lori Whitlock SVG Shop and in the Silhouette Design Store to finish off my box.

Ice Cream Cone Gift Box using Lori Whitlock SVG Files


Thanks so much for visiting today!

Michelle

<3

Sweet Little Valentine Chocolate Box

Hello, Crafty Friends!! Mitsyana Wright here… and I’m ready to toss out my winter snowflakes for some heart filled skies because Valentine’s Day is around the corner and February is the month of love.  So what better way to celebrate than with sweet for your sweetie… or sweeties. I have 4 kiddos and a Hunny bunny that would love to receive this sweet little Valentine.For this romantic shabby chic heart box, I used Lori Whitlock’s Valentine Nuggets Heart Box.

You can find this cut file in Lori’s SVG Shop, hereOr in the Silhouette Storehere.

I started by downloading the file onto my computer and extracting the contents of the file.  I opened my Sizzix eclips software and loaded the file. I clicked the “Import” button to open the file into my software.

Once I opened up the file I grouped the images by like shapes and colors. (ex. all the red shapes together, all the scalloped hearts together) and moved them around to fit my virtual mat.

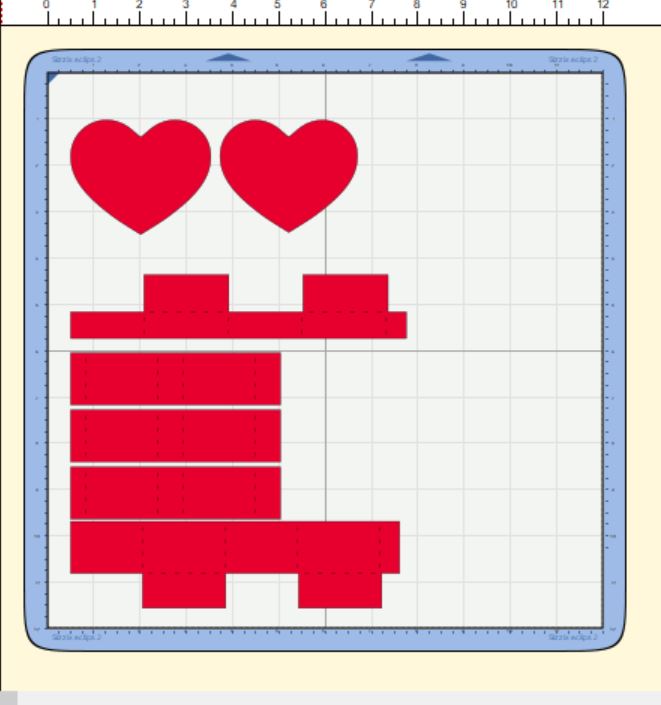
Then, I grouped my “like” items together so I could cut all the shapes of the same paper all at once. I used the gorgeous floral paper to cut the box panels and the basic heart shapes.

Then, I “hid” those box panels and basic hearts…

and die cut just the scalloped hearts from this beautiful fleur de lis paper. Once, the scalloped hearts were cut  I inked the edges using Walnut Stain Distress Ink.

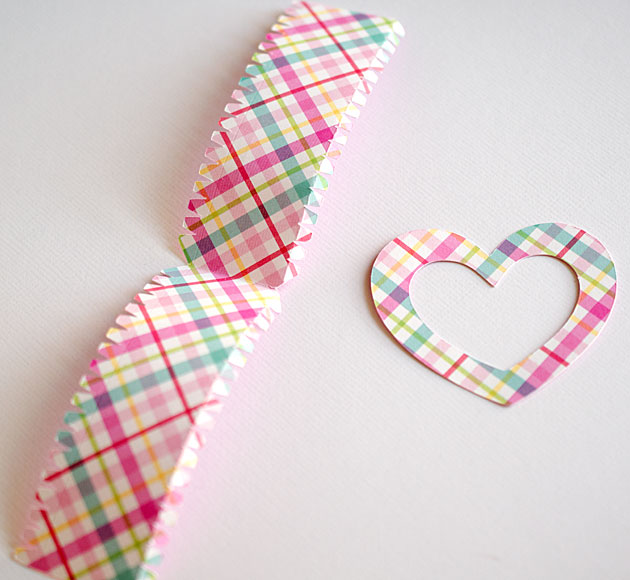
To assemble the TOP box, I folded the panels along the dotted crease lines and folded each piece to form a rectangular shape. Then added glue to the small tab at the end and adhered it to the opposite end.  I pinched the ends together till the glue set and then added more glue to the bottom flaps directly to the bottom or “underside” of one of the scalloped hearts. If you look very closely at the cut, you’ll notice that there are tiny markers cut into it to mark where you need to adhere the boxes… so there’s no guessing where the center of the cut is and your box is properly aligned. I added glue to the box panels bottom flaps and adhered my box in between these markers.

For the Bottom box, I took the other scalloped heart and left it faced up and added glue to the remainder box’s bottom panels… but before attaching it I ran both basic heart shapes through my Xyron Sticker Maker and adhered one the hearts to the remaining scallop heart. Then I attached the remaining box over that.

For the inside panels of the box, the file has these separators. I just folded along the dotted lines and add glue to the small tab and attach to the opposite end so that it resembled a rectangle. Once the glue dried, I inserted all three into the bottom box.

Here is what both the bottom and top pieces should look like…

The top lid should fit snuggly over the bottom box.  I just simply added a sprig of leaves and flower buds onto the cover and topped with a single rose.

Here is my finished box…

This little Valentine treat box is absolutely darling!!

And these delicious Hershey’s Chocolate Nuggets fit perfectly!! But don’t let the name of the file fool you because…

hey, look… these Dove Chocolate hearts fit perfectly too!!

I’m sure you can fit lots of other goodies in here as well. So give it try!!  I love this cute treat box… makes my heart aflutter!!  I hope it makes yours too!!  Thanks for joining me today & I hope you enjoyed my project!!

~Mitsyana Wright
Camera Treat Cup Card Tutorial with Brigit

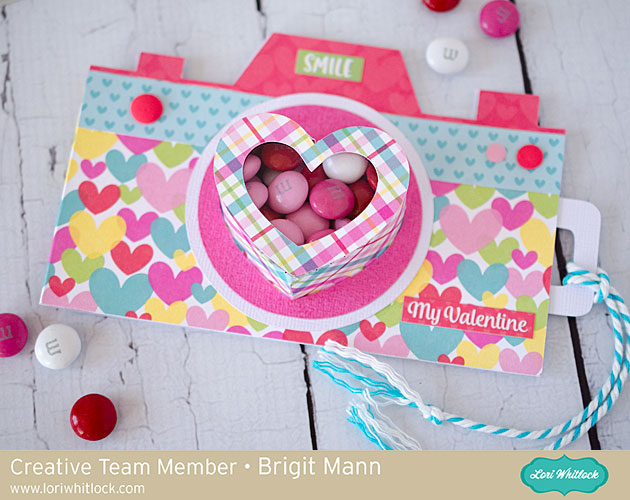
Hello, it’s Brigit here today sharing a Silhouette Studio tutorial on how I made this cute camera treat cup card. It looks like a lot of steps but it’s really super easy to make since it’s just two files put together.

This was such a fun project to make and can be used for any card to add some yummy treats.

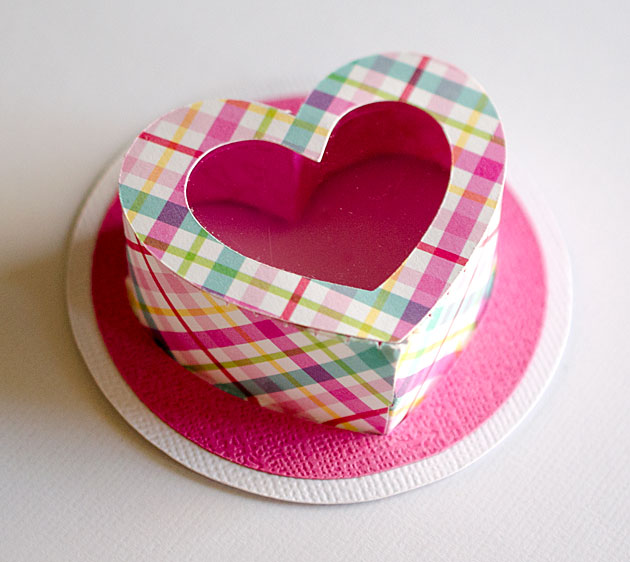
I started with the heart shaped box with window from Lori’s shop, you can get it from the Silhouette Design Store here.

I ungrouped and deleted all except these three pieces.

Zooming in real close I aligned these two pieces along the score marks. I wanted one piece instead of two since the heart box will be sized smaller.

Selecting both I replicated and mirrored above and moved the two on the top  a couple of arrow clicks down. Depending on how wide you want the box you can move this as much as you want.

I selected all the pieces, welded and grouped them all together, I then grouped with the heart.

Next, I worked on the camera, I used the one from the travel icons set, you can get it here also from the Silhouette Design Store. I put it together on my mat and resized it to about 5.5″. Two of the pieces I didn’t use so I deleted them.

Now I took the heart box and resized both pieces together so the heart fits inside the circle. I made a duplicate of the heart and ungrouped to just use the bigger layer, this is what I used to make the heart cutout from the camera pieces.

I duplicated the whole camera and did a subtract all, I did this a couple of times deleting what pieces I had already made cutouts from.

As you can see, I ended up with all these pieces. the upper right piece is just a duplicate of the camera with the top cut off, that will go inside the card to hold the slider.

The slider is just a square and two rounded squares welded together. You just have to make sure it covers the heart opening and is smaller than the extra piece that goes inside.

I replicated and mirror left the camera bottom layer with the heart cutout, moved it one arrow click over and welded to create my card base. I did a release to get rid of the heart cutout on the left side which would be the back of the card.

Here’s the box pieces cutout, I molded the side a little and used score tape which made it quick and easy to put together.

The pink and white layers should slide right over and glue to the bottom tabs, just make sure the tabs are going out and not in.
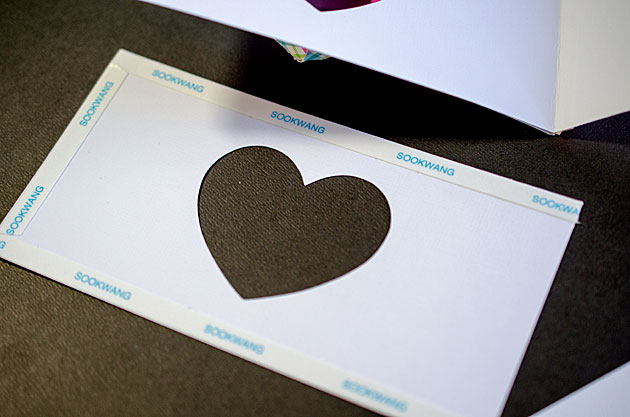
The inside piece for the slider just needs tape around three sides so the slider can move in and out.

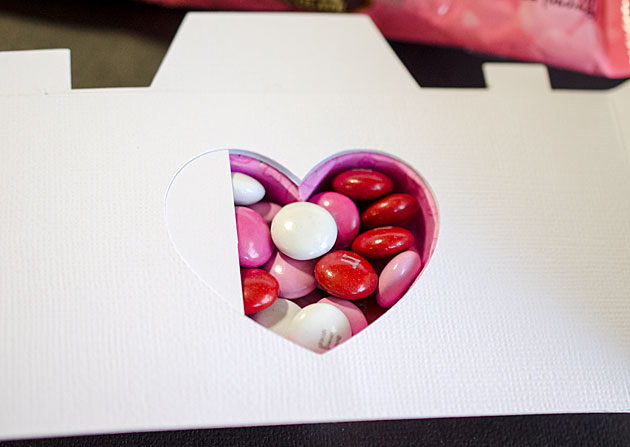
As you can see I filled the cup with m&m’s and pushed the slider in.

Here’s a closer look at the card, it’s a little front heavy so it doesn’t stand very well with the candy inside but it’s super cute. Paper used is Doodlebug’s Cream & Sugar.
Hope you enjoyed this tutorial, thanks for stopping by and have a wonderful day!!