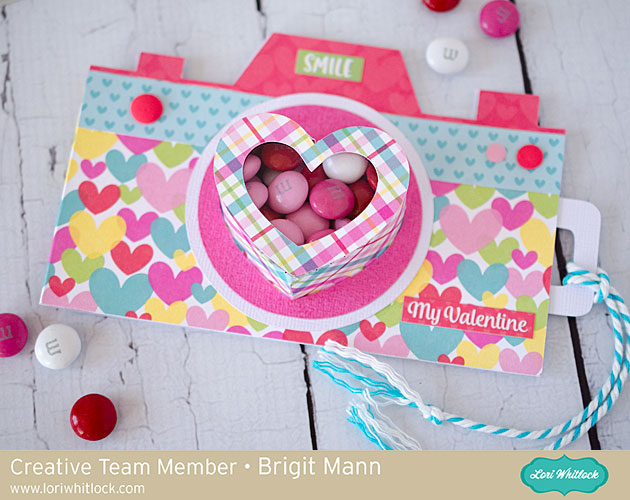
Hello, Crafty Friends!! Mitsyana Wright here… and I’m ready to toss out my winter snowflakes for some heart filled skies because Valentine’s Day is around the corner and February is the month of love. So what better way to celebrate than with sweet for your sweetie… or sweeties. I have 4 kiddos and a Hunny bunny that would love to receive this sweet little Valentine.For this romantic shabby chic heart box, I used Lori Whitlock’s Valentine Nuggets Heart Box.

You can find this cut file in Lori’s SVG Shop, here. Or in the Silhouette Store, here.

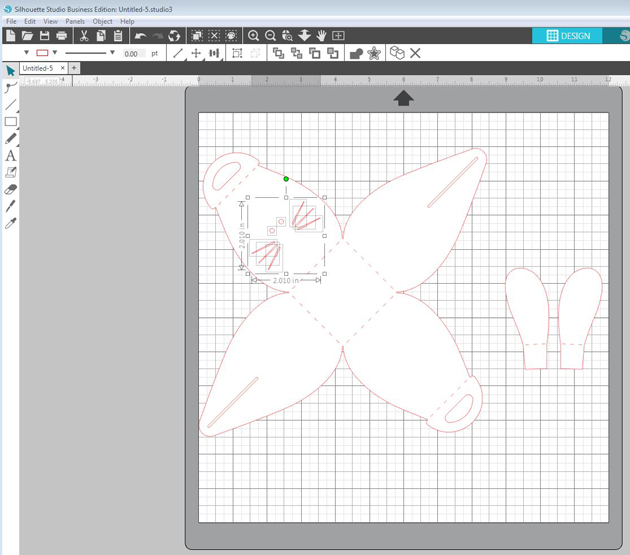
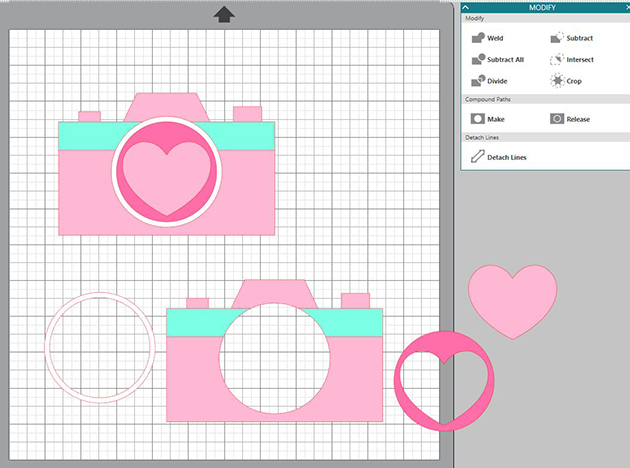
I started by downloading the file onto my computer and extracting the contents of the file. I opened my Sizzix eclips software and loaded the file. I clicked the “Import” button to open the file into my software.

Once I opened up the file I grouped the images by like shapes and colors. (ex. all the red shapes together, all the scalloped hearts together) and moved them around to fit my virtual mat.

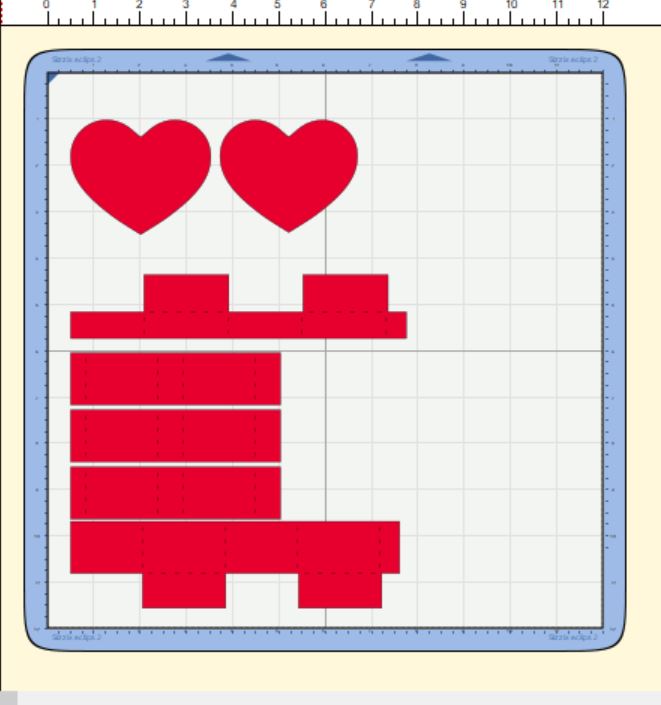
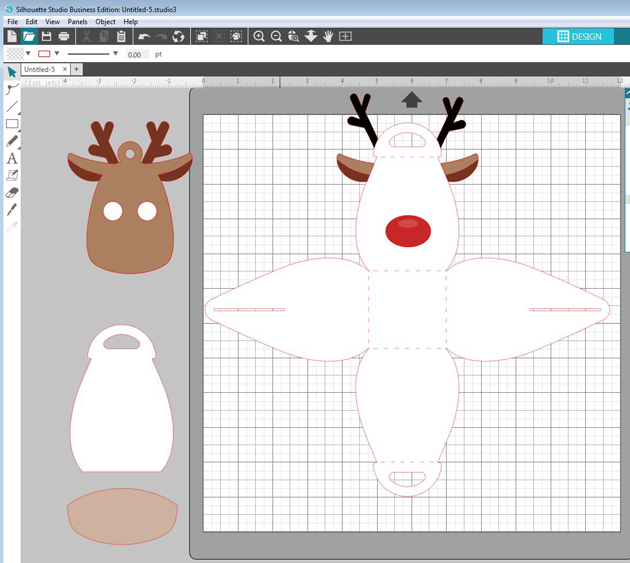
Then, I grouped my “like” items together so I could cut all the shapes of the same paper all at once. I used the gorgeous floral paper to cut the box panels and the basic heart shapes.

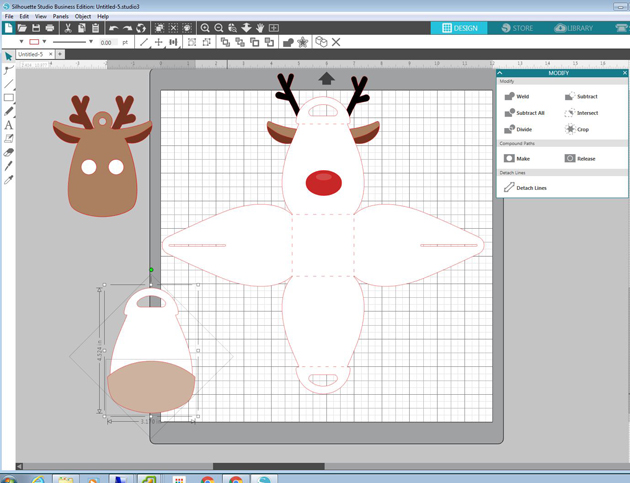
Then, I “hid” those box panels and basic hearts…

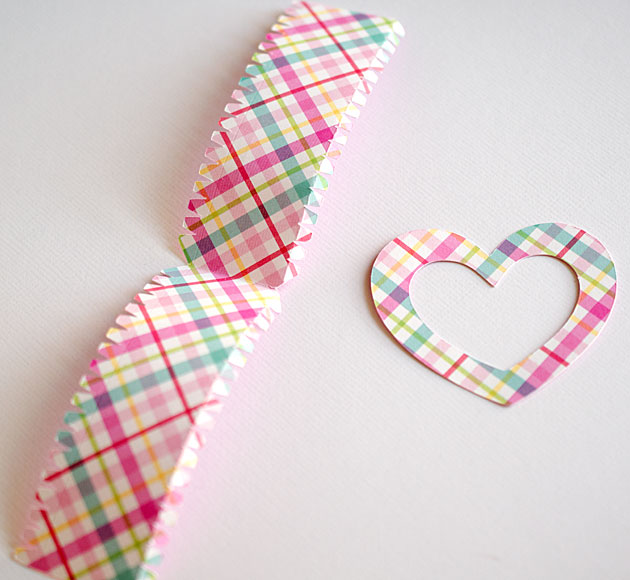
and die cut just the scalloped hearts from this beautiful fleur de lis paper. Once, the scalloped hearts were cut I inked the edges using Walnut Stain Distress Ink.

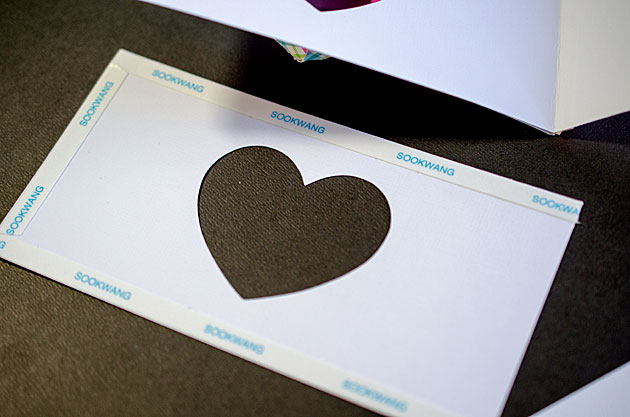
To assemble the TOP box, I folded the panels along the dotted crease lines and folded each piece to form a rectangular shape. Then added glue to the small tab at the end and adhered it to the opposite end. I pinched the ends together till the glue set and then added more glue to the bottom flaps directly to the bottom or “underside” of one of the scalloped hearts. If you look very closely at the cut, you’ll notice that there are tiny markers cut into it to mark where you need to adhere the boxes… so there’s no guessing where the center of the cut is and your box is properly aligned. I added glue to the box panels bottom flaps and adhered my box in between these markers.

For the Bottom box, I took the other scalloped heart and left it faced up and added glue to the remainder box’s bottom panels… but before attaching it I ran both basic heart shapes through my Xyron Sticker Maker and adhered one the hearts to the remaining scallop heart. Then I attached the remaining box over that.

For the inside panels of the box, the file has these separators. I just folded along the dotted lines and add glue to the small tab and attach to the opposite end so that it resembled a rectangle. Once the glue dried, I inserted all three into the bottom box.

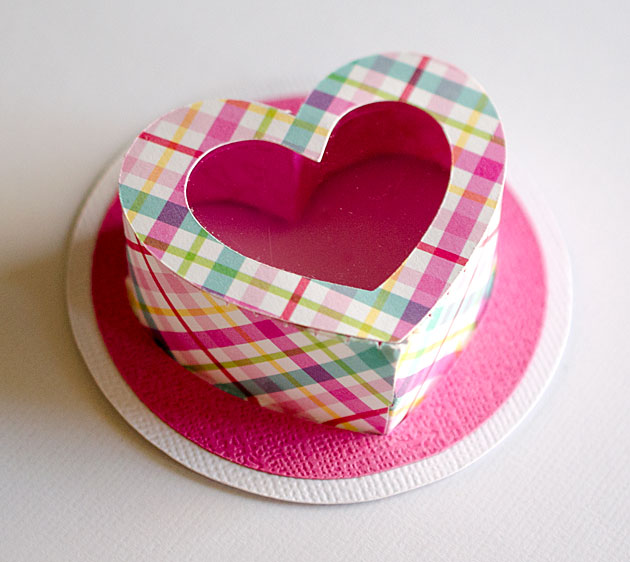
Here is what both the bottom and top pieces should look like…

The top lid should fit snuggly over the bottom box. I just simply added a sprig of leaves and flower buds onto the cover and topped with a single rose.

Here is my finished box…

This little Valentine treat box is absolutely darling!!

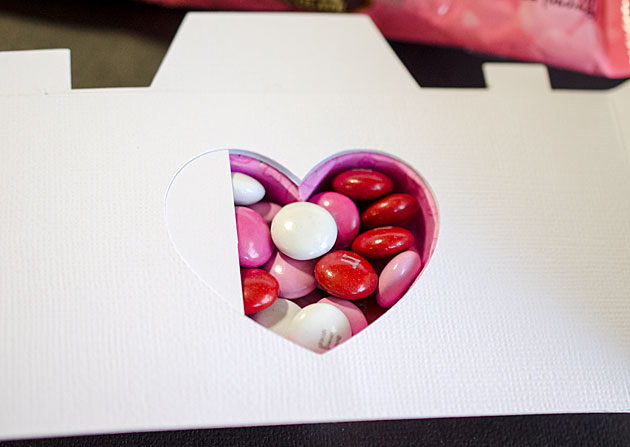
And these delicious Hershey’s Chocolate Nuggets fit perfectly!! But don’t let the name of the file fool you because…

hey, look… these Dove Chocolate hearts fit perfectly too!!

I’m sure you can fit lots of other goodies in here as well. So give it try!! I love this cute treat box… makes my heart aflutter!! I hope it makes yours too!! Thanks for joining me today & I hope you enjoyed my project!!
~Mitsyana Wright