Heat Transfer Tutorial with Cathy

Hi everyone!  Cathy here with you today.  I have been wanting to try heat transfer vinyl with my Silhouette Cameo for quite some time….I have to admit I was more than a little intimidated by it. But I kept seeing all of these adorable onesies and I wanted to created one for our grandbaby!  It will take you some time to search through all of Lori Whitlock’s files to find the perfect choice, so many awesome to designs to choose from.  I think that was the hardest part of this project.

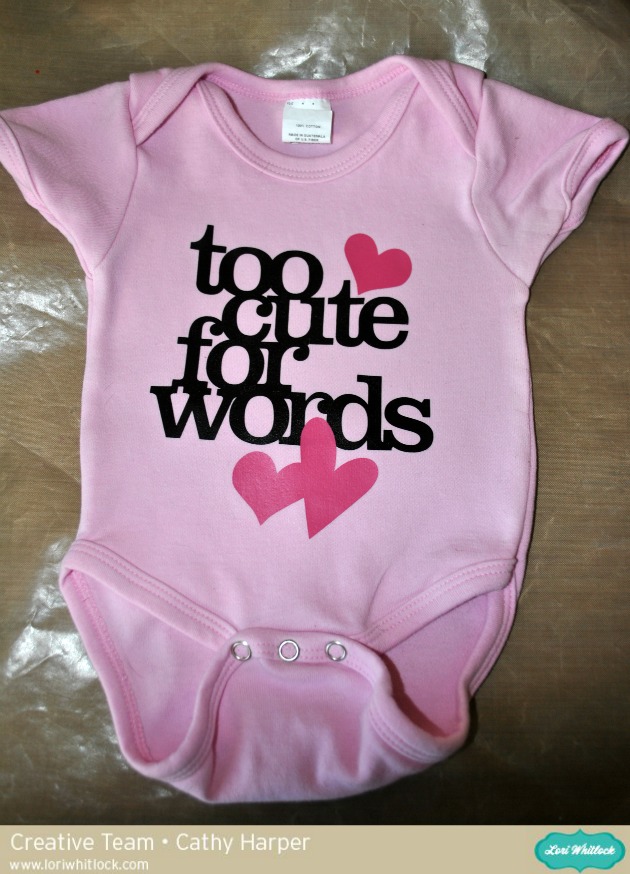
I chose her “too cute for words” file and a couple of hearts from her “11 hearts” file!

I used two colors of heart transfer vinyl from SRM.  Hot Pink and Black on a light pink onesie.  Wash and dry your item before your get started.

I enlarged the file just a bit to fit the onesie.  And the most important part of working with heat transfer vinyl is remembering to mirror your design.  Simply highlight your design, go to the Replicate window and click mirror right.

You will want to load your heat transfer material into the machine with the clear plastic backing facing down.  The backing of heat transfer material will be facing up.

Start with the default cut settings for the type of heat transfer you are cutting and do a test cut.  You should be able to see the cut on the heat transfer side, however, you might not be able to see the cuts if you turn the material over and look through the clear side.  This is okay!  Heat transfer material is VERY thin and the cuts will be very fine

Weeding your heat transfer. Once your design is cut, you can trim around the design if there is extra around.  Then you will want to peel off any parts of the design that you don’t want to be ironed on, or the negative space.  You can use a weeding tool for this, or just use a safety pin. Make sure and get inside of any letters like A and O! When you are done you should have the design you want to transfer left stuck to the clear backing.

Ironing the design on. Last but not least we get to iron!  Read the directions on the back of your specific heat transfer, but most direct you to place your iron on a  very hot setting.  I used a heat resistant craft sheet between my onesie and iron.  A lot of people use parchment paper, but the craft sheet worked wonderfully.

Now you will want to put your hot iron on the design for between 10-40 seconds depending on the type, again read the directions for your specific heat transfer.  Make sure that you are covering all of the edges of the design with the iron. You can release it and carefully pull up the backing to see if the design has stuck or needs to be heated more.  I also found that on designs larger than the iron, it was easiest to iron the design in sections rather than going back and forth across the entire design.

Once the design has transferred I like to let it cool for about 30-45 seconds and then gently peel back the clear plastic until it is completely removed.  I find that letting it cool for just a short bit helps because on smooth vinyl, if it gets too hot it can pull a little bit when you are removing the backing and cause wrinkles in the vinyl.  Cooling a little seems to prevent this.

Awesome!  I love how this came out and it was so easy!  And from everything I read, you just have to remember to wash the item inside out and dry on a cool temp!

Here’s my little grandbaby modeling her onesie with a little help from her older brother.  Every time you lay her down, her feet come up and she rolls over.  So it took a bit of brotherly love to get a photo!

Too Cute For Words

11 hearts

Tuesday Freebie + New in Shop

TODAY & TOMORROW, this SVG file is FREE with Purchase.

First off, I wanted to talk to the Cricut Explore users out there. Cricut just launched Design Space 2.0. The good news is that SVG files now come in at the original size!! This is so great. There really isn’t any need to reference the “cut size” info any more.  If you have any issues with score marks staying in place please contact me for updated files. I am more than happy to help you get files that are working smoothly for you. I promise that I’m working hard to make sure my files are Cricut Explore compatible. Each time they upgrade their software, it seems to bring up a new issue, but I will make sure my customers are happy and get you the files you need. And, once I update a file, I am replacing it in the shop so future customers are receiving the most current file. Please contact me right away if you have any concerns with your files by emailing me at info@loriwhitlock.com. I love my customers! Without you, I would not be designing. Thank you for your loyalty.

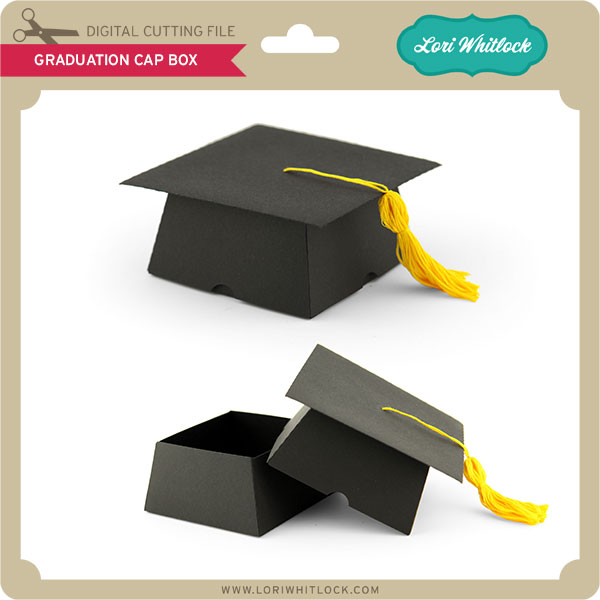
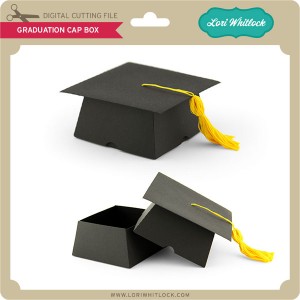
We have an adorable free file with purchase today! Simply add this file: 3d Graduation Cap to your shopping cart along with any $1 purchase from www.loriwhitlock.com/shop and this file is yours FREE. Your cart must reach at least $3.99 before the coupon will be applied and then $2.99 will be subtracted from your total at checkout. The files will be available for immediate download after you pay for your order.  Be sure to use Coupon Code: GRAD (case sensitive) at checkout. Hurry! This offer is good until Wednesday (tomorrow) at midnight!


We have many requests for the PDF file for hand cutting. Now many of new shapes will include a line art PDF. Also, all or our files now come Cricut Explore friendly. If you need updated files, don’t hesitate to ask by emailing us HERE. As we update the files, we are replacing them in the shop for future customers.

Finally… we have some super fun NEW files in the  SVG Shop this week, and they are ALL on SALE 25% OFF through the weekend!!! These downloads include SVG files. 3D files include cut size information and a PDF for hand cutting if desired. Read description before making your purchase.

To find these files in the Silhouette Design Store click HERE.

Christmas Gift Link Up with Corri Garza

Hi everyone!  Corri here today with a new link up party for you guys.  Since this time of the year is all about gift giving, I thought it would be fun to have our link party be all about “Gift Ideas.” Lori has recently added so many great gift files to her shop….check out these cute ideas.

Link up your projects using any of Lori’s files for a chance to win a $15 gift card.

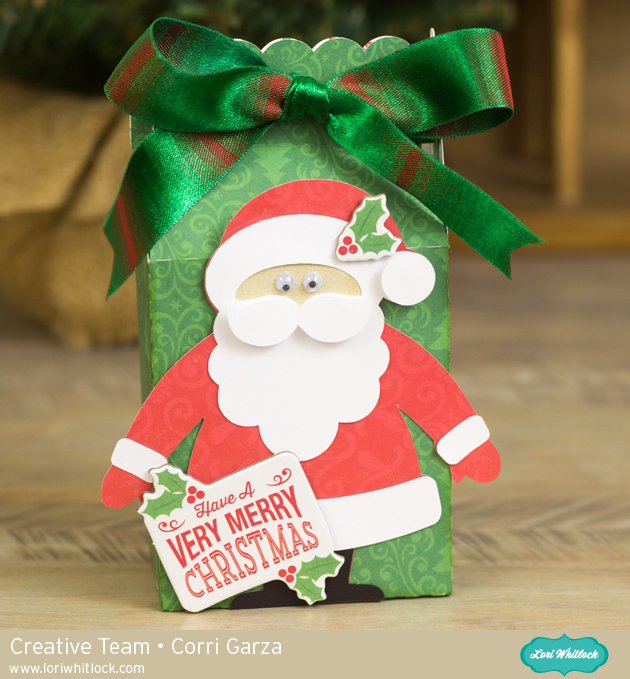
Here’s my project for today.

This box would be so cute filled with candy, a gift card or a small gift.  I used paper from the Christmas Cheer Collection from Echo Park.

We love seeing all your projects…you can also share them on Instagram using the hashtag #loriwhitlock and tag @loriwhitlock.


A little gum fun!

Creatively packaged gum makes a terrific little holiday gift! And, the best part is… these little wrappers are SO QUICK & EASY to put together!

So simple!! I just used permanent markers to draw the Snowman face.

Don’t they just make you smile? These make great gifts for your kids to give to their friends, door prizes, teacher gifts, stocking stuffers, etc. Watch for the cutting files TODAY in my Silhouette Online Shop and my SVG shop! I used Eclipse® gum, DCWV Jolly Whimsy Stack and the DCWV Holiday Glitzy Glitter Stack for these projects! The glitter cardstock has been super fun to work with!

Thanks for dropping by!

Silhouette Tutorial Bending Text by Traci

Hi everyone!  I’m excited to share a fun and easy tutorial with you today!  These steps will show you how to bend lines of text, either to create a phrase that wraps around an object, or to fit inside a curved shape as I have done on Lori’s adorable hot air balloon.
Here is the card I created with a curved “Thank You” cut out of the band.
First, pull up the shape you want to place your text in and resize it if necessary.
If there are multiple pieces to your shape, ungroup them and move everything to the side except the piece you want the word in.  Zoom in on your shape a bit, and chose the text option on the left tool bar.  As you type your word or phrase, a green box will appear.  Note that there will also be a little circle, with a cross in it, along the green line.
If you place your curser over this circle and click, you are able to drag your word into your shape.  When you hover the word over a line, the letters snap to the shape of the line.  To move your word up into the center of your shape, you will use the grey sliding bar that appears through your letters.  If you place your curser along that bar and slide upwards, your letters will move up.  However, in some cases, the spacing on your letters will also move in and start overlapping.
To prevent this, move your word over to the left so that you can see how much room you will have to increase your character spacing.
Play with the character spacing (found toward the bottom of your text style window) until you like the way the word looks.


Now you should be able to go back to the sliding grey line and move your word up into the center of your shape without the letters bunching up together.  You will notice once you’ve done this however, that your original shape line is now grey (no cut line).  This would be okay if you just wanted to cut out the bent word.

But, for this tutorial, we want to cut out the banner shape for the front of my balloon, so I will need to make this a cut line (red) again.  Highlight your shape and click on the Cut Style icon at the top.  In the Cut Style window, click the button that says “Enable Cut Style”.

Now your entire image is red and will be cut.


This is also a fun technique to use for cutting a phrase to wrap around a circle.  You would just snap your phrase on the outside line of the circle, rather than inside the shape.  I will post another project showing an example of this on my blog today, so I invite you to stop by Artsy Albums to check it out!
Thanks! Traci