Hi everyone! I’m excited to share a fun and easy tutorial with you today! These steps will show you how to bend lines of text, either to create a phrase that wraps around an object, or to fit inside a curved shape as I have done on Lori’s adorable hot air balloon.
Here is the card I created with a curved “Thank You” cut out of the band.

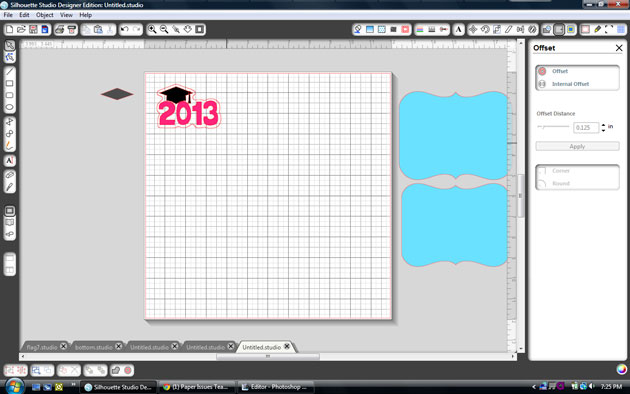
First, pull up the shape you want to place your text in and resize it if necessary.

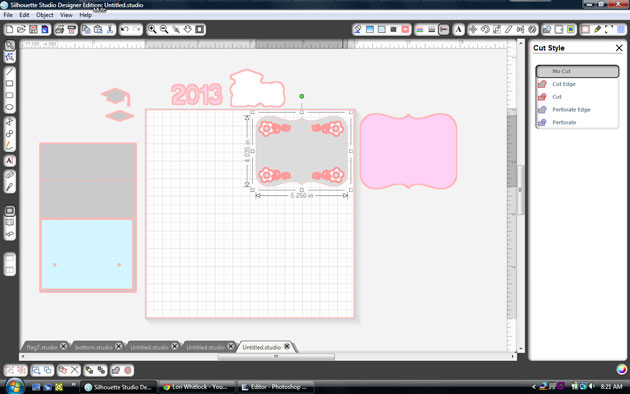
If there are multiple pieces to your shape, ungroup them and move everything to the side except the piece you want the word in. Zoom in on your shape a bit, and chose the text option on the left tool bar. As you type your word or phrase, a green box will appear. Note that there will also be a little circle, with a cross in it, along the green line.

If you place your curser over this circle and click, you are able to drag your word into your shape. When you hover the word over a line, the letters snap to the shape of the line. To move your word up into the center of your shape, you will use the grey sliding bar that appears through your letters. If you place your curser along that bar and slide upwards, your letters will move up. However, in some cases, the spacing on your letters will also move in and start overlapping.

To prevent this, move your word over to the left so that you can see how much room you will have to increase your character spacing.

Play with the character spacing (found toward the bottom of your text style window) until you like the way the word looks.

Now you should be able to go back to the sliding grey line and move your word up into the center of your shape without the letters bunching up together. You will notice once you’ve done this however, that your original shape line is now grey (no cut line). This would be okay if you just wanted to cut out the bent word.

But, for this tutorial, we want to cut out the banner shape for the front of my balloon, so I will need to make this a cut line (red) again. Highlight your shape and click on the Cut Style icon at the top. In the Cut Style window, click the button that says “Enable Cut Style”.

Now your entire image is red and will be cut.

This is also a fun technique to use for cutting a phrase to wrap around a circle. You would just snap your phrase on the outside line of the circle, rather than inside the shape. I will post another project showing an example of this on my blog today, so I invite you to stop by Artsy Albums to check it out!
Thanks! Traci