You’re in Luck! Now through Monday, March 12th All St. Patrick’s Day SVG and font files are 50% off when you use code GREEN at checkout! (Only one discount code per order allowed)
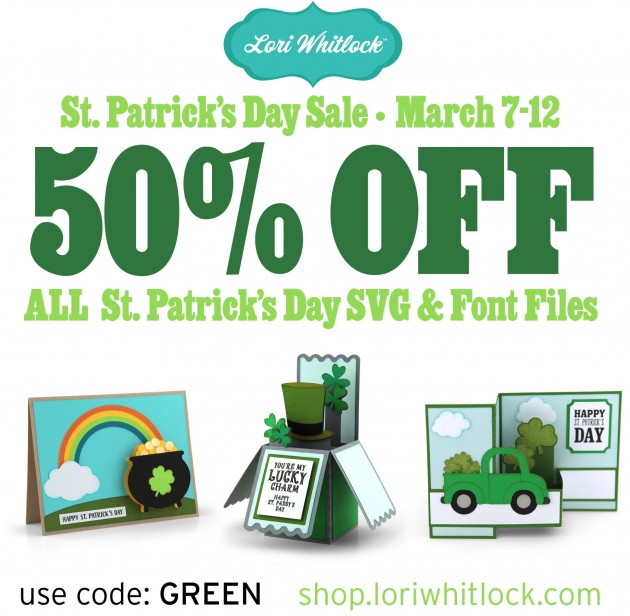
Don’t miss out, sale ends Monday!

You’re in Luck! Now through Monday, March 12th All St. Patrick’s Day SVG and font files are 50% off when you use code GREEN at checkout! (Only one discount code per order allowed)
Don’t miss out, sale ends Monday!
Happy St. Patrick’s Day! I love this day even though I’m not Irish nor do I drink. But I love the fun of wearing green and luck and shamrocks. I am planning to spread some of this green fun this year to some friends and neighbors, so I made a Digital card to share. I sized it 4×6, so that I can print right to photo paper.

I used Lori’s St. Patrick’s Day Collection and the Dreamy Font.
I’m planning on serving corned beef tonight along with lots of green food. Have a fun weekend.
Happy early St. Pat’s Day! These center box card files are so much fun. They make for a nice stand up card on someone’s desk or table.

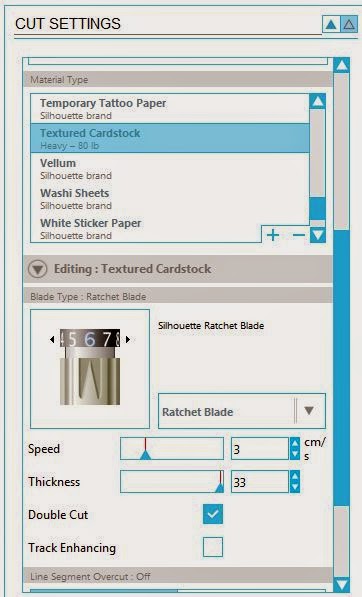
I love the print and cut sentiments that come with the cards! Here is the process for print and cut using Cricut. First you need to ungroup your images. Then select the whole sentiment piece and click attach. In addition, click the scissors and change it to print.


When you select cut, Cricut will prompt you to put your paper in your printer to print. When printed, place this paper on your mat when prompted to cut. Print and Cut is a nice feature ! Could you imagine cutting and gluing all those little letters?

These are all the pieces of the card cut out. I added some inking and Stickles, then easily put it all together. If you need more help with the assembly, you can see Lori’s Center Box Card Tutorial here. The papers are from a few different Echo Park collections, designed by Lori. I’ve listed them below.


I hope you’ll head on over to Lori’s Shop and give these a try! They do make you smile and you could make someone else smile by sharing your creation with them.
Have a great Day!
Here are the links to the files and papers I used.
Center Box Card ( In the Silhouette Store here)
Echo Park Paper
Before we get started with Tya, I wanted to point out an awesome post today over at Scrapbook & Cards Today blog. Paige Evans has a lovely layout featuring one of my cut files AND it just might include a free file!! Be sure to go take a look and get your free file!
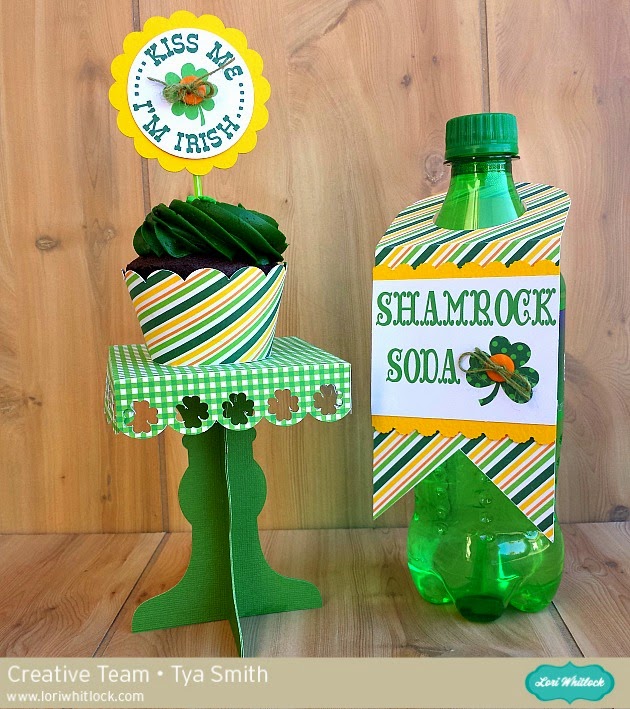
Hi everyone – its Tya here to share with you a fun set of St. Patrick’s Day treats just in time for all your little leprechaun festivities coming up. Lori has a darling new St. Patrick’s Day Digital Collection over on Snap Click Supply that I used to spruce up a simple cupcake and a soda bottle. I used the Print and Cut feature on my Silhouette on both of these projects – it’s one of my favorite things to do with my Silhouette and Lori’s files. Here is what I did-
First off – let’s start with the Cupcake Stand – here is a quick tip for you. As you can see, the original cut file had just a simple scallop edge. I wanted to make the cupcake stand a little more festive , so I went in and found a shamrock from one of my favorite Lori cut files and went in and replaced the circles in the scallop edge with the shamrocks. The wonderful thing about owning a Silhouette is that I can mix and match and customize my cut files to fit a theme or holiday. It was simply a matter of ungrouping the orginal shape, deleting the circles and replacing it with my resized shamrocks instead. Super easy and think of all the different shapes you could substitute – hearts for Valentines Day or stars for the 4th of July – the possibilities are so fun!

Here are a few close ups –

Check out the cute cupcake wrap and here is a better photo of the shamrocks that I added instead of the scallop circles.

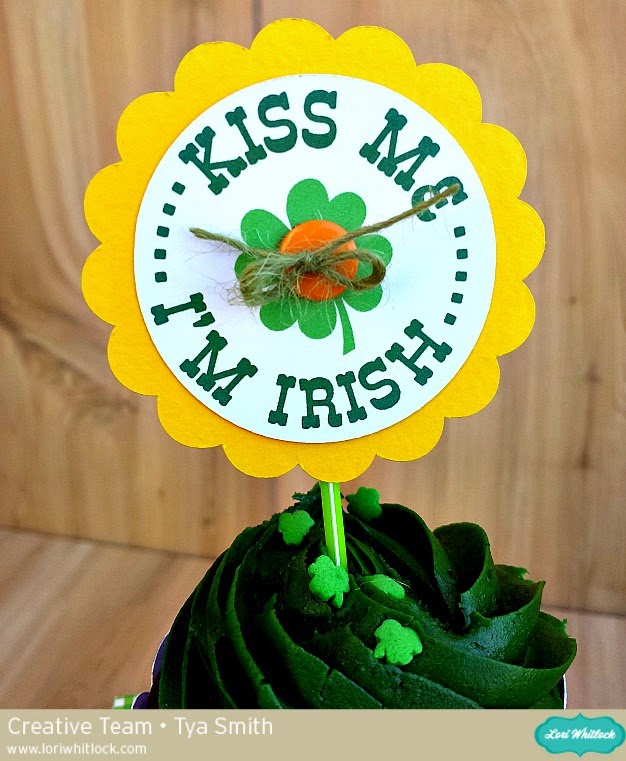
I did a print and cut of the Kiss Me I’m Irish sentiment and made it into a cupcake topper with the help of a scallop circle and a some button and twine. Add a green Pixie from Doodlebug Design – and you have a custom made cupcake topper!
Next up I decided to grab a green bottle of Sprite and add a bottle label and a custom sentiment to the label that I made with the beautiful Vintage Font for the Shamrock Soda. I added a polka dot shamrock with an orange button and some twine to finish it off. I also added a scallop border punch to the top and bottom edges of the sentiment.


So that’s all there is to my projects. I love taking basic everyday items like cupcakes and Soda bottles and using my Lori Whitlock shapes to fancy them up and make them fun and festive! Thanks for stopping by!
Digital Shapes and Papers –
St. Patrick’s Day Collection – Snap Click Supply
Shapes used: (All on loriwhitlock.com or Silhouette Design Store unless otherwise noted)
–5 Clover Shamrocks (Silhouette) Lucky Set (Lori Whitlock.com)

Hi friends – today I am here to show you a fun technique using acetate! I am a sucker for cute packaging so when I was pondering about what to do my tutorial on for this month I knew I wanted to share this one with you. I decided to do a couple of colorful St. Patrick’s Day Favors to show off this technique. It just wouldn’t be the same if you couldn’t see the Skittles and Gold Coins that these boxes hold, so when you really want to show off what is inside your packaging or if your treats fit a holiday or a theme like my treats do, acetate is the way to go! It may seem basic and easy, but it is so fun to use something other than cardstock and pattern paper when using our digital cutting machines.

I use this brand of acetate (also know as transparency film) for my projects. It cuts beautifully in my Silhouette machine. Apollo Transparency Film
 x 11in.(H), 100/Box")


So my challenge to you is to go pick up some of this fun medium from your local office supply store and try your hand at this fun technique. Thank you for stopping by!