Pop Up Box Card St. Patrick’s Jar Shaker Tutorial

Anita here with a tutorial to make Lori’s lovely cut file for the Pop Up Box Card St. Patrick’s Jar into a shaker card.  You can find the SVG file here in Lori’s shop and here in the Silhouette store.

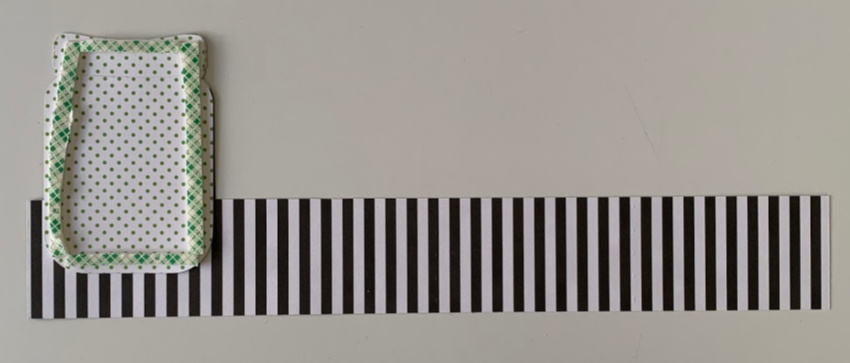
Here is a photo of the parts of the card after I cut them out.  I cut a piece of overhead projector plastic the same size as the jar.  I used the rectangle shape tool in Silhouette to cut out the center of my green plaid jar top piece for the window.  I also cut an extra jar out of black and trimmed it even with the top of the lid so that you could see the details in the jar cover.  Those are shown glued down in this photo.

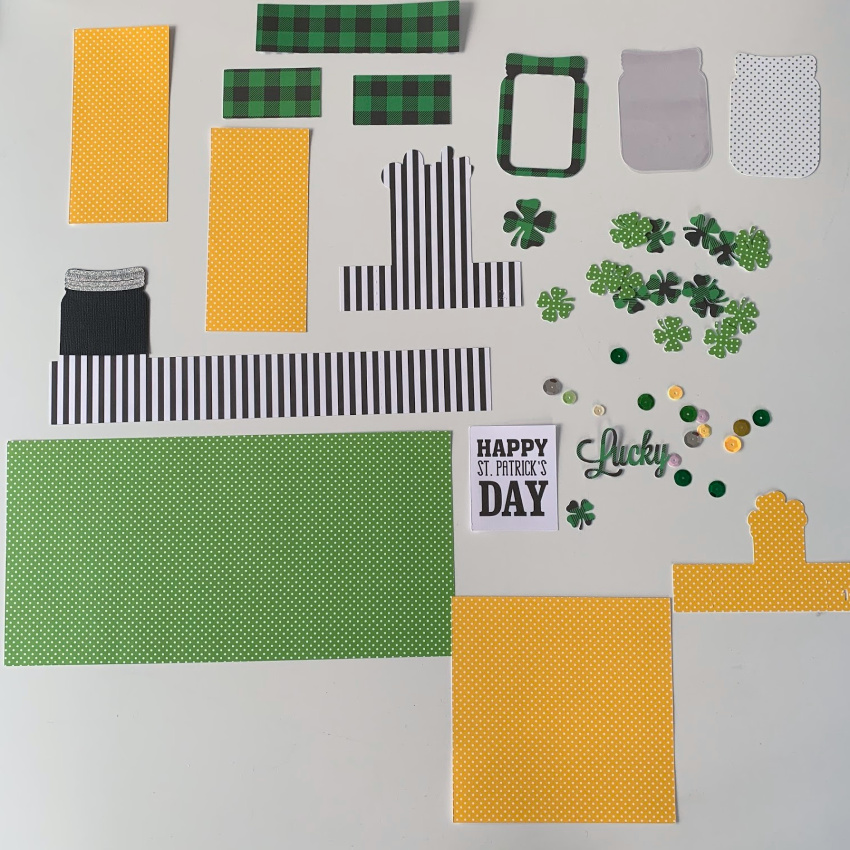
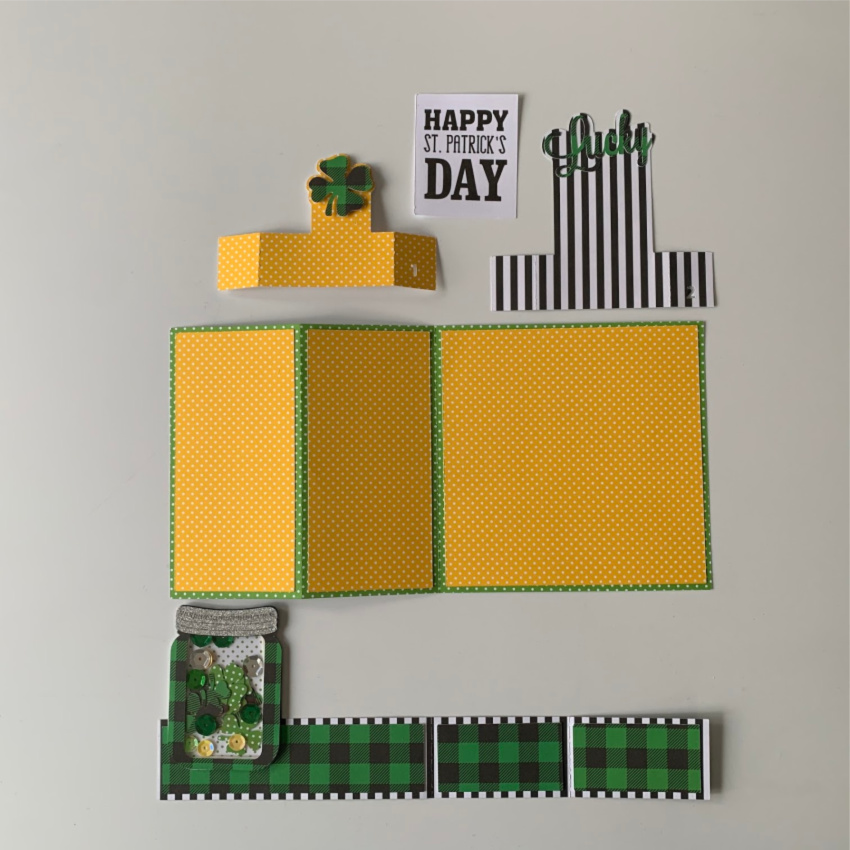
Next, I took the green dot jar piece and used foam tape to create both height and space for the shaker materials as you can see from the photo below.

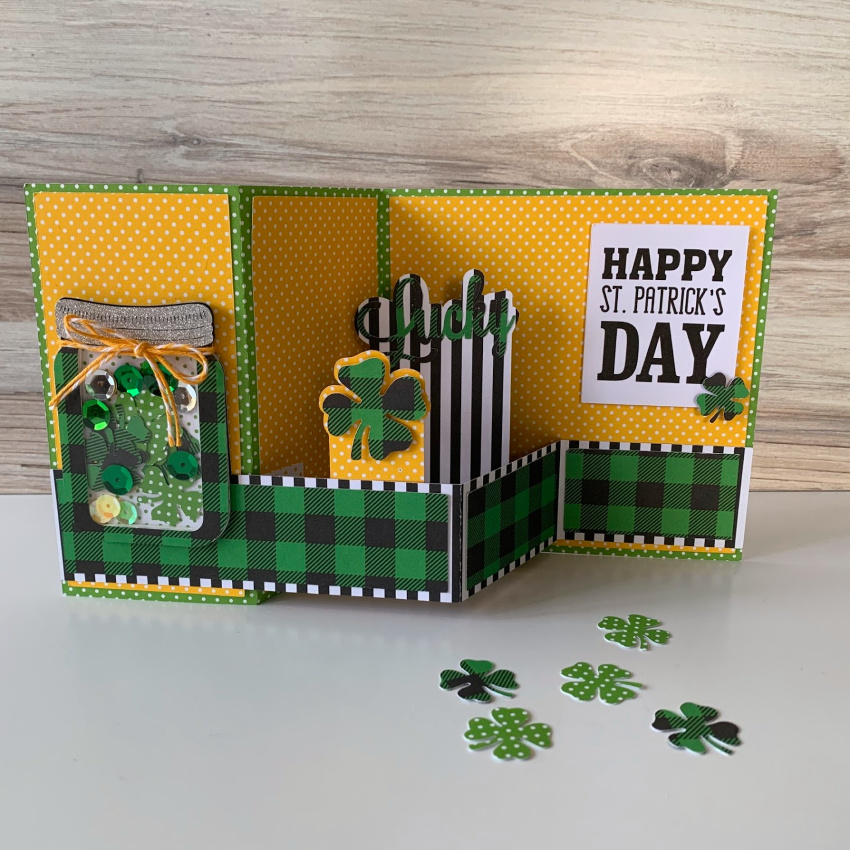
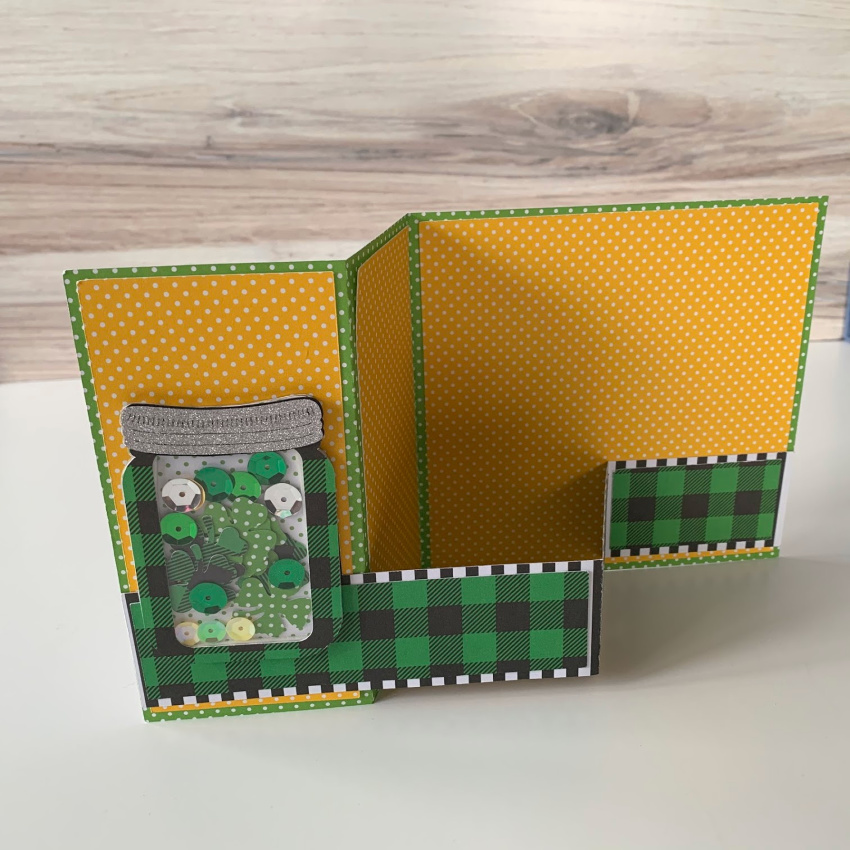
I started to assemble the card which is very easy to put together. (Lori has a Pop Up Box Card Tutorial Here)   I tend to use a wet adhesive as at first it is forgiving and you can move the pieces around a bit and then it holds better than regular adhesive.  I lined up the pieces and then closed the card to make sure everything was where I wanted it.  Here are some photos of the embellished card parts. I added the transparency piece behind the plaid jar outline to create a window.  I filled my shaker with extra shamrocks from the cut file and some sequins.  After filling the jar, I peeled the adhesive from the foam tape and placed the jar with the window on top.   I love how festive it is.

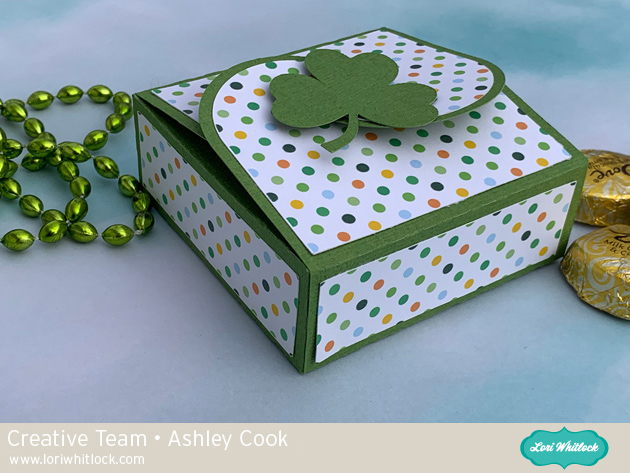
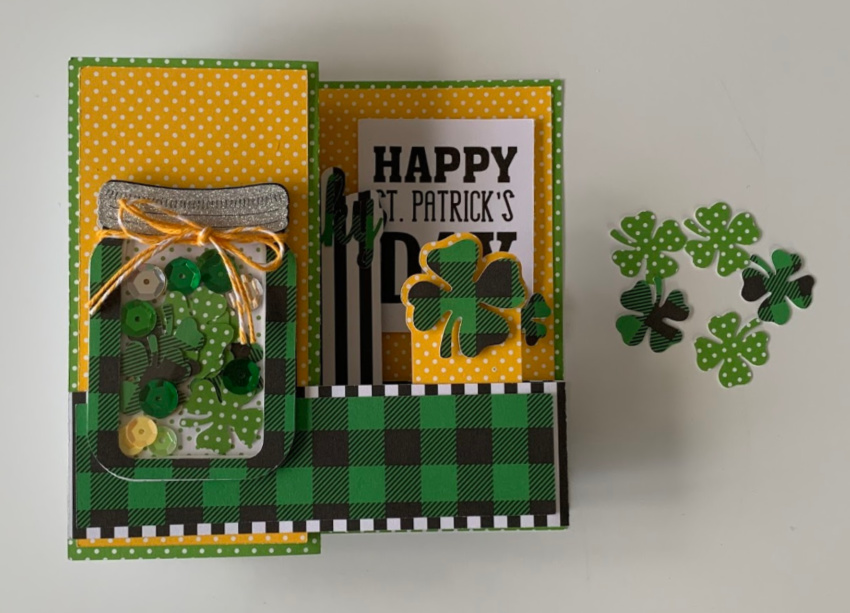
Lastly here is a photo of the card when it is closed.  Lori has many wonderful St. Patrick’s Day files which you can whip up quickly to brighten someone’s day.  Thanks for looking and have a great day.

Hugs,

Anita

Leprechaun Banner with Brandie

Hi there friends! Brandie here with a fun holiday banner. I enjoy making banners and my little guy gets a kick out of the cute characters and images of the season. This banner came together really quickly.
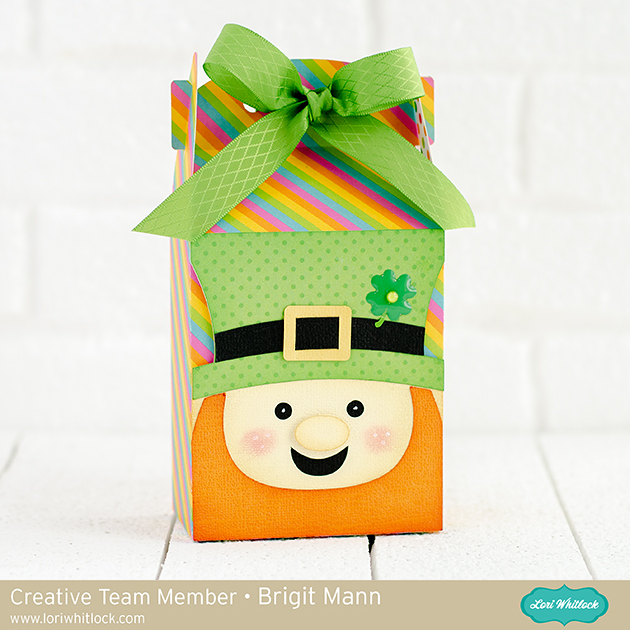
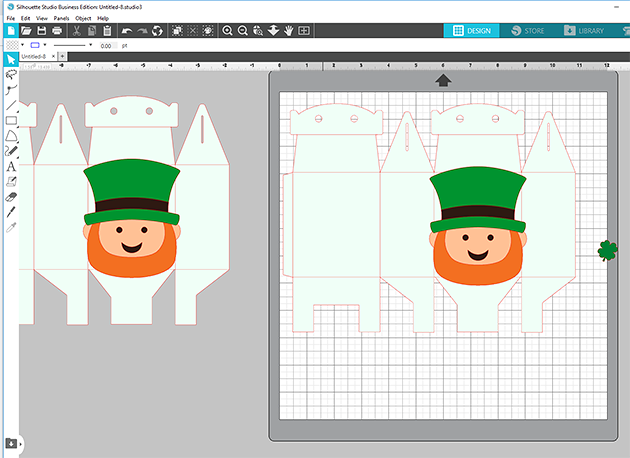
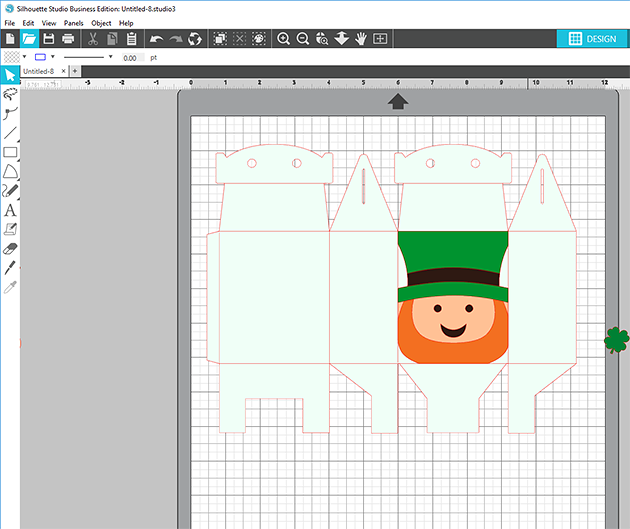
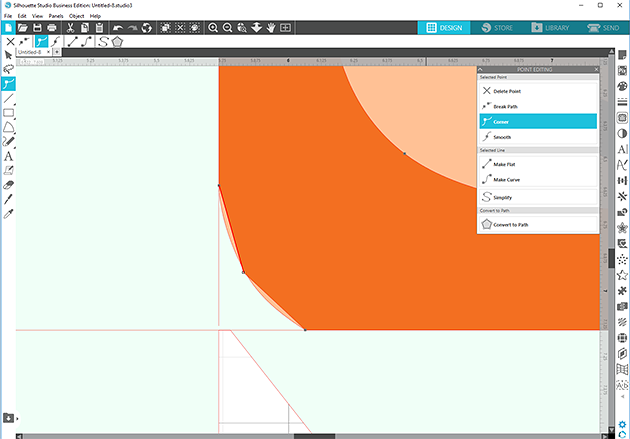
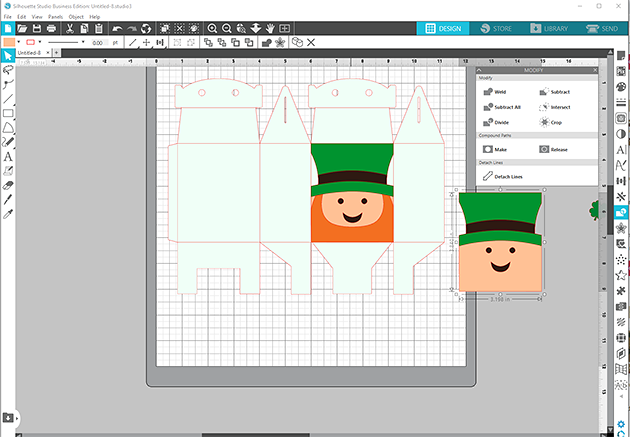
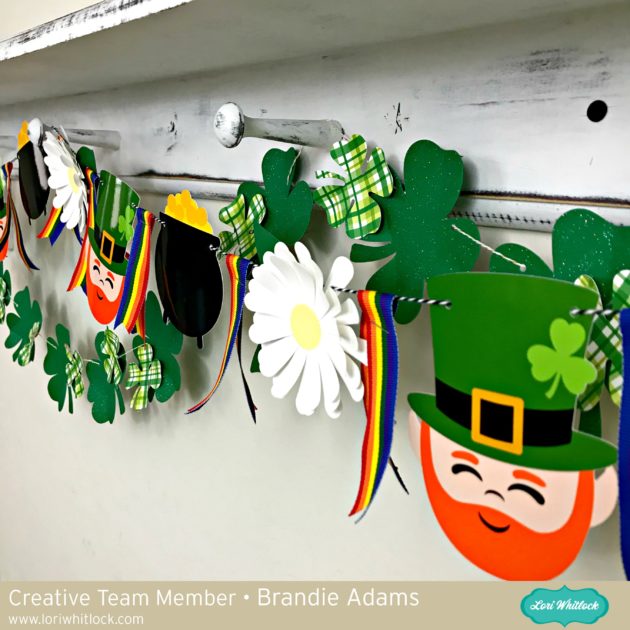
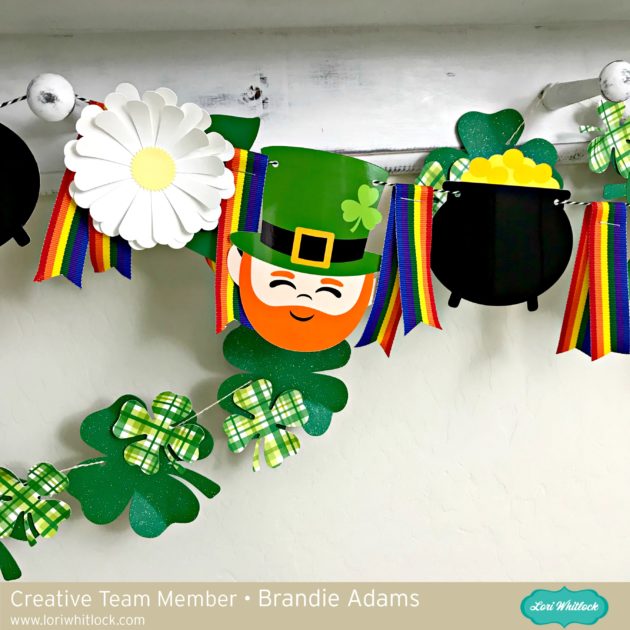
I used the Leprechaun Face (SVG, Silhouette), Pot of Gold (SVG, Silhouette), Shamrock cluster (SVG, Silhouette), and the 3D Flower 29 (SVG, Silhouette). For the leprechaun and pot of gold I converted the cut files to a print and cut on glossy photo paper. The shamrocks and flowers are cut from cardstock.

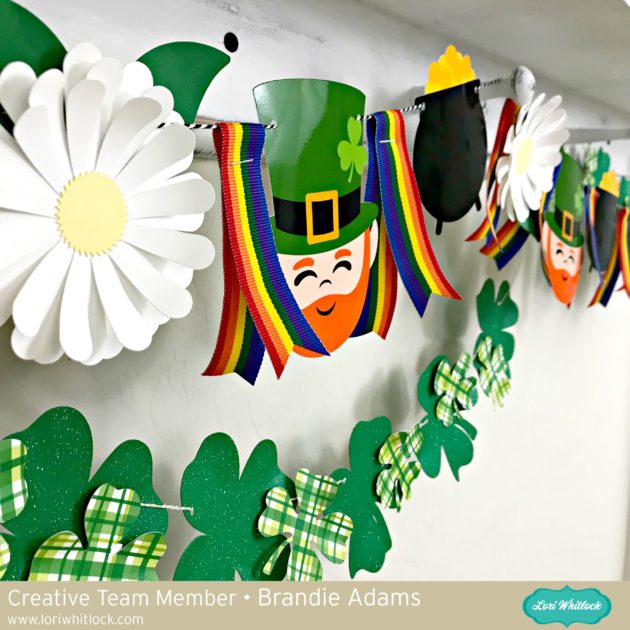
That’s it for me today. Thanks for stopping by.

Brandie

No Glue Cookie Box with Ashley

Today I’m sharing a great box.  You can find the No Glue Cookie Box here in the Lori Whitlock SVG shop or here in the Silhouette store.

Image 1

I used Lori’s St. Patrick’s Day Pattern Fill to print and cut the paper panels.  I also cut a shamrock.  Several Shamrock options are in the SVG shop and the silhouette store.

The box comes as the above size, and it is 3.375″ x 3.5″ x 1.25.”   A great size for a handful of treats or a homemade cookie.  I love St. Patrick’s Day, and I plan on making more of these to share a little luck around.

Leprechaun Gable Box Tutorial with Brigit

I love boxes or bags with cute little character faces on them and with St Patrick’s Day coming next month I thought I’d make a little leprechaun one.

You can start with any bag or box, I chose the tall heart gable box (svgsilhouette) and did a ungroup to delete the heart.

I like to do all my designing in Silhouette Studio and cut on my Cricut Maker since I have the Business Edition I can save my file as an svg and bring into Design Space to cut. I usually will change my score lines to solid lines so I can use the scoring wheel in Cricut. For this box I ungrouped all the score lines and deleted all but the lines I have circled then I selected one and dragged the handle, you can select all the ones going the same way and drag, just grab the center handle not the corner one.

This is what they will look like, I also filled in the box makes it easier to see. I then selected all the lines right click and make compound path, and then selected both the lines and box and grouped. In Cricut Design Space I will change the lines to score and then attach the bag and lines together.

For the face, I used the bobblehead card leprechaun (svgsilhouette). I ungrouped and deleted all except for the leprechaun’s head, buckle and one shamrock which I didn’t end up using. I sized the head to the front of the box and then made a duplicate of them. (you won’t need the extra leprechaun head I just always make a copy in case I mess up)

With the knife tool I cut down on the four lines on the front of the box trimming away the leprechaun. I delete the cut up box and trimmed pieces of the leprechaun and zoom in to see if I have to make adjustments.

I want the beard to be square to the box so I double clicked it to bring up the point editing menu, selected each of the points and changed them to make flat, and pulled the center one to the corner to make it square.

This is what it will look like, do the same to the other side.

I wanted the face to be square also so I made a duplicate of the leprechaun and selected the beard and face and welded together, makes it much easier to line up.

Here’s my project ready to save as an svg, I did also make an internal offset of the face by .05 and releaseed the  compound path the eyes and mouth, I like having a solid piece for the background.

Thanks for stopping by and have a wonderful day!