Mother’s Day Card and Gift Card Box Set with Anita

Hi Lori Whitlock Fans:

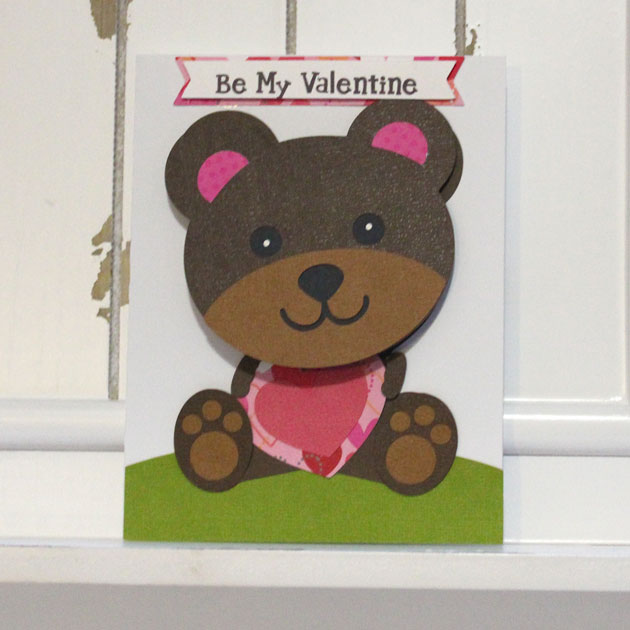
Anita here with a pretty card which was so easy t make and a gift card box.  It’s time to start thinking about the mothers in our lives.  I am impressed and amazed every day by the strength, humor and resilience that I see in the mothers around me.  For this set I used several different files.  The card is part of Lori’s Center Box Card series and it is called Center Box Card Mother Flowers and you can find it here in her store along with a tutorial to put it together and here in the Silhouette store.  I am in love with the soft sweet colors in Lori’s new Echo Park line called Sweet Baby Girl. I used some pearls for the flower centers and some twine to finish off my card.

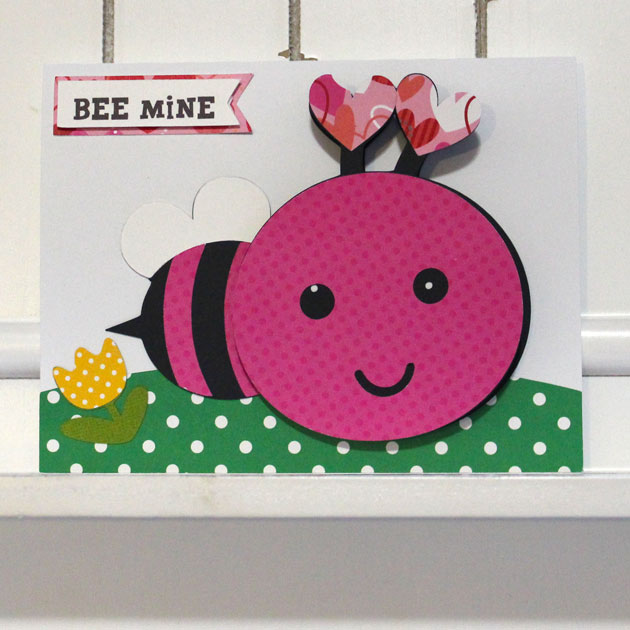
The box is called Gift Card Wrap Box and is simple to put together.  You can find that file here in Lori’s shop and there is a tutorial there as well.  You can find it also in the Silhouette Store.  I didn’t want my box to have the same sentiment so I used the sentiment from the A2 Tea Shaped Box Card  Teapot which you can find here in Lori’s store and here in the Silhouette store.

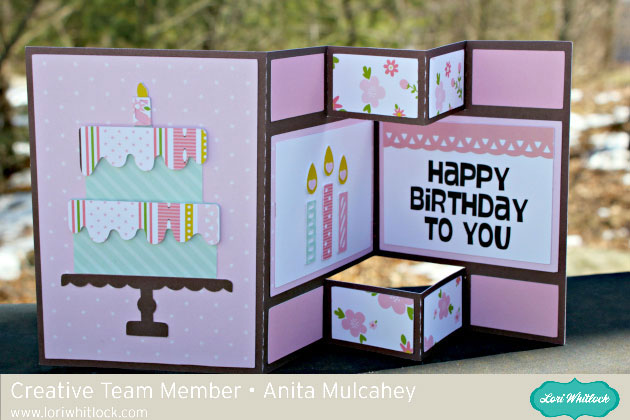
Here is a photo of the card folded flat.  It folds into a 5 1/2″ X 6 1.4″ almost square.

Here is the open box.

Finally, here is the completed box.

That’s it for me.  See you soon and enjoy your week.

Hugs,

Anita

Flat Front Shutter Card Birthday

Hello Everyone:

Anita here with a fun and easy tutorial for the Flat Front Shutter Card Birthday which you can find here in Lori’s store and here in the Silhouette Design Store.  I used one of Lori’s brand new Echo Park lines called Sweet Baby Girl.  It was perfect for a soft and feminine card.

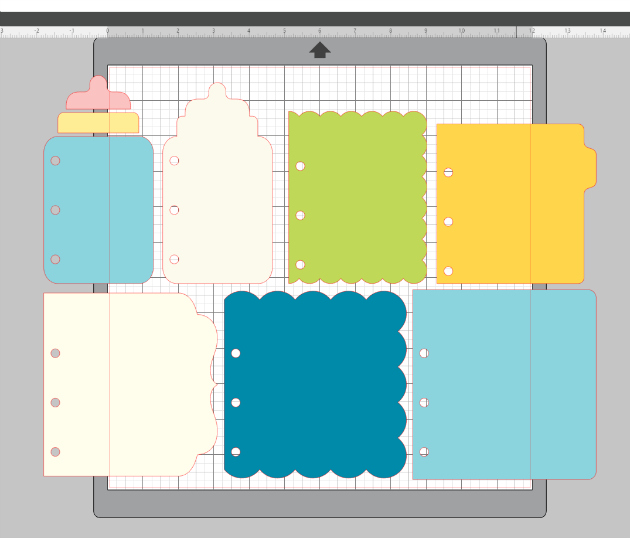
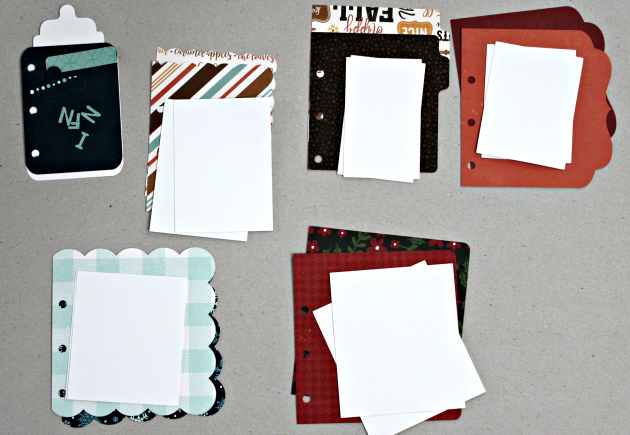
Here are all the pieces.  There are several that are small so remember to keep track of them.

I put together the pieces of the card and  glued everything down before I started folding.  It is much easier to work on the folds that way.

Your first step is to crease the fold to the right of the cake and you will be folding it so it pops up when lying flat.

I held the card in my left hand and pressed gently down on the middle score line with my left hand and held it in place while I used my right hand to score it across the fold.  You will be creating a valley fold here.  As you can see the folds on the top and bottom of that section just naturally pop up the way that they are supposed to be creating hill folds.

I folded up the right side of the card and used a bone folder to gently strengthen my score marks.  On the smaller pieces you will be scoring through two of the folds.

Here is a view from the top so you can see exactly what it should look like.

Lastly, here is the closed card and as you can see it lays flat and can be popped in an A2 envelope to be sent off to someone sweet.

Thanks for looking and be sure to check out Lori’s shop for more great cards of this type.

Hugs,

Anita

Mini Wreath Place Setting Tutorial with Michelle

With family so far away, our Easter Dinner is a quiet gathering where we use our everyday plates. This year, I (Michelle) decided to make dinner fun with some Mini Paper Wreaths.

Lori Whitlock Easter Rabbit Place Setting Svg

Making the mini wreaths was fairly easy with my Silhouette Cameo, but I have a couple hints and tricks to make it really easy! I started with Lori’s Circle Monogram Frame (Silhouette Design Store or Lori Whitlock SVG Shop) to make the wreath. This is possibly my favorite SVG file. The wreath is actually 6 seperate pieces. Since I am making a small wreath, I’m going to release the compound path and make all of the leaves filled in, which is easier for me to cut.

Release Compound Path

I’m also going to cut a 5-inch circle to fit my plate. (Hint: When making a circle hold down the shift key and your circle will be perfect each time.) I recommend cutting three or four monogram wreaths to make your mini wreath nice and full.

Next, I cut some BRAND NEW Bunnies. This Easter Bunny Silhouette is absolutely darling! I love his little tail cut-out. He’s new in the shops and you can find him in the Lori Whitlock SVG Shop and the Silhouette Design Store. I cut two 4-inches bunnies and glued them back to back, but one would’ve been enough. I wanted to add a cute sentiment, and I found exactly what I was looking for in the Bunny Dingbats Font. You can find this in the Silhouette Design Store and the Lori Whitlock SVG Shop. You will find additional bunny silhouettes in the font. They would be cute too. With the bunnies so small, I had trouble getting the sentiment cut cleanly with paper, so I used vinyl instead. It came out perfect the first time!

Lori Whitlock custom vinyl SVG sticker on paper

Yes! Paper crafters can use vinyl too! I love how it came out.

I topped off my wreath with a cute paper bow found in the Silhouette Design Store or at the Lori Whitlock SVG Shop and my project was finished. This would be a great project to try new techniques such as releasing the compound path and using vinyl. if you would like even more information, I would encourage you to check out Lori’s class on Craftsy. With the class, Lori explains numerous techniques for getting the most out of your Silhouette Cameo.

I hope that you’ve enjoyed my Mini Wreath Tutorial. Happy Easter!

Michelle

Baby Mini Album with Anita

Hi Everyone:

Anita here with a fun tutorial to make this mini baby album.  My brother’s girlfriend just became a grandmother of a beautiful baby boy and I made this album for her to fill and to share with her friends.

This is a photo of the cut file.  It is called Baby Layered Mini Album and you can find it in Lori’s store and in the Silhouette Store.  I mixed and matched some wonderful collections  from Echo Park to make my album including A Perfect Winter, A Perfect Autumn, A Perfect Christmas and I Love Family.  I bought 1.5 inch colored rings from Amazon for the album.

I decided that I wanted each page the same print/color so I used the replicate function on my Silhouette to mirror the left tabbed page to the right so that I could glue them together to create a heavier page.  I then cut both pages from the same paper and adhered them back to back.

I then  used the rectangle tool on the left side bar to create a white piece to be a photo mat.    I like to put the item I am trying to match the size on my mat.

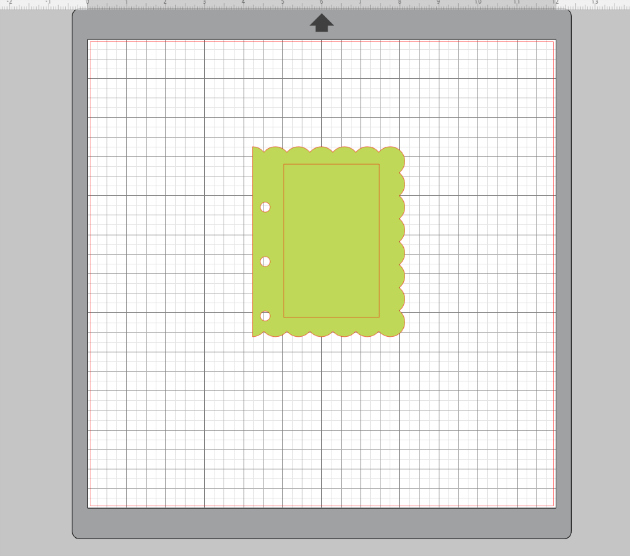
Here is the sized rectangle on my mat.

Here is a photo that shows the other rectangles that I created for the pages of my album.  I then cut two of each for each page of the album.


I used Lori’s font called Wide Marker at the 56.0 font size and moved them on to the bottle to see how it would look.


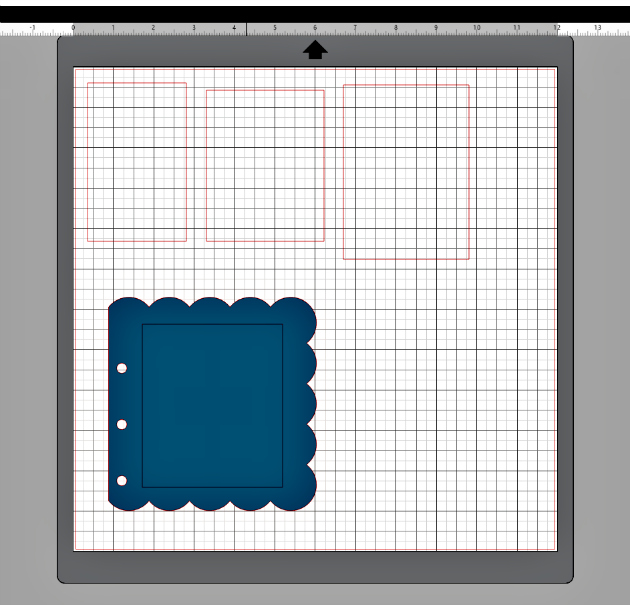
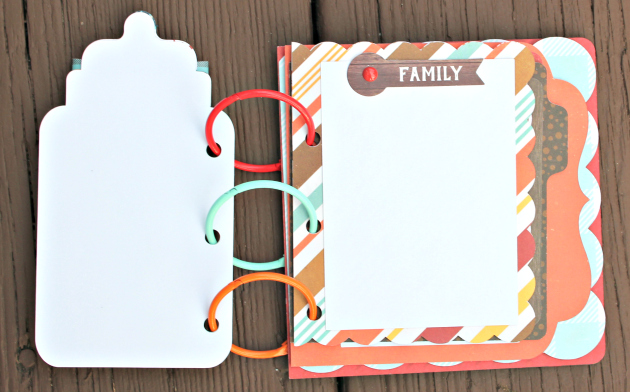
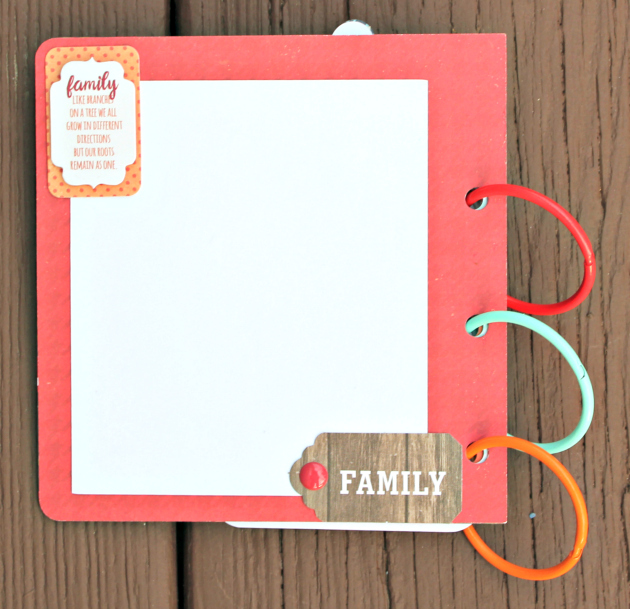
Here are the pieces for my album.

There you have it.  This worked up very quickly and it so cute.  Can’t wait to send it off to it’s recipient.

Hugs,

Anita


Bobble Head Valentine Cards


Hello Everyone:

Anita here with some adorable bobble head Valentine cards.  These are so cute and so easy to put together.  They also fold flat so that you can mail them to your favorite Valentines.   I used the following cut files:

Bobble Head Card Valentine Hippo  In Lori’s Store      In the Silhouette Store

Bobble Head Card Valentine Frog  In Lori’s Store     In the Silhouette Store


Bobble Head Card Valentine Bear  In Lori’s Store     In the Silhouette Store

Bobble Head Card Valentine Bee  In Lori’s Store     In the Silhouette Store

The assembly video for these cards can be found here.  You can  find the Action Wobbles Action Springs at Amazon.

Thanks for looking and hope you have some time to try out these fun cards.

Hugs,

Anita