Presidents’ Day Shaker

Happy Presidents’ Day Everyone:

Anita here with a fun shaker to celebrate this holiday.  I used Lori’s 4th of July Shaker Star (SVG, Silhouette).  I also used Lori’s Echo Park Paper collection called America. I used a layer of foam tape between one of the layers as I like a fuller shaker.

Hope that everyone has a great day and thanks for looking.


Hugs,

Anita

3D Witch’s Brew Bottle Tutorial

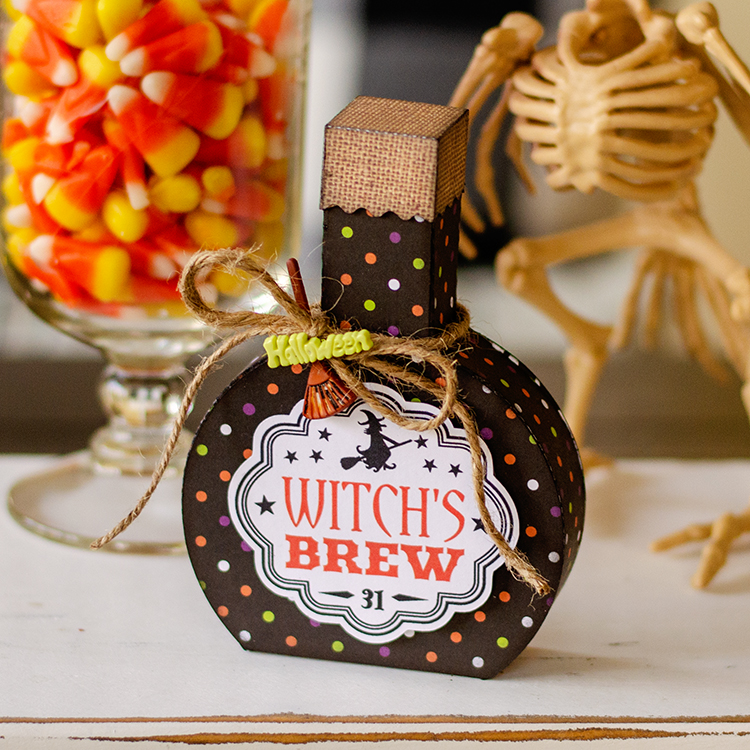
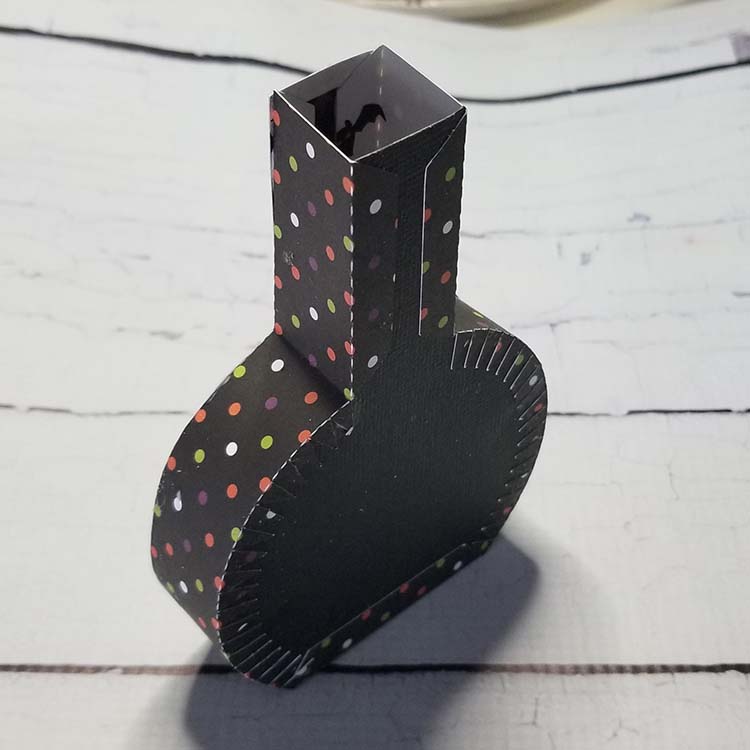
Hello everyone Brigit here! For today’s project, I’m sharing a tutorial on how I made this cute Halloween bottle which is the 3D Halloween Warlock Root Bottle, (SVG, Silhouette).

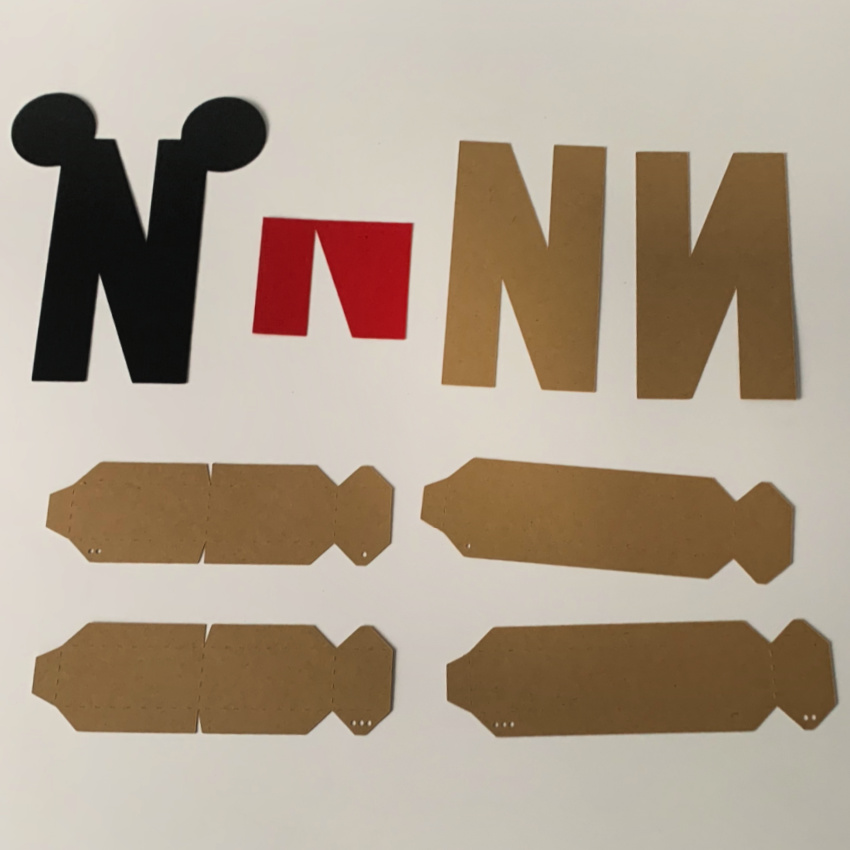
To make putting the bottle together much easier for myself I duplicated the front layer and made it .010 smaller, that is the black layer you see below. So my bottle front size width is 3.489 and I made the black piece 3.479.

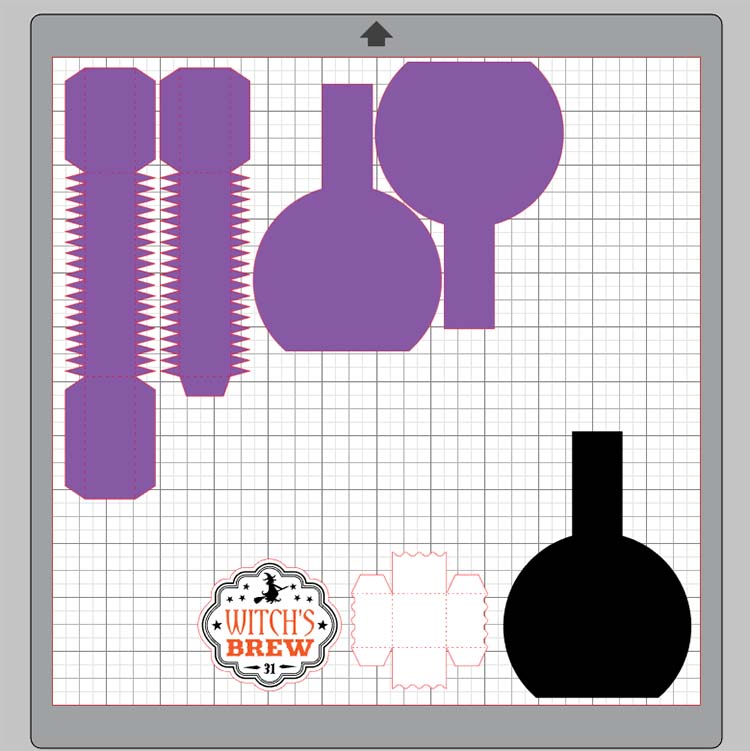
It’s easier to form the shape of the sides going around the outside of this extra piece.

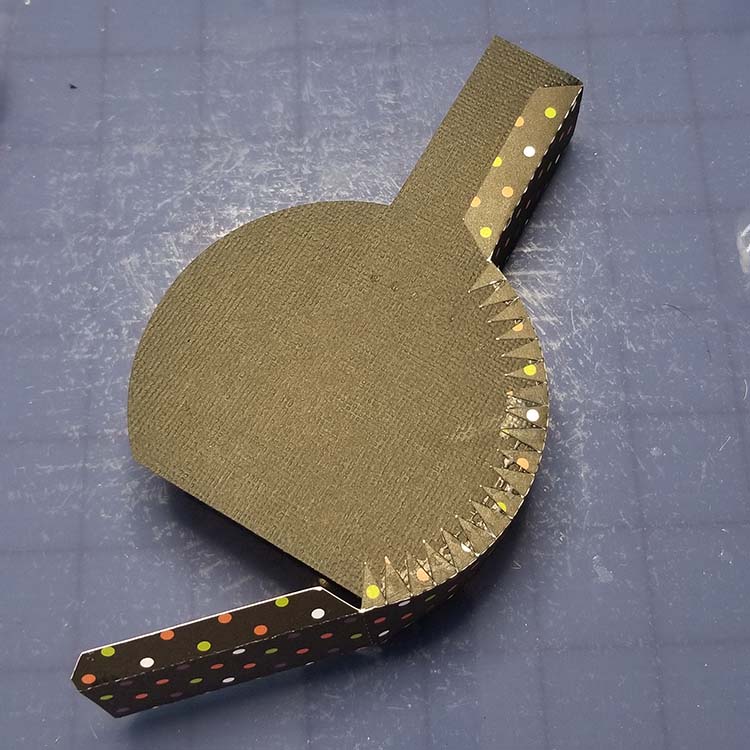
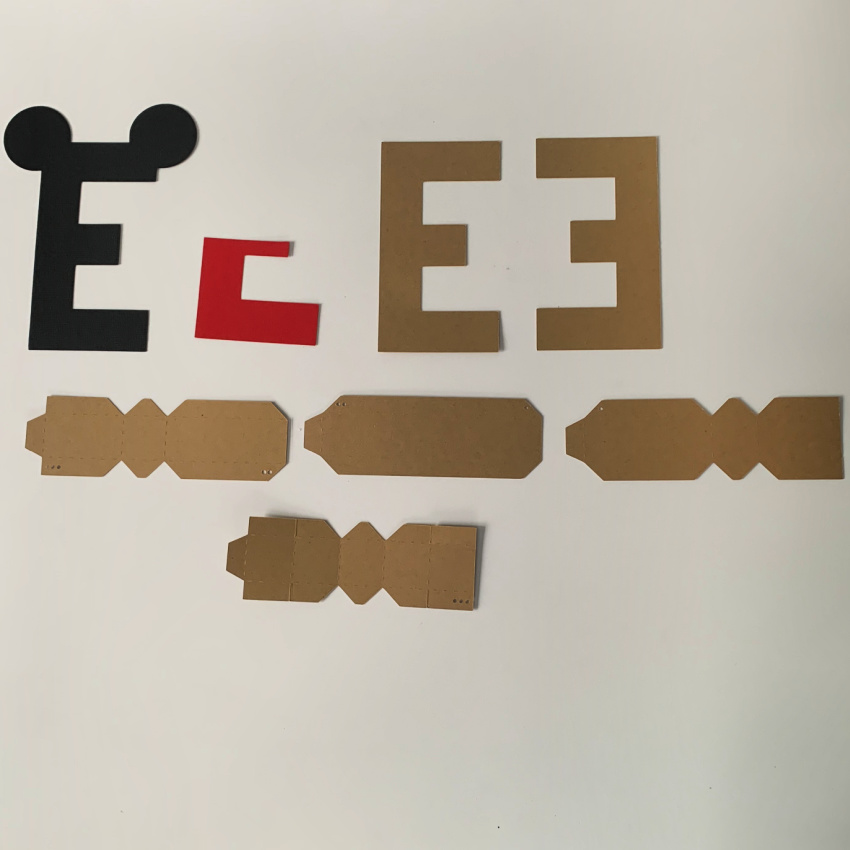
After forming the front with the extra piece I add the back gluing the bottom first and then the top neck sides one at a time. Then I glue the rounded sides one side at a time, it fits together perfectly this way.


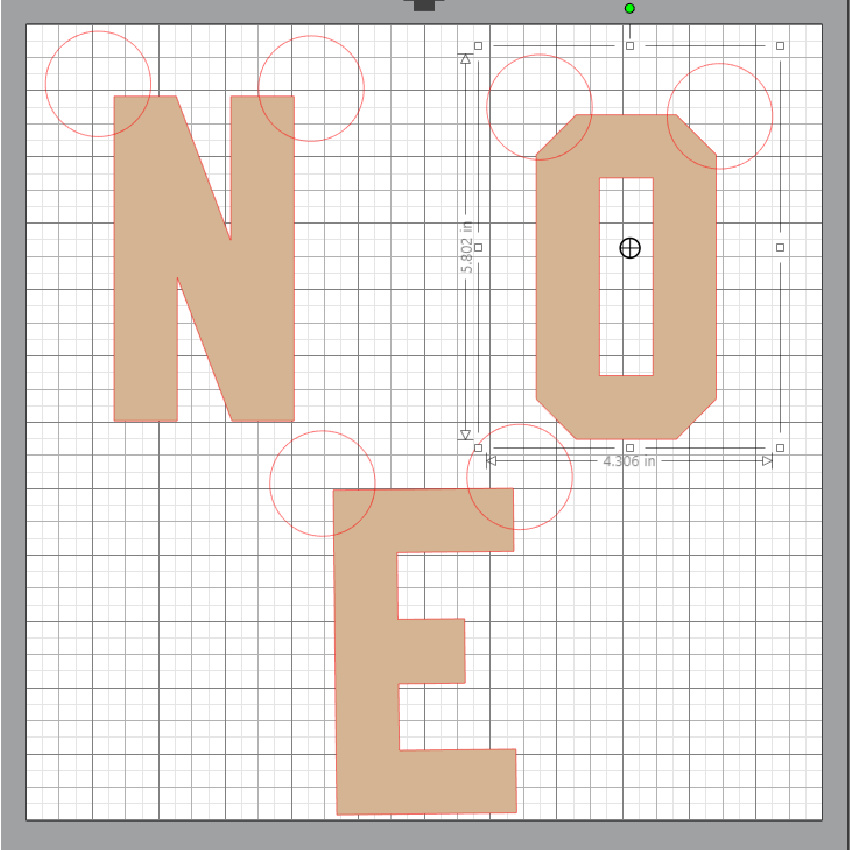
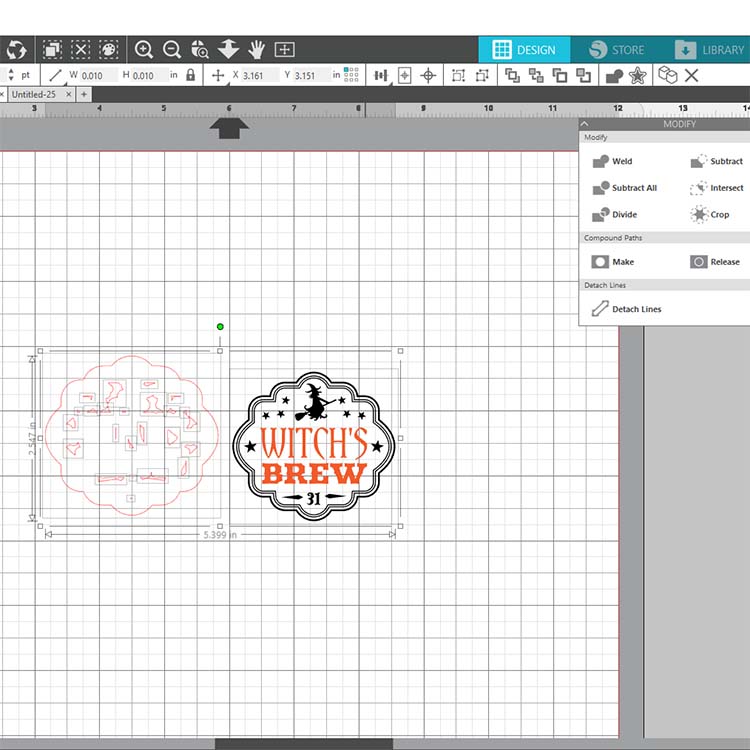
Instead of using the label that came with the file, I used the Witch’s Brew (SVG, Silhouette) and did a print and cut. I first made an offset and released the inside pieces and deleted them. I then centered and grouped the label together.

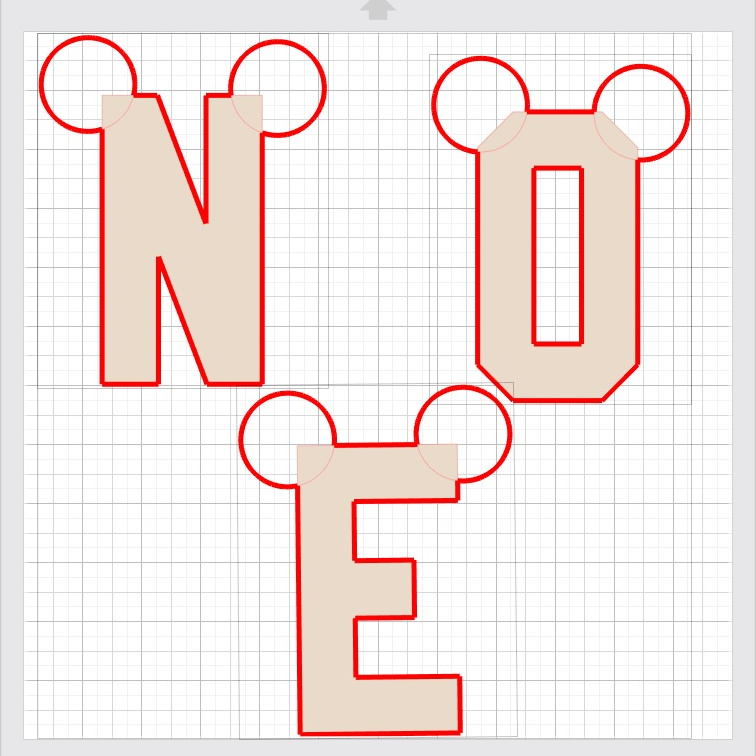
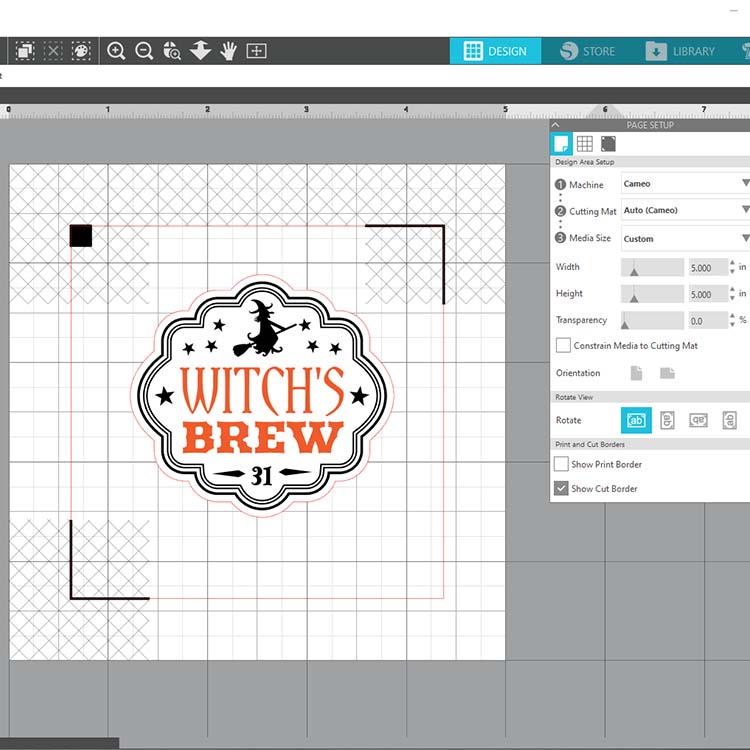
I turned on the registration marks and resized the media size to 5″ x 5″ under the page setup menu and then printed. Don’t forget to select cut edge when sending it to cut.

Hope you enjoyed this project and this tutorial helped!

Thanks for stopping by and have a wonderful day!

Blog – Pinterest – Instagram

3D Witch Hat

Hello everyone, I have another Halloween décor project to share today! I used the new 3D Witch Hat 3 (Silhouette, SVG) and the Witch Boots (Silhouette, SVG) to create this decorative piece.

Such a fun and easy project to put together, would also look great on a tiered tray, I sized mine a little smaller so it would fit on mine.

Here’s a closer look, I added one of Lori’s 3D Flowers (Silhouette, SVG). I used paper and embellishments from Echo Park’s Halloween Magic Collection, the project was cut out on my Silhouette Cameo 4.

Thanks for stopping by and have a wonderful day!

Mickey Mouse 3D First Birthday Blocks Tutorial

Anita here with a tutorial to show you how I made Mickey Mouse letters for my grandson’s first birthday party.  I used Lori’s awesome files for the 3D Letters, including the 3D Letter Alphabet O (SVG, Silhouette), the 3D Letter Alphabet N (SVG, Silhouette) and the 3D Letter Alphabet E (SVG, Silhouette).   Lori also has a wonderful tutorial on her YouTube page which you can watch here to assist with putting the letters together.

Here are all the pieces that I cut out to make my blocks.  I used kraft cardstock papers for assembling my letters.  I will describe what I did to create the Mickey ears at the top of the letter and cut an extra letter in the red, and cut it to fit near the bottom third of the letters.

To create the ears, I used the shape tool in my Silhouette Studio software and created a small circles that were the size that I wanted for the ears.  I copy and pasted a copy of the larger front piece from the file as I didn’t want the layered look as shown in the original cut file.  Once I had all three of the letters on the mat I added two circles to each letter.  I then grouped each letter with the ears and arranged them on the mat so that they all fit.  I then sent the file to cut and selected each letter one at a time and then selected cut edge.  I sent it to my Silhouette and it came out perfect.

Thanks for looking and have a great day.

Hugs,

Anita

Perpetual Celebration Calendar Tutorial

Happy Thursday Everyone:

Anita here today with a tutorial for a Perpetual Celebration Calendar.  I have a perpetual calendar which I have been using for years and wanted to replace it with something more fun.  I decided to buy a rolodex and found some great files in Lori’s store that I used to create the pages for my calendar.  I used Memorydex Scalloped Cards (SVG, Silhouette) and used all three included shapes.  Male birthdays got the rectangle shape which can be found in the 4 Cute Tags file (SVG, Silhouette).  I  used 4 Scalloped Shapes (SVG, Silhouette) as the date reminder tags that went on the female birthday cards.  And I used the Nested Hearts file (SVG, Silhouette) for the anniversary cards. For the files without the punch holes in the bottom, I used a memorydex punch to add them.   Please note that each card also has an extra layer on the back of cardstock to give it a bit more stability and to help it to be more stable on the rolodex holder as it spins.

I used the Memorydex Box and Cards (SVG, Silhouette) for the month tab cards.  You can find a tutorial to make the Memorydex Box and Cards here on Lori’s blog.  I also used the Month 4X6 Journaling Cards (SVG, Silhouette)  I resized them to fit on the card and then cut them out.  I did my editing of this file on my Silhouette.   I decorated the cards with ephemera from my stash.

That’s it for me today.  I love how this came out and now each  month I get to flip the pages to see who I will be celebrating that month.

Hugs,

Anita